

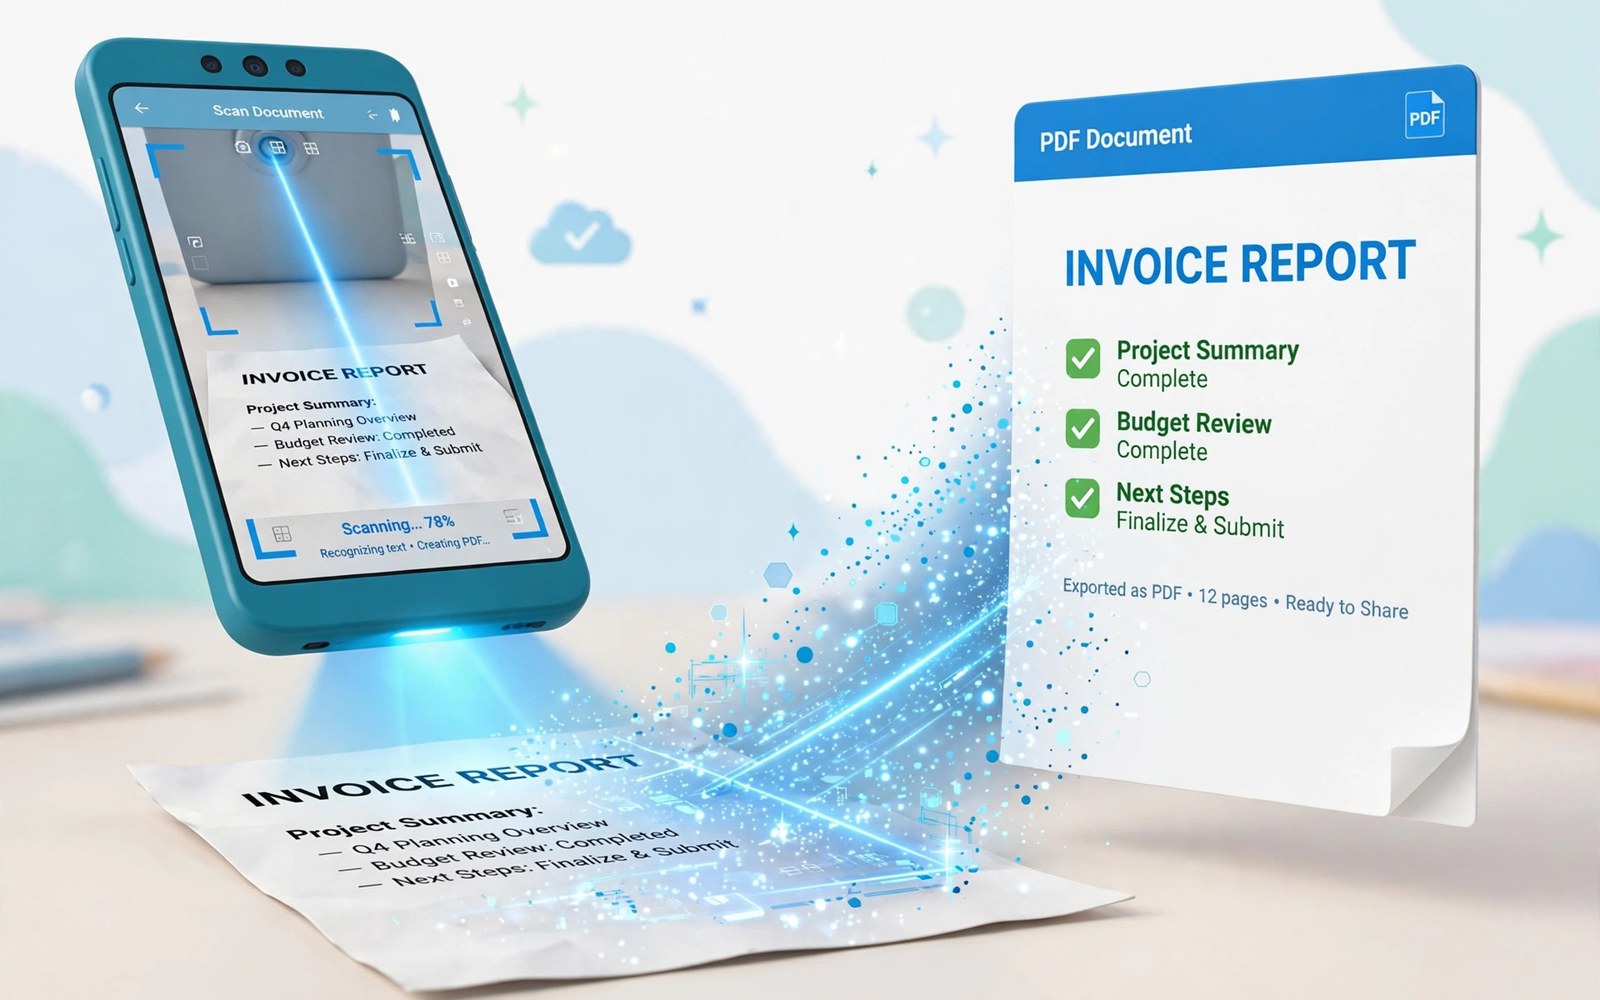
Your phone camera can replace a flatbed scanner for most documents. Built-in tools detect page edges and straighten the photo. They turn the result into a clean PDF file. Receipts and contracts scan well this way. This guide shows the full process.
Scanning differs from taking a normal photo. A scan crops to the page and boosts contrast. Text becomes darker and easier to read. Shadows and perspective get corrected. The result looks like a real scan rather than a snapshot.
Good scans need good light and a steady hand. A flat surface helps the edge detection work. A plain background makes the page stand out. This guide covers framing and cleanup. It also covers multi-page documents and sharing.
Find the Built-In Scan Tool
Many phones include scanning in the camera app or a files app. Open the camera and look for a Document or Scan mode. Some phones place scanning in the notes app instead. The files app may offer a Scan option in its menu. Check each app once to learn where yours lives.
If no scan mode appears then use the search box in Settings or the app drawer. Type scan and see which app offers the feature. A system scan tool needs no extra download. It also keeps documents on the device by default. That privacy benefit matters for sensitive papers.
Prepare the Document and Light
Place the document on a flat surface with a plain background. A dark table helps a white page stand out. Smooth out folds and curls before scanning. Remove clips and sticky notes that cover text. A clean page scans far better than a wrinkled one.
Use bright even light from above or from a window. Avoid harsh shadows from your body or the phone. Stand so your shadow falls away from the page. Natural daylight gives the most even result. A desk lamp works well at night when placed to the side.
adb shell ls /sdcard/Documents/
# scanned PDFs often save in Documents or Downloads
Capture a Clean Single Page
Hold the phone parallel to the page and steady. The scan tool draws a border around the detected page. Wait for the border to settle before tapping capture. Move closer if the border misses a corner. Move back if the page fills the frame too tightly.
After capture the tool shows a preview with crop handles. Drag handles to the exact page corners. Check that no text sits outside the crop. Adjust contrast if the preview looks grey. Save the scan only when the preview looks sharp and complete.
Scan Multiple Pages Into One PDF
Multi-page scanning adds pages to the same document. Tap Add page after the first capture. Scan each following page in order. Check the page order in the preview strip. Drag pages to reorder them when needed.
Save the whole set as one PDF when all pages are done. A single PDF keeps a contract together. Separate images scatter across a gallery and get lost. Name the PDF with a clear date and topic. Clear naming helps future searches.
Improve Text Readability
Use the black and white or grayscale filter for text documents. Colour filters suit photos and stamped forms. Black and white boosts contrast and shrinks file size. It also hides paper stains better. Test filters on the preview before saving.
Crop tightly to the text area for dense documents. Remove large blank margins that waste space. Rotate pages that scanned upside down. A short review pass catches most errors. Fix errors now rather than after sharing the file.
Add Text Recognition When Available
Some scan tools offer text recognition for scanned pages. The feature turns page images into searchable text. It helps when you need to copy a paragraph later. Turn it on in scan settings when offered. The recognition runs on the device for many tools.
Check recognised text for errors before relying on it. Handwriting recognition remains imperfect. Small print can confuse the system. Keep the original image PDF as well. The image stays reliable even when recognised text has mistakes.
Share and Store Scanned PDFs
Share a scanned PDF from the files app or gallery. Choose email or messaging for a quick send. Use a cloud folder for long term storage. Set a clear folder structure for bills and contracts. A tidy structure saves search time later.
Check file size before sending over mobile data. A long colour scan can grow large. Switch to grayscale to shrink it. Compress the PDF when the app offers that option. A smaller file sends faster and costs less data.
Protect Sensitive Scanned Documents
Scanned contracts and IDs deserve extra care. Store them in a locked folder when the phone offers one. Avoid sharing them over public links. Delete the original gallery copies if the scan tool duplicates them. Duplicates can leak through backup and sharing.
Review cloud backup settings for scanned documents. A backup may upload sensitive PDFs automatically. Turn off backup for a folder holding private scans. Keep a local copy on encrypted storage instead. Privacy habits matter as much as scan quality.
Why Scans Beat Photos for Documents
Scans correct perspective and boost contrast automatically. Photos keep shadows and skewed angles. Scans look professional when shared with offices. Offices accept scans more readily than casual photos. A scan signals care and attention to detail.
Photos suit memories and scenes better than documents. Scans suit text and forms better. Use each tool for its strength. A document photo may still work in a pinch. A proper scan works better for official purposes.
Scanning Old and Fragile Documents
Old documents need gentle handling during scanning. Place them flat without pressing hard. Avoid flattening brittle pages forcefully. Scan in sections when a page curls badly. Stitch sections together in an editor later.
Use soft even light for faded ink. Harsh light washes out faint text. Grayscale filters can darken faded ink. Test filters on a copy page first. Preserve originals after scanning for archival safety.
Scanning Receipts for Expenses
Receipts fade quickly on thermal paper. Scan them soon after purchase. A scan preserves the amount and date permanently. Name receipt scans by store and date. Expense reports become painless with organised scans.
Check receipt scans for readable totals before discarding paper. A blurry total defeats the purpose of scanning. Retake any scan with a missing amount. Keep paper until the scan verifies clearly. Digital copies should replace paper only when legible.
Scanning Books Without Damaging Spines
Book scanning risks spine damage from pressing flat. Open the book only as far as needed. Scan one page at a time with gentle pressure. A phone scan avoids flatbed pressure on spines. Gentle handling preserves books for future readers.
Use a book stand or a soft support for thick books. Supports reduce the need to press pages flat. Capture pages in order and check the sequence. Reorder pages in the PDF editor when needed. Careful book scans protect both book and result.
Organising a Digital Document Library
A digital library needs folders by topic and year. Create folders for bills and contracts and personal records. Move scans into folders immediately after capture. Immediate filing prevents a downloads pileup. A tidy library saves hours of searching later.
Use consistent file names across the library. Start names with year and month for sorting. Add a short topic after the date. Consistent names sort chronologically automatically. Search becomes fast even with hundreds of files.
Scanning for Accessibility
Scanned documents with text recognition help screen reader users. Recognised text can be read aloud by accessibility tools. Image only scans block screen readers completely. Turn on text recognition when available. Accessible scans serve a wider audience.
Check recognised text quality for important documents. Errors in recognised text mislead readers. Correct major errors before sharing widely. Keep the image version alongside text. Image plus text gives both accuracy and accessibility.
Scanning With Flash in Low Light
Flash can help scans in dim rooms. It also creates glare on glossy paper. Use flash only when ambient light proves insufficient. Angle the phone slightly to reduce direct glare. A slight angle moves the flash reflection away from text.
Natural light beats flash for most scans. Move near a window before resorting to flash. A desk lamp to the side also beats direct flash. Side light reduces glare while brightening text. Flash remains a last resort rather than a first choice.
Scanning ID Cards Both Sides
ID cards need both sides scanned for complete records. Scan the front first and then the back. Keep both images in the same PDF when possible. A two page PDF represents one card clearly. Label the file with card type and date.
Check that small ID text remains readable after scanning. Tiny fonts challenge phone cameras. Move closer and use good light for ID cards. Crop tightly to the card edges. Readable ID scans prevent repeated requests for clearer copies.
Scanning Checklist
Use this list for a sharp scan every time.
- Place the page flat on a plain background.
- Use bright even light without shadows.
- Hold the phone parallel to the page.
- Wait for the edge border to settle.
- Adjust crop handles to exact corners.
- Save multi-page scans as one PDF.
This checklist takes seconds to follow. It prevents blurry and cropped scans. Repeat it for each page in a long document.
Scanned text becomes more useful when you can translate it. Learn how to translate on-screen text instantly using camera tools for foreign documents.
For paper free workflows see how to print documents wirelessly from your phone and how to transfer files between Android and PC wirelessly.
The steps above follow the approach described in the official developer documentation for Android devices. The documentation covers camera capture and document handling in general terms. Phone brands add their own scan modes on top of that shared system.
Phone scanning is fast once you learn the framing habit. Use even light and a flat surface. Crop to exact corners and save multi-page sets as one PDF. Review sensitive scans before sharing. With those habits your phone replaces a scanner for daily documents.

