

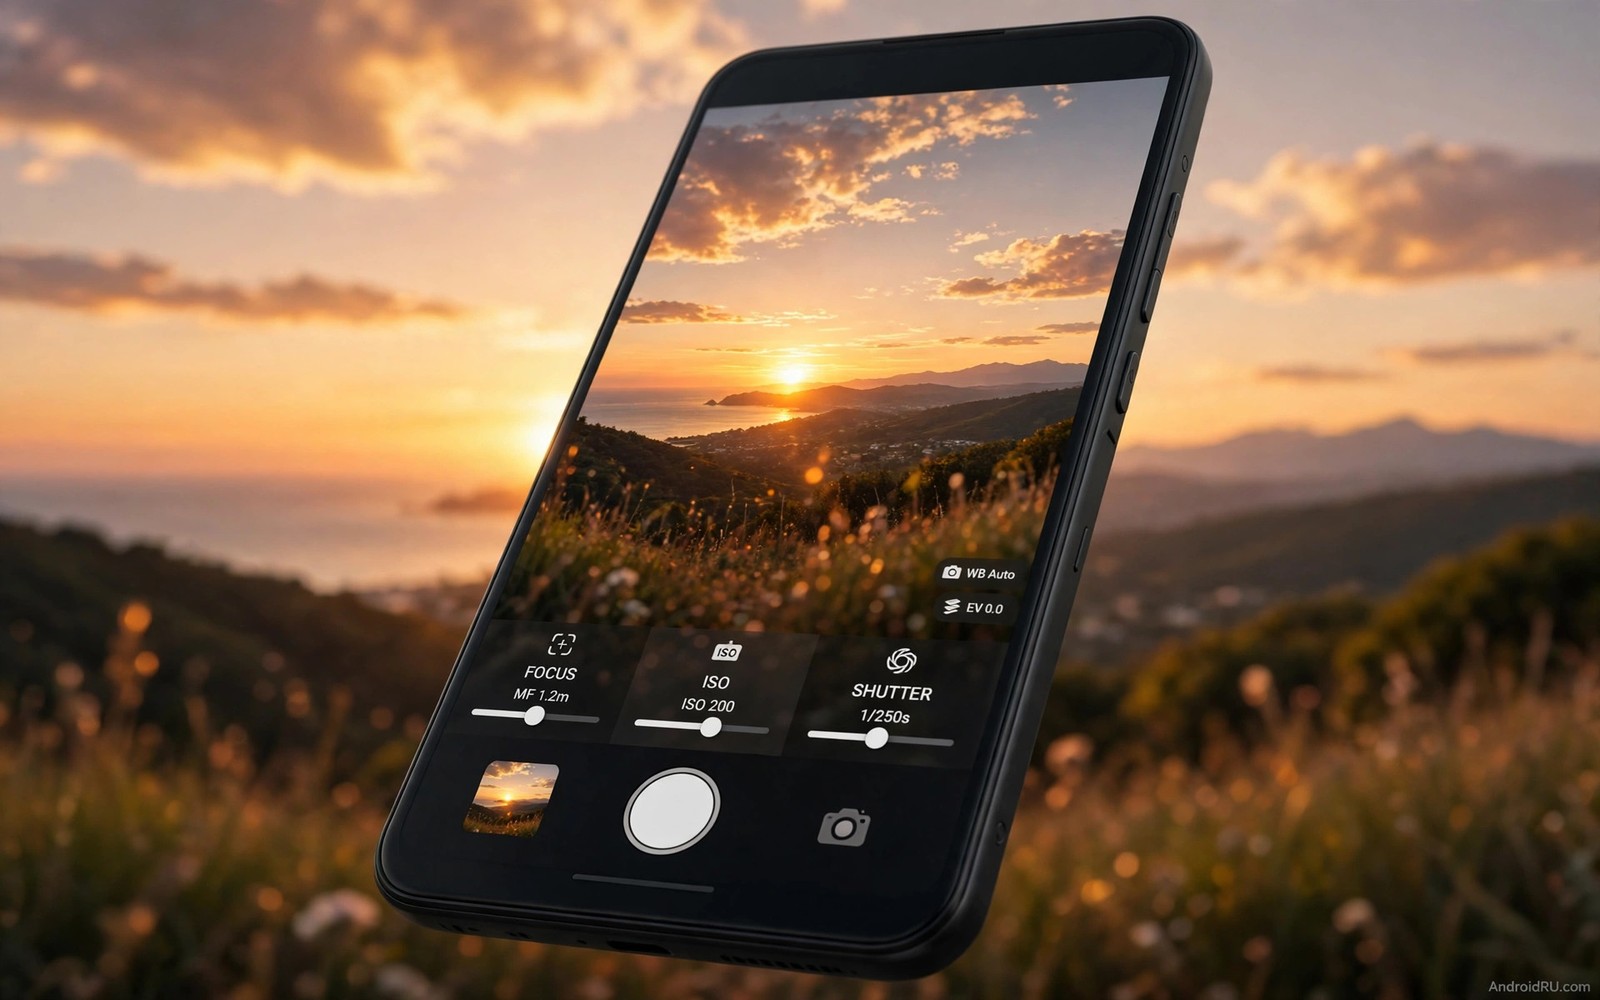
Your phone takes a nice photo in daylight. It struggles at sunset. The stock camera chooses a fast shutter and a high ISO. The result is noisy and flat. A manual camera app hands you the controls. You choose the shutter speed. You choose the ISO. You choose the focus point. The photo finally matches what your eyes saw.
Manual control is not about complexity for its own sake. It is about intent. A slow shutter blurs moving water into silk. A fast shutter freezes a child mid-jump. A low ISO keeps a night scene clean. A locked focus keeps a portrait sharp when the subject moves slightly. Automatic mode guesses your intent. Manual mode lets you state it.
Many stock cameras hide these controls or limit them. A free manual app unlocks them on many phones. The app talks to the camera system through a standard interface. Support varies by phone model. Some phones allow full manual control. Some allow only ISO and focus. This guide shows how to check your phone and use what it offers.
Start with one scene you know well. A garden at dusk is a good test. A street at night is another. Shoot the same scene in auto mode first. Then shoot it in manual mode with the steps below. Compare the two on a large screen. The difference will teach you faster than any tutorial video.
Checking what your phone supports
Open the manual app and look for ISO control. If ISO is adjustable then your phone supports basic manual control. Look for shutter speed next. A range from very fast to several seconds shows strong support. Look for manual focus with a slider. A focus slider with peaking highlights shows the sharpest area clearly. Peaking turns in-focus edges bright. It makes manual focus far easier.
Check white balance control as well. White balance sets how warm or cool a scene looks. Auto white balance often turns a sunset orange into a dull grey. A manual setting for daylight or shade or tungsten preserves the mood. Shoot the same sunset with two white balance settings. The difference will surprise you. Mood is often a white balance choice.
Check RAW capture last. RAW saves sensor data without heavy processing. A RAW file gives more room to fix exposure later. It also takes more storage. A JPEG looks good at once but forgives less. Shoot RAW plus JPEG when the app offers both. You get a quick shareable file and a flexible edit file.
Some phones limit manual control on the front camera. Some limit it on the ultrawide lens. Test each lens you use. A lens that supports manual focus may still lack long exposure. Note the limits in a small note. A note prevents frustration when you switch lenses in the field. Readers who film as well as shoot should also see apps every mobile videographer needs installed because photo and video tools share many controls.
ISO shutter and aperture in plain language
ISO controls sensor sensitivity. Low ISO gives a clean image in bright light. High ISO lets you shoot in the dark. High ISO also adds noise. Noise looks like grain across the image. Keep ISO as low as the scene allows. Raise it only when the shutter would otherwise blur the shot.
Shutter speed controls motion. A fast shutter like one five hundredth of a second freezes action. A slow shutter like one second blurs motion. A slow shutter needs a steady hand or a tripod. A phone resting on a wall can work for a one second shot. A handheld two second shot will blur everything. Know your hand limit and stay inside it.
Phones have a fixed aperture in most cases. You cannot open or close the lens like a large camera. The app may simulate aperture with portrait mode. Portrait mode blurs the background with software. It works well for people. It struggles with hair and glasses. Use it for simple portraits. Avoid it for complex edges.
Exposure compensation ties the three ideas together. It brightens or darkens the whole image. A snowy scene needs positive compensation. A dark stage needs negative compensation. Automatic exposure often gets both wrong. A manual nudge of one step fixes most scenes. Learn this one control first if manual mode feels overwhelming.
Practical recipes for common scenes
For a sunset portrait set ISO to the lowest value. Set white balance to daylight. Tap focus on the face. Lower exposure by one step to keep sky colour. The face may look dark in preview. A small fill light or a reflector can help. The sky colour matters more than a perfectly bright face in a sunset shot.
For a night street scene use a tripod or a wall. Set ISO low and shutter to one second. Set focus manually to a distant sign. Set a two second timer to avoid shake from tapping. Review the shot and raise ISO only if the image is too dark. A clean dark image beats a bright noisy one. Noise is hard to remove later.
For a moving child set shutter fast and ISO automatic within a limit. Set focus to continuous tracking if the app offers it. Burst mode helps for unpredictable motion. Pick the sharpest frame later. A burst of twenty frames may yield two great shots. That ratio is normal and not a failure.
For a product photo use daylight near a window. Set white balance to daylight. Set ISO low. Tap focus on the product edge. Keep the background simple. A white sheet works well. Manual control shines here because the light stays constant. One good setup can shoot a whole catalogue.
A learning routine that builds skill fast
Shoot one manual photo every day for two weeks. Change only one setting each day. One day change only ISO. The next day change only shutter speed. The next day change only white balance. Single variable practice teaches cause and effect clearly. Changing everything at once teaches nothing.
Review photos on a large screen each evening. Zoom to full size and check sharpness. Note the settings for your favourite shot. Note the settings for your worst shot. A short note per day builds intuition faster than reading. After two weeks you will set exposure by feel in many scenes.
adb shell dumpsys media.camera | grep -i raw
exiftool -ISO -ShutterSpeed -FocalLength photo.jpg
ls -lh /sdcard/DCIM/Camera/ | tail -5
The snippet above is an original example written for this guide. It shows how an advanced user can check camera capability and photo settings from a computer. It is not a required step for normal shooting.
Edit RAW files with a simple editor first. Adjust exposure and white balance only. Avoid heavy filters in the first month. Clean edits teach you what the camera captured. Heavy filters hide mistakes instead of fixing them. A clean edit also ages better than a trendy filter.
Editing manual photos on the phone
A manual photo often needs a small edit after capture. Start with exposure and white balance. A RAW file allows large corrections without damage. A JPEG allows smaller corrections. Move sliders in small steps. A large jump looks unnatural fast. Compare the edited version with the original often. Fresh eyes catch overediting better than tired eyes.
Crop for composition after exposure is fixed. A crop removes distracting edges. It also strengthens the main subject. Keep the horizon level in landscape shots. A tilted horizon distracts even when colours are perfect. Straighten before you share. A straight image looks professional at once.
Export in two sizes when sharing matters. Export a full size copy for printing and archiving. Export a smaller copy for social sharing. A smaller copy uploads faster and uses less data. Keep the full size original safe. A social copy compressed once cannot regain detail later. Two exports cover both needs cleanly.
Practice manual focus on a still subject before moving subjects. A flower or a book on a table makes a perfect first target. Turn the focus slider slowly and watch peaking highlights appear. Stop when the subject edge glows most strongly. Take the shot and zoom in to confirm sharpness. Repeat with a slightly nearer target and a slightly farther target. A still subject teaches the slider feel without time pressure. Moving subjects become far easier once the slider feel is familiar to your fingers.
Common mistakes
The first mistake is raising ISO too fast. Beginners raise ISO at the first sign of darkness. A slower shutter or a steadier support often solves the problem better. Raise ISO last and not first. Your night photos will stay cleaner.
The second mistake is trusting the small phone screen. A photo can look sharp on a small screen and blurry on a large one. Zoom to full size before you leave a location. A reshoot on the spot beats regret at home. The location may be far away by then.
The third mistake is shooting only in RAW and never sharing. RAW files need editing before they look their best. Shoot RAW plus JPEG when possible. Share the JPEG at once. Edit the RAW later for your best work. Both files have a job.
The fourth mistake is ignoring focus. A perfect exposure cannot save a missed focus. Check focus on the subject eye in portraits. Check focus on the main subject in every shot. Manual focus peaking helps a lot. Use it whenever the light allows.
FAQ
Do I need a new phone for manual controls?
Usually not. Most phones from recent years support at least ISO and focus control. Install a manual app and check the controls it shows. A phone that shows only a few controls still benefits. A new phone helps only when your current phone blocks the controls you need.
Is RAW worth the extra storage?
Yes for photos you plan to edit seriously. RAW gives more room to fix exposure and colour. It is overkill for quick social snaps. Shoot RAW plus JPEG for important scenes. Shoot JPEG only for casual shots. That balance keeps storage sane.
Why do my manual photos look worse at first?
Manual control adds decisions. Early photos will include mistakes. That is normal learning. Auto mode hides mistakes by choosing safe settings. Manual mode reveals them so you can learn. After two weeks of practice most people beat auto mode in tricky light.
Conclusion
Manual camera controls turn a phone from a guesser into a tool. ISO and shutter and focus and white balance each serve a clear purpose. Single variable practice builds skill fast. RAW capture adds editing room for important shots. The best manual app is the one that shows your phone real controls without clutter.
Your concrete next step is to shoot the same dusk scene in auto mode and in manual mode tonight. Set ISO low and shutter slow and focus manually for the manual shot. Compare both on a large screen. If the manual shot keeps more sky colour then keep practising daily. Readers who want a full creative toolkit should also explore the free app that does everything a photo editor does and system monitor apps that check hardware health because shooting and editing belong together.

