

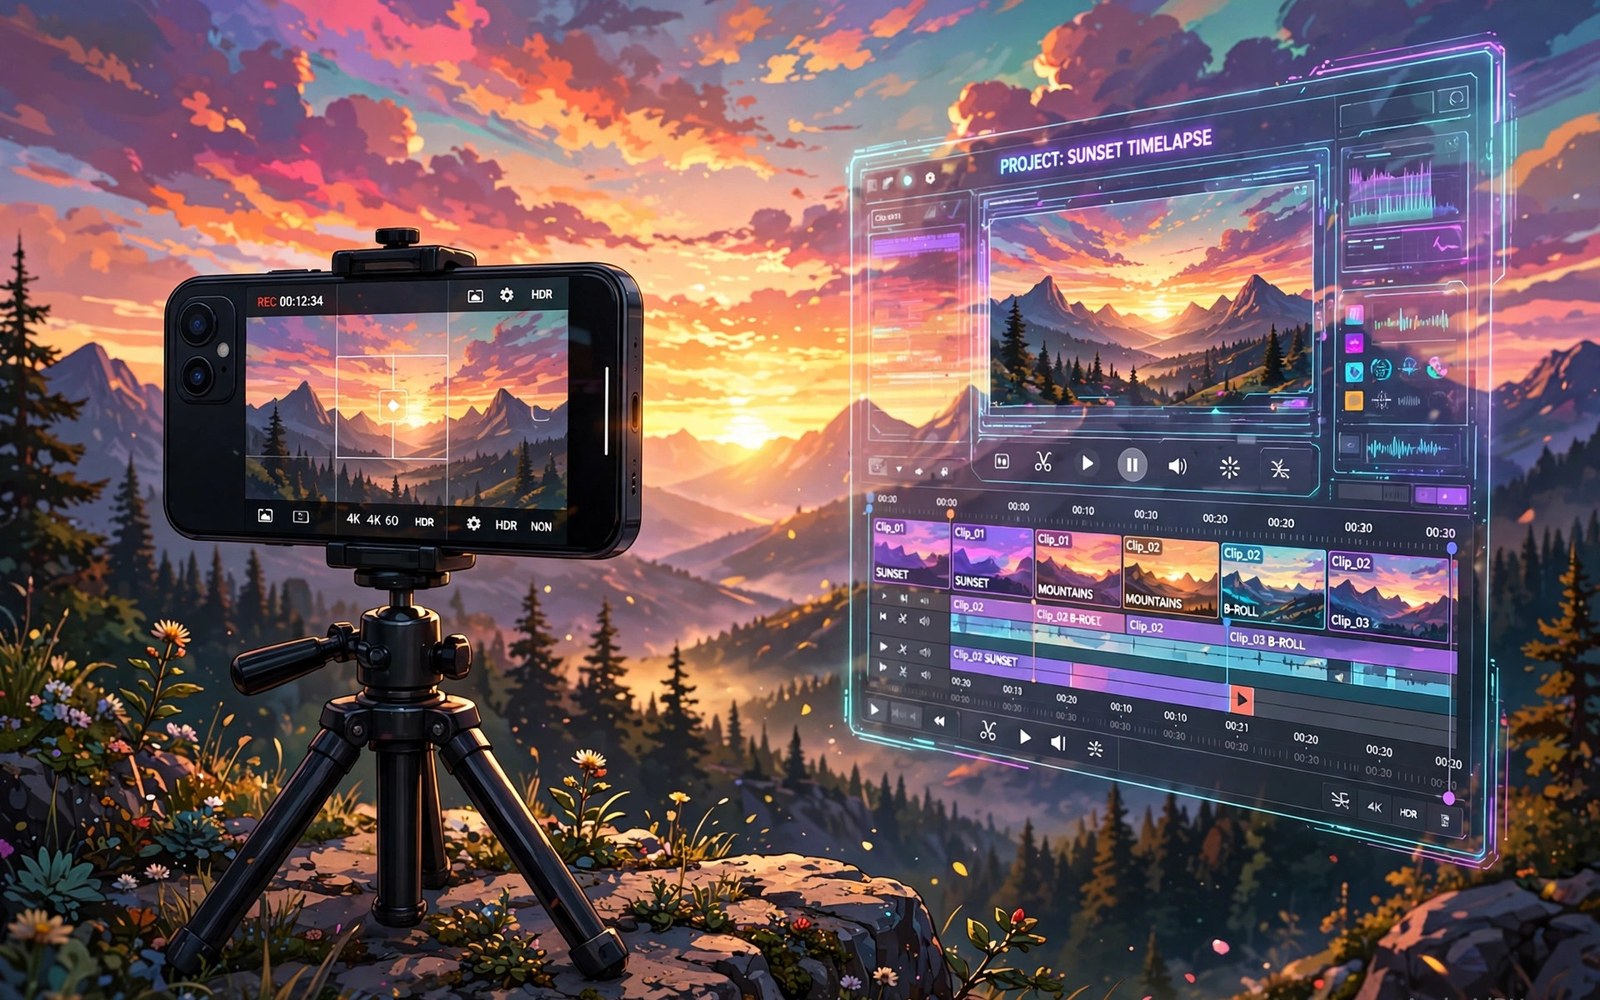
A modern phone shoots video that once needed a camera bag full of gear. The sensor is only half the story. The apps you install decide whether your footage looks flat or polished and whether your edit takes an hour or a weekend. Seven well chosen apps cover the whole journey from first shot to final publish.
Mobile videographers fail most often not from bad cameras but from messy workflows. Footage scatters across gallery folders and audio drifts out of sync and colour looks different on every screen. A tight app kit fixes each leak in turn. Each app in this guide earns its place by solving one clear stage of the work.
This guide walks through all seven roles with practical setup tips. You will learn what to set before you press record and what to check before you export. You will also learn how the apps fit together so a clip moves smoothly from shooting to editing to publishing. The kit stays small on purpose because a kit you actually use beats a folder of apps you forget.
Start with a camera app that gives you control
Your stock camera app is fine for quick clips but it hides the controls that matter. A manual camera app lets you lock exposure and white balance and focus before you record. Locked settings stop the brightness from pulsing when a bright window enters the frame. That stability alone makes footage look professional.
Set resolution and frame rate to match your project before you shoot. A talking head video for social platforms works well at 1080p and thirty frames per second. A travel film with slow motion moments benefits from sixty frames per second. Shooting everything at maximum quality wastes storage and slows editing without improving the final result.
Learn the focus peaking and histogram tools if your camera app offers them. Focus peaking outlines sharp edges in colour so you can see focus at a glance. A histogram shows whether highlights are clipping before you lose detail forever. These two tools take ten minutes to learn and they prevent the most common shooting mistakes.
Audio deserves attention at the shooting stage too. Your phone microphone picks up wind and room echo fast. A simple lavalier microphone or a small shotgun microphone transforms voice clarity for little money. Plug it in and test a thirty second clip before a real shoot. Bad audio ruins good video faster than any visual flaw.
Edit on the phone without losing quality
A mobile editor should cut and trim and add text and music without forcing a watermark. Check the export options before you commit to an editor. A good editor exports at your project resolution with a sensible bitrate. A poor editor shrinks your footage or stamps its logo on your work unless you pay.
Build your edit in passes instead of perfecting each clip as you go. First pass arranges the story order and cuts dead air. Second pass adds b-roll over weak moments and tightens pauses. Third pass adds titles and music and colour. Passes keep you moving and stop you from polishing a clip that the story later cuts.
Keep your timeline organised with short clip names and a simple folder habit. Name clips by scene and take number right after shooting. A timeline full of clips named VID_0042 slows every decision. Ten seconds of naming at shoot time saves ten minutes of hunting at edit time.
Export a test clip early and watch it on the screen where your audience will watch it. A video that looks rich on your phone may look washed out on a laptop. Early testing catches colour and audio problems while fixes are still cheap. Never wait until the final export to discover a problem.
Fix audio colour and graphics with specialist apps
Audio cleanup apps remove hiss and wind noise from voice recordings. Record a few seconds of room tone before each interview so the cleanup tool knows what noise to remove. That short silence sample makes the difference between clean voice and robotic voice. Treat room tone as part of every shoot checklist.
Colour grading apps let you match clips shot in different light. Start with white balance correction before you add any creative look. A clip that is too warm or too cool will fight every filter you apply. Correct first and then apply a gentle look that suits the mood. Restraint reads as professional while heavy filters read as amateur.
Graphics and title apps create clean lower thirds and end screens. Keep text large and short because small text vanishes on a phone screen. Use one font family across a project for a consistent identity. A title that stays readable at arm’s length will also read well when shared in a feed.
Thumbnail and cover apps matter because the cover decides whether anyone presses play. Pick a sharp frame with a clear face or a clear subject. Add at most five words in bold text. Test the thumbnail at small size before you publish. If it fails small then it fails in the feed.
Organise storage and publish with confidence
Storage is the silent killer of mobile video projects. A ten minute 4K clip can exceed several gigabytes. Back up footage to cloud storage or to a portable drive at the end of each shoot day. A phone lost with unbacked footage is a project lost. Make backup a habit that needs no decision.
Use a file manager that shows folder sizes and lets you move batches fast. Sort footage into folders by date and project name. Delete failed takes on the same day while you still remember which ones failed. A tidy library makes the next edit start in minutes instead of hours.
Compression apps help when a platform limits file size. Compress a copy for upload and keep the master file untouched. A compressed copy that looks fine on a phone screen may still show artifacts on a large screen. Keep the master so you can re-export later for a better platform or a bigger screen.
Publishing apps with scheduling save you from last minute rushes. Upload during strong Wi-Fi and schedule the post for your audience peak time. Check captions and tags on a second screen before you confirm. A calm publish beats a rushed publish with a typo in the first line.
Your phone toolkit grows stronger when each app earns its place. The same discipline applies to other daily tools such as clipboard managers that keep copied text forever for saving links and notes during research. A small trusted kit beats a crowded home screen in every creative field.
ffmpeg -i input.mp4 -vf "scale=1920:1080" -c:v libx264 -crf 20 -c:a aac -b:a 160k output.mp4The code block above is an original example written for this article. It shows a command that scales a clip to 1080p and encodes it with sensible quality settings for sharing. You can adjust the quality value lower for smaller files or higher for archival copies. It is a learning aid for creators who want to understand what happens behind an export button.
Practice shoots build skill faster than any new app purchase. Film a sixty second scene in your kitchen with locked exposure and clean audio. Edit it the same evening and watch it on a second screen. Note one flaw and fix that flaw in the next practice shoot. A weekly practice loop like this improves footage more than a year of casual shooting.
Collaboration gets easier when your kit stays standard. A partner can open your project files when folders and naming follow one pattern. Share a simple shot list before a joint shoot so both phones capture matching footage. Consistent settings across both phones make the edit blend seamlessly. A small kit shared well beats a large kit used alone.
Lighting gear matters as much as apps for a videographer on a budget. A small portable light transforms indoor footage more than any filter. Place it to the side of your face rather than straight ahead for natural depth. Test the light with a thirty second clip before a real shoot. Good light plus locked exposure produces footage that edits itself.
Common mistakes
The first mistake is shooting everything vertically and horizontally without a plan. Match orientation to the platform where the video will live. A vertical video on a wide screen wastes most of the frame. Decide orientation before you press record.
The second mistake is ignoring audio until the edit. A noisy interview cannot be fixed fully in post no matter how good the tool is. Test your microphone before the real take. Clean audio at capture saves hours of rescue work later.
The third mistake is overusing transitions and filters. A hard cut suits most stories better than a spinning wipe. Use one transition style across a project and let the story carry the energy. Effects should serve the footage and not distract from it.
The fourth mistake is publishing without watching the export on another device. Colour and loudness shift between screens. A quick check on a second phone or a laptop catches problems while you can still fix them. Never publish blind.
Frequently asked questions
Can a phone really replace a camera for video work?
A phone replaces a camera for many social and documentary projects today. It struggles in low light and with long zoom compared with a dedicated camera. For most online video the phone sensor and stabilisation are more than enough. Good light and clean audio matter more than the camera brand.
How much storage do I need for mobile video?
Keep at least twenty gigabytes free before a serious shoot day. A single hour of high quality footage can fill that space fast. Back up daily and delete failed takes promptly. A portable drive or a cloud plan removes the constant storage anxiety.
Should I edit on my phone or on a computer?
Phone editing wins for speed and for short social videos. Computer editing wins for long projects with many tracks and heavy effects. Many creators shoot on the phone and rough cut on the phone and finish complex projects on a computer. Use each device for what it does best.
Conclusion
Seven apps cover shooting and editing and audio and colour and graphics and storage and publishing. The kit works because each app owns one stage and hands the clip cleanly to the next. Keep the kit small and learn each tool deeply instead of collecting apps you never open. Your videos will look steadier and sound cleaner and publish faster.
Your concrete next step is to install a manual camera app today and shoot a one minute test with locked exposure and a plugged in microphone. Edit that test in your chosen editor and export it at 1080p. If the result looks and sounds better than your last video then the kit is working. Keep building from there with companions like the secret app that downloads any online video in 1-click for saving reference clips and the app that boosts Wi-Fi connection signals by 30 percent for smoother uploads at home.

