

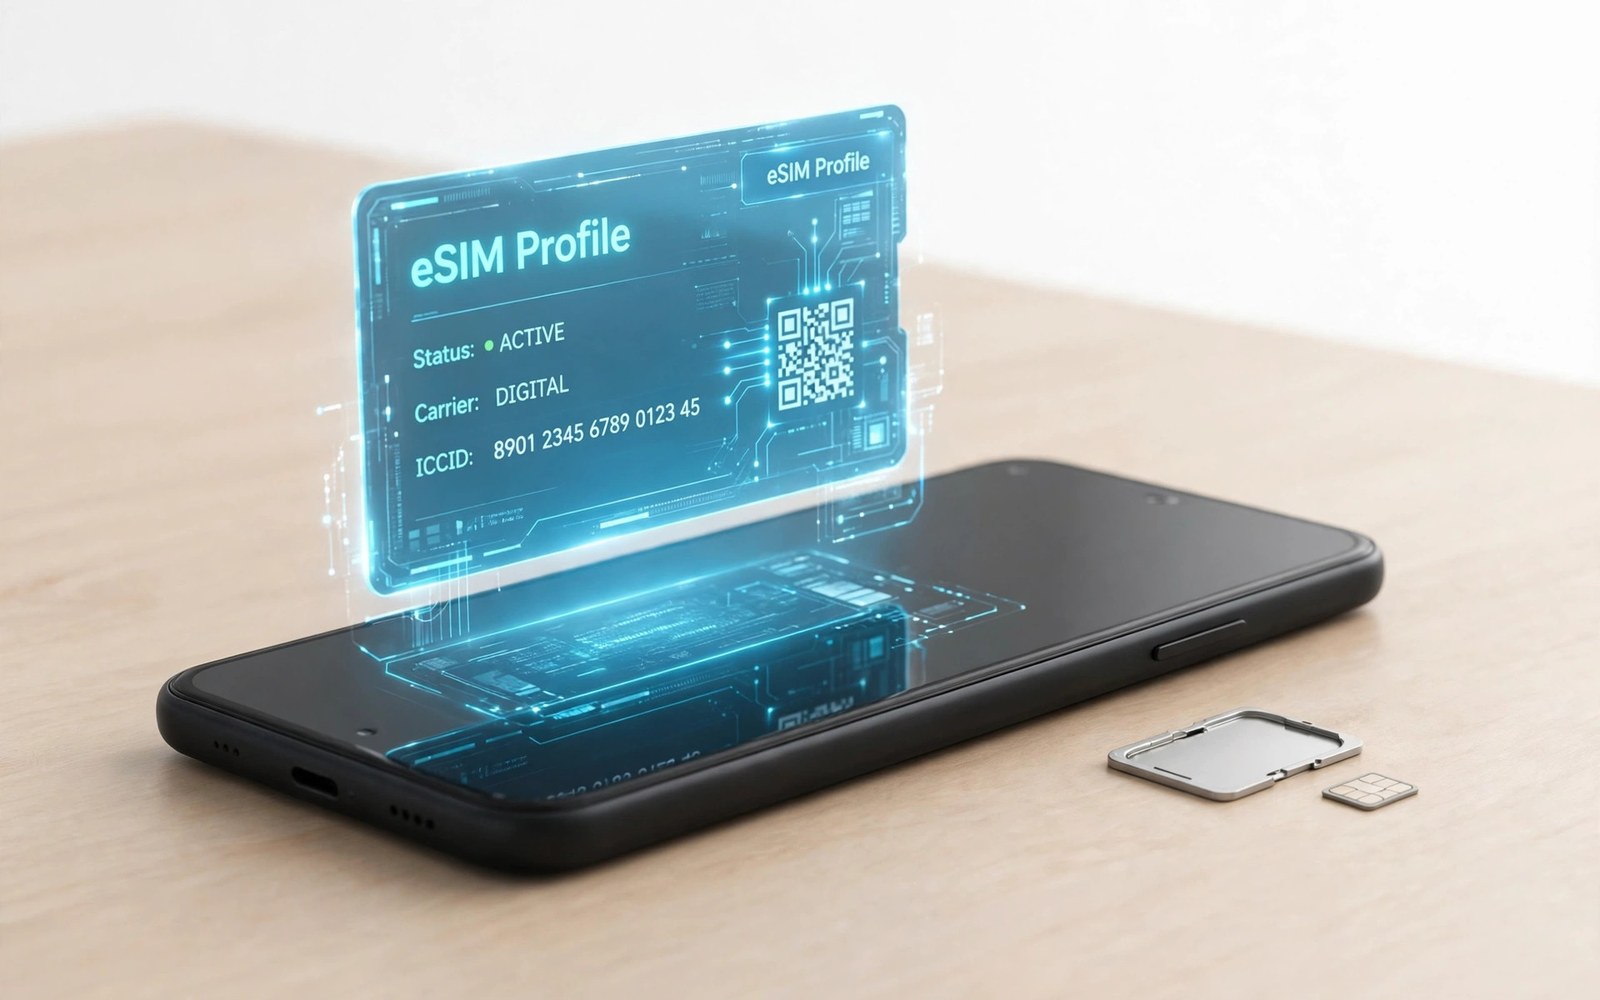
Switching from a plastic SIM to an eSIM feels strange at first. The card you can hold disappears into software. Yet the change brings real convenience for most Android users. You can add a plan by scanning a code. You can store several profiles on one phone. You can switch lines without touching a SIM tray. This article explains both options in plain terms. It also walks through a safe transfer step by step.
You do not need deep technical skill to make the switch. You need a supported phone and a carrier that offers eSIM. You also need a stable Wi-Fi connection during setup. Most transfers finish in under ten minutes. Problems are rare when you prepare well. The sections below cover benefits and limits of each option. They also cover fixes for the most common failures.
How eSIM Technology Works on Android
An eSIM is a small chip that lives inside your phone. It stores your carrier profile in digital form. You do not need to insert a plastic card to get service. Your carrier sends the profile as a QR code or an activation link. Your phone downloads the profile and connects to the network. This process takes only a few minutes in most cases. It also lets you store more than one profile on a single device. You can switch between profiles from the settings menu. That flexibility is the main reason many travelers now prefer eSIM service.
Android supports eSIM on a growing range of phones. Support depends on the model and the region where it was sold. Some phones support one eSIM plus one physical SIM at the same time. Others support two eSIM profiles with only one active for calls. You should check the specs of your exact model before you buy a plan. Carrier support also matters because not every carrier offers eSIM activation. Most large carriers now support it for postpaid and prepaid plans. Smaller carriers are adding support each year as demand grows. The trend is clear even if adoption is not yet universal.
Physical SIM Cards Still Have Real Strengths
A physical SIM card is simple and familiar. You can move it from one phone to another in seconds. You do not need an internet connection to complete the move. You do not need a QR code or carrier approval in most cases. This simplicity helps when your phone battery dies or your screen breaks. You can place the card in a spare phone and keep working. Physical SIM cards also work in almost every phone on the market. That universal support is hard to beat for basic reliability.
Physical cards have clear downsides too. The card tray takes space inside the phone body. The card itself can wear out or suffer damage from handling. A lost card means a trip to a store or a wait for delivery. Travelers must also carry several cards for several countries. Each swap adds a small risk of losing a tiny card. eSIM removes that physical handling entirely. Yet many users still keep one physical SIM as a backup line. That hybrid setup gives them the best of both worlds.
Transfer Steps for a New Android Phone
Start the transfer on your old phone first. Open the SIM settings and look for the transfer or conversion option. Some carriers let you move the profile directly between phones. Others ask you to delete the old profile and scan a fresh QR code. Keep your old phone charged and connected to Wi-Fi during the move. A weak connection can interrupt the download and force a restart. Do not delete the old profile until the new phone shows signal. That single habit prevents most failed transfers.
On the new phone open Settings and then Network and internet. Tap SIMs and choose the option to add an eSIM. Scan the QR code shown by your carrier app or email. Wait for the download to finish before you test calls or data. Restart the phone if the signal does not appear within a few minutes. If your phone still shows no service then contact your carrier support team. They can reissue the profile or reset it from their side. If your phone is still tied to one network then unlocking a carrier-locked phone may be needed before the transfer can succeed.
Common Transfer Problems and Fixes
The most common problem is a QR code that has already been used. Most carrier QR codes work only once for security reasons. A second scan will fail even if the first attempt was interrupted. Ask your carrier for a fresh code in that case. Another common problem is a phone that lacks eSIM support in your region. A model sold in one market may differ from the same name sold elsewhere. Check the exact model number against your carrier support page. Do not assume that every phone with the same brand name supports eSIM.
Activation can also fail when the phone software is out of date. Install pending system updates before you start the transfer. Updates often fix modem and carrier profile bugs. A weak Wi-Fi signal can also corrupt the profile download. Move closer to your router or switch to a stable network. If the profile downloads but data does not work then check your APN settings. A wrong APN blocks data even when calls work fine. Reset network settings only as a last step because it erases saved Wi-Fi passwords too.
Security and Travel Advantages
eSIM profiles are harder to steal than a plastic card. A thief cannot remove the profile by opening the SIM tray. Remote deactivation through your carrier account adds another layer of control. You can also lock the eSIM profile behind your phone lock screen. These features do not make a phone theft-proof. They do slow down misuse and give you time to report the loss. Pair the eSIM with a strong lock screen and a remote wipe option. That combination protects both your number and your personal data.
Travelers gain the most from eSIM flexibility. You can buy a local data plan before you board your flight. You can land with data ready and avoid airport SIM queues. Your home number can stay active for calls and messages. You can switch between the travel profile and the home profile in settings. This setup also helps people who manage managing two lines on one phone for work and personal use. It removes the need to carry a second handset abroad. Just confirm roaming charges before you rely on your home plan overseas.
Keeping Your Old Number During the Move
Most users want to keep their number when they change SIM types. Number porting moves your number between carriers or profiles. eSIM transfer within the same carrier is simpler than porting. The carrier moves the profile while the number stays put. Porting to a new carrier needs an account number and a transfer PIN. Get those details from your current carrier before you start. A wrong PIN delays the move by days in some cases. Keep the old line active until the port completes fully.
Never cancel the old line before the new profile works. Cancellation can release your number back into the pool. Recovery after release is hard and sometimes impossible. Test incoming calls on the new phone before you cancel anything. Ask a friend to call you and confirm the caller ID matches. Check text message delivery too because SMS routing can lag behind calls. If texts fail after a day then contact your new carrier. They can refresh the routing for your number from their side.
eSIM and Dual SIM Combinations
Many Android phones pair one eSIM with one physical SIM. That pairing gives you two lines without two trays. You can keep a home number on the physical card. You can add a travel data plan as an eSIM profile. Switching between them takes only a few taps. This setup suits frequent travelers very well. It also suits workers with a second business line. You avoid carrying a second phone all day.
Check how many profiles your phone can store at once. Some phones store five or more profiles with one active. Others store fewer and need old profiles deleted first. Deleting a profile is safe once the plan has ended. Never delete an active profile before its replacement works. Keep a note of which profile serves which purpose. Clear labels prevent confusion when you switch lines fast.
What to Do When Activation Fails Abroad
Activation failure abroad feels stressful but it is usually fixable. Connect to hotel or airport Wi-Fi first. A stable connection is required for profile downloads. Open your carrier app and request a fresh activation code. Many carriers reissue codes through chat support. Keep your account login details ready for verification. Support may ask for your IMEI and account PIN. Have both written down before you travel.
If the carrier app fails then try the manual entry option. Carriers provide server addresses for manual setup. Enter those details exactly as shown on the support page. One wrong character blocks the whole profile. Restart the phone after manual entry completes. Test data with a simple web search before you leave Wi-Fi range. If data works then your trip can continue as planned. If it fails then use Wi-Fi calling until support replies.
The Future of SIM Technology
Phone makers are slowly moving toward eSIM only designs. Removing the tray frees space for larger batteries. It also removes a point where water can enter the phone. Tablets and watches already use eSIM widely. Cars and wearables are following the same path. Physical SIM cards will remain for years in many markets. The shift will be gradual rather than sudden. Users in regions with weak eSIM support still need plastic cards.
Regulators in some countries now require eSIM support from carriers. That pressure speeds up adoption each year. Expect easier transfers between phones in future Android versions. Carrier apps may offer one tap moves without QR codes. Until then the manual steps in this article remain essential. Learn them once and every future transfer gets easier. The skill pays off each time you upgrade your phone.
Quick Checklist Before You Switch
- Confirm that your exact phone model supports eSIM in your region.
- Back up your contacts and messages before you change any SIM profile.
- Keep Wi-Fi on and your battery above half during the transfer.
- Do not delete the old profile until the new phone shows signal.
- Save the carrier QR code or activation link in a safe place.
- Test a call and a data session right after activation completes.
Settings > Network & internet > SIMs > Add eSIM
Scan the QR code from your carrier
Wait for the profile download to finish
Test calls and mobile data before you travel
Keep the old SIM active until the new profile works
The steps above reflect standard Android settings and common carrier practice. They describe general behavior for supported models rather than one provider rule. Carrier menus may use slightly different labels on some phones.
Making the Right Choice for Your Next Phone
Choose eSIM if you travel often or you switch plans each year. The digital profile saves time and removes the need for spare cards. Choose a physical SIM if you swap phones often or you use older devices. The card moves in seconds and works almost everywhere. Many users pick a phone that supports both options at once. That choice keeps every future option open without a compromise today. Budget also matters here and budget carrier plans can pair well with either SIM type.
Whichever option you pick you should test it before a big trip. Activate the profile at home where help is easy to reach. Confirm that calls and data work on the new setup. Save your carrier support number in a second place. A short test now prevents a stressful fix abroad later. eSIM and physical SIM both serve real needs today. The best choice is the one that fits your travel habits and your phone.

