

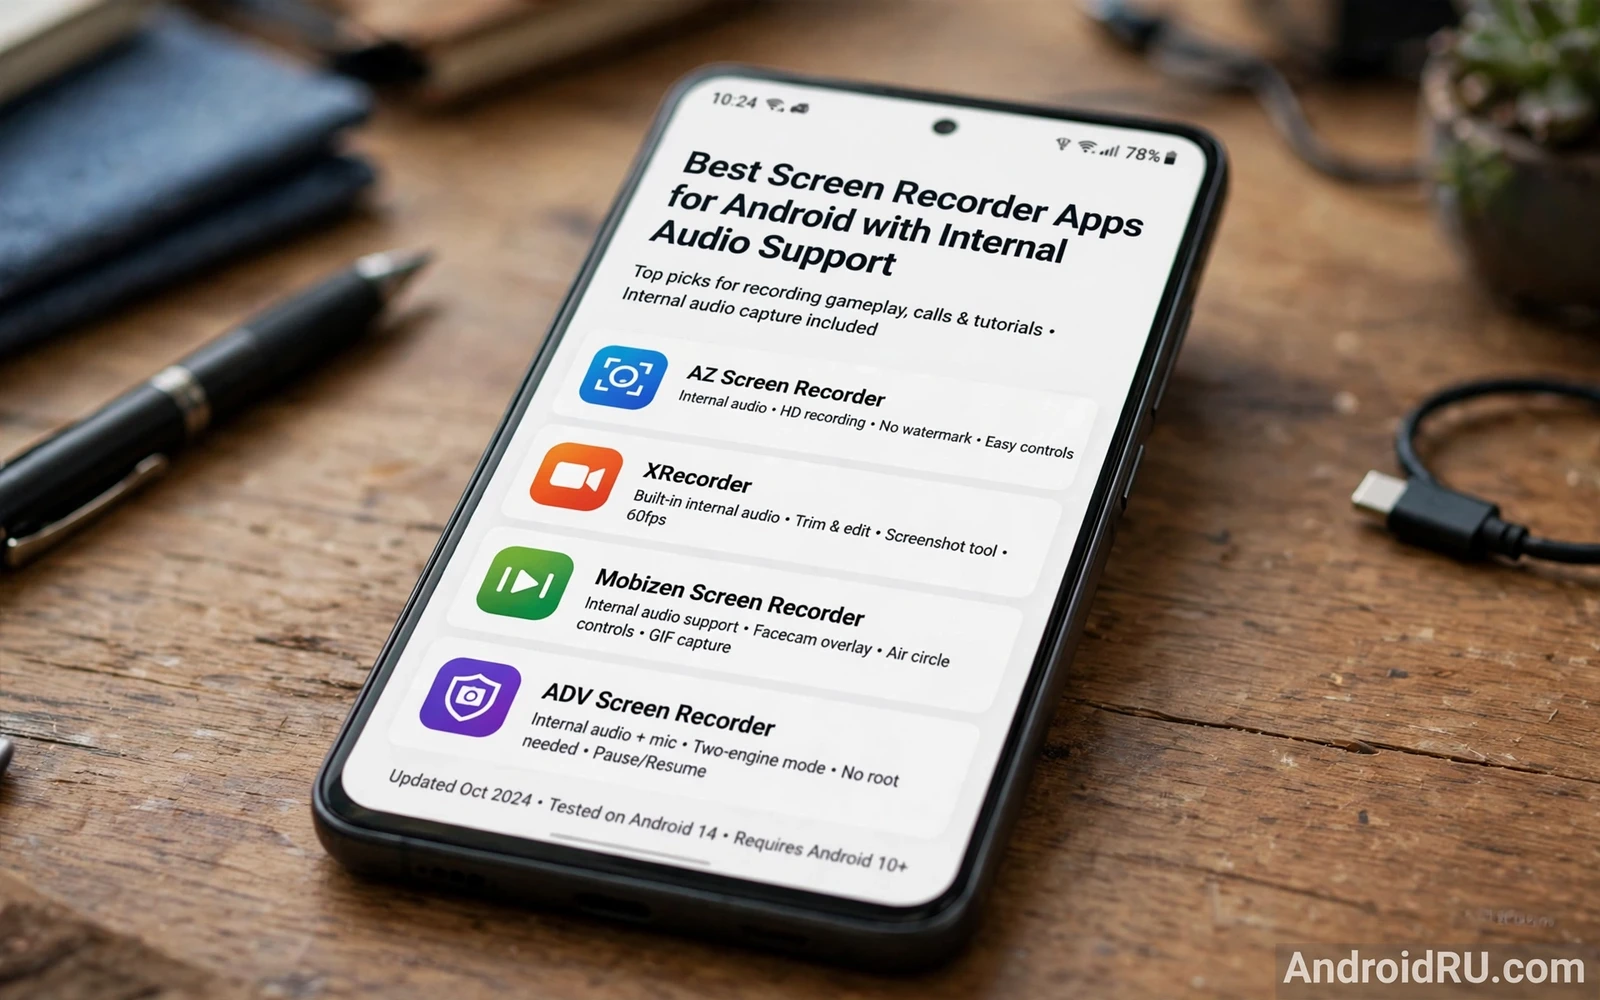
A screen recorder turns your phone into a teaching tool. It captures a tutorial. It captures gameplay. It captures a bug that only appears for a second. Internal audio support makes the capture complete. Game music and app sound and narration stay in sync with the picture. Without internal audio the video can feel silent and confusing.
Internal audio means sound from inside the phone rather than sound from the microphone. The recorder takes audio from the app that is playing. It avoids room noise. It avoids echo. It avoids the hollow sound of a speaker recorded through a mic. That clean path matters for tutorials and for game clips. It also matters for music demos where tone must stay true.
Not every phone handles internal audio the same way. System rules and app rules can limit capture. Some apps block internal audio for protected content. Some phones need a specific setting before capture works. Test internal audio with a short clip before you record a long session. A short test saves a long recording with no sound.
What To Check Before You Record
Resolution and frame rate shape the look of the video. A higher resolution shows small text clearly. A higher frame rate shows motion smoothly. Both choices raise file size. Both choices raise battery use. Pick a balance that fits your goal. Tutorials need clear text more than fast motion. Game clips need smooth motion more than tiny text.
Bitrate controls detail in busy scenes. A low bitrate can blur fast movement. A high bitrate keeps edges sharp. A high bitrate also fills storage fast. Test a busy scene at your chosen settings. Watch the result on a larger screen. If text stays readable then your settings work. If motion turns blocky then raise the bitrate or lower the resolution.
Audio source choice is the most important setting. Look for an option that names internal audio or system audio. Look for a mix option that adds microphone voice over internal sound. Use internal audio alone for game clips. Use a mix when you narrate a tutorial live. Test the mix level so your voice does not drown out the app sound.
Storage location matters for long recordings. Internal storage fills fast during video capture. A recorder that lets you choose a folder helps you stay organized. Clear old clips before a long session. Keep free space well above the size of your planned clip. A recording that stops early because storage ran out is hard to redo.
Recording Tutorials That People Can Follow
Good tutorials start with a plan. List the steps before you press record. Open the apps that you need. Close notifications that could interrupt the flow. Turn on Do Not Disturb for the session. A calm screen helps viewers follow each tap. A busy screen with popups breaks focus fast.
Show touches on screen when the recorder offers that option. A visible touch dot tells viewers where you tapped. It helps for small buttons. It helps for gestures. It helps for drag actions. Turn the touch indicator off for final clips that need a clean look. Turn it on for teaching clips where every tap matters.
Speak slowly when you narrate. Pause between steps. Let the screen catch up with your words. Short sentences help viewers follow along. Long rushed narration forces viewers to rewind. A steady pace feels professional even on a simple phone recording.
After recording you may want to trim the start and the end. A short trim removes setup fumbles. A short trim removes the moment when you stop the recorder. Many recorders include a simple trim tool. For deeper edits you can move to a dedicated editor. Editors that handle mobile clips well are covered in guides about free video editors for Android without watermarks where trimming and captions and exports get a fuller treatment.
Recording Games And Live Moments
Game recording needs a different setup. Close background apps before you play. Lower in game effects if the phone heats up. Keep the recorder overlay small so it does not block controls. Test a short match before a long session. Heat and frame drops show up fast in a test clip.
Internal audio shines in game clips because music and effects stay crisp. A microphone alone would pick up fan noise and room echo. Internal capture keeps the game world intact. If you add live commentary then test the balance in a short clip. Your voice should sit above the game sound without hiding it.
Live moments need quick access. A floating button or a quick tile can start recording in seconds. Practice starting and stopping without looking. A slow start can miss the moment that you wanted. A clean stop keeps the clip short and easy to share.
Some creators automate the start of a recording as part of a routine. A routine can open a game and set brightness and start capture in one flow. That kind of setup belongs to the wider world of phone automation. Readers who like that approach can explore automation apps for Android as Tasker alternatives and decide whether a routine fits their recording habit.
Privacy And Permission Care
Screen recording captures everything on display. It can capture messages and passwords and private photos if they appear. Check the screen before you record. Hide sensitive widgets. Sign out of private chats during a demo. Review the clip before you share it. A quick review catches a notification that slipped through.
Permissions deserve a careful look. A recorder needs screen capture permission. It may need microphone permission for narration. It may need storage permission for saving clips. Grant only the permissions that match your use. Remove a recorder that asks for unrelated access. A trustworthy recorder explains each permission in plain words.
Sharing needs the same care. A clip can reveal account names and contacts and locations. Blur sensitive parts before upload when needed. Keep original clips in a private folder. Share only the trimmed version. That habit protects you and the people who appear in your clips.
Fixing Common Recording Problems
No internal audio is the most common problem. First check the audio source setting. Then check whether the app allows internal capture. Then test with a different app that plays sound. If one app records sound and another does not then the limit likely sits in that app. If no app records sound then check system settings and recorder permissions.
Choppy video often comes from overload. Lower the resolution one step. Lower the frame rate one step. Close heavy apps. Let the phone cool down. A cooler phone holds a steadier frame rate. A hot phone throttles fast and drops frames.
Large files can block sharing. Trim silent parts. Export at a lower bitrate for sharing. Keep a high quality master for yourself. Share the smaller copy. That split keeps quality for editing and keeps sharing fast.
Remote sessions can also benefit from a clean recording setup. A recording of a remote desktop session can serve as a tutorial or as proof of a fix. The same rules apply for audio and for privacy. You can pair recording with remote access through remote desktop apps to access a PC from Android when you need to capture work that happens on another machine.
The best recorder is the one that stays out of your way. It starts fast. It captures clean sound. It saves in a format that you can edit and share. It respects your privacy. Test a few recorders with short clips. Keep the one that gives you clear video and clear internal audio with the fewest taps.
A Practical Recording Checklist
Build a short checklist for every recording session. Charge the phone above half. Clear storage space. Close private apps. Enable Do Not Disturb. Open the apps that you need. Test internal audio with a ten second clip. A checklist takes a minute. It prevents most ruined recordings.
Plan the recording length before you start. Short clips edit faster. Short clips share faster. Short clips hold viewer attention better. A long unplanned recording often needs heavy trimming later. A planned short recording often needs only a trim at each end.
Think about captions early. Captions help viewers who watch without sound. Captions help viewers who speak another language. Captions help search inside a video platform. A recorder with caption support or an editor with caption tools adds value to every tutorial. Plan captions as part of the recording rather than as an afterthought.
Export settings deserve a final check. Choose a widely supported video format. Choose a resolution that matches where viewers will watch. Choose a file size that uploads comfortably. A master copy can stay high quality on your device. A sharing copy can stay smaller for upload speed.
Keep a folder system for recordings. Separate tutorials from game clips. Separate drafts from finished clips. Separate raw clips from edited clips. A clear folder system saves hunting later. It also makes backup simpler when storage fills up.
Review privacy once more before sharing. Watch the full clip at normal speed. Listen for private names in audio. Look for private messages in notifications. Blur or trim anything sensitive. A careful review is the last step of a professional recording habit.
Long Term Recording Habits
Archive finished recordings outside the phone regularly. A phone lost or broken should not take your best tutorials with it. A cloud folder or a computer folder can hold masters safely. Archive the master and keep a sharing copy separate. That split protects quality and access together.
Review old recordings to improve future ones. Notice pacing problems. Notice audio balance problems. Notice framing problems. A short review after each project builds skill faster than recording many clips without reflection. Improvement comes from review as much as from practice.
Keep recorder permissions reviewed over time. A recorder that you no longer use should lose its permissions. A recorder that you use weekly should keep only the permissions that it needs. Permission hygiene protects privacy across the whole phone rather than in one app alone.
Experiment with one new setting per project. Try a higher bitrate for one clip. Try a different frame rate for the next clip. Compare results side by side. Controlled experiments reveal what truly improves quality. Random setting changes reveal nothing clearly.

