

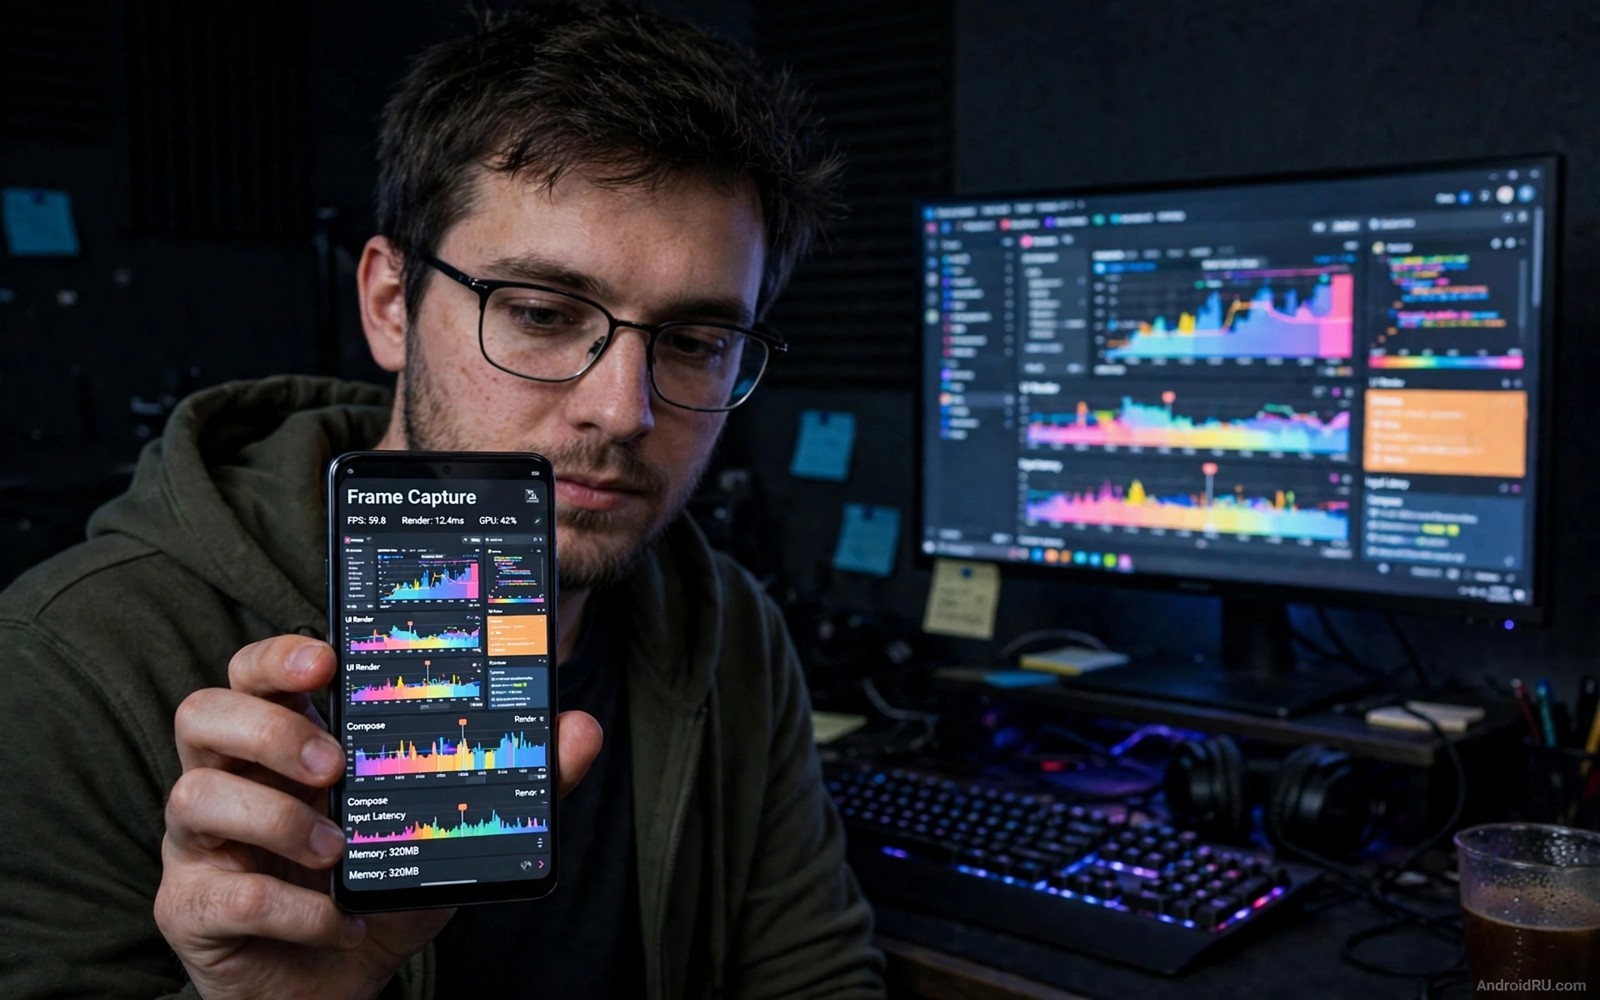
A framebuffer is a block of memory that holds the pixels for a screen image. The display hardware reads that memory and shows the pixels on the screen. Capturing the raw framebuffer means reading that memory directly rather than using a screenshot API. That direct read can reveal what the device actually draws including layers that a normal screenshot may miss.
Developers use framebuffer capture to debug graphics and to test rendering on their own devices. A graphics bug may appear only in a specific layer or at a specific resolution. A raw capture shows the exact pixel data before any compression or scaling. That precision helps a developer find a rendering fault that a compressed screenshot hides.
This guide covers framebuffer capture only on rooted devices that you own and only for your own apps and test content. Do not use framebuffer capture to record content from apps that belong to other people or to bypass screenshot protections in banking or media apps. Those protections exist for user privacy and for content rights. Respect them in all testing work.
How a framebuffer represents a screen
A framebuffer stores pixels in rows from top to bottom. Each pixel uses a format such as red green blue and alpha values. The format determines how many bytes each pixel needs and how colours are stored. A capture that uses the wrong format will show colours shifted or scrambled even when the raw data is correct. Knowing the format is essential for a useful capture.
Modern Android devices use a compositor to combine several layers into one final image. An app layer and a status bar layer and a navigation layer may all contribute to the final frame. The framebuffer may hold the composited result or a single layer depending on the device and the capture method. Understanding which layer you captured prevents confusion when the image looks incomplete.
Resolution and stride also matter for interpretation. Resolution is the width and height in pixels. Stride is the number of bytes per row in memory. Stride may be larger than width times bytes per pixel because of alignment padding. A capture tool that ignores stride will show a slanted or broken image. Always read stride from the device information when you interpret raw data.
Preparing a rooted test device safely
Use a dedicated test device for framebuffer work. A rooted device has weaker security protections than a stock device. Keep personal accounts and personal data off the test device. Use test accounts and test content for every capture session. That separation protects your real data if a test tool misbehaves.
Back up the device before you install new capture tools. A tool that accesses low level graphics memory can cause instability if it uses the wrong address or format. A backup lets you restore the device fast. Record the device model and Android version and kernel version for each capture session. Graphics behaviour varies widely across devices.
Check the legal and policy context for your test content. Capture only content that you created or content that you have permission to capture. Do not capture personal messages or protected media from other apps. A test session with synthetic content such as coloured shapes and test text gives clear results without privacy risk.
Capturing and converting raw data
A capture starts by locating the framebuffer device or the graphics memory interface for your test device. That location varies by chip and by Android version. Consult documentation for your specific device family rather than copying a path from a different device. A wrong path can return unrelated memory or fail entirely.
Read the raw bytes into a file and note the width and height and format and stride beside the file. Those four values are needed to convert raw bytes into a viewable image. Without them the raw file is just a block of bytes with no meaning. A conversion tool can turn the raw file into a standard image format once it knows those values.
Verify the converted image against the screen that you saw during capture. The converted image should match the test content in layout and colour. A mismatch points to a format or stride error. Fix the interpretation before you draw conclusions about rendering. A wrong interpretation can look like a graphics bug when it is only a conversion error.
- Locate the framebuffer interface for your exact device.
- Record width height format and stride with the file.
- Convert raw bytes with those exact values.
- Verify the image against the screen you saw.
Using captures to debug graphics problems
Compare captures from a working case and a failing case. Use the same test content and the same device state for both captures. A difference in pixel data points to the area where rendering diverges. A difference in a single layer points to that layer as the source of the problem. That comparison turns a vague visual bug into a concrete pixel level difference.
Check for tearing and partial updates in captures taken during animation. Tearing appears as a horizontal split where the top and bottom show different frames. A capture taken at the wrong moment can show tearing even when the display looks smooth to the eye. Take several captures during an animation and look for a pattern rather than judging from one frame.
Use captures to verify colour accuracy for your own app. Display a set of known colours and capture the framebuffer. Compare the captured colour values with the expected values. A systematic colour shift points to a colour space conversion problem. A random colour error points to a format interpretation problem in your conversion step.
Code you can adapt
// Convert raw framebuffer bytes to pixels for study
// Width height format and stride must come from the test device
int width = 1080;
int height = 2400;
int bytesPerPixel = 4;
int stride = width * bytesPerPixel;
byte[] raw = readFramebufferBytes();
for (int y = 0; y < height; y++) {
    int rowStart = y * stride;
    // Each row holds width pixels of raw colour data.
    processRow(raw, rowStart, width, bytesPerPixel);
}
The snippet above is an original example written for this guide. It shows how stride and pixel format guide the conversion of raw framebuffer bytes into rows.
Stride handling is the detail that most beginners miss. A row in memory may be longer than the visible row because of alignment. Skipping the padding bytes keeps each row aligned with the next row. Ignoring padding shifts every later row and produces a slanted image that looks like a serious graphics fault.
Format handling is the second detail that matters. A pixel stored as blue green red alpha will look wrong when read as red green blue alpha. Colours will swap in a predictable way. A predictable colour swap is a clue that the format is wrong rather than a clue that rendering is broken. Check format first when colours look swapped.
How this topic connects to nearby work
Buffer timing in graphics capture resembles the audio buffer logic in the guide to virtual audio routing drivers.
Low level capture on the audio side follows a similar checkpoint method to the one in the guide to intercept audio input streams.
Graphics layers are observed through the runtime methods explained in the guide to ART runtime hooks.
Putting it into practice
Vertical synchronisation affects how framebuffer captures look during animation. The display updates at a fixed refresh rate and the compositor may produce a new frame for each refresh. A capture taken between refreshes can show a half updated frame. Take several captures and look for a consistent image across them. A single capture during fast animation is not reliable evidence for a rendering bug.
High dynamic range colour adds a format challenge to framebuffer work. HDR pixels use a wider colour range than standard pixels. A conversion tool that assumes standard colour will show HDR content as washed out or oversaturated. Check whether your test device and test content use HDR before interpreting colours. Use standard colour test patterns for basic capture verification and reserve HDR patterns for a dedicated HDR test.
A final framebuffer check should capture the same test pattern at two different screen brightness levels. Brightness can affect colour rendering on some displays through power saving features. Compare the captured colours at low brightness and at high brightness. A large colour shift between the two captures points to a display feature rather than to an app rendering bug. Note the brightness level with every capture so future comparisons use the same setting.
Common mistakes
A common mistake is to capture from a daily phone with personal content on screen. A raw capture can include private messages or photos that were on screen at that moment. Use synthetic test content on a dedicated test device. That habit protects privacy and it gives clearer test results.
Another mistake is to ignore stride and format when converting raw data. A conversion with wrong values produces a broken image that looks like a rendering bug. Record stride and format at capture time. Verify the conversion against the screen before you investigate a supposed bug.
A third mistake is to use framebuffer capture to bypass screenshot blocks in other apps. Screenshot blocks protect user privacy and content rights. Respect those blocks. Use your own test app with its own content for framebuffer experiments.
Frequently asked questions
Why does my converted framebuffer image look slanted?
Stride is the usual cause. The row length in memory may exceed the visible row length because of alignment padding. Use the true stride from the device when converting rows. A correct stride removes the slant.
Can I capture a framebuffer without root?
Normal screenshot APIs work without root for your own app content. Raw framebuffer access usually needs system level permission on modern Android. Use screenshot APIs for ordinary testing and reserve raw capture for rooted test devices that you own.
Does framebuffer capture show protected video content?
Protected content may appear black in a capture by design. That protection is intentional for copyright and privacy. Do not try to defeat it. Use synthetic test content for graphics debugging instead.
Conclusion
Raw framebuffer capture gives developers pixel level truth about what a device draws. Format and stride and layer understanding turn raw bytes into a useful image. Comparisons between working and failing captures pinpoint graphics faults. Safety rules keep the technique in legitimate testing on devices and content that you own.
Your concrete next step is to display a simple coloured test pattern in your own test app today and capture it on a rooted test device. Convert the capture with the correct width and stride and confirm that colours match the pattern. That exercise proves the full capture chain.

