

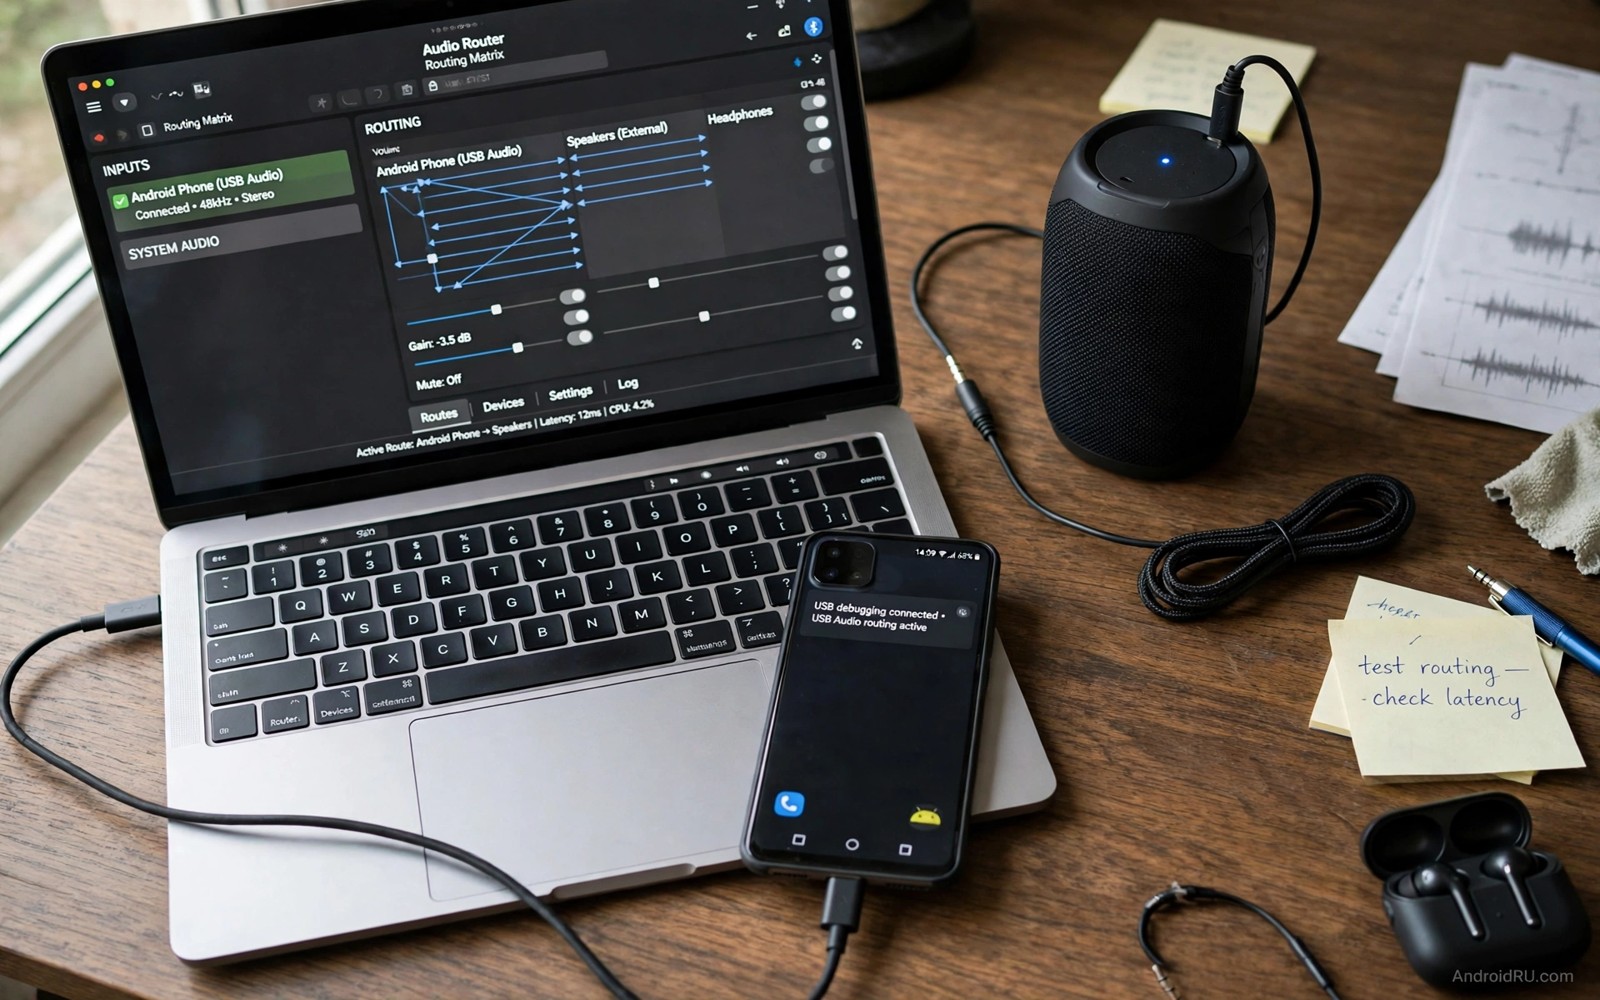
A virtual audio driver creates an audio device that does not exist as physical hardware. Apps see it as a microphone or a speaker even though no real microphone or speaker is involved. Sound written to the virtual speaker can be read from the virtual microphone by another app. That loop makes virtual routing useful for testing and for creative audio work.
Android audio normally flows from a real input to an app or from an app to a real output. A virtual driver inserts a software device into that flow. The framework treats the virtual device like any other device for routing and format negotiation. The driver code moves audio buffers between the virtual input and the virtual output with timing that matches real hardware.
This guide explains how to design a virtual audio routing driver for testing on your own device. It focuses on concepts and safe test methods. Building a real driver needs kernel or system level access and a dedicated test device. Do not install a virtual driver on a daily phone that holds personal data until you trust the code fully.
What a virtual audio device must provide
A virtual device must report a name and a type and supported formats. The framework uses that information to decide whether an app can use the device. A virtual microphone should report sample rates and channel counts that it can handle. A virtual speaker should report the same information for output. Missing or inconsistent information can cause the framework to ignore the device.
Buffer timing matters as much as format reporting. Real hardware delivers audio in regular chunks. A virtual driver must deliver chunks on a similar schedule or apps will hear gaps or delay. Use a timer or a worker thread that produces buffers at the expected rate. Test timing with a simple tone before you test with speech or music.
Routing policy also matters. The framework may prefer a real device over a virtual device by default. A test app may need to select the virtual device explicitly. Document how selection works for your driver so testers do not waste time guessing why sound goes to the wrong device. Clear selection behaviour makes the driver useful rather than confusing.
Designing the loop between input and output
The simplest virtual routing design is a loopback pair. One side acts as an output device and the other side acts as an input device. Audio written to the output side appears as audio available on the input side. A ring buffer between the two sides holds audio while the reader catches up. The ring buffer size controls latency and tolerance for scheduling delays.
A small ring buffer gives low latency but it risks underruns when the system is busy. A large ring buffer tolerates delays but it adds latency that live apps may notice. Choose a size that fits the test purpose. A voice test may need low latency. A recording test may accept more latency for reliability. Measure both cases before you settle on a size.
Synchronisation between writer and reader needs care. The writer should not overwrite data that the reader has not read yet. The reader should not read data that the writer has not written yet. Use simple counters and locks that are easy to reason about. A race condition in audio code produces clicks and gaps that are hard to debug later.
Testing a virtual driver step by step
Start with a tone generator app that writes a steady sine wave to the virtual output. Run a recorder app that reads from the virtual input. Compare the recorded tone frequency with the generated frequency. A matching frequency proves that the basic loop works. A distorted tone points to a format or buffer problem that you should fix before adding complexity.
Test with speech next and listen for clarity and delay. Speak a short sentence into a test path or play a recorded sentence through the virtual output. Record the result from the virtual input and listen on headphones. Note any echo or distortion or dropouts. Those artefacts point to buffer timing or format conversion problems.
Test under load to check stability. Run a second app that uses the processor heavily while the virtual loop runs. Watch for gaps in the recorded audio. A driver that works only when the system is idle will fail in real use. Stability under load is a key quality for any audio driver even in a test environment.
- Generate a steady tone and record it through the loop.
- Compare the recorded frequency with the generated frequency.
- Test with speech and listen for delay and distortion.
- Repeat the test under heavy system load.
Security and privacy rules for virtual audio
Virtual audio can capture sound that an app intended for a real device. That power creates a privacy risk when used without consent. Use virtual routing only for your own apps and your own test audio. Do not route audio from an app that belongs to another person into a recorder without their clear permission. Consent is not optional for audio capture.
Label virtual devices clearly in any tool that you share. A device named with a generic microphone name can mislead a user into thinking that it is real hardware. A clear name such as Test Virtual Microphone tells the user what is happening. Clear naming protects users and it protects the developer from misunderstandings.
Keep virtual driver code out of production builds unless it is a documented feature with user consent. A hidden virtual device in a shipping app would be a serious trust problem. Separate test code from production code with build flags. Review the release build to confirm that no test driver remains.
Code you can adapt
// Simple ring buffer concept for a virtual audio loop
// This is a study model and not a complete driver
class AudioRingBuffer {
    private final short[] buffer = new short[4800];
    private int writePos = 0;
    private int readPos = 0;
    synchronized void write(short[] data) {
        for (short sample : data) {
            buffer[writePos] = sample;
            writePos = (writePos + 1) % buffer.length;
        }
    }
    synchronized int read(short[] out) {
        int count = 0;
        while (readPos != writePos && count < out.length) {
            out[count++] = buffer[readPos];
            readPos = (readPos + 1) % buffer.length;
        }
        return count;
    }
}
The snippet above is an original example written for this guide. It shows a simple ring buffer model that explains how a virtual loop moves audio between writer and reader.
A ring buffer is the heart of many virtual audio designs. It decouples the writer timing from the reader timing. The writer can run slightly ahead without blocking the reader. The reader can catch up without losing data as long as the buffer does not overflow. That decoupling makes the loop tolerant of small scheduling delays.
Real drivers add format handling and device reporting and routing logic around this core idea. The core idea stays the same. Audio moves from a writer to a buffer and then to a reader. A developer who understands the buffer can debug most virtual audio problems by checking write position and read position and overflow behaviour.
How this topic connects to nearby work
The input side of the audio chain is explained in the guide to intercept audio input streams for developers.
System level audio observation shares methods with the runtime approach in the guide to ART runtime hooks.
A different low level capture problem with similar buffer logic appears in the guide to capture raw framebuffers.
Putting it into practice
Sample format conversion is a common source of distortion in virtual audio. A virtual driver that receives 16 bit audio and delivers 32 bit float audio must convert values correctly. A conversion that scales values wrongly will make audio too quiet or clipped. Test conversion with a known sine wave at a known level. Measure the output level and compare it with the expected level. A level error points to a conversion bug rather than to a buffer bug.
Echo cancellation interaction can surprise virtual audio developers. A voice app may apply echo cancellation that expects real microphone and speaker behaviour. A virtual loop can feed output back into input in a way that the canceller treats as echo. That treatment may suppress the very audio that you want to test. Disable echo cancellation for a virtual loop test when the test goal is raw audio routing. Enable it again for a realistic voice test with a real device path.
A final virtual audio check should test the driver with two apps running at once. Start a tone generator on the virtual output and a recorder on the virtual input while a music app plays on the real speaker. Confirm that virtual audio stays separate from real audio. A leak between virtual and real paths would confuse users and testers alike. That separation test proves that the virtual device behaves as an independent device rather than as a side effect of the real audio path.
Common mistakes
A common mistake is to ignore buffer overflow. A writer that runs faster than the reader will overwrite unread data. That overwrite sounds like a click or a jump in the audio. Monitor buffer levels during testing and increase the buffer size or fix the timing when overflow happens often.
Another mistake is to report formats that the driver cannot actually handle. The framework may choose a format that the driver then mishandles. Report only the formats that you have tested. A short honest format list beats a long list that causes distortion.
A third mistake is to test only with a tone and assume speech will work. Speech has dynamic levels and pauses that a steady tone does not exercise. Test with speech and music and silence. Each type reveals a different timing or level problem.
Frequently asked questions
Do I need root to create a virtual audio device on Android?
A true system level virtual driver usually needs system access or a rooted test device. App level audio routing can simulate some cases without a driver. Choose the level that fits your test goal and keep system experiments on a dedicated device.
Why does virtual audio sound delayed?
Delay comes from buffer size and scheduling and format conversion. A large buffer adds delay for reliability. Measure the delay with a click test and reduce the buffer only while stability holds. Low delay and high stability pull in opposite directions.
Can virtual audio replace a real microphone for testing?
For many functional tests yes because it provides a repeatable audio source. For acoustic tests no because it cannot simulate room sound or microphone quality. Use virtual audio for logic tests and real hardware for acoustic tests.
Conclusion
Virtual audio routing turns a software device into a testable audio path. A clear device description and a well sized ring buffer and careful timing make the loop work. Test with tones and speech and load. Respect privacy rules and keep test drivers out of production builds. That discipline makes virtual audio a safe and useful tool.
Your concrete next step is to build a tone loop test on your test device today and measure the frequency that comes back through the virtual path. A matching frequency proves the basic loop before you add speech or load testing.

