

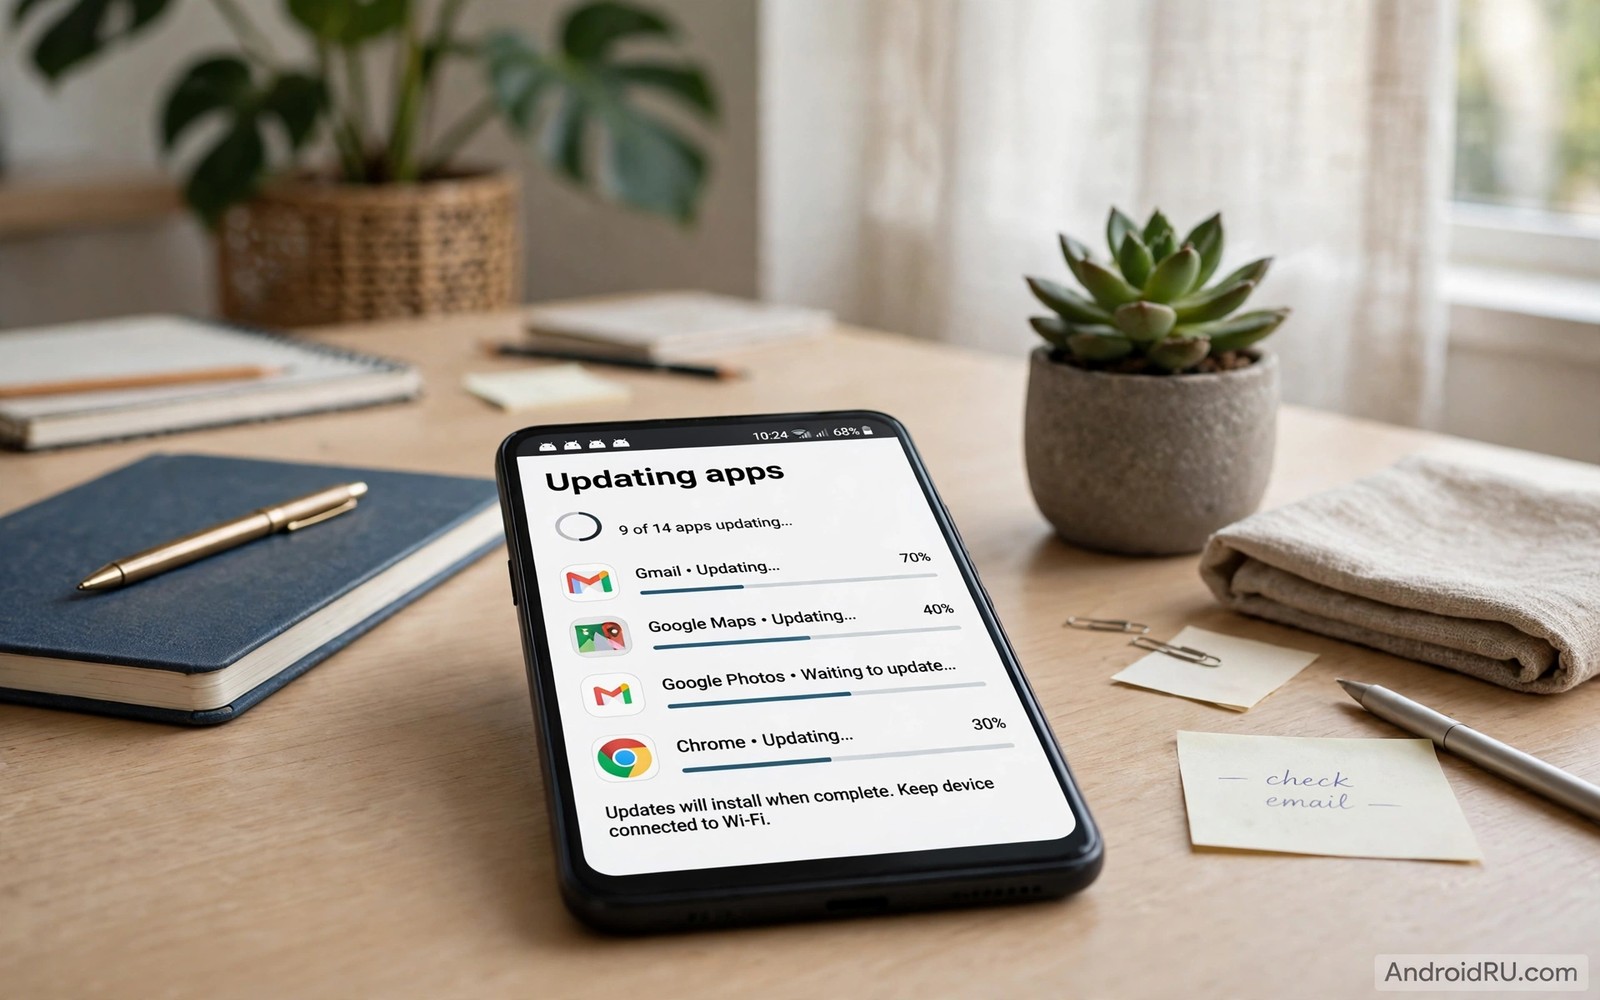
How to Streamline App Updates to Prevent Storage Bloat Growth
My phone once warned me it was almost full on the morning of a trip, and the culprit was not photos or videos. It was app updates. A navigation app had grown from 300 MB to over 2 GB through a year of map packs and cached routes, a chat app held 1.4 GB of media it had downloaded after every update, and three games I barely opened had each added hundreds of megabytes of new event content. Nothing had asked my permission in a way I noticed. Updates arrived at night, installed themselves, and left the extra weight behind. That morning taught me a lesson I now repeat to anyone who will listen: updates are not free, and a phone that updates everything automatically will slowly fill itself up.
The fix is not to stop updating. Security patches close real holes, and some updates fix bugs that genuinely matter. The fix is to run updates on your terms: choose which apps update themselves, check the size before a big one lands, clear the leftovers afterwards, and keep a safety margin of free space at all times. I rebuilt my own routine around those four ideas, and my phone has held steady near the same free space for over a year, even though I install updates every week. This guide walks through that routine step by step, with the actual menu names and settings on a modern Android phone, so you can copy it in one sitting.
You do not need a new phone, a paid cleaner app, or a factory reset. You need about twenty minutes, a charger, and a willingness to turn off a few defaults that were never chosen with your storage in mind. Work through the steps in order, check the numbers after each one, and by the end you will have a phone that updates safely without quietly growing heavier every month.
Why app updates quietly eat your storage on Android
An update rarely replaces an app cleanly. Android installs the new version alongside parts of the old one, keeps the app data and cache from before, and downloads new resources such as images, sounds, and map data that the new version needs. The old resources often stay too, because the developer cannot be sure you will not need them, or because the update simply adds files without deleting the ones they replace. Over dozens of updates, that leftover weight adds up. A messaging app that ships a new sticker pack every month keeps the old packs. A game that adds a seasonal event keeps the previous season files until the developer bothers to clean them.
Cache is the second silent contributor. Many apps rebuild their cache after an update, re-downloading thumbnails, previews, and feed content they had already cached before. Some apps cache aggressively by design: video apps pre-load clips, social apps pre-load images, shopping apps pre-load product photos. After a major update, an app can hold both its old cache and a fresh one, and neither is marked as safe to delete by the system. That is why a phone can lose a gigabyte overnight to updates and show no new app to blame for it.
The third contributor is the update files themselves. Android downloads an update package, installs it, and usually removes the package afterwards, but a failed or interrupted update can leave partial files behind, and some apps download extra content packs after the main update finishes. Those packs live in app data, not in the download folder, so a routine tidy of your downloads never touches them. The only way to see them is to look at storage per app, which is where step five of this guide comes in.
How to see exactly how much space updates have added
Open Settings, tap Storage, and look at the breakdown by category, then tap Apps or App storage to see the list ranked by size. On Samsung phones the path is Settings, then Battery and device care, then Storage, then Apps. On Pixel phones it is Settings, then Storage, then Apps. The list shows total size per app, and tapping any app shows the split between the app itself, user data, and cache. An app whose total size is three or four times its install size is holding update leftovers, downloaded content, or a cache that has never been trimmed. Write down the five largest apps before you change anything, because those numbers are your baseline, and you will compare them again at the end of this guide.
The 70 percent rule: why free space is your early warning system
Android needs breathing room to install updates at all. When internal storage passes roughly 70 percent full, installs slow down, updates fail more often, and the system has less room to clean temporary files. Past 85 percent, large updates start failing outright, and past 90 percent the phone can struggle to take a photo or save a file. Keeping usage under that 70 percent line is the single most useful habit in this guide, and readers who want a deeper routine for it should read the guide to keeping Android internal storage under seventy percent capacity. Every step below is designed to hold that line without asking you to delete things you actually use.
Step 1: switch auto-updates to Wi-Fi only and pick which apps update themselves
Automatic updates are the default on most Android phones, and the default is the problem. Left alone, Play updates every app on any connection, at any hour, including the apps you have not opened in months. The first change is to take control of when and what updates itself. This step takes two minutes and it is the highest value change in the whole guide.
- Open Google Play, tap your profile picture in the top right, then tap Settings.
- Tap Network preferences, then tap Auto-update apps.
- Choose Over Wi-Fi only. Never choose Over any network unless you have an unlimited data plan and a reason to update away from home, because mobile data updates cost data and often happen at awkward times.
- Go back to the Play home screen, tap your profile picture again, then tap Manage apps and device.
- Tap Manage, then tap the filter for updates available, and look at which apps are waiting. This is your update queue, and from here you can update apps one by one instead of in a batch.
Wi-Fi only is the floor, not the ceiling. The stronger move is to turn off auto-update for individual apps you rarely use. In Play, open the app page for an app you open less than once a month, tap the three dot menu in the top right, and uncheck Enable auto update. That app will now wait until you update it by hand, which means it stops growing in the background for months at a time. Keep auto-update switched on for your browser, your banking apps, your messaging apps, and anything that handles security, because those updates close holes that matter. Everything else can wait until you actually need it.
Which apps should keep auto-update on and which should not
Keep auto-update on for apps where a missed security fix has real consequences: your browser, your email app, your banking apps, your password manager, and your messaging apps. These update often, the updates are usually small, and the risk of delay is higher than the storage cost. A selective auto-update list is the whole trick: security apps update themselves, everything else waits for you. Turn auto-update off for games you play rarely, shopping apps you open monthly, travel apps tied to one trip a year, and any app whose updates are mostly new content rather than fixes. A shopping app that updates weekly for a user who shops monthly is wasting storage and background time, and its web version covers most needs in the meantime. Audit this list every few months, because an app you stopped using in spring is still updating itself in autumn unless you tell it to stop.
How to check whether an app is updating itself without you noticing
Open Play, tap your profile picture, tap Manage apps and device, then tap Manage and sort by Last updated. Apps with a recent update date that you do not remember updating were updated automatically. Tap any app on that list, open its three dot menu, and check whether Enable auto update is ticked. If it is, and the app is one you barely use, untick it now. Repeat this check once a month, because a fresh install resets the setting to the default, and reinstalling an app quietly re-enables automatic updates for it.
Step 2: check the update size before you tap update
Not all updates are equal. A security patch can be 15 MB. A game season update can be 3 GB. Treating them the same is how phones fill up overnight. Before you install any update larger than about 200 MB, check two numbers: the size of the update, and the free space on your phone. Play shows the update size on the app page under the update button, or in the Manage apps and device list when you tap an update. If the size looks large, open Settings, then Storage, and confirm you have at least twice the update size free. An update needs room for the download and the install, and installing a 2 GB update with 2.1 GB free is asking for a failed install that leaves partial files behind.
When space is tight, delay the feature update and install the security update first. Play does not always label them clearly, so read the update notes on the app page. Notes that mention a security fix, a crash fix, or a vulnerability are the priority. Notes that mention new levels, new stickers, or a seasonal event can wait until after your next cleanup. I keep a simple rule: security updates today, feature updates after the monthly cleanup, and game content updates only when I am about to play the game. That order has kept my phone safe without ever forcing a midnight delete of photos to make room.
What to do when a large update fails halfway through
A failed update usually leaves the old version working and a partial download sitting in temporary storage. Do not tap update again immediately. First open Settings, then Storage, and check your free space. Then open Play, tap your profile picture, tap Manage apps and device, and look for the app in the list. If the update still shows as available, free space first by clearing a cache or two, restart the phone, and then try the update once more on Wi-Fi. Restarting matters, because the system cleans temporary update files during boot, and a stable storage total after a restart is the sign of a clean update cycle. If the update fails twice, clear the Play cache under Settings, then Apps, then Google Play Store, then Storage and cache, then Clear cache, and try again. Never clear Play data unless you are ready to sign in again and re-check your settings.
Step 3: turn on auto-archive for apps you do not use
Auto-archive is the kindest space saving feature Android has added in years, and most people have never switched it on. When it is enabled, Play automatically archives apps you have not used for a while: it removes the app code from your phone but keeps your data and the app icon on your home screen. The icon gets a small cloud marker, and tapping it reinstalls the app with your data intact. You lose nothing except the storage the app was occupying, and you never have to decide what to uninstall. It is the middle ground between keeping everything and deleting things you might need.
- Open Google Play, tap your profile picture, then tap Settings.
- Tap General, then look for Automatically archive apps.
- Switch it on. Play will now archive unused apps when your phone runs low on space.
- To check what has been archived, open Play, tap your profile picture, tap Manage apps and device, then tap Manage and look for apps marked as archived.
Archiving is different from uninstalling, and the difference is the data. Uninstalling removes the app and, for many apps, the local data with it. Archiving keeps the data, so a game you return to in six months still has your progress, and a travel app still has your bookings. The feature works best for apps you use seasonally or occasionally, and it works poorly for apps that need to run in the background, such as messaging apps or alarms, so leave those out. Readers who want the full walkthrough, including which apps to exempt, should read the guide to auto archiving unused apps to save space without uninstalling.
How much space auto-archive actually recovers
The saving depends entirely on which apps get archived. A single unused game can free 1 to 3 GB, while a small utility might free 50 MB. On my own phone, the first month with auto-archive on recovered just over 4 GB from five apps I had not opened in months, and none of them lost a setting. The number that matters is not the total recovered once, but the fact that the phone now recovers space by itself whenever it runs low, instead of waiting for me to notice a warning. Think of it as a pressure valve: it opens automatically, it keeps your data, and it closes the gap between the storage you have and the storage updates keep demanding.
Apps you should exempt from auto-archive
Do not let auto-archive touch apps that must work without you opening them. Your alarm app, your messaging apps, your authenticator app, your banking apps, and any app that delivers notifications you rely on should stay installed. Play lets you exempt an app by opening its page, tapping the three dot menu, and checking the auto-archive setting there, or by opening the app regularly, since archiving only targets apps you have not used. I open my authenticator and my banking app at least once a month even when I do not need them, which is enough to keep them out of the archive queue.
Step 4: clear stale caches after big updates
Cache is meant to be temporary, but after a major update it often becomes a fossil. The old version cached thumbnails, feed images, and preview files in a format the new version no longer uses, and the new version builds a fresh cache beside it. Clearing the cache after a major update removes the fossil and usually fixes small glitches at the same time, such as images that will not load or a feed that shows old content. Clearing cache never deletes your account, your messages, or your saved files. It only deletes temporary files the app can rebuild, which is why it is safe to do regularly.
- Open Settings, then Apps, then See all apps.
- Tap the app that just updated, then tap Storage and cache.
- Tap Clear cache. Do not tap Clear storage, which deletes user data and signs you out of most apps.
- Open the app once and check that it works normally. The first launch after a cache clear is slower, because the app rebuilds what it needs, and that is normal.
Do this for the apps you updated, not for every app on the phone. Clearing every cache at once is a waste of time, because the apps you use daily rebuild their caches within hours, and the ones you never use were not the problem. Focus on the apps with the biggest cache numbers in Settings, then Apps, then the storage sort. A cache limit habit beats a cache clearing spree: check the largest caches monthly, clear the ones over 500 MB, and leave the small ones alone. Readers who want rules for keeping caches small over time should read the guide to limiting apps that cache gigabytes of data, which covers per-app limits and the settings that stop runaway caching at the source.
Cache vs data: what Clear cache actually deletes
Cache is temporary files: thumbnails, preview images, feed content, and anything the app downloaded to show you once and might show you again. Data is the permanent stuff: your account, your settings, your messages, your saved files, and your downloaded content such as offline maps or playlists. The Clear cache button touches only the first group. The Clear storage button, sometimes labelled Clear data, touches the second group, and tapping it by mistake is the most common self-inflicted storage accident on Android. If you ever tap the wrong one, do not panic and do not reinstall immediately. Open the app, sign in again, and check whether your content syncs back from your account, because many apps keep the important data on their servers.
Step 5: run a monthly storage audit and remove update-heavy apps
A monthly audit takes ten minutes and it is the step that catches everything the automatic tools miss. Set a reminder for the first Sunday of the month, plug the phone in, and work through the storage list from largest to smallest. The goal is not to delete things you love. The goal is to find the apps whose updates cost more than they return, and to deal with them before they eat another gigabyte.
- Open Settings, then Storage, then Apps, and sort by size. Note the five largest apps and their sizes.
- Tap each one and look at the split between app size, user data, and cache. An app that grew far beyond its install size is holding update caches or downloaded content packs.
- Open the app and look for its own download settings. Games often have downloadable content packs under Settings or Downloads inside the app. Delete the packs for levels or languages you do not use.
- Check when you last opened the app. If the answer is more than three months ago and the app updates weekly, uninstall it and use the web version, or let auto-archive handle it.
- Compare the numbers with last month baseline. A stable total after your audit means the routine is working. A total that keeps climbing points to one app you missed.
Uninstalling is the strongest tool in the audit, and it deserves a fair test before you use it. Ask three questions about each large app: did I open it in the last month, would I miss it tomorrow if it were gone, and does its web version cover what I actually use it for. A shopping app that updates weekly for a user who shops monthly fails all three questions, and the web version covers the rest. A navigation app that updates its maps monthly passes all three, because you open it, you would miss it, and the web version cannot navigate offline. Be honest with the answers, because the apps that fail the test are the ones filling your phone.
How to find downloaded content packs hiding inside apps
Content packs are the most overlooked source of update bloat, because they do not show up as separate apps and they do not appear in your download folder. Games store extra levels, voice packs, and texture packs in app data. Navigation apps store offline maps. Language apps store lesson packs. Streaming apps store downloaded episodes. Each of these can be several gigabytes, and each was downloaded by an update or a setting you may have forgotten. Open the app, go to its settings, and look for Downloads, Offline content, or Storage inside the app. Delete the packs you do not use, and switch off any setting labelled auto-download or download on Wi-Fi for content you do not need offline. On my phone, a single navigation app was holding 1.8 GB of maps for cities I visited once, and deleting them took less than a minute.
A simple size ranking that turns bloat into an action list
The size ranking in Settings is the whole audit in one screen, and it works because it replaces guessing with numbers. An app at the top of the list with 4 GB is a fact, not a feeling, and the action follows from the fact. If the bulk is cache, clear it. If the bulk is downloaded content, delete the packs. If the bulk is the app itself and you rarely use it, uninstall it or archive it. Work down the list until the total you want to recover is reached, then stop. There is no prize for emptying the phone, and deleting apps you actually use to chase a number is worse than leaving the bloat alone. The audit is a habit, not a purge.
Step 6: schedule updates for night hours and keep a free space buffer
When updates run matters as much as which apps update. An update that installs while you are navigating or taking photos competes for storage, battery, and attention, and a failed install at that moment leaves partial files behind. Night updates avoid all of that. The phone is charging, the connection is Wi-Fi, and nobody is waiting on the result. Most Android phones already update at night by default, but the setting is worth checking, because a phone that was set up in a hurry sometimes has it switched off.
Open Play, tap your profile picture, tap Settings, then Network preferences, and confirm auto-update is set to over Wi-Fi only. Then open Settings, then Battery, and check that adaptive battery or battery optimisation is not killing Play overnight, because an over-aggressive battery saver can delay updates until morning and bunch them into your first hour of use. Leave the phone on its charger with Wi-Fi on, and let the updates land while you sleep. In the morning, check the storage total once, and if a large update landed, clear its stale cache using step four. That morning check takes thirty seconds and it closes the loop.
Setting a personal free space buffer above the 70 percent line
A buffer is a line you refuse to cross, and it should sit above the 70 percent rule, not on it. My buffer is 25 percent free, which on a 128 GB phone means about 32 GB free at all times. When free space drops below that line, I run the monthly audit early instead of waiting for the reminder. The buffer buys time: a 3 GB game update cannot surprise you when you have 30 GB free, and a failed install cannot cascade into a full phone when there is room to recover. Set your own buffer based on your phone size, and treat crossing it as a task, not a warning to dismiss. The complete routine for holding that line, including the settings that help most, is covered in the ultimate Android storage cleanup guide for freeing gigabytes, which pairs well with this guide when a phone needs a deeper clean than updates alone can explain.
How to check free space in under ten seconds
Open Settings, tap Storage, and read the free space number at the top of the screen. On Samsung phones, the same number sits under Settings, then Battery and device care, then Storage. There is no need to open a cleaner app or run a scan. The system number is the honest one, and checking it weekly builds the habit that makes every other step in this guide work. I check mine every Sunday night, and the ten seconds it costs has saved me from the full phone warning more times than I can count.
Mistakes that make update bloat worse
The most common mistake is installing a cleaner app that promises to fix storage with one tap. Most of these apps delete caches that rebuild within hours, show alarming numbers to sell a subscription, and ask for permissions they do not need. The storage they free is temporary, and the background service they run costs battery every day. Android already has the tools this guide uses, built into Settings and Play, and they do the job without a middleman. Delete the cleaner app, use the built-in storage screen, and keep the money.
The second mistake is updating everything in one batch on mobile data the moment a notification appears. Batch updates hide the size of each individual update, they compete with whatever you are doing, and they make it impossible to tell which update caused a problem afterwards. Update one large app at a time, on Wi-Fi, and check the result before moving to the next. It feels slower, and it is, by about five minutes. Those five minutes are the difference between knowing what changed and guessing.
The third mistake is joining beta programs on a phone with tight storage. Beta builds are larger than stable builds, they update more often, and they sometimes include debug data and unfinished resources that stable releases do not carry. A beta program that updates three times a week will grow faster than any stable app, and leaving the program means uninstalling and starting over. Keep beta testing on a phone with room to spare, or on a secondary device, and keep your main phone on the stable channel where updates are smaller and less frequent.
Troubleshooting: updates that keep failing after you freed space
If updates still fail after you freed several gigabytes, the problem is usually not space anymore. First restart the phone, because the system cleans temporary update files during boot and a restart clears the stale state a failed update leaves behind. Then open Settings, then Apps, then Google Play Store, then Storage and cache, and tap Clear cache. Do not clear data unless you are ready to sign in again. Then open Play and try the update once more on Wi-Fi. If it still fails, check the date and time settings, because a wrong system clock can break the secure connection Play uses, and check that your Wi-Fi network is not blocking Play through a firewall or a VPN. One of those four fixes resolves most stubborn update failures I have seen, and the restart alone fixes more than half of them.
When a single app keeps growing after every update
Some apps grow after every update no matter what you do, because the developer keeps adding content and never removes the old files. When you find one, the fix is inside the app, not in Android settings. Open the app settings and look for download quality, offline content, and auto-download options, then turn them down. A video app set to download in high quality will cache far more than the same app set to standard quality. A music app set to download every playlist will grow faster than one set to stream. If the app offers no such settings and keeps growing, the honest answer is to use the web version or replace it with a lighter alternative, because no amount of cache clearing will outrun a developer who never cleans up.
Frequently asked questions about streamlining app updates
How much free space should I keep on my Android phone?
Keep at least 25 to 30 percent of your internal storage free, and treat 70 percent full as the line you do not cross in normal use. Below that line, updates install cleanly and the system has room to manage temporary files. Above it, large updates start failing, installs slow down, and the phone has less room to recover from a bad update. On a 128 GB phone, 30 percent free means roughly 38 GB spare, which sounds generous until a single game update asks for 3 GB and the system needs room for the download and the install at the same time.
Will turning off auto-update leave my phone unsafe?
Only if you turn it off for everything and then forget about updates for months. The safe approach is selective: keep auto-update on for your browser, banking apps, messaging apps, and anything that handles security, and turn it off only for apps you rarely use. Then check Play once a week for pending updates and install the security ones promptly. A phone with auto-update off for games and on for security apps is just as safe as a phone with everything automatic, and it stays much lighter.
Does clearing cache after an update delete my photos or messages?
No. Clear cache removes temporary files such as thumbnails, preview images, and feed content that the app can rebuild on its own. It does not touch your photos, your messages, your account, or your saved files. The button that deletes those things is Clear storage, sometimes labelled Clear data, and it sits next to Clear cache on the same screen. Read the button before you tap it, because the two buttons look similar and do very different things. When in doubt, tap Clear cache only, then open the app and confirm everything is still there.
Is auto-archive the same as uninstalling an app?
No, and the difference is your data. Uninstalling removes the app and usually removes its local data as well, so reinstalling starts from scratch. Auto-archive removes only the app code and keeps your data and your home screen icon, so tapping the icon reinstalls the app with your data intact. Archiving is the better choice for apps you use occasionally or seasonally, while uninstalling is the better choice for apps you have truly finished with. Both free space, but only archiving lets you change your mind without losing anything.
What to do today to stop update bloat
Start with the three changes that take the least time and give the most back. First, open Play and switch auto-update to Wi-Fi only, then turn off auto-update for the three apps you use least. Second, switch on auto-archive so unused apps shrink themselves when space runs low. Third, open Settings, then Storage, write down your five largest apps and your free space number, and clear the cache on any app over 500 MB of cache. Those three moves take about fifteen minutes, and they change the direction of your storage from slowly growing to roughly steady.
Then set the monthly reminder and let the routine run. Check free space on Sunday night, run the audit on the first Sunday of the month, and install security updates the day they appear. A monthly storage audit is what keeps the whole routine honest, because it catches the one app that quietly grew while you were not looking. A phone that follows this routine does not need dramatic cleanups or emergency deletions, because the bloat never gets the chance to build up. The updates still arrive, the security fixes still land, and the phone still has room to breathe, which is exactly what a streamlined update routine is supposed to deliver.

