

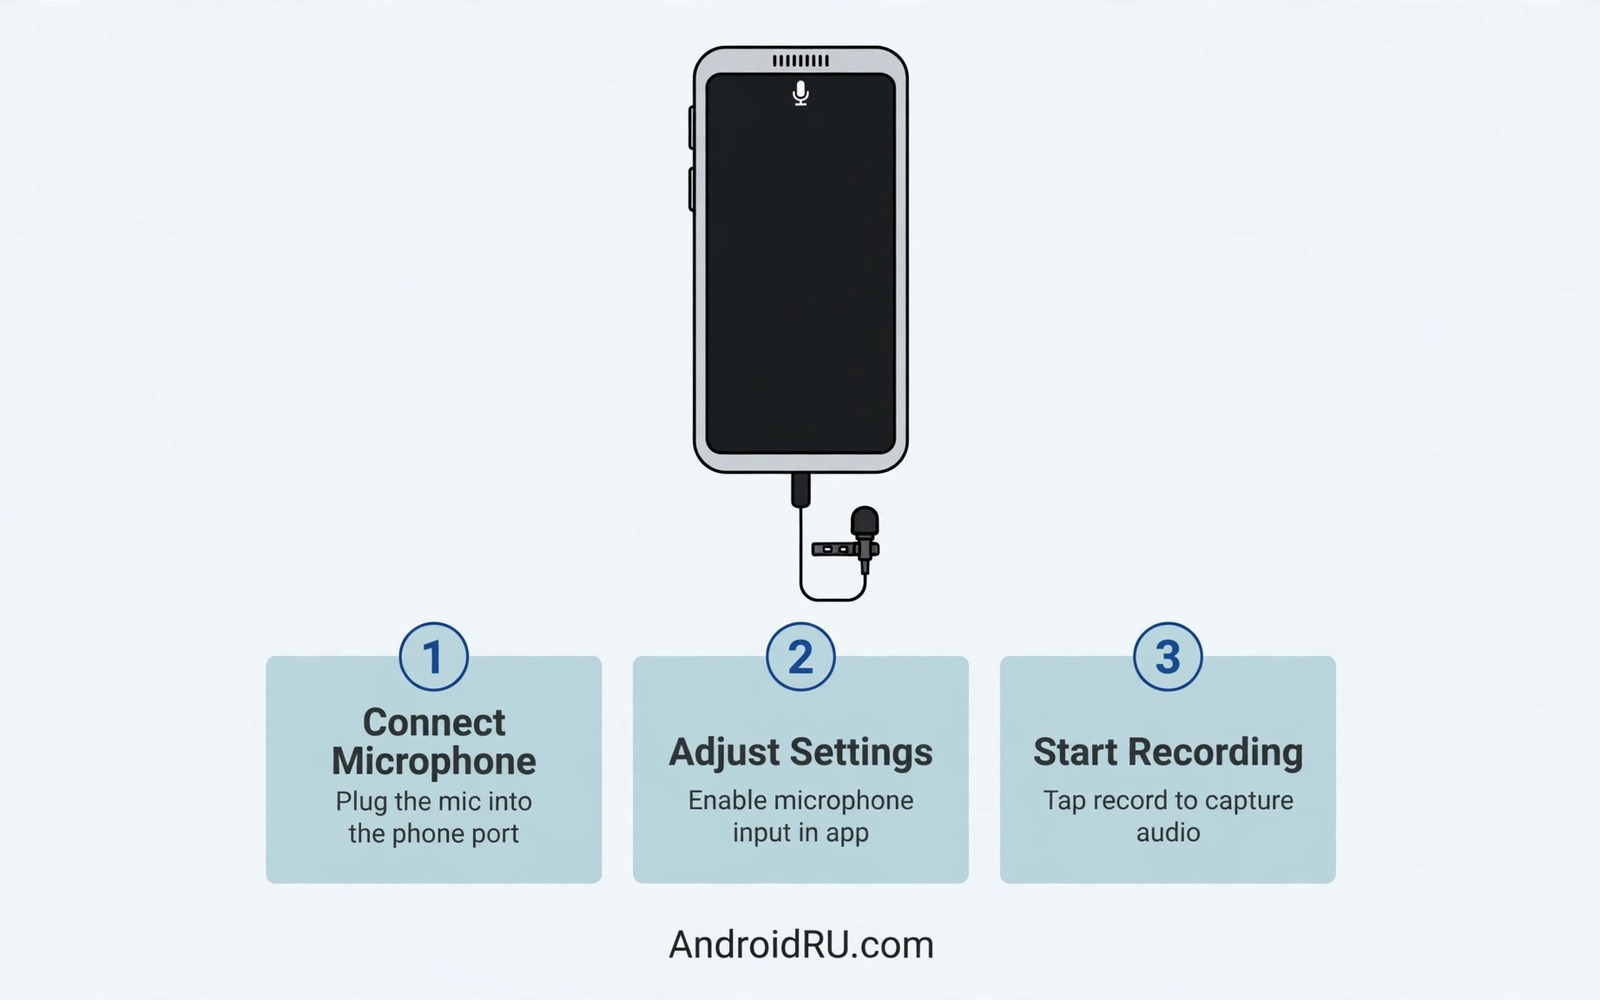
Phone microphones have improved a lot but they still sit far from the person speaking. A built-in mic picks up room echo and wind and handling noise alongside the voice. An external mic moves the capture point close to the source. That single change often improves audio more than any editing trick later. Clean audio also makes video feel professional even when the picture is modest.
Android handles external mics through a few different paths. A wired mic may connect through the headphone jack or through USB-C. A wireless mic may connect through a receiver that plugs into USB-C. Each path has its own quirks for power and monitoring and app compatibility. Understanding the path before you buy prevents the familiar frustration of a mic that works in one app and stays silent in another.
This guide covers wired and wireless options in plain terms. You will learn how to check compatibility and how to set levels and how to monitor while recording. You will also learn how to avoid common traps such as wrong adapter wiring and hidden noise suppression. The goal is reliable audio you can trust on the first take.
Choose the right mic for the job
A lavalier mic suits interviews and talking head videos because it clips near the chest and stays close while the speaker moves. A shotgun mic suits outdoor scenes because it focuses on sound in front of it and rejects some side noise. A handheld dynamic mic suits loud environments and live reporting because it handles high volume without distortion. Match the mic pattern to the scene rather than buying the most expensive mic you can find.
Power matters for some mics. Condenser mics need power from the phone or from a battery pack. Dynamic mics need no power but they produce a lower signal that may need gain. A mic that sounds quiet on your phone may simply need more gain rather than replacement. Check the mic specifications for power needs before you assume a fault.
Think about monitoring early. A mic system with a headphone output lets you hear exactly what is being recorded. Without monitoring you discover problems only after the take ends. A small headphone adapter or a receiver with a monitor jack is worth its cost for any serious recording. Your ears catch wind noise and cable rustle faster than any meter.
Understand adapters and USB-C audio
Phones without a headphone jack need a USB-C adapter for wired mics. Not all adapters pass microphone audio. Some adapters carry only headphone output and ignore mic input entirely. Look for an adapter that explicitly supports microphone input and a headset with mic. A cheap adapter that lacks mic support will leave you recording through the built-in mic while the external mic sits unused.
TRRS wiring adds another trap. A four pole plug carries left and right audio plus mic plus ground in a specific order. Different standards swap mic and ground positions. An adapter built for the wrong standard may produce silence or buzz. Buy adapters from sellers who state the wiring standard clearly and test with a short recording before a real shoot. A five minute test saves a ruined interview.
USB-C digital mics avoid analogue wiring problems by sending digital audio directly. They often include their own gain control and headphone monitoring. They may draw more power and they may need an app that supports USB audio. Test a digital mic in your chosen recording app rather than only in the default camera app. App support varies more than hardware support in practice.
Set levels before the real take
Good levels sit in a middle range with peaks below distortion. Aim for speech peaks around minus twelve decibels when your app shows a meter. That headroom protects loud laughs and sudden words from clipping. Clipped audio sounds harsh and cannot be repaired cleanly later. Quiet audio can be raised later but raising it also raises background noise.
Record a thirty second test in the real location. Ask the speaker to talk at normal volume and then at their loudest expected volume. Listen back on headphones and watch the meter during loud parts. Adjust gain in small steps until loud parts stay below clipping and quiet parts stay clearly audible. Repeat the test after moving to a new room because echo and background noise change the balance.
Disable aggressive noise suppression for controlled recordings when your app allows it. Noise suppression can help a phone call but it can also cut quiet speech and create pumping artefacts in music. For a quiet indoor interview a clean raw recording with light editing later often sounds more natural. For a windy outdoor scene a wind cover on the mic matters more than any software filter. Readers who film outdoors will also benefit from smooth handheld video without a gimbal because stable picture pairs with stable audio.
Make the camera app actually use the mic
Some camera apps default to the built-in mic even when an external mic is connected. Open the audio settings inside the camera app and look for an external mic or USB audio option. If the app offers no such option then test a dedicated recording app that lists the external device by name. A dedicated app often exposes gain and monitoring that a simple camera app hides.
Test across apps with the same mic and the same words. Record ten seconds in the camera app and ten seconds in a recorder app and compare. A mic that works in one app but not another points to an app setting rather than a hardware fault. Note which app works reliably and use that app for important takes. Consistency beats features when audio matters.
For video with separate audio you can record sound on a second device as a backup. Clap once on camera at the start so the clap spike aligns picture and sound later. A backup track saves a take when the main mic cable fails mid sentence. Professional crews use redundancy for a reason and a phone makes redundancy cheap.
A small script to check recorded audio levels
The script below reads a recorded audio file and prints peak and average levels. It helps you judge whether a test take was too quiet or too loud. Run it on a computer after copying the test file from your phone. The script works on local files only.
import wave
import struct
with wave.open("test.wav", "rb") as audio:
    frames = audio.readframes(audio.getnframes())
    samples = struct.unpack("<" + "h" * (len(frames) // 2), frames)
peak = max(abs(sample) for sample in samples) / 32768.0
average = sum(abs(sample) for sample in samples) / len(samples) / 32768.0
print(f"Peak level: {peak:.3f}")
print(f"Average level: {average:.3f}")
The code above was written for this guide as an original audio level checker. It reads a local WAV file and reports peak and average values as simple numbers. A peak near one means clipping risk and a very low average means the recording will need gain. The script never uploads audio and it never changes the recorded file.
Reduce room echo without buying gear
Room echo makes a voice sound distant even with a good mic. Soft surfaces absorb reflections and improve clarity immediately. Record near curtains or a bookshelf rather than in the middle of an empty room. A car interior also works surprisingly well for voice because its soft seats tame echo. Location choice is free and it often beats a more expensive mic.
Keep the mic close and speak at a steady volume. A close mic captures more direct voice and less reflected room sound. A distant mic captures the room as loudly as the voice. That ratio decides clarity more than any software filter. A quiet room and a close mic together create a recording that needs little editing.
Common mistakes
The most common mistake is assuming the external mic is active because it is plugged in. Always record a test and listen back with headphones. A plugged mic with the wrong adapter may sit silent while the phone records through its built-in mic. A test take reveals the truth in seconds.
Another mistake is placing a lavalier too far from the mouth or under thick clothing. A mic clipped at waist level picks up more room echo than voice. Clip it near the upper chest and keep fabric away from the capsule. A small movement of a few centimetres can change clarity dramatically.
People also forget wind protection outdoors. A bare mic in a breeze produces low rumble that ruins speech. A foam cover helps in light wind and a furry cover helps in stronger wind. Wind protection costs little and it cannot be added after recording. Pack it even when the day looks calm.
Finally avoid recording with the phone in a pocket or a bag while using a wired mic. Cable movement creates rustle that transfers into the recording. Route the cable under clothing with slack near the mic and keep the phone still during the take. A stable cable path is as important as a good mic choice.
Frequently asked questions
Why does my external mic work for calls but not for video?
Calls and video apps may use different audio routes on Android. A mic that works for a call may still be ignored by a camera app that defaults to the built-in mic. Test the mic inside the exact app you plan to use. If that app lacks an external mic setting then switch to a recorder or camera app that lists the device.
Do I need a powered mic for Android?
It depends on the mic type. Many lavalier mics designed for phones work with plug-in power from the jack or USB-C. Studio condenser mics often need a separate power source or an interface. Check the mic power requirement before buying an adapter. A mic that needs more power than the phone provides will sound faint even with gain raised.
Can wireless mics match wired mic quality?
Modern wireless systems can sound excellent for speech at normal distances. They add convenience for moving subjects and they remove cable rustle. They also add battery management and pairing steps and possible interference. For a seated interview a wired mic remains the simplest reliable choice. For a moving presenter wireless freedom often outweighs the extra setup.
Conclusion
External mics improve Android audio by moving capture close to the voice and away from room noise. The right mic pattern and a compatible adapter and a careful level test matter more than brand prestige. Monitoring with headphones and testing inside the exact recording app prevent most failures. A backup track adds safety for takes that cannot be repeated.
Your concrete next step is to record a thirty second test today with any external mic you own. Use headphones to listen back and check whether the voice is clear and loud enough without clipping. If the test fails then check the adapter mic support first before buying a new mic. Readers who record video will also like recording 4K video without overheating and stabilising shaky mobile video quickly as practical companions.

