

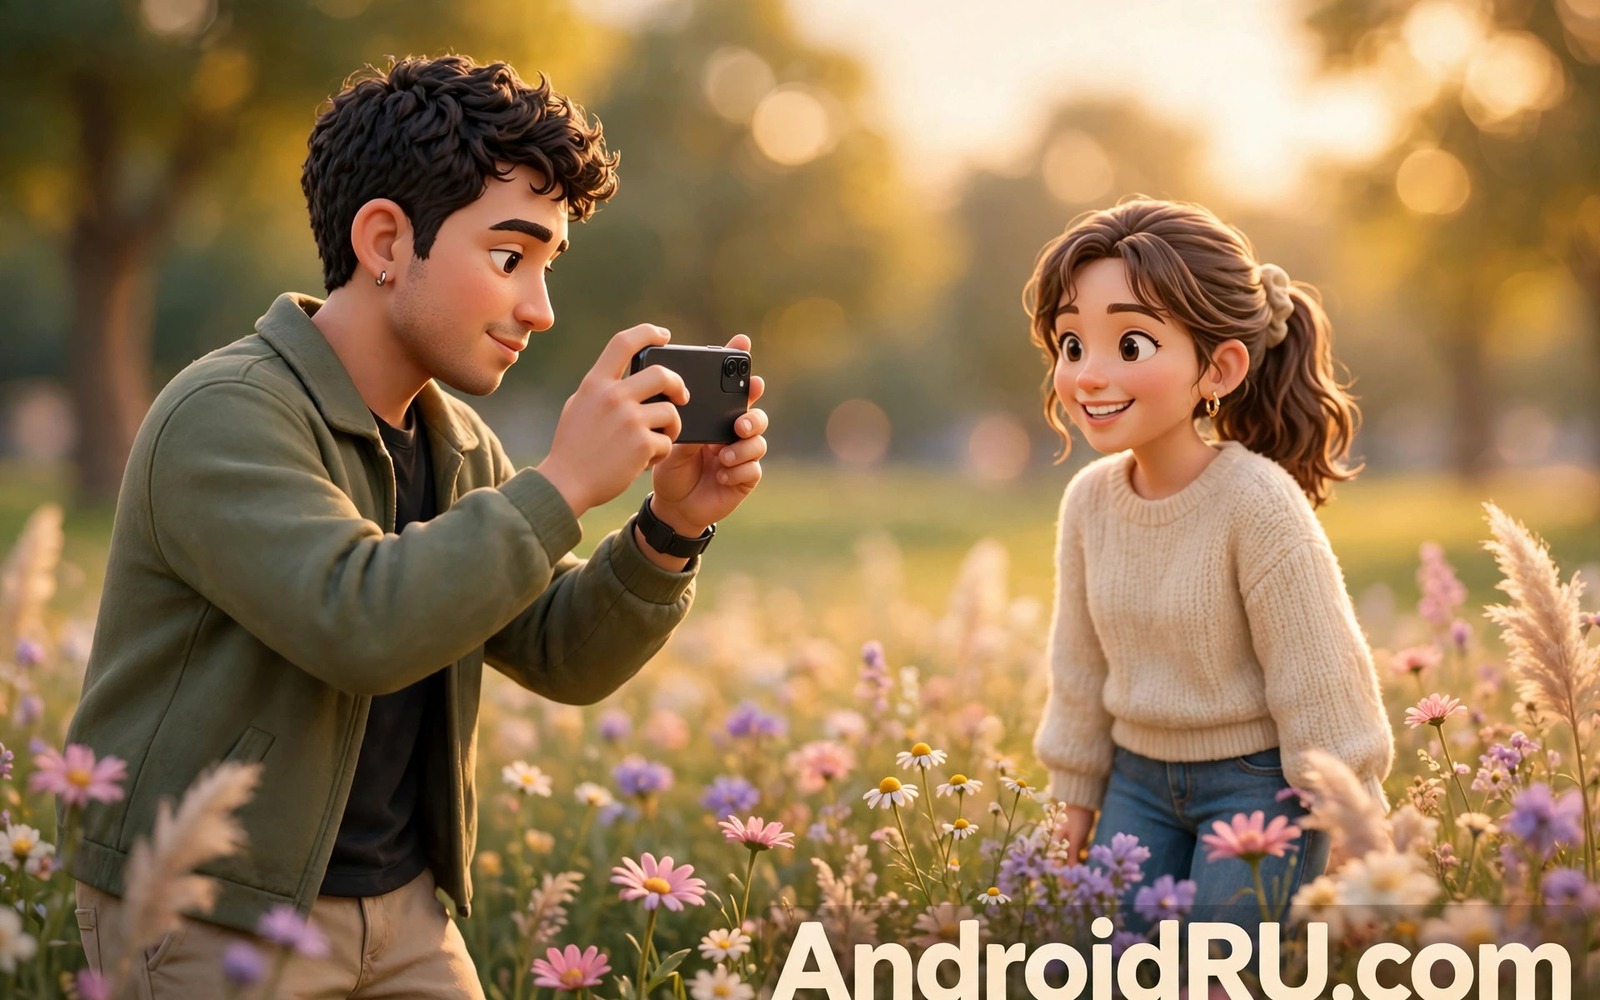
Background blur separates a subject from a busy scene. A sharp face against a soft background looks intentional. A sharp everything looks like a snapshot. Phones create blur through a mix of optics and software. Distance and aperture and sensor size all shape the blur. Software depth maps add extra blur on top. Understanding both paths lets you get blur on almost any phone.
Start with distance because it costs nothing. Move closer to your subject. Move your subject further from the background. A subject one metre from you and five metres from a wall blurs the wall strongly. A subject against the wall blurs almost nothing. Distance creates blur even without portrait mode. This rule works on every phone ever made.
Use the longest lens your phone offers well. A 2x view compresses background and enlarges blur shapes. A wide view keeps background sharper across the frame. Step back and use 2x for a portrait. The background will soften and the face will stay natural. A wide close shot keeps background detail that fights the subject. Long lens plus distance is the classic blur recipe.
Create Blur With Distance First
Test distance blur with a simple object on a table. Place a cup near the camera and a bookshelf behind it. Take a frame with the cup close and the shelf far. Take a second frame with the cup against the shelf. Compare background sharpness across the two frames. The far shelf version will show soft shapes. The near shelf version will show readable book titles. That test proves distance matters more than app settings.
Apply the same test to people outdoors. Place a friend away from trees and walls. Stand close enough for a head and shoulders frame. Let the background fall far behind. Shoot with the main lens first. Check background softness on the preview. Move the friend further from the background if blur looks weak. Small background moves create large blur changes.
Use foreground blur creatively as well. Place leaves or a fence near the lens edge. Shoot through that foreground toward a sharp subject. The near foreground turns into soft colour shapes. Those shapes frame the subject naturally. Foreground blur adds depth that background blur alone cannot create. Keep foreground shapes at the edges so they do not cover the face.
Use Portrait Mode Wisely
Portrait mode adds software blur based on a depth map. The phone estimates distance for each part of the scene. Near parts stay sharp and far parts blur. Good light helps the depth map stay accurate. Poor light makes edges bleed and hair turn patchy. Test portrait mode in your actual light before trusting it. A clean depth map beats a strong blur setting every time.
Keep blur strength moderate for believable results. Maximum blur looks like a cutout pasted on a painting. Moderate blur keeps background shapes recognisable. Recognisable shapes give context without distraction. A street scene with soft but readable lights feels real. A street scene with pure colour blobs feels artificial. Lower the blur slider until background context returns slightly.
Check edges carefully after portrait mode fires. Hair and glasses and earrings challenge depth maps most. Zoom into those edges at full size. Look for sharp background patches inside hair. Look for blurred ear edges that should stay sharp. Retake with better light when edges fail. Better light fixes more edge errors than any editing slider. Shooting DSLR quality portraits on a budget phone covers depth control for portrait work.
Add Blur In Editing When Needed
Editing blur helps when capture blur falls short. Many editors offer a blur brush or a radial blur tool. Paint blur onto the background only. Keep the subject mask tight around hair and shoulders. Feather the mask edge so blur fades naturally. A hard mask edge looks like a cardboard cutout. A feathered edge looks like optical blur.
Use gradient blur for landscape subjects. Blur increases with distance in real optics. A gradient that grows stronger toward the far background mimics optics. Apply light blur near the subject. Apply stronger blur at the horizon. That gradient creates depth without a fake look. Avoid uniform blur across a whole landscape. Uniform blur flattens depth rather than creating it.
Match blur shape to light sources in the background. Round bokeh shapes come from round apertures. Some editors let you choose bokeh shape and size. Large round lights suit night portraits. Small soft blur suits daylight portraits. Overlarge bokeh distracts from the subject. Keep bokeh smaller than the subject’s face. Subtle bokeh supports a portrait. Giant bokeh steals it.
Blur For Objects And Food
Object photos benefit from blur as much as portraits do. Place a watch or a coffee cup away from background clutter. Shoot from a low angle with a long lens view. Let the table surface blur toward the back. A soft table gradient leads the eye to the object. A sharp table full of crumbs distracts from it. Distance plus angle creates product photo calm.
Food photos need a different blur balance. Diners want to see texture in the dish. Blur the table edges but keep the whole dish sharp. Shoot from a forty five degree angle for most dishes. That angle keeps the dish plane mostly in focus. Blur the restaurant background behind the dish. A sharp dish plus soft restaurant feels appetising. A fully blurred dish feels like a mistake.
Try blur for street details like signs and flowers. Isolate one flower against a soft garden. Isolate one sign against a soft street. Isolation turns an ordinary detail into a subject. Without isolation a detail drowns in clutter. With isolation it gains a story. Practice isolation daily with one object per walk. Editing RAW photos like a professional photographer shows masking techniques for precise blur control.
Test Blur In Different Light
Test blur at golden hour for warm bokeh lights. Low sun creates long shadows and glowing background points. Background lights turn into warm round shapes. A subject backlit by low sun gains a rim glow. Blur plus rim light creates a premium portrait feel. Shoot quickly because golden light changes fast. A five minute window can change the whole mood.
Test blur at night with street lights behind the subject. Night blur turns lights into large soft discs. Place the subject away from the brightest light. Let lights sit behind and to the side. Check exposure so the face stays bright enough. A dark face against bright bokeh loses the portrait. Add a small fill light for the face when needed. Fill plus bokeh is a classic night portrait recipe.
Test blur indoors with window light and lamps. Indoor backgrounds often include clutter that blur must hide. Move the subject away from shelves and screens. Let lamps become soft background glows. Check that no bright screen remains sharp behind the head. A sharp bright rectangle behind a head distracts instantly. Move the subject or the camera until that rectangle softens.
Test blur with a moving subject for a dynamic feel. A cyclist passing a soft background looks fast even at a normal shutter speed. Blur plus motion tells a speed story. Keep the cyclist sharp and the background soft. Pan the phone with the cyclist to keep sharpness. Panning plus blur creates a professional action portrait. Practice panning on a quiet street before a race day.
blur_distance = subject close background far
blur_lens = longest clean lens
blur_mode = portrait tested first
blur_strength = moderate not maximum
blur_check = zoom hair edges
The snippet above is an original blur checklist written for this guide. It lists only standard camera steps for your own Android phone. It does not copy instructions from any outside source.
Compare blur results across your phone lenses before a portrait session. The main lens and the telephoto lens blur differently. The telephoto lens usually gives stronger background separation. The main lens usually gives cleaner low light results. Choose the lens by light and distance rather than by habit. A lens comparison test takes ten minutes and improves every portrait after it.
Print a favourite blurred portrait to judge blur at physical size. A screen hides edge errors that a print reveals. Check hair edges and background shapes on paper. A print that still looks soft and natural proves the method. A print with hard cutout edges signals a mask problem. One print test improves all future blur work. Keep the successful print as a reference for your standard blur strength.
Common Mistakes
One common mistake is to rely on portrait mode alone for blur. Portrait mode fails in poor light and on complex edges. Distance blur works in all light. Another mistake is to use maximum blur strength always. Maximum blur looks fake and removes context. Use moderate blur for believable depth.
A third mistake is to place the subject against a wall and expect blur. No software creates strong blur without distance. Move the subject away from the background first. A fourth mistake is to ignore foreground clutter. Foreground clutter stays sharp and distracts even with background blur. Clear the foreground or blur it deliberately. Photo editing tricks for a viral feed shows editing blur that complements capture blur.
Frequently Asked Questions
Can I get background blur without portrait mode?
Yes through distance and lens choice. Move close to the subject and far from the background. Use the longest clean lens view. That optical blur works on any phone. Portrait mode adds extra blur on top when it works well.
Why does portrait mode cut into hair?
Depth maps struggle with fine hair strands against busy backgrounds. Good light and a clean background help greatly. A larger gap between subject and background also helps. Retake in better light when edges fail. Editing can fix small edge errors only.
Does blur work for landscape photos?
Blur suits a single landscape subject like a lone tree. It suits a flower in a field. It does not suit a grand vista where everything should stay sharp. Use blur to isolate a detail. Keep grand scenes sharp from front to back.
Conclusion
Find a friend and a plain background gap today. Shoot one portrait against a wall and one with five metres behind the subject. Compare background softness at full size. Make distance your default blur tool and use portrait mode only as a helper. That habit gives dynamic blur on any phone you own.

