

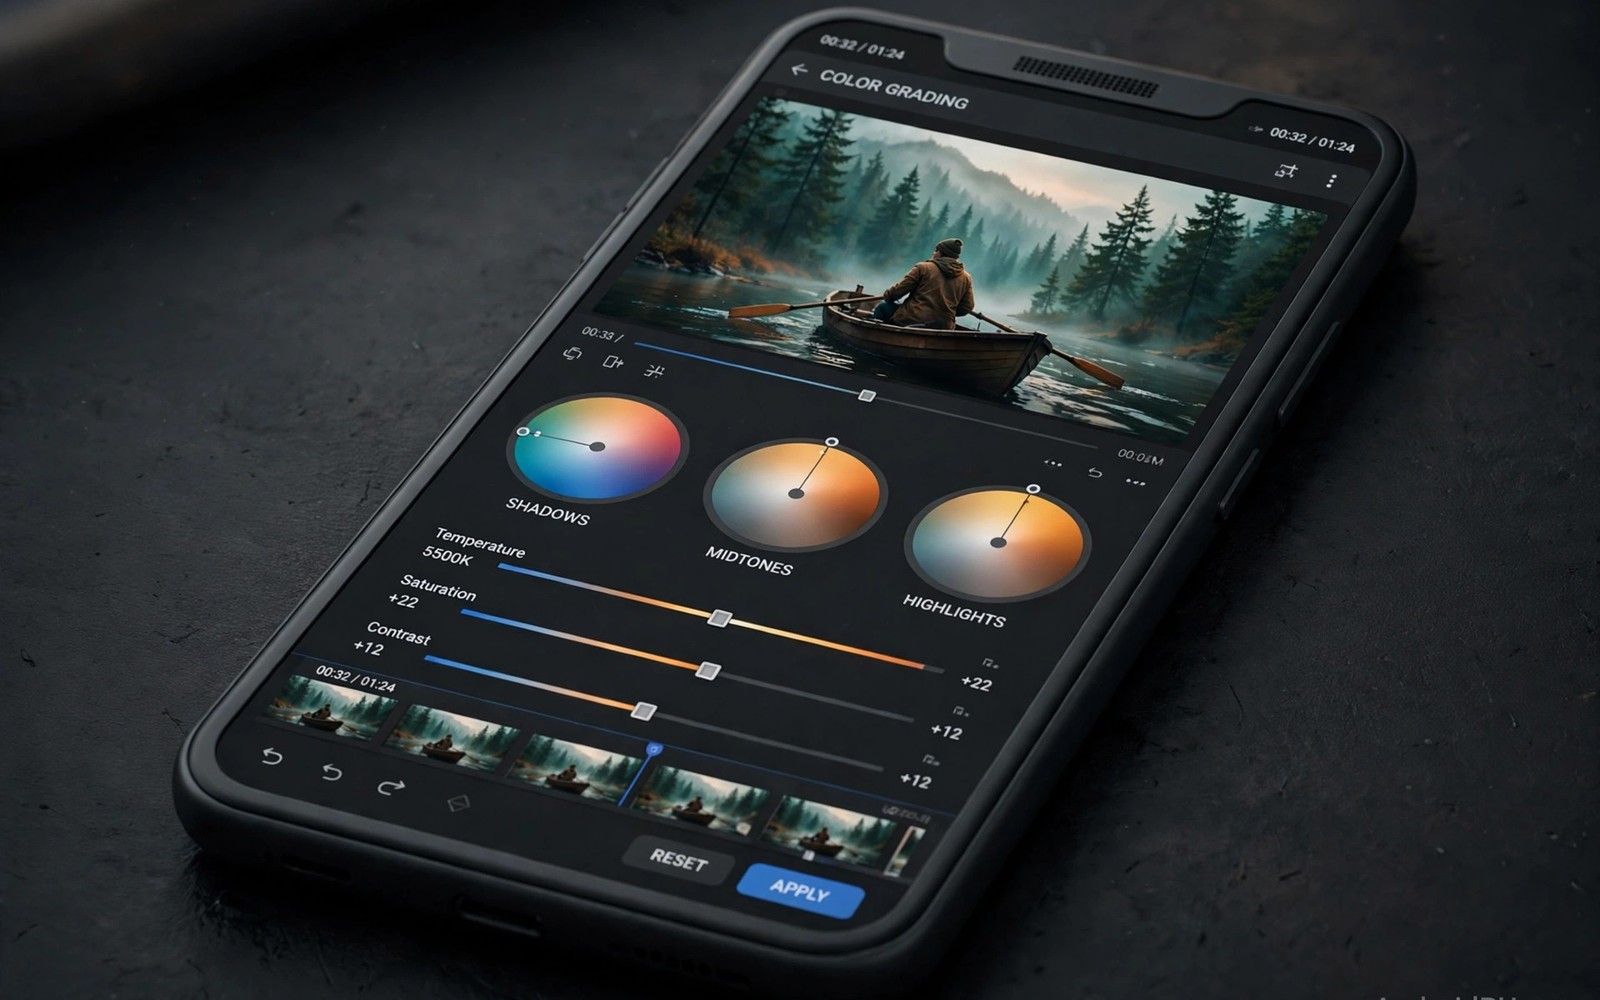
How to Color Grade Mobile Footage Using Custom LUTs on Android
Flat phone footage looks dull straight out of the camera, and that is exactly the point. A flat or log profile keeps highlight and shadow detail that a finished look would throw away, and a custom LUT is the fastest way to turn that grey, washed-out clip into something with mood. A LUT, short for lookup table, maps every colour value in your footage to a new value in one step, so a single tap can give a whole scene a warm travel feel or a cool cinematic tone. On Android, this workflow has become practical: mobile editors now import .cube files, preview looks in real time, and export graded video without a desktop computer in sight.
The difference between a good grade and a garish one is rarely the LUT itself. It is the footage underneath it and the restraint applied on top of it. A gentle LUT at half strength on well-exposed flat footage looks professional. A dramatic LUT at full strength on standard colourful footage looks like a filter slapped on by accident. This guide walks through the whole process: shooting for grading, picking the right LUT for the story, importing it on Android, dialling in strength, fixing skin tones, and exporting without losing the look.
Before you grade anything, it helps to have the capture side right. If you have not set your frame rate yet, read the guide on cinematic 24fps video on Android first, because frame rate and colour work together to sell the film look. A 24fps clip with a gentle film LUT reads as cinema; the same LUT on shaky 60fps footage reads as a phone video with a filter.
What a Custom LUT Does to Mobile Footage
A LUT is a table, not a magic wand. Every pixel that enters the table comes out with a new brightness and colour value, following rules a colourist designed in advance. A technical LUT converts log footage into a standard display look, restoring contrast and saturation that the flat profile deliberately withheld. A creative LUT adds a stylistic mood on top: lifted blacks for a film feel, warm highlights for golden hour, or a cool teal push for drama. The same LUT produces different results on different clips because the input colours differ, which is why testing on your own footage matters more than any preview thumbnail.
Think of the LUT as the first 80 percent of a grade, not the finished product. After applying it, you still adjust exposure, white balance, and saturation for each clip, because no preset knows how your scene was lit. Colour grading on Android works best when the LUT sets the direction and your manual tweaks finish the job. That combination is what separates a consistent project from a collection of clips that happen to share a preset name.
Technical LUTs vs Creative LUTs
Technical LUTs exist to correct, creative LUTs exist to stylise. When you shoot in a log or flat profile, apply a technical conversion LUT first so the footage looks normal, then add one gentle creative LUT on top if the story needs a mood. Stacking two strong creative LUTs usually crushes shadows, blows highlights, and turns skin orange. One technical conversion plus one gentle creative look is the safest recipe for consistent mobile footage. One conversion plus one gentle look is a safe recipe that holds up across a whole project.
Technical LUTs exist to correct, creative LUTs exist to stylise. When you shoot in a log or flat profile, apply a technical conversion LUT first so the footage looks normal, then add one gentle creative LUT on top if the story needs a mood. Stacking two strong creative LUTs usually crushes shadows, blows highlights, and turns skin orange. One conversion plus one gentle look is a safe recipe that holds up across a whole project.
Why Two Strong LUTs Break Skin Tones
Each creative LUT pushes colours in its own direction. Two of them together can push skin from warm to orange to red in a single pass, and no amount of later correction brings back the detail that was clipped. If a scene needs more mood, raise the strength of one LUT slightly instead of adding a second one.
Shoot Flat or Log Before You Grade Custom LUTs
Grading starts before you press record. A flat or log profile records a wider range of brightness in the file, keeping detail in bright skies and dark shadows that a standard profile would crush or clip. That extra detail is the raw material a LUT works with. Standard colourful footage already bakes in strong contrast and saturation, so a LUT applied on top has nowhere to go and quickly looks overdone. Shoot flat when you plan to grade, and shoot standard when you plan to share immediately without editing.
Not every Android phone offers a true log mode. Some camera apps provide a flat profile, others rely on third-party camera apps that expose manual controls. If your phone lacks a flat mode, you can still grade, but you must reduce LUT strength dramatically and accept a subtler result. Check your camera app settings for log, flat, or HDR video options before a shoot, and test a short clip at home so you know what the footage looks like before it matters.
Exposure Matters More Than the LUT You Pick
A LUT assumes balanced input. A dark clip under a LUT stays dark and muddy, while a bright clip blows out in the same places it would have blown out without the LUT. Expose for the highlights on a bright day and lift shadows later, and keep skin tones near the middle of the range. Balanced input plus a gentle LUT produces the cleanest result every time.
Importing Custom LUTs on Android Video Editors
Most Android editors that support custom LUTs accept .cube files, the standard format colourists share. Import the LUT before grading begins, because adding LUTs mid-project can disrupt edits that already reference colour adjustments. Some editors store LUTs in a dedicated folder on internal storage, while others import them per project. Check your editor guide for the exact import path, and keep your LUT files in the project folder alongside footage and edit files so a future reopening of the project finds them.
On a computer, the same workflow uses a command-line tool. Running ffmpeg -i input.mp4 -vf lut3d=film.cube -c:v libx264 -crf 18 graded.mp4 applies a .cube file to a clip, and ffprobe -v error -show_entries stream=width,height -of default=noprint_wrappers=1 input.mp4 confirms the clip dimensions before you start. These commands are useful when you want to batch-grade several clips or check a LUT on a computer screen before committing to it on the phone.
Step-by-Step LUT Import on a Mobile Editor
Open your editor, create the project at the same frame rate and resolution as your footage, then import the .cube file through the colour or LUT panel. Apply it to a single clip first, reduce its strength to around 50 percent, and adjust exposure and white balance underneath it. Only when that one clip looks right should you copy the same LUT and strength to the rest of the scene.
Organising Your LUT Library on Android
Keep five trusted LUTs instead of two hundred untested ones. Name favourites by mood, such as warm travel and cool drama, so you can pick fast during an edit. A small collection you understand covers most projects better than a huge library of looks you never tested, and it keeps your projects consistent from scene to scene.
LUT Strength, Exposure, and White Balance After the Look
Strength is the most powerful control you have, and most editors expose it as an opacity or intensity slider. A LUT at 50 percent often looks better than the same LUT at full strength because it preserves natural skin and keeps highlights from clipping. Treat full strength as a maximum rather than a default. After setting strength, correct exposure: if the clip still looks dark or bright compared with its neighbours, adjust it now, because a LUT cannot fix an exposure problem, it can only restyle it.
White balance deserves the same attention. A LUT designed for daylight footage will look wrong on a clip shot under warm indoor light, and the fix is to correct white balance before the LUT, not after it. Correct first, stylise second. That order keeps skin believable and prevents the LUT from amplifying a colour cast that was already in the footage.
Choosing the Right LUT for Travel, Interviews, and Music Videos
Match the LUT mood to the story, not to a favourite look you use for every project. Travel footage suits warm LUTs that enhance golden light and blue water without oversaturating skin. Documentary footage suits neutral LUTs that keep colours honest and skin believable. Horror or drama suits cooler LUTs with lifted blacks that feel moody. Music videos allow bolder grading because style is part of the performance, while interview footage needs the most restrained grading because viewers focus on faces and words.
Travel Footage and Warm LUTs
Apply a warm LUT at moderate strength and check faces in every clip, because travel videos mix landscapes and people constantly. Keep saturation natural so destinations look real rather than painted. A travel grade should feel sunny and inviting, and a gentle warm look at reduced strength does that without turning sand orange or sea green.
Interview Footage and Neutral LUTs
Use a neutral LUT that corrects log footage without adding a strong colour cast, then check skin tones on a larger screen and adjust warmth slightly for a healthy look. Restraint in interviews builds trust because the speaker looks natural and honest. If you shoot interviews handheld, the guide on smooth handheld video without expensive gimbals will help the footage stay steady enough that the grade, not the shake, is what viewers notice.
Music Videos and Bold LUTs
Experiment with stronger LUTs and contrast for music clips where mood matters more than realism. Even bold music grades should keep skin recognisable and avoid crushing detail completely. Bold does not mean careless, and a strong look still needs balanced exposure underneath it.
Grading Beyond the LUT: Skin Tones and Scene Consistency
A LUT is a starting point, and skin tone correction deserves separate attention after it is applied. LUTs affect skin along with everything else, so use a secondary colour tool when your editor offers one to nudge skin toward natural tones. Small skin corrections make a large difference in viewer comfort: viewers forgive landscape colour shifts far more readily than skin shifts. Test LUTs on skin first, because skin reveals a bad LUT instantly, and check faces at full screen before committing to a whole project.
Consistency across a scene matters more than perfection on a single clip. Copy the same LUT and strength across all clips in a scene, and vary only small tweaks between them. Use adjustment layers or copied effects when your editor supports them. Inconsistent grading between shots breaks immersion even when individual shots look good, and a viewer will feel the project is disjointed without knowing why.
Exporting Graded Footage Without Losing the Look
Export at the same frame rate and resolution as your timeline to preserve the graded look. A mismatched export can shift colours or introduce judder that grading cannot fix. Choose a high quality export setting for a master copy and a smaller setting for sharing, and keep the master copy for future edits because regrading a compressed share file loses quality. Always check the exported file on a different screen before you publish it. Check the exported file on a different screen, because phone screens exaggerate colour and brightness, and a grade that looks perfect on your phone may look dark on a television.
Long 4K sessions heat a phone, and heat can throttle the export or stop a recording. If you shoot long graded projects in 4K, read the guide on recording 4K video without overheating your phone so the capture side survives the session. Back up your LUT files with your project, because a lost LUT makes future edits impossible to match, and a complete project archive includes footage, LUTs, and edit decisions together.
Common LUT Mistakes That Ruin Mobile Footage
The biggest mistake is applying a strong LUT at full strength to standard colourful footage, which crushes shadows and oversaturates skin within seconds. The second is grading each clip with a different LUT, which makes the project look disjointed. The third is forgetting to correct exposure before applying the LUT and then blaming the LUT for a bad result. Good input plus a gentle LUT beats a dramatic LUT on poor input every time.
Another common mistake is judging a LUT on a single frame instead of a moving clip. A still frame can look striking while the same grade flickers or shifts as the camera moves through changing light. Always preview the graded clip in motion, at full screen, before copying the grade to the rest of the scene.
Frequently Asked Questions About Custom LUTs on Android
Do I need paid LUTs for good results?
No. Many free LUTs work beautifully when applied gently to well exposed flat footage. Paid LUTs offer variety and sometimes better skin handling, but free LUTs cover most common looks adequately. Spend money on a LUT pack only after you have learned to grade well with free ones, because technique matters more than the preset collection.
Can I create my own LUT on Android?
Creating a true .cube LUT usually needs desktop software, but you can save a grade as a preset in many mobile editors, and that preset functions like a custom LUT for future projects in the same app. On a computer, you can also grade one representative frame, export the correction as a .cube file, and then import that file back into your Android editor.
Why does my LUT look different on each clip?
LUTs map input colours, so different lighting and exposure produce different outputs. Balance each clip before the LUT for more consistent results across a scene, and use the same LUT at the same strength for every clip in that scene. If one clip still looks off, adjust its exposure underneath the LUT rather than changing the LUT itself.
Should I grade before or after cutting the video?
Cut first, grade second. Grading before the edit wastes time on clips that will be deleted, and a grade applied to a finished timeline stays consistent across the final cut. Import your LUTs before grading begins, but apply them only after the edit is locked.
Colour grading mobile footage with custom LUTs starts with flat capture and a gentle technical conversion. Choose a LUT that matches your story, apply it consistently across a scene, and adjust exposure and skin tones after the LUT for a finished professional look. Your concrete next step is to shoot a short flat clip today and apply one gentle LUT at half strength tonight. Compare the graded clip with the original tomorrow, note where the look helps, and keep the LUT only if the graded version genuinely looks better than the original.

