

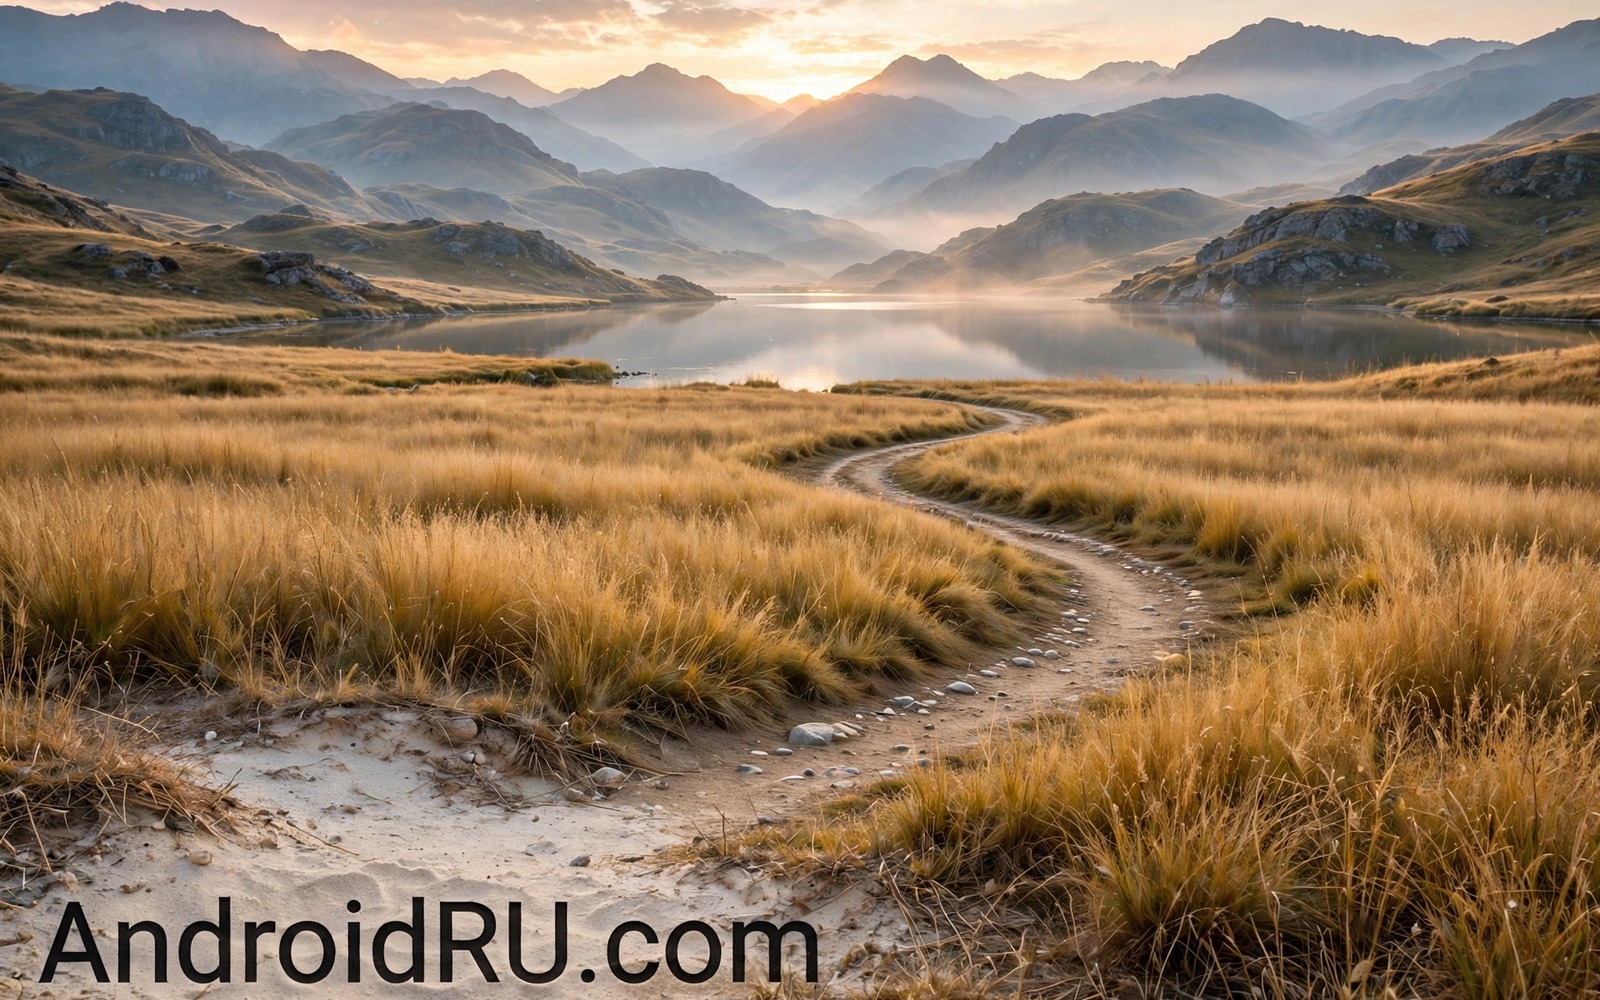
Landscape photos fail when the scene feels flat even though the view felt magnificent in person. The camera compresses distance and it flattens layers that your eyes separated easily. Composition tricks restore that depth by giving the eye a path into the frame and a reason to linger. A phone can capture stunning landscapes when the photographer arranges those paths deliberately.
The seven tricks in this guide work without special lenses or paid apps because they rely on position and patience. You will learn to use foreground interest and leading lines and layers of distance. You will also learn when to break the rules for a stronger image. Readers who want sharper general results can pair these ideas with camera hacks that upgrade everyday mobile photos for light and stability basics.
Arrive early at a landscape location and walk the scene before you shoot a single frame. Look for a foreground object that anchors the bottom of the image and a line that leads toward the horizon. Notice how light moves across the scene and wait for a moment when shadows add shape. That scouting walk often produces the best photo of the day before the main shoot even starts.
Anchor the frame with foreground interest
A strong foreground object gives scale and depth to a landscape that would otherwise feel distant. A rock or a flower or a fence post near the camera creates a near layer that the eye enters first. Place that object low in the frame and let the landscape unfold behind it. The contrast between near detail and far vista makes the whole image feel larger.
Get low to make the foreground object dominate because a low angle exaggerates its size against the background. Crouch or kneel and place the phone close to the object while keeping the horizon visible. Check that the foreground stays sharp enough to read even when the background carries the main subject. A blurry foreground blob adds little while a recognisable foreground anchor adds a lot.
Foreground interest also helps in dull light because near texture carries the image when distant colour fades. Wet rocks and detailed bark and patterned sand all work well as anchors. Avoid foreground objects that block the main subject or create a distracting bright spot at the edge. The anchor should invite the eye inward rather than trap it at the border.
Use leading lines to guide the eye
Paths and rivers and fences and shadows form natural lines that pull the viewer into a landscape. Place a line so it enters from a bottom corner and travels toward the main subject. That diagonal journey feels dynamic while a line straight up the middle can feel static. Follow the line with your eyes before you shoot and check where it actually leads.
Curved lines add elegance because they slow the eye and create a sense of wandering through the scene. A winding river or a curving beach edge invites exploration in a way that a straight road rarely does. Position yourself so the curve unfolds across the frame rather than disappearing immediately off the edge. Patience in positioning often matters more than any camera setting.
Lines can also frame a subject when two lines converge toward it from opposite sides. A valley or a tree lined road creates that natural frame and focuses attention powerfully. Watch for lines that lead out of the frame instead because they drag the eye away from the subject. Move a few steps to redirect those lines or crop them out in the original framing.
Layer distance for depth
Landscapes gain depth when the frame holds distinct near and middle and far layers. A foreground rock and a middle tree line and a distant mountain range create that layered feeling. Each layer should carry its own tone or colour so the eye can separate them easily. Haze between layers actually helps because atmospheric perspective softens distant layers naturally.
Overlap helps layers read clearly because one layer partially hiding another proves distance to the brain. Place a tree in front of a hill and a hill in front of a mountain to build that overlap. Avoid stacking layers directly behind each other without offset because they merge into one flat shape. A small sideways move often creates the overlap that a straight view lacks.
Scale objects such as a person or a building inside a middle layer give vast landscapes a human measure. A tiny figure against a huge mountain tells the viewer how large the scene truly is. Keep the figure small and unobtrusive so it measures rather than dominates. That scale trick turns an empty vista into a story about place and people.
Place the horizon with intention
Horizon placement decides whether sky or land dominates a landscape photo. A low horizon emphasises dramatic sky and clouds while a high horizon emphasises textured foreground and ground. Choose based on which element carries more interest in that moment. A horizon through the middle splits attention and usually weakens both elements.
Keep the horizon level unless a deliberate tilt serves a clear purpose because a slanted horizon distracts viewers instantly. Use the grid lines on your phone to check level before you shoot. A tilted sea horizon looks like a mistake even when the rest of the image shines. Correct a slight tilt in editing when the original framing missed level by a small amount.
adb shell settings put system camera_grid_lines 1
adb shell dumpsys display | grep -i orientation
adb shell input keyevent 27
The commands above follow the standard Android developer workflow for checking camera grid and display orientation from a computer. Credit for this method belongs to the wider Android developer community that outlines these tools for everyday grid and orientation checks.
Wait for light and weather to help
Light transforms the same landscape from ordinary to stunning within minutes at sunrise and sunset. Long shadows carve texture into hills and fields that flat midday light hides. Plan landscape shoots for golden hour and arrive early enough to scout before the light peaks. A few minutes of perfect light reward an hour of patient waiting.
Weather that looks bad for comfort often looks great for photography because clouds add drama and rain adds reflections. Storm light after rain creates saturated colours and dark skies that contrast beautifully with lit foregrounds. Protect the phone from rain with a simple cover and wipe the lens often. Some of the best landscape photos come from days when most people stay indoors.
Reflections double a landscape when water sits calm in the foreground. Shoot low near a lake or a puddle and include both the subject and its mirror image. Calm mornings give the cleanest reflections while wind ripples break the mirror into texture. Both effects work but they create very different moods so choose the one that matches your story.
Simplify the scene before you shoot
Simplification strengthens landscapes because a single clear subject beats a crowded frame every time. Remove one element from your composition and see whether the image improves. Often the weakest tree or the extra hill adds nothing and its removal clarifies the story. Strong photographers edit with their feet before they edit with software.
Negative space gives a subject room to breathe and it creates calm in a landscape that might otherwise feel busy. A clean sky above a mountain or a still lake below a peak provides that breathing room. Do not fear empty areas because emptiness focuses attention on what remains. A frame packed edge to edge rarely feels as powerful as a frame with deliberate space.
Symmetry suits reflections and formal scenes where balance itself becomes the subject. Place a mirrored lake scene with the horizon centred when symmetry serves the story. That centred placement breaks the usual horizon rule but it works because the mirror demands balance. Break rules only when the scene clearly rewards the exception.
Common mistakes
The biggest mistake is shooting only from standing height at a viewpoint crowded with other photographers. Walk away from the viewpoint and find a lower or higher angle that others ignore. A unique angle often matters more than a unique location because it changes the whole composition.
Another mistake is including too much sky or too much foreground without a reason. Every part of the frame should earn its place by adding depth or colour or story. Crop mentally before you shoot and remove the weakest third of the scene from your framing.
People also forget to check the edges for intruding branches and signs and strangers. Edge distractions pull attention away from the main subject even when the centre shines. Scan all four edges before pressing the shutter and move slightly to clean them.
Frequently asked questions
Should I use the ultra wide lens for landscapes?
Ultra wide lenses suit landscapes with strong foreground interest because they exaggerate near objects. They weaken distant subjects so avoid them when the mountain itself is the main story.
Does HDR help landscape photos?
HDR helps when sky and foreground differ greatly in brightness because it balances both. Use moderate HDR to avoid a flat grey look that erases natural contrast.
How do I keep landscapes sharp front to back?
Focus on a point about one third into the scene and use a smaller aperture effect when your phone offers it. That focus point usually keeps both foreground and background acceptably sharp.
Conclusion
Stunning mobile landscapes come from foreground anchors and leading lines and layered distance and intentional horizons. Wait for good light and scan the edges and let the scene guide your position. Those habits turn familiar views into photographs that hold attention.
Your concrete next step is to revisit a familiar landscape this week and shoot it from a low angle with a foreground anchor. Take that low shot before sunset for the best light and compare it carefully. Compare that frame with your old standing shot and note which one feels deeper. Readers who love night landscapes will enjoy Pixel astrophotography mode on unsupported phones and manual exposure lock for sunset photos as natural follow-ups.

