

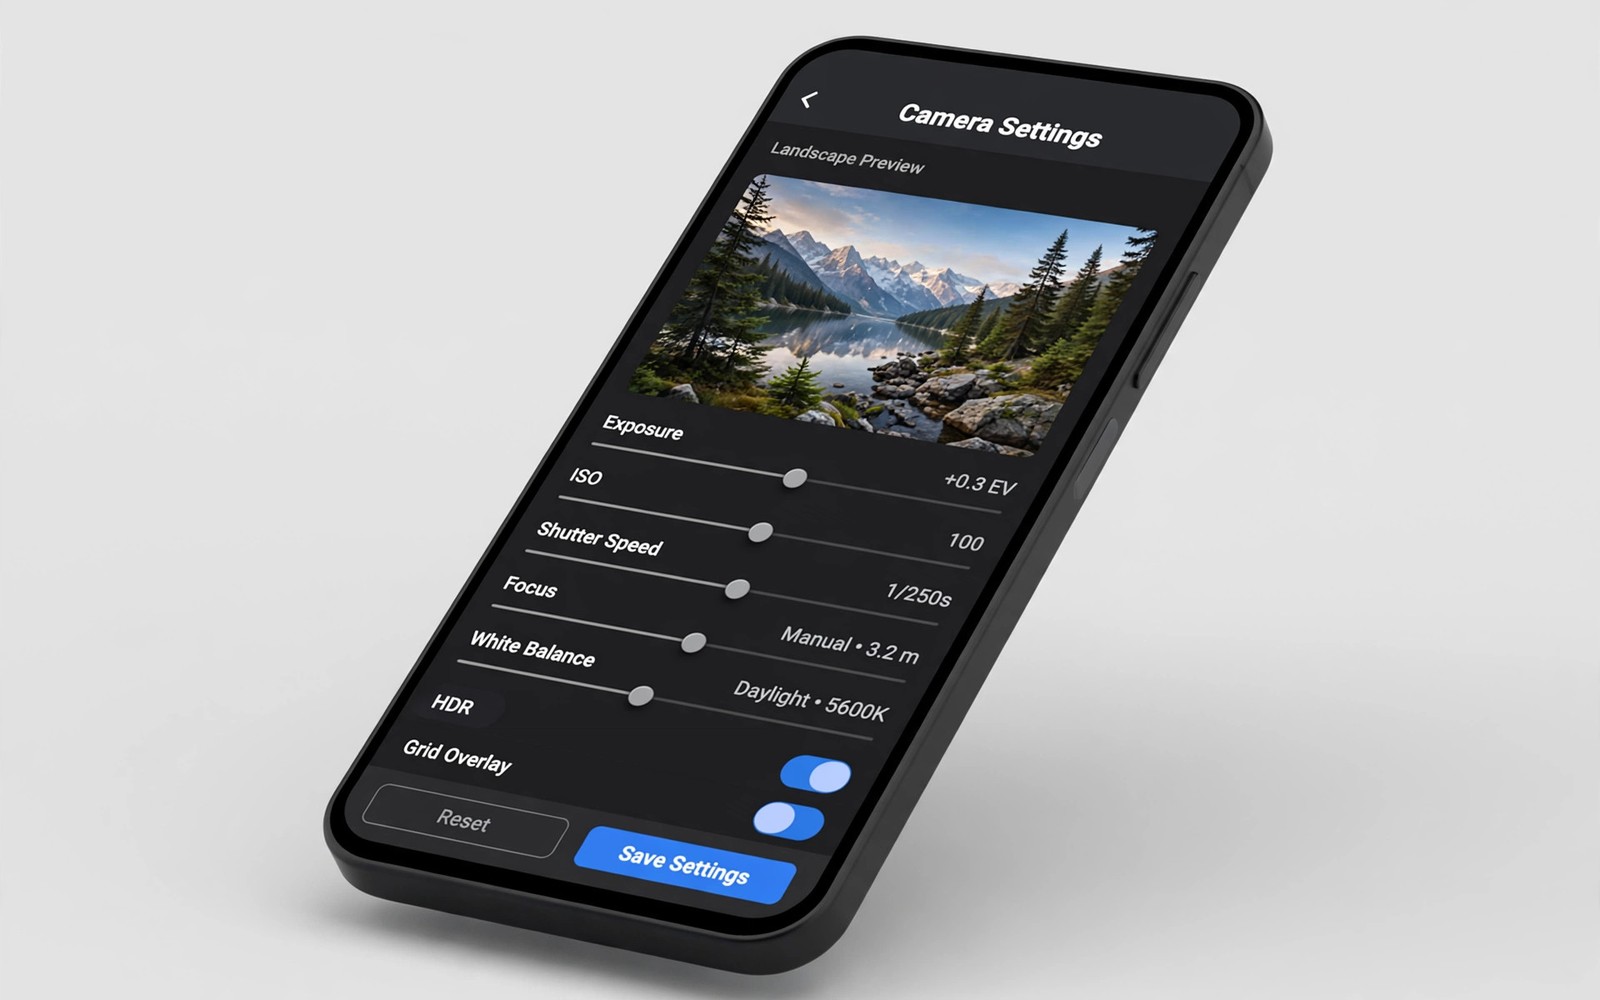
A GCam port without a config file is only half a camera. The port supplies the processing engine but the config file tells that engine how to treat your exact sensor and lens and colour filter. A well tuned config can reveal feather detail and leaf texture that the default settings smooth away. A poor config can do the opposite and turn a good port into a noisy mess.
Config files are small XML documents that store dozens of values for HDR strength and noise reduction and saturation and sharpness. Developers create them by testing a specific phone model for weeks and adjusting one value at a time. Users load them through the port settings and the camera changes character instantly. Readers starting from zero should first follow installing a GCam port step by step so the port itself works before tuning begins.
Think of a config as a recipe rather than a magic file. The same recipe tastes different on different hardware because sensors differ in noise and colour response. That is why a config made for your exact model usually beats a popular generic config. Test configs with your own scenes and trust your eyes over download counts.
Understand what a config actually changes
HDR settings inside a config control how many frames merge and how strongly shadows lift. More frames reduce noise in low light but they also slow capture and increase motion blur risk. A balanced config uses enough frames for clean shadows without turning moving subjects into ghosts. Test HDR changes on a scene with bright sky and dark ground because that contrast reveals the setting quickly.
Noise reduction values decide how much fine texture survives after processing. Low values keep grass and fabric detail but leave grain in shadows. High values clean grain but erase the texture that makes photos feel real. The best configs find a middle path that keeps detail in daylight and cleans only the worst colour noise at night. Compare the same scene at different settings on a computer screen to judge this trade honestly.
Colour and saturation values shape the mood of every photo from a port. Some configs push saturation for vivid social sharing while others keep colours restrained for printing. Neither choice is wrong but the choice should match your taste and your usual subjects. Skin tones reveal a bad colour config fastest because people notice unnatural skin instantly even when landscapes look fine.
Find a config made for your exact model
Search for configs by your full model name and your port version together rather than by phone brand alone. A config for a different variant of the same brand can carry wrong lens values and cause tint or crash issues. Check the release date and the port build it targets because configs age quickly as ports change. A config from two years ago may not match a current port at all.
Read user comments for your model before you download because other owners report tint and crash problems honestly. Look for comments that mention your exact variant and your Android version. Ignore praise without detail and focus on reports that name specific scenes and lenses. A config with a few honest caveats often beats a config with only vague excitement.
Download only one config at a time and keep its file name unchanged so you can identify it later. Store configs in a dedicated folder and note which port build each one belongs to. That organisation prevents the common mess of ten mystery files that nobody can match to a working setup. Clean organisation also makes backups simple when you change phones.
Load and test the config safely
Most ports load a config by double tapping near the shutter button or through a settings menu that lists saved configs. Copy the XML file into the correct config folder for your port version first. The folder path varies by port so check the port guide for your build before you move files. Restart the port after copying so it can read the new file.
Test the config in daylight and shade and low light before you decide it works. Shoot the same scenes you shot with the default settings so the comparison stays fair. Check detail at full zoom rather than judging only the small phone preview. Keep notes on sharpness and colour and noise for each lens because the ultra wide lens often needs different values from the main lens.
adb shell ls /sdcard/GCam/Configs8/
adb shell cp /sdcard/Download/detail-config.xml /sdcard/GCam/Configs8/
adb shell am force-stop com.google.android.GoogleCamera
The commands above follow the standard Android developer workflow for managing config files and restarting a camera app from a computer. Credit for this method belongs to the wider Android developer community that records these tools for everyday config and camera management.
Tune the config to your taste
Start tuning with one value only such as saturation or sharpness and test it across several scenes. Changing five values at once teaches you nothing when the result improves or worsens. Keep a backup of the original config before every change so a failed experiment costs seconds to reverse. Name backups with the date and the changed value for easy recall.
Sharpness deserves special care because too much sharpening creates halos around edges that look digital. Reduce sharpness slightly if leaves and hair look crunchy at full zoom. Increase it only when fine detail looks soft in good light. The goal is crispness that feels natural rather than a processed edge that screams software.
White balance inside a config can fix a persistent tint that the stock app hides. A green tint in shade or a yellow cast indoors often improves with a small white balance shift. Test the shift under the exact light that caused the problem rather than guessing from a different scene. Small shifts beat large corrections because large shifts break other lighting conditions.
Compare configs fairly before you choose
A fair comparison uses the same scene and the same light and the same lens for every config. Shoot a test set in the morning and repeat it in the evening so lighting differences do not favour one config unfairly. Label each set with the config name and the date so later review stays honest. Random snapshots from different days tell you little about which config truly performs better.
Score each config on sharpness and colour and noise separately rather than giving one vague impression. A config may win on detail while losing on skin colour and that trade matters for your subjects. Write a short note for each score and keep the notes beside the photos. That structured review prevents a flashy landscape result from hiding a poor portrait result.
Let a config survive a full week before you crown it as your daily setup. Daily use reveals battery drain and slow capture and heat issues that a test afternoon hides. A config that overheats the phone during video is a poor daily choice even when still photos shine. Long tests protect you from switching configs every weekend.
Share your findings with other owners of your model when you can because community notes help developers improve the next version. Mention your port build and your Android version so readers can judge relevance. Honest feedback about a weakness helps more than silent praise because developers cannot fix problems they never hear about.
Common mistakes
The biggest mistake is stacking configs from different models hoping the best parts combine. Configs do not combine like that and a mixed file often crashes the port or produces bizarre colours. Use one config from one trusted source for your exact model and tune it yourself instead.
Another mistake is judging a config from a single indoor photo because indoor light hides many flaws. Test outdoors and at night and with people before you trust a config for daily use. A config that shines in one scene can fail badly in another scene you shoot often.
People also forget to check front camera results after loading a config tuned mainly for the rear camera. Front camera values often sit in a separate section and a config can leave selfies oversmoothed while rear photos shine. Test a selfie in daylight and indoors before you declare a config perfect for daily use.
Another common error is sharing a config file without noting the port build it belongs to. A friend who loads that file on a different build may blame the config for crashes that come from version mismatch. Always share the build number and the model name together with the file itself.
People also forget to update the config when they update the port because new port versions change value names and ranges. An old config on a new port may load partially and silently ignore key settings. Check compatibility after every port update and replace the config when the developer releases a matched version.
Frequently asked questions
Can a config damage my phone?
No. A config only changes camera processing values inside the port app and it cannot harm hardware. Delete the file or clear the app data to return to default behaviour.
Why does my config not appear in the port?
The file may sit in the wrong folder for your port version or the file name may use an unsupported format. Check the folder path for your exact build and restart the app after copying.
Do I need a new config for each lens?
Most configs cover all lenses with separate values inside one file. Test each lens separately because a config can suit the main lens while leaving the ultra wide lens weak.
Conclusion
A matched GCam XML config turns a generic port into a camera tuned for your sensor and your taste. Find a config for your exact model and test it fairly and tune one value at a time. That patient method reveals detail that default settings hide and it keeps your photos natural.
Your concrete next step is to back up your current port settings today and load one model matched config tonight. Keep that backup safe for future experiments. Shoot a daylight comparison set tomorrow and keep the config only if detail improves at full zoom. Readers who love night work will enjoy night shots that stay sharp without a tripod and hidden GCam features kept exclusive to Pixel phones as natural follow-ups.

