

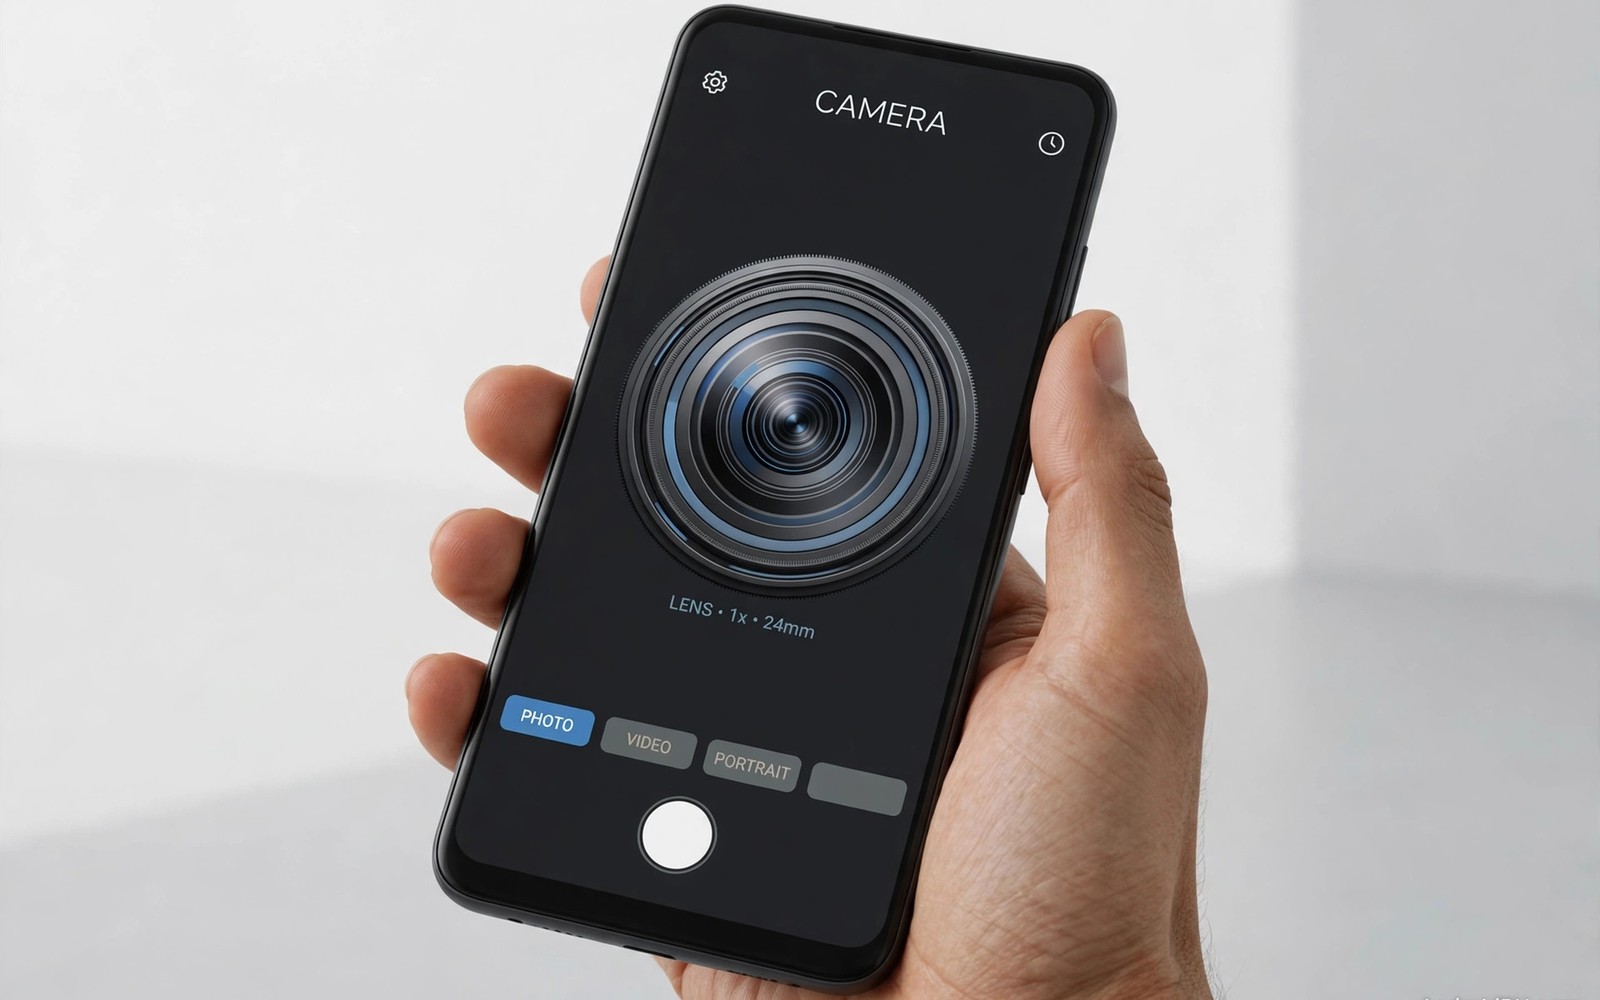
Most Android phones ship with a camera app that plays it safe. It favours speed over detail and it smooths skin and it flattens shadows before you ever see the result. A GCam port takes the same sensor and the same lens and it processes the light with a different brain. That change alone can turn a flat daylight snapshot into a photo with depth and texture and cleaner edges.
This guide walks through the install in the order that avoids wasted downloads. You will check what your phone supports first and then you will match a port to your processor and then you will install one build and test it before you change anything else. Readers who want sharper results at night should also read the ideas in night shots that stay sharp without a tripod because the same patience with settings pays off there too.
Check Camera2 support before you download anything
GCam ports depend on an Android camera framework called Camera2. Phones report their Camera2 level as Legacy or Limited or Full or Level 3. Full and Level 3 phones run most ports well and Limited phones run a smaller set with some features missing. Legacy phones rarely run a modern port at all and you should know that fact before you spend an evening chasing downloads.
You can check the level with a free camera capability app from a trusted app store. Open the app and look for the hardware support level line and write the result down. Also note whether RAW capture is listed and whether the rear camera supports manual focus and manual exposure time. Those details decide which port features are worth enabling later and they stop you blaming a good port for a hardware limit.
Match the port to your processor family
Ports are not universal even when the download page claims broad support. A build tuned for one processor family may crash on another family or it may open and then fail every time you press the shutter. Start by finding your processor name in Settings under About phone and then look for a port thread or release note that names that exact family. A close match beats a popular build every time.
Check the release notes for known issues before you install because a build that works beautifully in daylight may still fail on slow motion video or on the front camera in low light. Release notes often list exactly which features are broken on which models and that honesty saves hours of confused testing. If your must have feature is listed as broken then pick a different build now rather than hoping the problem disappears after install.
Pay attention to the base version as well. Newer base versions bring better night processing and better portrait edge detection but they also demand more from older hardware. An older phone often runs better on a slightly older base that was tested on similar hardware. Download only one candidate at a time and keep the file name intact so you can tell builds apart later.
Install the port safely step by step
Open Settings and then open Security and allow installs from the browser or file manager you will use for this one file. Download the APK from the developer release page you chose and check that the file size looks plausible and that the download finished without an error. Tap the file and confirm the install and then revoke the install permission again so no other file can use that door later.
Open the port once and grant only the permissions it truly needs for photos and video and storage. Deny location permission at first so you can judge image quality without extra data attached to your files. If the app crashes on first launch then clear its storage once and reopen it before you decide the build is wrong for your phone.
adb install gcam-port.apk
adb shell pm grant com.google.android.GoogleCamera android.permission.CAMERA
adb shell dumpsys media.camera | grep -i level
The commands above follow the standard Android developer workflow for sideloading an app and checking camera capability from a computer. Credit for this method belongs to the wider Android developer community that publishes these tools for everyday camera testing and learning.
Load a config file and test each lens
Many ports accept a small XML config file that sets processing values for a specific phone model. A good config can fix green tint and it can tame oversharpening and it can balance the front camera against the rear camera. A bad config can do the opposite and it can make a fine port look broken. Load one config at a time and test it in daylight and in shade before you judge it.
Save a backup of the working config before you experiment further because one careless tap can overwrite a setup that took a week to perfect. Copy the config file to a separate folder and name it with the date and the build version so you can restore it in seconds. That backup habit turns bold experiments into safe play because you always have a known good starting point to return to when a new idea fails.
Test every lens separately because the ultra wide lens and the main lens and the telephoto lens often need different treatment. Shoot the same scene with each lens and compare detail at full zoom on a large screen rather than on the phone. Keep notes on which lens looks natural and which lens looks waxy and then adjust one setting at a time until the set feels consistent.
Tune HDR and portrait processing for your sensor
High dynamic range processing is where a GCam port earns its reputation and it is also where it can ruin a photo if the strength is set too high. Strong HDR lifts shadows and it recovers sky detail and it can also create a flat grey look when every tone is pushed toward the middle. Start with the default HDR strength and shoot a scene with bright sky and dark foreground and then raise the strength one step at a time until the foreground looks clear without losing contrast in the clouds. That careful walk teaches you the limit of your sensor faster than any preset ever will.
Portrait mode needs the same patient testing because edge detection behaves differently on every phone and on every face and in every light level. Shoot a portrait against a busy background and then check the hairline and the glasses frame and the collar edge at full zoom because those fine boundaries reveal where the software guesses. If the edge looks waxy or if strands of hair disappear into the blur then reduce the blur strength and move the subject a little farther from the background. A smaller blur with a clean edge looks more professional than a strong blur with ragged cutouts and it survives printing far better.
Noise reduction is the third control that deserves a slow test because it trades fine texture for smoothness in a way that is hard to reverse later. Heavy noise reduction makes skin look plastic and it turns grass and fabric into flat colour and it hides the very detail that makes a photo feel real. Test the same low light scene with low and medium and high noise reduction and compare them side by side on a computer screen. Keep the lowest setting that still controls colour speckles in shadows and let a little grain stay because grain reads as texture while over smoothing reads as a filter. Readers who love portrait work should also explore portraits that look like DSLR shots on a budget phone for posing and light ideas that pair well with these settings.
Common mistakes
The biggest mistake is installing five ports in one evening and then forgetting which one produced which photo. One port tested properly teaches you more than five ports installed in a rush. Delete the losers as you go and keep only the build that survives a full week of real shooting.
Another mistake is copying every setting from a showcase photo without testing it on your own sensor. A setting that flatters one phone can crush shadows on another phone and it can blow out skies on a third phone. Treat showcase settings as a starting point and then tune them against scenes you actually shoot.
People also forget to check storage behaviour before a long trip because a port that saves large processed files can fill a phone faster than the stock app ever did. Check the average file size after a test week and clear failed bursts and duplicates before you travel. A full storage warning in the middle of a sunset shoot is a painful lesson that a five minute check would have prevented.
People also forget to test video after they fall in love with still photos. Some ports record smooth video and some ports stutter or overheat during long clips. Record a two minute clip indoors and outdoors before you trust a port for an event you cannot repeat.
Frequently asked questions
Does a GCam port need root access?
No. Most ports install as a normal app and they run without root on phones with adequate Camera2 support. Root can unlock extra camera features on some models but it is not a requirement for the install in this guide.
Will a GCam port replace my stock camera app?
No. The port installs alongside the stock app and your original camera stays untouched. You can switch between them for any shot and you can remove the port at any time without losing photos.
Why does the port crash when I open night mode?
Night mode demands heavy processing and a build tuned for other hardware can fail under that load. Try an older base version or a different config and test night mode with a short exposure first. If crashes continue then that build is a poor match for your phone.
Conclusion
A careful GCam install rewards patience with photos that look richer and cleaner without new hardware. Check Camera2 support and match the processor family and test one build and one config at a time. That slow method protects your time and it gives you a camera setup you actually understand.
Your concrete next step is to check your Camera2 level today and write it down before you download anything. Test it this week. Once you know that level you can pick one matching build and install it tonight and shoot a daylight test set tomorrow. Readers building a stronger mobile camera kit will also enjoy camera hacks that upgrade everyday mobile photos and GCam XML configs that unlock finer detail as natural follow-ups.

