

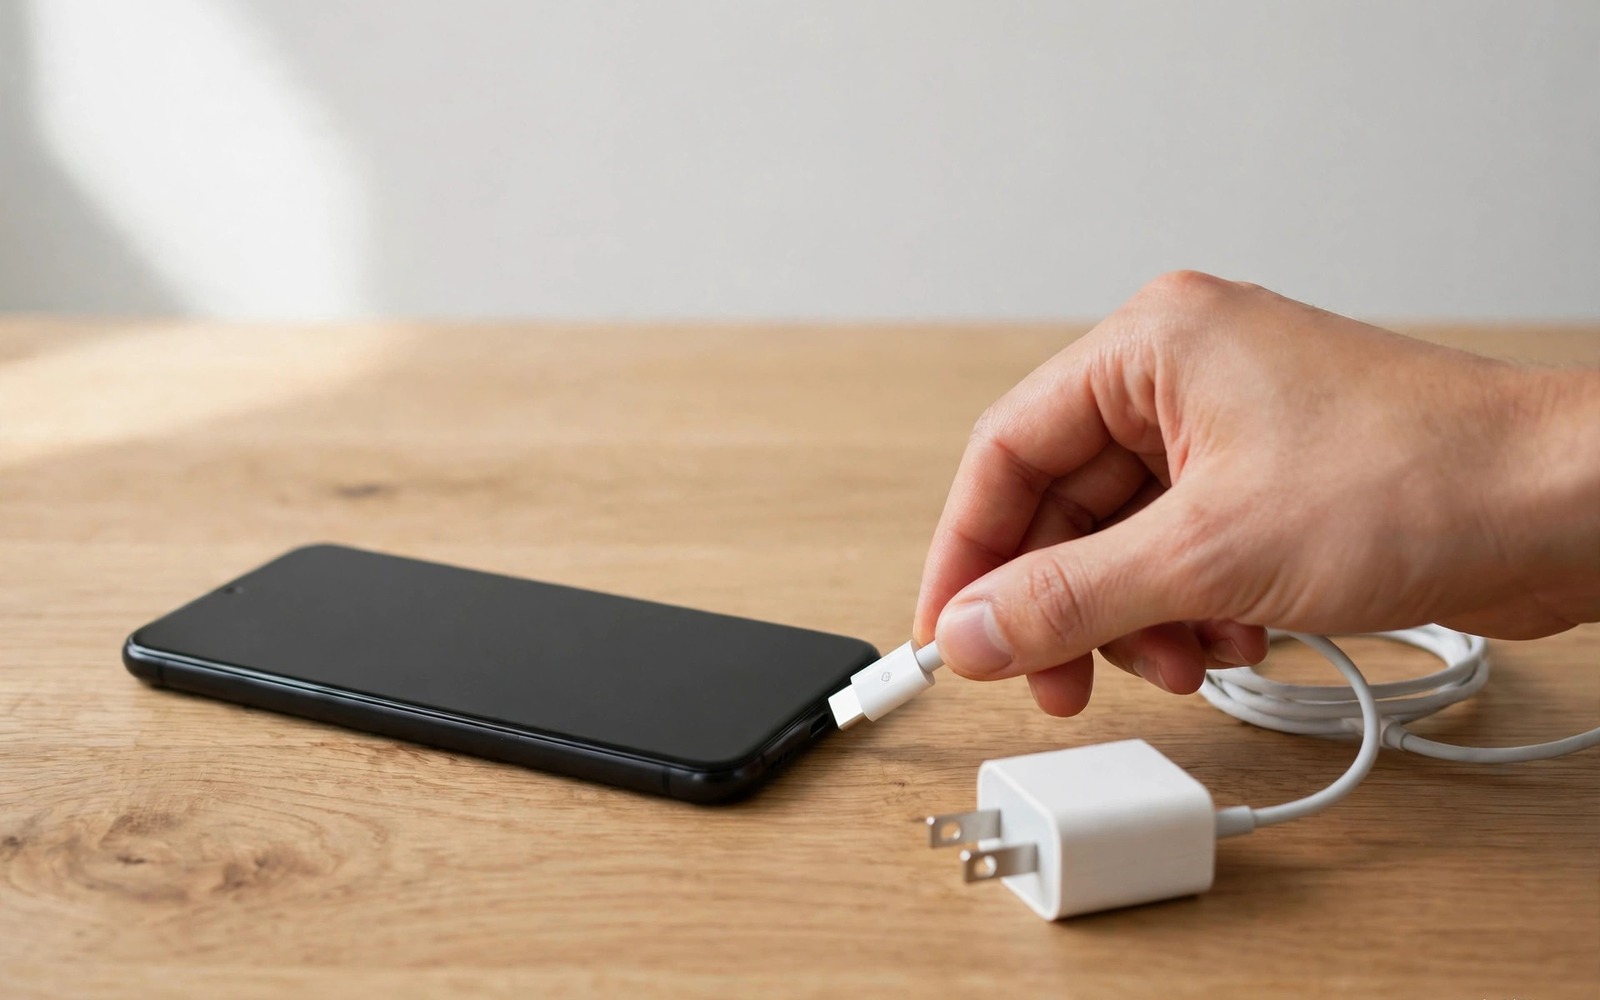
A phone that will not turn on feels like a disaster. Photos and messages and contacts seem trapped inside a black slab. Most dead phones are not truly dead. A drained battery or a faulty cable or a crashed system often causes the black screen. A calm sequence of checks revives many phones without a repair shop. This guide walks you through that sequence from the simplest cable test to recovery mode.
Start by ruling out a simple power problem before you panic. A phone that ran to zero percent needs more than a quick plug in. Its battery protection circuit may need several minutes of charging before the screen shows anything. A faulty cable may deliver no power at all while looking perfectly normal. A dirty port may block charging completely. Each of these simple causes mimics a dead phone convincingly.
Work through the steps in order and give each step time. Rushing to a factory reset destroys data that a simple charge could have saved. Never open a sealed phone yourself unless you accept the risks and the warranty loss. Never use a swollen battery again. Safety comes before data recovery when a battery shows swelling or heat or a strange smell. A repair shop handles those cases safely.
Step One: Cable Charger And Port Checks
Try a different cable and a different charger that you know work on another device. Plug directly into a wall socket rather than a laptop or a power bank for this test. Laptop ports deliver less power and charge a deeply drained phone very slowly. Watch for any charging icon or vibration or LED light for at least two minutes. Some phones show nothing for the first minute after a deep drain.
Inspect the charging port with a bright light. Lint and pocket dust pack into the port over months. That packed lint stops the plug from seating fully. Gently remove lint with a wooden toothpick or a plastic pick. Never use a metal pin that can short the pins or scratch contacts. Blow out loose dust with a short burst of air. After cleaning plug in again and check whether the plug now sits flush and firm.
Test wireless charging if your phone supports it. A wireless pad bypasses a damaged port entirely. If wireless charging revives the phone then the port is the likely fault. That result still needs a repair for wired charging. It also gives you a way to power the phone and back up data before repair. Note whether the phone feels warm during wireless charging. Mild warmth is normal. Sharp heat in one spot is a warning to stop and seek help.
Step Two: Force Restart And Button Combinations
Hold the power button alone for at least thirty seconds. Many phones need a long hold to force a restart from a crashed state. Release the button and wait ten seconds. Press power briefly once more. If the screen stays black then try the maker specific combination. Most Android phones use power plus volume down held together for fifteen to thirty seconds. Some models use power plus volume up instead. Check your maker guide if the first combination fails.
Try the restart while the phone stays plugged into a known good charger. A phone with a nearly empty battery may restart and then die again at once if unplugged. The charger gives it enough power to complete boot. If the phone vibrates or shows a logo and then dies again then the battery may be too weak to sustain boot. Leave it charging for thirty minutes and try again. A deeply drained battery sometimes needs that long soak before it can boot reliably.
Remove any case and any attached accessories during these tests. A tight case can press buttons continuously and block a restart. A faulty accessory can also draw power or trigger a fault. Test the phone naked on a table. That simple step eliminates a surprising number of phantom faults. If the phone boots without the case then replace the case rather than the phone.
Step Three: Charge Soak And Battery Signs
Leave the phone on a wall charger for at least one full hour without touching it. Do not press buttons repeatedly during the soak. Repeated button presses can interrupt the slow recovery of a deeply drained battery. After an hour check for a charging icon or a battery percentage. A phone that shows a charging icon but never rises above a low percentage may have a failing battery. A phone that shows nothing at all after an hour needs deeper diagnosis.
Watch for battery warning signs during the soak. A battery that swells will push the screen or back panel outward. A swollen phone may rock on a flat table instead of lying flat. A strong chemical smell or unusual heat also signals battery failure. Stop charging at once if you notice swelling or smell or sharp heat. Place the phone on a non flammable surface away from bedding. Take it to a repair shop and tell them about the swelling before they handle it.
Try a different power source after the soak if nothing changed. A wall socket in another room rules out a faulty outlet. A different known good charger rules out a charger fault that your first test missed. Keep a note of each combination you tried. Repair shops diagnose faster when you list what you already tested. That note also prevents you from repeating a failed combination in frustration.
Step Four: Recovery Mode And Safe Diagnosis
Recovery mode is a separate mini system that can run even when normal Android fails. To enter it power the phone off fully if possible. Then hold power plus volume up until a menu appears. Use volume buttons to move and the power button to select. Menu wording varies by maker. Look for options like reboot system and wipe cache partition. Never choose a factory reset option unless you have accepted total data loss.
First try reboot system from recovery. That option restarts normal Android without erasing data. If the phone boots normally after that step then a system crash was the cause. Next try wipe cache partition if that option exists. Cache wiping clears temporary system files without erasing your photos or apps. It fixes many boot stalls caused by a bad update. After wiping cache reboot again and wait several minutes. First boots after cache wiping run slower than normal.
If recovery mode never appears then the fault likely sits in hardware rather than software. A failed board or a failed battery or a failed screen can each block recovery. Try connecting the phone to a computer. A computer that recognises the device suggests the board still works and the screen may be the fault. A computer that shows nothing suggests a deeper power or board failure. That distinction helps a repair shop quote accurately. Related boot problems are covered in how to fix a phone stuck on the boot logo loop for phones that start but never finish booting.
hold_power_seconds = 30
charge_soak_minutes = 60
recovery_keys = power_plus_volume_up
# try cable then charger then port cleaning
# never factory reset before a backup attempt
The snippet above is an original example written for this guide. It shows generic rescue notes you can adapt to your own phone. It does not copy code from any outside source.
Use the notes as a checklist during a stressful dead phone moment. Long power holds and long charge soaks feel slow but they rescue many phones. A factory reset feels fast but it erases data that a patient rescue might have saved. Patience is the most valuable tool in this guide.
Back up data immediately after any successful revival. A phone that died once may die again without warning. Connect to Wi-Fi and run a full cloud backup before you install new apps. Copy photos to a computer as a second copy. A revived phone gives you a narrow window to protect data. Use that window fully before testing new features or updates. Data safety outranks curiosity after a scare.
Seek professional repair promptly when revival steps fail or when faults repeat. Repeated sudden deaths point to a failing battery or a failing board. A shop can test battery health under load and check board power rails. Those tests need tools that home users lack. Bring your list of tried steps and their results. A clear history shortens diagnosis and prevents repeat testing. It also helps the shop quote fairly because the simple causes are already ruled out.
Common Mistakes
Many owners press buttons constantly during a charge soak and interrupt battery recovery. A second mistake is using an unknown cheap cable for diagnosis. A third mistake is choosing factory reset in recovery before trying reboot and cache wipe. A fourth mistake is ignoring a swollen battery and continuing to charge it.
A fifth mistake is assuming a black screen means a dead board. A failed screen can mimic a dead phone while the board still works. A sixth mistake is cleaning a port with a metal pin. Metal can short pins and create a new fault on top of the old one.
Frequently Asked Questions
Question: How long should I charge a deeply drained phone before judging it dead?
Answer: Give it at least one hour on a known good wall charger. Some phones show nothing for the first minutes. Judge only after a full hour with a tested cable and charger.
Question: Will recovery mode erase my photos?
Answer: Reboot and cache wipe do not erase photos or apps. Factory reset erases everything. Avoid factory reset until you have tried every non destructive option and accepted data loss.
Question: Should I replace the battery or the phone?
Answer: Replace the battery when the phone otherwise works well and repair cost stays well below replacement cost. Replace the phone when the board fails or when several faults appear together on an old device.
Conclusion
A phone that will not turn on often needs a good cable and a clean port and a long charge and a patient restart rather than a new phone. Work through cable and charger and port and force restart and charge soak and recovery in order. Stop at once for swelling or heat or smell. Your concrete next step is to plug the phone into a known good wall charger for one full hour right now without pressing buttons. Then try a thirty second power hold. If it boots then back up your data immediately before anything else. If it stays dead then take your test notes to a repair shop and read how to fix slow and overheating charging issues and how to stop a phone from restarting randomly for related power faults.

