

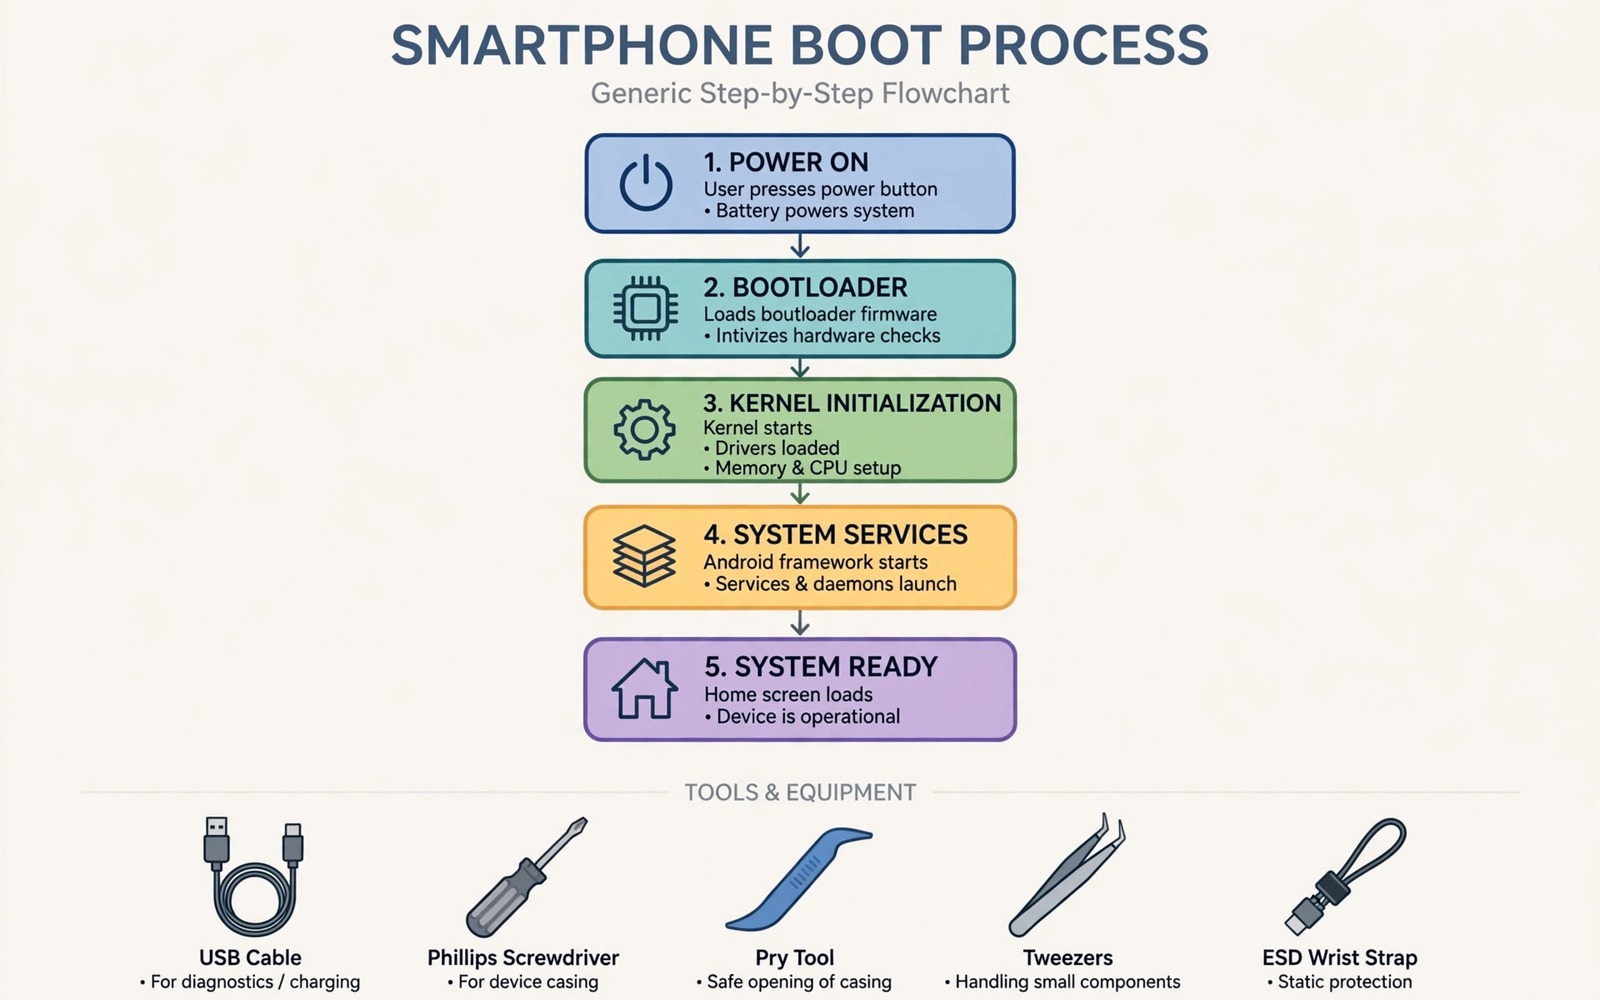
Root starts with the boot image. The boot image contains the kernel and the ramdisk. A root manager patches that image to inject its startup code. An automatic patch works on many phones. A manual patch gives you control when automation fails. It also teaches you exactly what changes on your device.
Manual patching has four stages. You extract the stock boot image. You patch it with a root manager. You flash the patched image. You verify the result. Each stage has a failure point. A wrong stock image causes a boot loop. A bad flash causes a boot loop. A missing backup turns a boot loop into data loss. Preparation prevents all three. That preparation matters because a failed patch usually ends as a bootloop, and knowing how to fix bootloops without losing data turns a scary failure into a recoverable one.
This guide assumes you can use fastboot from a computer. It assumes your bootloader is already unlocked. It assumes you know your exact model and build number. An unlocked bootloader is a prerequisite. A locked bootloader will reject a patched image. Do not start manual patching until that prerequisite is met.
Work slowly and verify each file. A boot image is small. A mistake in it has a large effect. Hash checks and exact build matching are not busywork. They are the difference between a clean root and a recovery session. Treat them as part of the process.
Find the exact stock boot image
Download the factory image for your exact model. Match the build number character for character. A build for a similar model is not close enough. A build for a newer version is not close enough. A mismatched boot image can boot but break Wi-Fi or the camera. It can also fail to boot at all.
Extract the factory image on a computer. Locate the boot image file inside it. Some factory images store it directly. Others store it inside a payload file that needs extraction. Use the extraction tool that matches the factory format. Verify the extracted file size against the expected size if available.
Copy the stock boot image to the phone and to a safe folder on the computer. The computer copy is your recovery anchor. The phone copy is the input for patching. Keep both copies until root proves stable. A stock image is easy to replace. A lost stock image during a crisis is not.
Record the build number and the file hash in a note. A hash lets you confirm that a later copy is identical. A build number lets you find the same factory image again. Those two facts turn a vague problem into a precise search. Precision saves time in support threads too.
Patch the image with a root manager
Open the root manager on the phone. Choose the patch file option. Select the stock boot image you copied to the phone. Wait for the patch process to finish. The manager creates a patched file in its output folder. Note the exact output name and location. A patched file with a generic name is easy to confuse with the stock file.
Copy the patched image back to the computer. Verify that it differs from the stock image. A patched image should be similar in size but not identical. An identical file means the patch did not apply. Do not flash an identical file and expect root. Investigate the patch log first.
Keep the stock and patched files in separate folders. Label the folders clearly. A folder named stock and a folder named patched prevents a costly mix-up. Flashing the stock image when you meant to flash the patched image simply leaves the phone unrooted. Flashing the patched image when you meant to restore stock is harder to notice.
Some devices use a vendor boot image or an init boot image instead of a classic boot image. The manager will name the correct target for your device. Follow that name exactly. Flashing a patched boot image to the wrong partition can cause a boot failure. Partition names matter as much as file contents.
Flash with fastboot in the right order
Reboot the phone into fastboot mode. Connect it to the computer. Confirm that fastboot sees the device. A missing device usually means a driver or cable problem. Fix that problem before any flash command. A flash to a device that disconnects mid-write can corrupt the partition.
Flash the patched image to the correct partition. Use the partition name from the manager output. Wait for the success message. Do not unplug the cable early. A flash takes seconds. Patience during those seconds protects the partition.
Reboot the phone after the flash. The first boot may take longer than usual. The system may optimise apps. Let it finish. Do not force a restart during optimisation. A forced restart during that phase can look like a boot loop when it is only a slow first boot.
Verify root after boot. Open the root manager. Check the status screen. Grant root to a trusted test app. Confirm that the grant works. Check Wi-Fi and mobile data and the camera. A boot image mismatch often shows up in those subsystems first. A clean check across them confirms a good patch.
Recovering from a bad flash
A boot loop after a flash usually means a wrong image or a wrong partition. Reboot into fastboot again. Flash the stock boot image you saved. Reboot and confirm normal boot. That recovery works only if you saved the stock image. That is why the stock copy matters so much.
A device that will not enter fastboot needs a different recovery path. Try the hardware key combination for your model. Try a different cable and port. Try a charged battery. A dead battery can mimic a boot failure. Rule out power and cable issues before assuming partition damage.
Custom recovery offers a second recovery path when fastboot is awkward. A recovery backup can restore boot and system quickly. The guide on moving to modern custom recovery tools explains recovery choice. Set up recovery before you need it. Recovery setup during a crisis is stressful.
OTA updates after manual patching need care. An update may replace the boot image with a stock one. Root will disappear after that update. The guide on updating a rooted device over the air explains how to preserve root across an update. Read it before your next update.
Verifying a patched image before flashing
Verification starts with file identity. Confirm the patched file name matches the manager output. Confirm the file size is plausible for a boot image. Confirm the file is not zero bytes. A zero-byte file indicates a failed patch. Flashing it would break boot. Delete and repatch in that case.
Compare hashes between copies. Hash the patched file on the phone. Hash the same file after copying it to the computer. Matching hashes confirm a clean transfer. A mismatch indicates a corrupt copy. Recopy the file before flashing. A corrupt flash is preventable with this check.
Check the partition target twice. Read the manager output for the exact partition name. Read your device documentation for that partition. Confirm they match. A mismatch means you may be flashing to the wrong target. Stop and investigate a mismatch. Do not guess a partition name.
Prepare a fastboot command list in advance. Write the flash command with the exact file name. Write the reboot command after it. Write the stock restore command as well. A prepared list prevents typos under stress. Typos in fastboot commands cause real damage. Preparation prevents them.
Test fastboot connectivity before the flash day. Connect the phone in fastboot mode. Run a device listing command. Confirm the device appears. Confirm the cable is stable by moving it gently. A loose cable during a flash is a risk. Replace a loose cable before flashing.
After flashing verify more than root status. Check Wi-Fi connectivity. Check mobile data. Check camera function. Check fingerprint function. A boot image affects hardware drivers. A root status pass alone does not prove a clean patch. Hardware checks complete the verification.
Keep a flash log with dates and file hashes. A log lets you identify which image is currently installed. It lets you revert to a known good image quickly. It also helps support discussions. A precise log beats a vague memory during troubleshooting.
Recovery readiness completes the verification routine. Boot into recovery after a successful patch. Confirm recovery sees storage. Confirm recovery lists backups. A working recovery plus a verified patched image gives two safety layers. Both layers matter for the next update.
Keep a second computer cable ready for flashing sessions. A cable that works for charging may fail for fastboot data. A data-capable cable is essential. Test the cable with a device listing command before flashing. A stable cable prevents mid-flash disconnects.
After a successful patch store the patched image with a date in its folder name. A dated folder prevents confusion with older patches. It also helps you identify the image for the current build quickly. Organisation is part of safe flashing.
Recovery testing after patching gives extra confidence. Boot into recovery and confirm it lists your backups. A recovery check plus a hardware check confirms the patch fully. The guide on moving to modern custom recovery tools explains recovery readiness in detail.
Common mistakes
- Using a boot image from a different build or a similar model and causing a boot loop.
- Flashing a patched image to the wrong partition name for the device.
- Deleting the stock boot image before root proves stable.
- Unplugging the cable during a flash and corrupting the boot partition.
- Forcing a restart during first-boot optimisation and mistaking it for a boot loop.
Frequently asked questions
Can I patch a boot image without a computer?
You can patch on the phone with a root manager once root already exists. Initial patching from stock usually needs a computer for flashing. A phone-only method exists on some devices through recovery. Fastboot remains the most reliable path.
Why does Wi-Fi break after a patched boot image?
Wi-Fi drivers often tie to the exact kernel build. A mismatched boot image can load the wrong kernel. That mismatch breaks Wi-Fi or other hardware. Flash the stock image for your exact build to confirm the cause.
How do I know the patch actually applied?
The patched file should differ from the stock file. The root manager should report success. The phone should show root status after flashing. All three signals together confirm a good patch.
fastboot flash boot patched_boot.img
fastboot reboot
# Flash the patched image to the boot partition on your own device.
# Replace patched_boot.img with your actual patched file name.
The commands above are generic flashing examples written for this guide. They show the flash and reboot sequence. They assume your device uses a classic boot partition. They do not apply to every device partition layout.
Conclusion
Manual boot patching rewards precision. Match the exact build. Save the stock image. Patch with the manager. Flash to the correct partition. Verify root and hardware functions. Keep the stock image until the setup proves stable.
Your concrete next step is to download the factory image for your exact build today. Extract the stock boot image. Save it in two places before you patch anything.

