

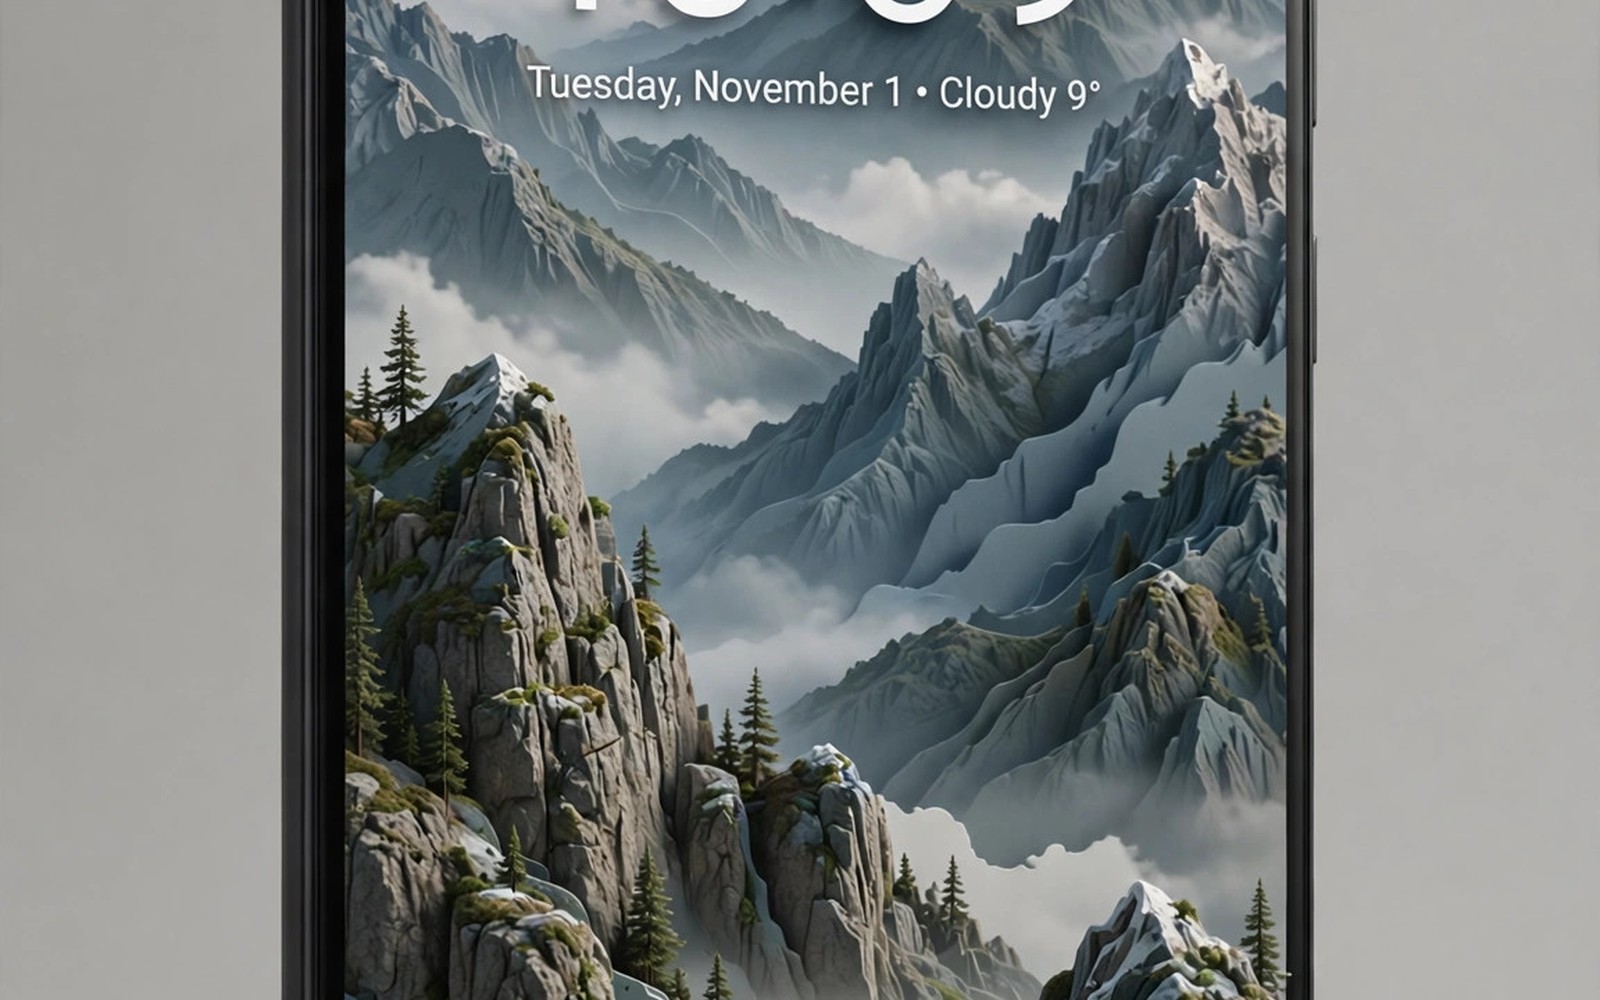
A flat wallpaper fills the screen and then it disappears behind the clock and the notifications. A depth effect wallpaper works the other way around. The main subject moves in front of the clock while the background stays behind it. The result looks like a small poster on your lock screen rather than a plain photo. It is a simple change and it makes an ordinary phone feel carefully designed.
Depth effects work best with a clear subject and a clean background. A portrait of a person works well because the head and shoulders form a strong shape. A pet sitting against a plain wall also works well. A busy street scene does not work well because the phone cannot decide what should sit in front. Choose a photo where the subject is large and the edges are easy to see. That one choice decides most of the final result.
Many phones can create this look without root and without a paid app. Some launchers and wallpaper tools cut out the subject and place it on a separate layer. Some phones do the same trick inside the lock screen editor itself. The steps below use that layer idea on any recent Android phone. You will pick a photo and test it and then tune the clock so the effect stays readable.
Pick A Photo With A Strong Foreground Subject
Start with a photo taken in good light and with a plain background behind the subject. Stand a little farther back than usual so the whole head and shoulders fit in the frame. Leave empty space above the head so the clock has room to sit behind the subject. Avoid photos where hair blends into a dark background because the cutout will look rough. A photo with a sharp edge around the subject will always look better than a dramatic photo with a messy edge.
Open the photo and look at it at full size before you use it. Zoom into the edges around hair and clothing and check for blur. If the edge looks soft then pick another photo rather than hoping the tool will fix it. A good depth wallpaper starts with a good photo and no tool can rescue a weak one. Save the best version of the photo in a folder you can find again. You will need it again when you change the clock style or the wallpaper size.
Build The Depth Layer Step By Step
Open your lock screen wallpaper tool and set the photo as the lock screen image first. Then look for a depth effect or a foreground layer option in the same editor. Turn that option on and let the tool separate the subject from the background. Move the clock behind the subject by choosing a clock style that sits in the upper part of the screen. Check the preview and move the photo up or down until the subject overlaps the clock in a natural way.
Some tools let you adjust how far the subject extends in front of the clock. Keep the overlap small at first and increase it only if the subject still looks clear. If the subject covers the time completely then the wallpaper has gone too far. The clock must stay readable at a glance even when you are walking outside. Lock screen customization works best when beauty and readability stay in balance. Test the result in bright light before you settle on it.
Depth lock screen setup
1. Pick a portrait photo with a plain background
2. Set it as the lock screen wallpaper
3. Turn on the depth effect or foreground layer
4. Place the clock behind the subject
5. Check readability in bright light
6. Fix rough edges by cropping or changing the photo
The example above was written for this guide as a plain summary of the steps in the sections before it. It uses only the menus and options described above and it needs no extra tool to understand. Follow the steps in order so you can see which change helps most. If one step makes things worse then undo that step alone and keep the rest.
Tune The Clock And The Colours Around It
A depth wallpaper changes how the clock looks because part of the clock now sits behind a photo. Choose a clock colour that stands out against the background rather than against the subject. White works on a dark background and dark grey works on a light background. Avoid a thin outline font if the background is busy because thin lines vanish quickly. A bold clock with a soft shadow stays readable even when the subject moves in front of it.
Turn off extra lock screen widgets for the first test so you can judge the effect cleanly. Add one widget back at a time and watch how it sits against the subject. A weather widget may fight with a tall subject for the same space. A music widget may sit better at the bottom of the screen. Small changes like this keep the lock screen useful instead of turning it into a poster that hides information.
Fix Rough Edges And Strange Cutouts
Rough edges appear most often around hair and around patterned clothing. If the edge looks jagged then try a photo with a simpler background or a stronger light source. Some tools offer a smoothing or feather option that softens the edge by a small amount. Use a small amount only because too much smoothing makes the subject look like a sticker. A slight soft edge looks natural while a heavy blur looks artificial.
Strange cutouts happen when the tool mistakes a background object for part of the subject. A lamp behind a head can become part of the head shape. A tree branch can stretch across the clock in a weird way. Crop the photo to remove that object before you build the depth layer. Cropping is faster than fighting the tool and it often improves the photo at the same time.
Keep Battery And Performance In Check
A depth wallpaper is still a still image in most cases so it costs almost no battery. Live depth wallpapers are different because they redraw the scene all the time. If you choose a live version then watch your battery for two days before you keep it. A small drop is normal but a large drop means the live effect is too heavy for daily use. Switch back to a still depth image if the phone feels warm or slow.
Depth effects also interact with always on display settings on some phones. The always on display may show a simpler clock when the screen is dim. That is normal and it does not mean the depth effect failed. Check the full lock screen by waking the phone fully. Judge the effect on the full screen rather than on the dim preview.
Use Depth With Different Subjects
Depth works with more than portraits. A pet photo can create a charming lock screen when the animal sits against a plain background. The ears and head form a clear shape that the tool can separate cleanly. A landscape photo rarely works because no single subject stands out. A product photo can work when the product is large and centred. Test each subject type separately and keep only the ones that cut cleanly. A depth set with varied subjects stays fresh longer than a set with only portraits.
Seasonal subjects also suit depth wallpapers well. A flower in spring and a snowy tree in winter both offer strong shapes. A birthday photo with a clear foreground person suits a celebration week. Change the subject with the season rather than keeping one depth image all year. Live wallpapers that save battery offer a different kind of motion if a still depth image feels too quiet. Depth and live wallpapers serve different moods and both deserve a place in your rotation.
Share And Rotate Depth Wallpapers
Once you build a good depth wallpaper then save the layered version if your tool allows it. A saved layered version lets you change the clock style later without rebuilding the cutout. Export the finished image at full resolution so it stays sharp on a large screen. Keep the original photo beside the finished version in the same folder. That pair makes future edits fast and painless.
Rotate depth wallpapers weekly so the lock screen never feels stale. A Monday portrait and a Friday landscape subject can mark the week in a subtle way. Aesthetic setup ideas can inspire new combinations of wallpaper and theme. Review the rotation monthly and remove images that no longer cut cleanly after a tool update. A small curated set beats a large folder of rough cutouts.
Depth Wallpapers For Different Phones And Screens
Depth wallpapers behave differently on phones with a hole punch camera and on phones with a notch. A hole punch camera sits in a corner and rarely fights the depth subject. A notch sits in the centre top and can clash with a tall subject. Test your depth image on your exact screen shape before settling on it. Move the subject slightly down on a notched phone so the notch does not cut into the head shape. A small shift can rescue an otherwise perfect depth image. Check the preview in both portrait and landscape lock orientations if your phone rotates the lock screen. A depth image that works in portrait may look odd when rotated.
Screen size also changes how depth should be built. A small phone screen needs a larger subject because details shrink fast. A large phone screen can handle a smaller subject with more background visible. Test the same depth image on a tablet preview if your tool offers one. A subject that looks bold on a phone can look lost on a larger display. Adjust the crop per device rather than copying one crop everywhere. Keep separate crops for phone and tablet in the same folder with clear names. That habit saves time when you switch devices or share a wallpaper with a friend who uses a different screen size.
Always on display behaviour adds another layer to depth planning. Some phones show a simplified clock on the dim screen and the full depth image only on wake. That behaviour is normal and it protects battery. Judge the depth effect on the fully woken lock screen rather than on the dim preview. If the dim preview looks plain then do not worry. The full effect appears when you wake the phone. Test the wake transition a few times to see whether the depth layer appears smoothly or with a flicker. A smooth transition feels premium while a flicker suggests the tool is struggling with your device. Switch tools if flicker persists after a restart.
Common mistakes
One common mistake is picking a group photo where no single subject stands out. The tool cannot decide what should sit in front so the result looks random. Pick one clear subject and keep the rest of the scene simple. Another mistake is covering the whole clock with a tall subject. The lock screen must still tell the time at a glance. A third mistake is using a low resolution photo that turns blurry on a large screen. A sharp original photo matters more than any filter or effect.
FAQ
Does a depth effect wallpaper work on every Android phone?
Most recent phones support it through a wallpaper tool or a lock screen editor. Older phones may need a third party wallpaper tool that adds a foreground layer. The result depends on the tool rather than on the phone brand. Try the built-in editor first and move to another tool only if the built-in editor lacks the option.
Will a depth wallpaper drain my battery?
A still depth image costs almost no extra battery because it is just a picture with layers. A live depth wallpaper can cost more because it redraws the scene. Test a live version for two days and switch back to a still image if the battery drops fast.
Why does my subject look cut off at the top?
The photo is placed too high or the subject is too tall for the screen. Move the photo down slightly or crop the top of the subject. Leave space above the head in the original photo so the layout has room to breathe.
Conclusion
Open your lock screen editor today and try one portrait photo with a plain background. Turn on the depth layer and place the clock behind the subject. Check the result outside in daylight and adjust the overlap until the time stays clear. That single test will show you whether the depth look suits your phone. If it does then build a small set of depth wallpapers for different moods and rotate them through the week.

