

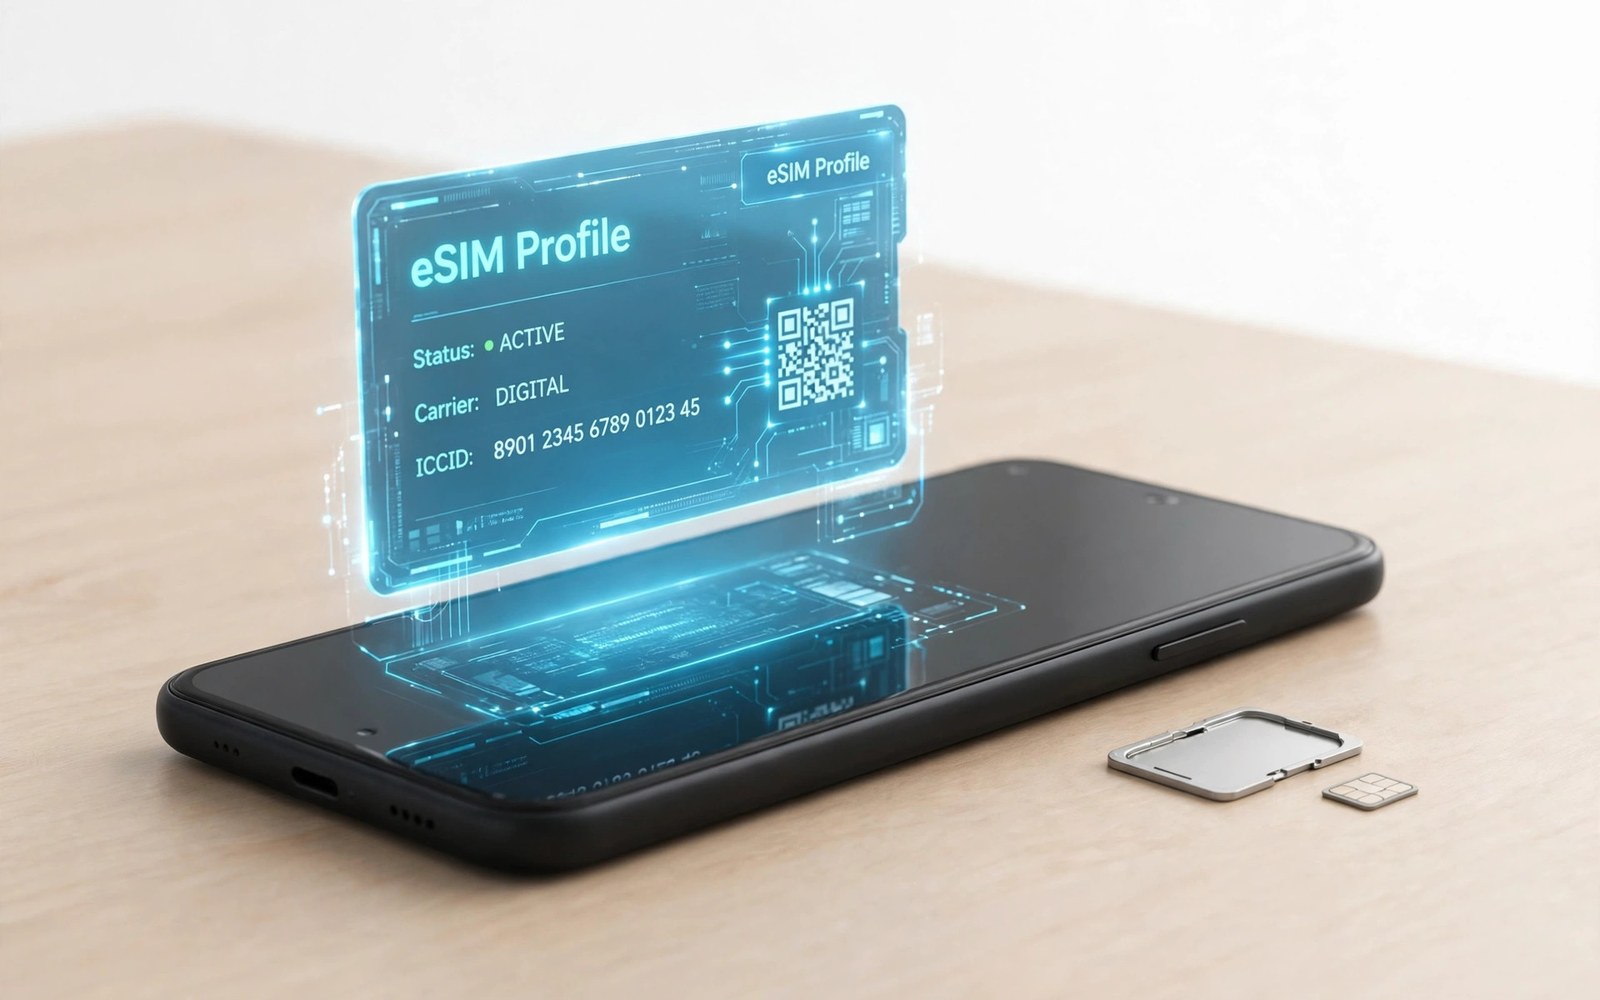
eSIM vs Physical SIM: Benefits and How to Transfer eSIM on Android
My old phone died on a Friday evening, and the first thing I reached for was the tiny SIM ejector tool. That little ritual, popping a plastic card out of one phone and into another, had worked for me for years. Then my new phone asked me to scan a QR code instead. No tray, no card, no tool. The line just appeared. That moment is why so many Android owners now ask the same question: is the embedded SIM actually better than the card you can hold, or is it a solution looking for a problem? After moving my own lines back and forth, helping family members switch phones, and testing travel setups on two continents, I have a clear picture of where each option wins.
An eSIM is a small chip soldered inside your phone. It holds your carrier profile as software instead of on a removable card. A physical SIM is the familiar nano-SIM, a piece of plastic with a gold chip that you move between phones by hand. Both connect you to the same networks, the same towers, and the same data speeds. The difference is not signal quality. The difference is how you set the line up, how you move it, how many lines you can carry, and what happens when something goes wrong.
This guide compares the two side by side, with a table, a section for each option, and a full transfer walkthrough using real Android menu names. You will also get a verdict for each common situation: travel, work and personal lines, switching phones often, and keeping one spare phone ready. If you only need the transfer steps, jump to the transfer section. If you are still deciding, start with the comparison table.
How an eSIM Works on Android
An eSIM, short for embedded SIM, is a rewritable chip built into the phone at the factory. Your carrier sends you a profile, usually as a QR code in an email or inside the carrier app, and your phone downloads that profile over Wi-Fi. Once the download finishes, the phone registers on the network exactly like a phone with a plastic card inside. Calls, texts, and mobile data work the same way. The profile also carries your number, your plan details, and the keys the network uses to confirm your identity.
The big change is storage. A phone can hold several eSIM profiles at once, even though only one or two can stay active for calls and data at a time, depending on the model. You switch between them in Settings, without opening any tray. I keep my home line and a travel profile on the same phone, and switching takes about ten seconds. On a Pixel, the path is Settings, then Network and internet, then SIMs, where each profile shows its own name and number.
What lives on the eSIM chip
The chip holds the same kind of data a plastic card holds: the subscriber identity, the network keys, and the carrier settings. The difference is that this data can be rewritten. When you change carriers, the old profile is removed and a new one is written in its place. Nothing physical changes hands. That also means a carrier can push a replacement profile to you without mailing anything, which is handy when a profile gets corrupted or a phone is replaced under warranty.
Which Android phones support eSIM
Support is now common on Pixel phones from the Pixel 3 onward, Samsung Galaxy S and Z series phones from the S20 generation onward, and a growing list of Motorola, Sony, and Oppo models. The exact list varies by region, because the same model can ship with eSIM turned on in one country and off in another. Check the specifications page for your exact model number before you buy a plan. A phone sold in the United States, for example, may support two active eSIM profiles, while the same model sold elsewhere supports one eSIM plus one physical card. The safest check is Settings, then Network and internet, then SIMs, then Add eSIM. If that option exists, your phone supports it.
Physical SIM Cards: The Removable Card That Still Works Everywhere
A physical SIM is the nano-SIM card that has been standard for a decade. You slide it into a tray, the phone reads it, and you are on the network. No download, no QR code, no account login needed at the moment of the swap. That simplicity is its greatest strength, and it is the reason repair shops and travellers still carry spare cards in their wallets.
When my screen cracked last year, I moved my card into a borrowed phone in under a minute and kept taking calls while mine was repaired. No internet connection was needed, no carrier call was needed, and no profile had to be reissued. That kind of independence matters when your main phone is dead, because an eSIM transfer usually needs Wi-Fi and a working screen on at least one phone.
Why a plastic card is still hard to beat
Universal support is the headline advantage. Almost every phone sold in the last fifteen years takes a nano-SIM, from budget models to flagships. You can hand the card to a friend, use it in a cheap backup phone, or move it into a mobile hotspot. There is no compatibility list to check and no carrier app to install. The card also works the moment it is inserted, which makes it the fastest option when you are standing in a shop with a new phone in your hand.
Where the plastic card falls short
The card is small, easy to lose, and easy to damage. I have bent a tray pin, dropped a card on a train floor, and watched a card stop working after years of swaps. The tray also takes up space inside the phone that could hold battery or cooling. For travel, the hassle multiplies: one card per country, each one needing safe storage, and each swap carrying a small risk of losing the card you still need for your home number. A dual-line setup with two plastic cards is also rare now, because most new phones ship with a single tray slot.
eSIM vs Physical SIM Comparison Table
The table below puts the two options on the same criteria, so you can see the trade-offs at a glance instead of reading a dozen separate claims.
| Criteria | eSIM | Physical SIM |
|---|---|---|
| Setup | Scan a QR code or use the carrier app over Wi-Fi, usually under ten minutes | Insert the card in the tray, works at once with no download |
| Switching phones | Transfer in Settings or scan a new QR code, needs Wi-Fi and a working screen | Move the card by hand in seconds, needs no internet |
| Travel | Add a local or travel profile in minutes, keep your home line active | Buy and swap a local card, carry cards and an ejector tool |
| Multiple lines | Several profiles stored, switch in Settings, true dual-line use on many models | Usually one card per tray, dual physical slots are now rare |
| Security if the phone is lost | Cannot be removed by a thief, can be wiped remotely with the phone | Can be pulled out and used in another phone if no PIN is set |
| Broken or dead phone | Harder to recover, needs a working screen or carrier help | Move the card to a spare phone and keep working |
| Carrier support | Most large carriers support it, smaller carriers are still catching up | Supported by every carrier, in every region |
| Wear and damage | No moving parts, nothing to bend, scratch, or lose | Card and tray can wear out, bend, or get lost over years of swaps |
Read the table as a set of trade-offs, not a scoreboard. The eSIM wins on travel and on carrying two lines. The plastic card wins on recovery from a dead phone and on universal support. Most people do not need a winner. They need the option that fits how they actually use a phone.
eSIM Benefits That Matter in Daily Use
The most practical benefit is travel. I landed in a new country last spring, connected to airport Wi-Fi, and bought a local data profile inside an app. Ten minutes later I had local data while my home number kept receiving texts. There was no shop queue, no tiny card to keep safe, and no risk of losing my home card in a hotel room. For short trips, a travel eSIM with a fixed data allowance is often the cheapest option too, and you can compare several sellers before you fly instead of accepting whatever the airport kiosk charges.
The second benefit is carrying two lines without carrying two phones. Many Android phones run one eSIM and one physical card at the same time, or two eSIM profiles at once. That is the setup I use: my personal number on one profile, my work number on the other, each with its own ringtone and its own data setting. If you want the full picture of running two numbers on one handset, read our guide to managing two lines on one phone, which covers which line handles calls, which handles data, and how to keep the two separate.
Switching carriers without waiting for the post
Changing carriers used to mean waiting days for a card in the mail. With eSIM, the new carrier can send your profile the same day you sign up. That speed also makes it easier to try a cheaper plan for a month and leave if it disappoints you. Before you switch, it is worth comparing what you actually pay now against what smaller carriers charge, and our breakdown of budget carrier plans shows where the savings really come from and where the trade-offs hide.
Security when a phone goes missing
A thief can pull a plastic card out of a stolen phone in seconds and drop it into another handset. An eSIM cannot be removed, which means the phone stays traceable for longer and the line cannot be reused so easily. That said, an eSIM is not a magic shield. Set a screen lock, keep Find My Device turned on, and ask your carrier to add a port-out PIN, because the real risk after a theft is someone moving your number to their own SIM, not someone reusing your card.
One small habit that saves eSIM users trouble
Save every QR code and activation email in a safe place, and write down which profile belongs to which number. I keep mine in a password manager with a note naming the carrier and the date it was activated. When a phone is reset or replaced, that saved code is often the fastest way back online, and it beats digging through old emails while you have no mobile data.
How to Transfer an eSIM to a New Android Phone
Transferring an eSIM is not the same as moving a plastic card. You are moving a digital profile, and the exact method depends on your carrier. Three routes cover most cases: a direct transfer between two Android phones, a fresh QR code from your carrier, or a transfer inside the carrier app. The steps below use the real menu names on a Pixel running a recent Android version. Samsung and Motorola use similar names, with small wording differences.
Before you start: a short checklist
Charge both phones above fifty percent, connect both to stable Wi-Fi, and keep the old phone working until the new one shows signal. Update both phones to the latest system version, because transfer features are often added in updates. Turn off any VPN on both phones, since a VPN can block the profile download. If your number is locked to a carrier, sort that out first: read our guide to unlocking a carrier-locked phone before you start, because a locked phone will refuse a new carrier profile and the transfer will fail at the last step.
Method 1: transfer directly between two Android phones
Some carriers and newer Android versions support a direct transfer, where the old phone hands the profile to the new one over a secure connection. This is the easiest route when it is offered.
- On the new phone, open Settings, then Network and internet, then SIMs, then Add eSIM.
- Choose the option to transfer a SIM from another device, if your carrier shows it.
- On the old phone, open Settings, then Network and internet, then SIMs, and tap the line you want to move.
- Confirm the transfer prompt on the old phone and keep both phones close together with the screens on.
- Wait for the new phone to download the profile, then check that signal bars and your number appear.
- Make a test call and send a test text before you wipe or hand in the old phone.
Method 2: transfer with a fresh QR code from your carrier
Most carriers use this route. You ask for a new QR code, scan it on the new phone, and the old profile stops working once the new one activates.
- Ask your carrier for a new eSIM QR code, through its app, its website, or a shop visit.
- On the new phone, open Settings, then Network and internet, then SIMs, then Add eSIM.
- Tap the option to scan a QR code and point the camera at the code your carrier gave you.
- Wait for the profile to download, then tap Activate when the phone asks you to confirm.
- Restart the phone if signal does not appear within a few minutes.
- Test a call, a text, and mobile data, then delete the old profile from the old phone.
Method 3: transfer inside the carrier app
Several large carriers now handle the whole move inside their own app. Sign in on the new phone, open the app, and look for the eSIM or transfer section. The app usually asks you to confirm your identity with a code sent by text or email, then it pushes the profile to the new phone. Follow the prompts on screen, keep Wi-Fi on, and do not close the app until the phone shows signal. This route is convenient, but it only works when the carrier app supports your exact phone model, so check the app description first.
If the QR code will not scan
Clean the camera lens, brighten the screen showing the code, and hold the phone steady about twenty centimetres away. If it still fails, most carriers let you type the activation details by hand: in Add eSIM, look for the enter details manually option and type the SM-DP+ address and activation code printed under the QR code. Type slowly, because one wrong character blocks the whole download.
If signal never appears after the transfer
Restart the phone, then check Settings, then Network and internet, then SIMs, and confirm the profile is turned on. Turn airplane mode on for thirty seconds, then off again. If the profile shows an error, delete it and scan the QR code once more. If the second attempt also fails, call your carrier and ask them to reissue the profile, because a profile can only be downloaded a limited number of times before the carrier must reset it on their side.
How to Convert a Physical SIM to eSIM on the Same Phone
Many carriers let you convert the card already in your phone into an eSIM without changing your number or plan. On a Pixel, open Settings, then Network and internet, then SIMs, tap your physical line, and look for a Convert to eSIM option. Samsung phones show a similar option in Settings, then Connections, then SIM manager. If your phone shows no convert option, your carrier does not support conversion on that model, and you will need a QR code from the carrier instead.
Before you convert, make sure you will not need the plastic card again soon. Once the conversion finishes, the physical card stops working. Keep the card somewhere safe for a few days anyway, in case the conversion needs to be reversed by the carrier. I converted my main line this way and the whole process took about five minutes, including one restart. The number, the plan, and the voicemail settings all carried over without a call to support.
eSIM vs Physical SIM for Travel, Work, and Everyday Use
The right choice depends on how you use your phone, not on which technology is newer. The verdicts below cover the situations readers ask about most, and each one is honest about the trade-off involved.
Frequent travellers: pick eSIM
Travellers gain the most from eSIM. You can buy a local profile before you land, keep your home number live for bank codes, and switch data to the local line in Settings. The cost is usually lower than roaming, and you never risk losing your home card abroad. Keep a plastic card as a backup only if your carrier does not offer eSIM at all.
Work and personal lines on one phone: pick eSIM plus one physical card
The hybrid setup is the sweet spot here. Put your main number on eSIM and the second line on the plastic card, or the other way around. Either way, you get two numbers, two voicemails, and separate data controls on one handset. A carrier profile for the work line can be removed in seconds when you change jobs, without touching your personal line.
People who change phones often: pick a physical SIM
If you swap handsets every few months, test phones, or buy and sell used phones, the plastic card is faster. Moving it takes seconds and needs no carrier contact. eSIM transfers work, but they add a step, a Wi-Fi connection, and sometimes a call to support, and that friction adds up when you switch phones often.
One spare phone for emergencies: pick a physical SIM
A spare phone with a plastic card is the most reliable backup. If your main phone breaks, is stolen, or runs out of battery, the card moves in seconds and you are reachable again. An eSIM in a broken phone can take hours to recover, because the recovery usually needs a working screen, Wi-Fi, or a carrier visit. For that reason I keep my oldest phone charged with a spare plastic card in a drawer.
Most everyday users: either works, eSIM edges ahead
If you keep one phone for two or three years, travel once or twice a year, and rarely swap handsets, either option serves you well. The eSIM edges ahead on convenience: no tray, no lost cards, and easy travel profiles. The plastic card edges ahead on simplicity: nothing to download and nothing to transfer. Pick the eSIM if your carrier supports it well, and keep the plastic card if your carrier makes eSIM setup painful.
Common eSIM Transfer Problems and Fixes
Most transfer failures come from a small list of causes, and most have a quick fix. Work through them in order before you call support, because the first three solve the majority of cases I have seen.
The profile downloads but shows no service
This usually means the profile is installed but not selected for calls or data. Open Settings, then Network and internet, then SIMs, tap the new profile, and confirm it is turned on and set as the line for mobile data. Then restart the phone. If the problem stays, check whether the old profile on the old phone is still active, because some carriers keep the old profile live until the new one registers, and the two can fight each other for a few minutes.
The carrier says the QR code was already used
Many QR codes can be scanned only once. If you scanned it on the wrong phone, or the download failed halfway, the code is spent. Ask the carrier for a fresh code. Some carriers charge a small fee for a replacement, while others issue them free inside the app. Save the new code until the transfer is confirmed working, and do not scan the same code on two phones.
The transfer option does not appear on your phone
Direct transfer needs a recent Android version on both phones and a carrier that supports it. Update both phones, then check again. If the option still does not appear, your carrier simply does not offer that route, and the QR code method is the way forward. This is not a fault with your phone. It is a gap in carrier support, and it is the main reason eSIM still feels uneven from one carrier to the next.
Data works but calls do not
Check that voice over LTE, often shown as VoLTE, is turned on for the new profile in Settings, then Network and internet, then SIMs. Some carriers need VoLTE enabled before calls will connect on a fresh profile. If calls still fail, confirm the number shown in the SIM settings matches your real number. A mismatch means the wrong profile was downloaded, and the carrier must reissue the right one.
Frequently Asked Questions About eSIM on Android
Can I use an eSIM and a physical SIM at the same time?
Yes, on most recent Android phones you can. The usual setup is one eSIM profile plus one plastic card, both active, with one line set for calls and one for data. Some newer models support two active eSIM profiles instead. Check your exact model, because the combination varies by region and by carrier.
Does an eSIM use more battery than a physical SIM?
No, there is no real difference. Both use the same radio and the same network registration. Battery use depends on signal strength, data use, and background apps, not on whether your profile lives on a chip or a card. If your battery drops after a switch, look at signal strength first, because a weak signal makes any phone work harder.
Can I move my eSIM to a new phone without contacting my carrier?
Sometimes. Direct transfer between two Android phones works without a carrier call when your carrier supports it. In other cases you need a fresh QR code from the carrier, which means a message in the app or a short call. Keep the old phone working until the new one shows signal, whichever route you use.
What happens to my eSIM if I factory reset my phone?
Most Android phones ask during the reset whether to erase eSIM profiles as well. You can usually choose to keep them. If you erase them by mistake, you will need a fresh QR code from your carrier to get the line back. That is why saving the QR code and activation details before a reset is worth the minute it takes.
Is eSIM safe if my phone is stolen?
An eSIM is safer than a plastic card in one specific way: a thief cannot pull it out and use it in another phone. The phone can still be wiped, though, so a screen lock, Find My Device, and a carrier port-out PIN matter far more than the SIM type. Treat the eSIM as one layer of protection, not the whole plan.
Which One Should You Pick?
Start from your own habits. If you travel, juggle two numbers, or like the idea of adding a line without a shop visit, the eSIM is the better fit, and the transfer steps above will get you moved in under ten minutes. If you change phones often, keep a spare handset ready, or your carrier makes eSIM setup painful, the plastic card is still the sensible choice, and there is nothing outdated about keeping it. A QR code activation takes minutes when it works, and a plastic card takes seconds when it matters most.
Do one thing today: open Settings, then Network and internet, then SIMs on your own phone and see what your phone actually supports. If Add eSIM is there, your carrier almost certainly offers a profile, and you can try a travel profile on your next trip without touching your main line. If it is not there, you lose nothing by staying with the card you already have. Either way, you now know exactly what each option costs you in time, in flexibility, and in recovery when things go wrong.

