

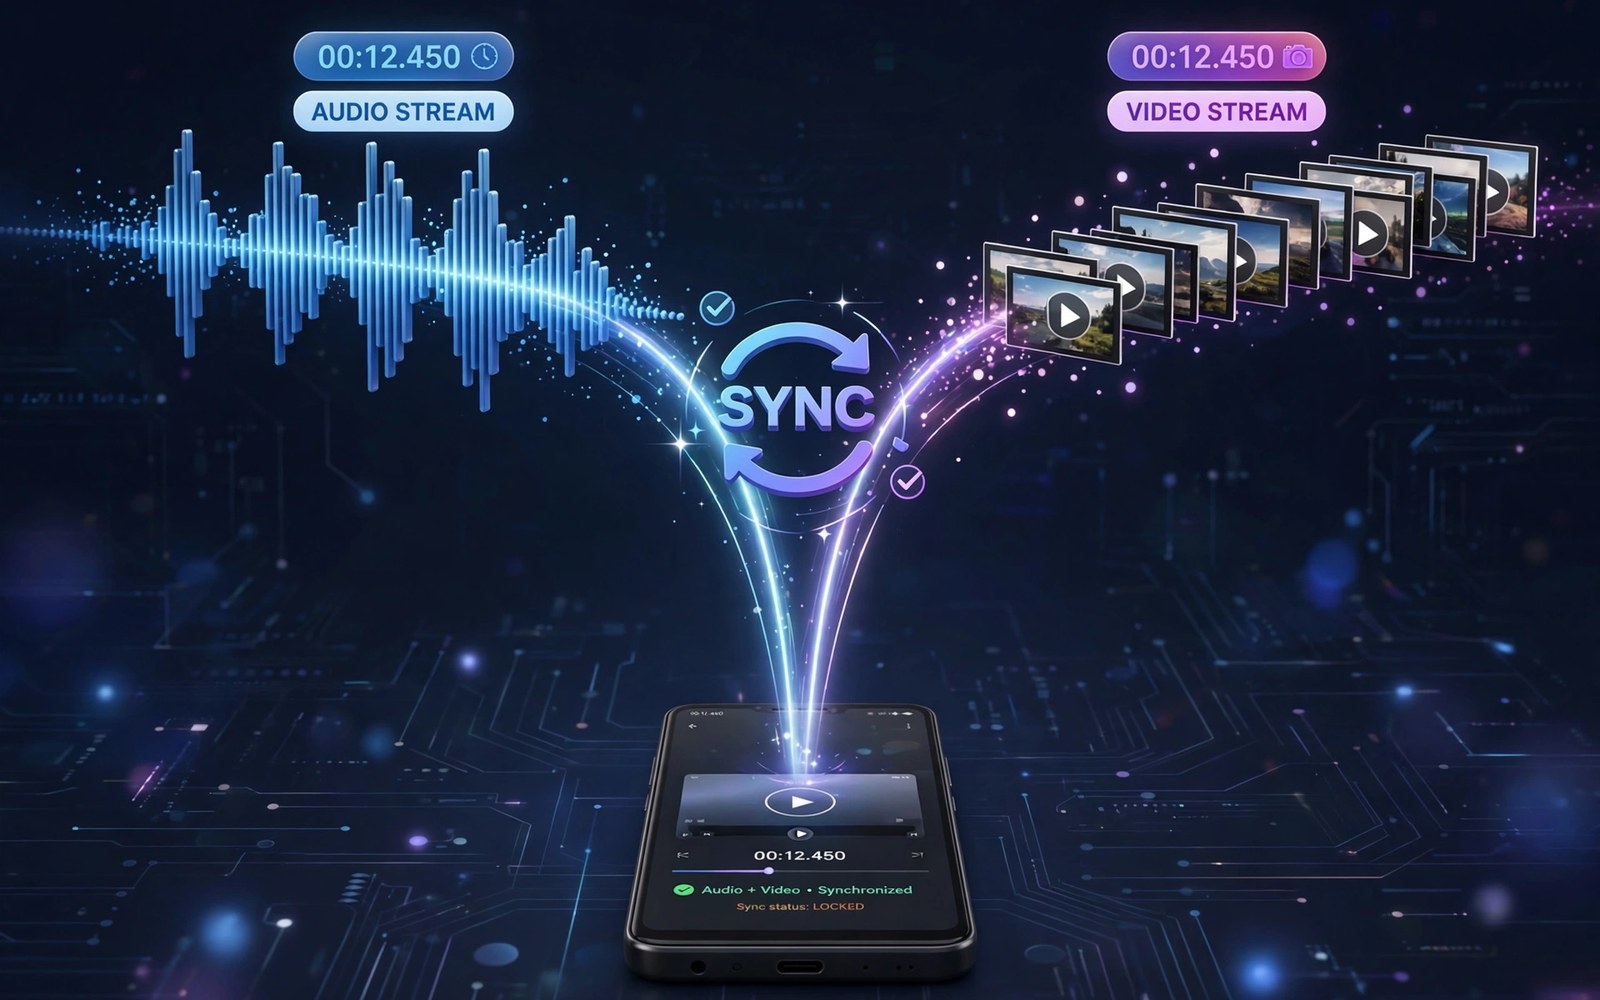
Synchronization keeps audio samples and video frames aligned by comparing timestamps from a shared clock and correcting small drift before viewers notice it. Developers who work with this topic need a clear mental model before they write code. This guide builds that model step by step and it stays practical throughout. Readers who follow the sequence will understand the moving parts and the tradeoffs involved.
Start with the core idea and keep it in mind as details arrive. Each later section adds one layer of detail without changing the core idea. That approach keeps a complex system readable for a new developer and for a reviewer. Readers who want a related view can explore How Virtual Camera Systems Intercept Physical Hardware Camera Feeds for more context on a neighbouring topic.
How It Works
A shared monotonic clock is the simplest anchor for both streams. Each frame and each audio chunk should carry a timestamp from that clock. The pattern repeats across devices even when vendor details differ. A developer who recognises the pattern can adapt faster to a new phone or a new release.
A small buffer absorbs jitter without adding noticeable delay. Testing at this stage should use real hardware rather than only an emulator. Real hardware reveals timing and format differences that an emulator hides. See also Audio Record API Hooking: Intercepting and Routing System Streams for a related perspective on this area.
Core Components
The system breaks into a small set of components that each own one job. Clear ownership makes faults easier to locate when a session fails. Keep interfaces between components narrow so a change in one place does not ripple everywhere.
- Shared monotonic clock.
- Timestamped frame queue.
- Timestamped audio queue.
- Drift estimator.
- Correction controller.
- Playout buffer.
Drift appears when audio and video clocks run at slightly different rates. Each component can be tested alone before the full pipeline is assembled. Isolated tests catch format and timing faults early when they are cheap to fix.
Design Choices
Every design choice trades simplicity against control and performance. A simple path is easier to maintain but it may hide options a power user needs. A flexible path offers control but it needs more tests and more documentation.
Correction can drop or duplicate a video frame or stretch audio by a tiny amount. Choose the simplest design that meets the stated requirement. Add complexity only after a real test shows the simple design falling short.
Implementation Steps
Work through the steps in order and verify each step before moving on. Early verification saves time because a fault found late is harder to trace. For a neighbouring topic, see Implementing Dynamic Frame Buffer Swapping for Live Stream Injection and compare its approach with this one.
- Choose one clock for both streams at session start.
- Stamp every frame and audio chunk on arrival.
- Measure the gap between audio and video timestamps.
- Apply gentle correction when the gap passes a threshold.
- Keep the playout buffer small to limit delay.
- Log drift over time to spot clock problems early.
long driftMs(long videoTs, long audioTs) {
    return (videoTs - audioTs) / 1000000L;
}
// Positive drift means video is ahead of audio here.
Read the snippet as a sketch rather than as production code. Adapt names and error handling to the codebase where it will live. Add logging around the critical call so a failure leaves a clear trace.
Performance and Reliability
Performance work starts with measurement rather than with guessing. Measure latency and throughput on a target device under realistic load. A change that helps on one device can hurt on another device with a different chip.
Large corrections look worse than small steady drift so corrections should stay gentle. Reliability also means clean shutdown and recovery after an error. A pipeline that recovers gracefully earns user trust over time.
Keep buffers small and queues bounded so a stall cannot grow without limit. Watch memory and battery during long sessions because both reveal hidden costs. Profile before optimising and keep the profile data with the change record.
Common Pitfalls
Most failures in this area come from a small set of repeated mistakes. Learning those mistakes in advance prevents long debugging sessions.
- Using wall clock time breaks sync when the clock jumps.
- Correcting every tiny gap creates visible jitter.
- Letting the buffer grow adds delay viewers can feel.
- Ignoring drift lets lip sync slip over minutes.
- Testing only short clips hides slow drift.
Practical Example Walkthrough
Imagine a developer who starts a new project based on virtual camera synchronization. The first task is to write down the expected input and the expected output in plain language. That written expectation becomes the test that later code must pass. Without it the developer cannot tell whether a change helped or harmed the result.
The developer then builds the smallest version that can run end to end. A small version exposes integration faults while the code is still easy to change. Each new feature joins only after the small version passes its basic tests. This discipline keeps the project moving even when a vendor detail surprises the team.
Next the developer adds realistic data and realistic timing to the test. Synthetic data that is too clean hides faults that real users will meet at once. Recorded sessions and device logs give a better picture than invented examples. Keep those test assets with the project so a later change can be checked against them.
Compatibility Across Devices
Android devices differ in chip and camera and audio hardware. A design that works on a flagship phone may fail on a budget phone with less memory. Test on low end hardware early because it reveals assumptions about speed and capacity. Budget devices often expose format limits that flagship devices hide.
Vendor customisation adds another layer of difference across devices. Two phones on the same Android release can behave differently in edge cases. Read vendor notes where they exist and keep a device specific note file. That file saves hours when a fault appears only on one model.
Android releases also change behaviour over time. A path that worked on one release may need a new permission or a new service type later. Track release notes for the areas this project touches. Update the test matrix when a new major release reaches users.
Maintenance Over Time
Maintenance begins the day a feature ships rather than the day it breaks. Keep dependencies small and documented so an update does not become a mystery. Review logs regularly for warnings that precede a visible failure. Small fixes applied early cost far less than emergency fixes applied late.
Documentation should describe why a choice was made and not only what the code does. Future readers need the reason behind a workaround to judge whether it still applies. Update the document when the code changes or the document will mislead the next reader. A short note at the point of change is often enough.
Version control history also serves as maintenance documentation. Write commit messages that state the problem and the chosen solution. Avoid vague messages that force a later reader to guess the intent. Clear history turns debugging into reading rather than archaeology.
Security and Privacy Considerations
Camera and audio features touch sensitive data so privacy must be part of the design. Request only the permissions that the feature truly needs. Explain to users why each permission is needed in plain language. A clear explanation builds trust and reduces permission refusals.
Store captured data only for as long as the feature requires it. Delete temporary frames and samples promptly when a session ends. Encrypt stored media when the app keeps it beyond a single session. These habits limit harm if a device is lost or an account is compromised.
Review third party code that touches the pipeline with the same care as first party code. A library can introduce a broad permission or a network call that the app did not intend. Keep the dependency list short and review updates before adopting them. Security work is ongoing and it rewards steady attention.
Questions to Ask Before Release
Before release ask whether the feature degrades gracefully when hardware is missing. A phone without a front camera or with a single microphone still deserves a clear message. Test the missing hardware case rather than assuming it never happens. Graceful degradation separates a polished app from a fragile one.
Ask whether a user can stop the feature at any moment. A visible stop control and a clean shutdown path matter for trust. Test stopping mid session and restarting at once. That sequence often exposes leaks that a normal shutdown hides.
Ask whether support staff can diagnose a failure from logs alone. Logs should carry session state and error codes without carrying private content. Review a sample log before release and remove anything sensitive. Good logs shorten support time and improve the next release.
Testing and Next Steps
Test on several devices and on several Android releases before release. Record device model and system version with every test result. A test matrix that covers old and new devices catches vendor differences early.
Automate the repeatable checks and keep manual testing for user visible behaviour. Manual tests should cover setup and failure paths as well as the happy path. A related discussion appears in Custom Android Licensing Systems: Hardware Binding and Token Auth which covers a close subject in more depth.
The steps above follow the approach described in the official developer documentation for this platform and in widely used guides for Android development. That approach favours explicit configuration and careful testing over hidden behaviour. Readers can apply the same sequence to related projects with only small changes.
Final Thoughts
A solid implementation of Virtual Camera Synchronization starts with a clear model and ends with honest testing. Shortcuts at the start usually return as faults later in the project. Take the time to verify formats and timing before promising a feature to users.
Keep the design narrow and the logs clear. Future maintainers will thank a codebase that explains its own choices. Build the next feature on a pipeline that already proves itself in daily use.

