

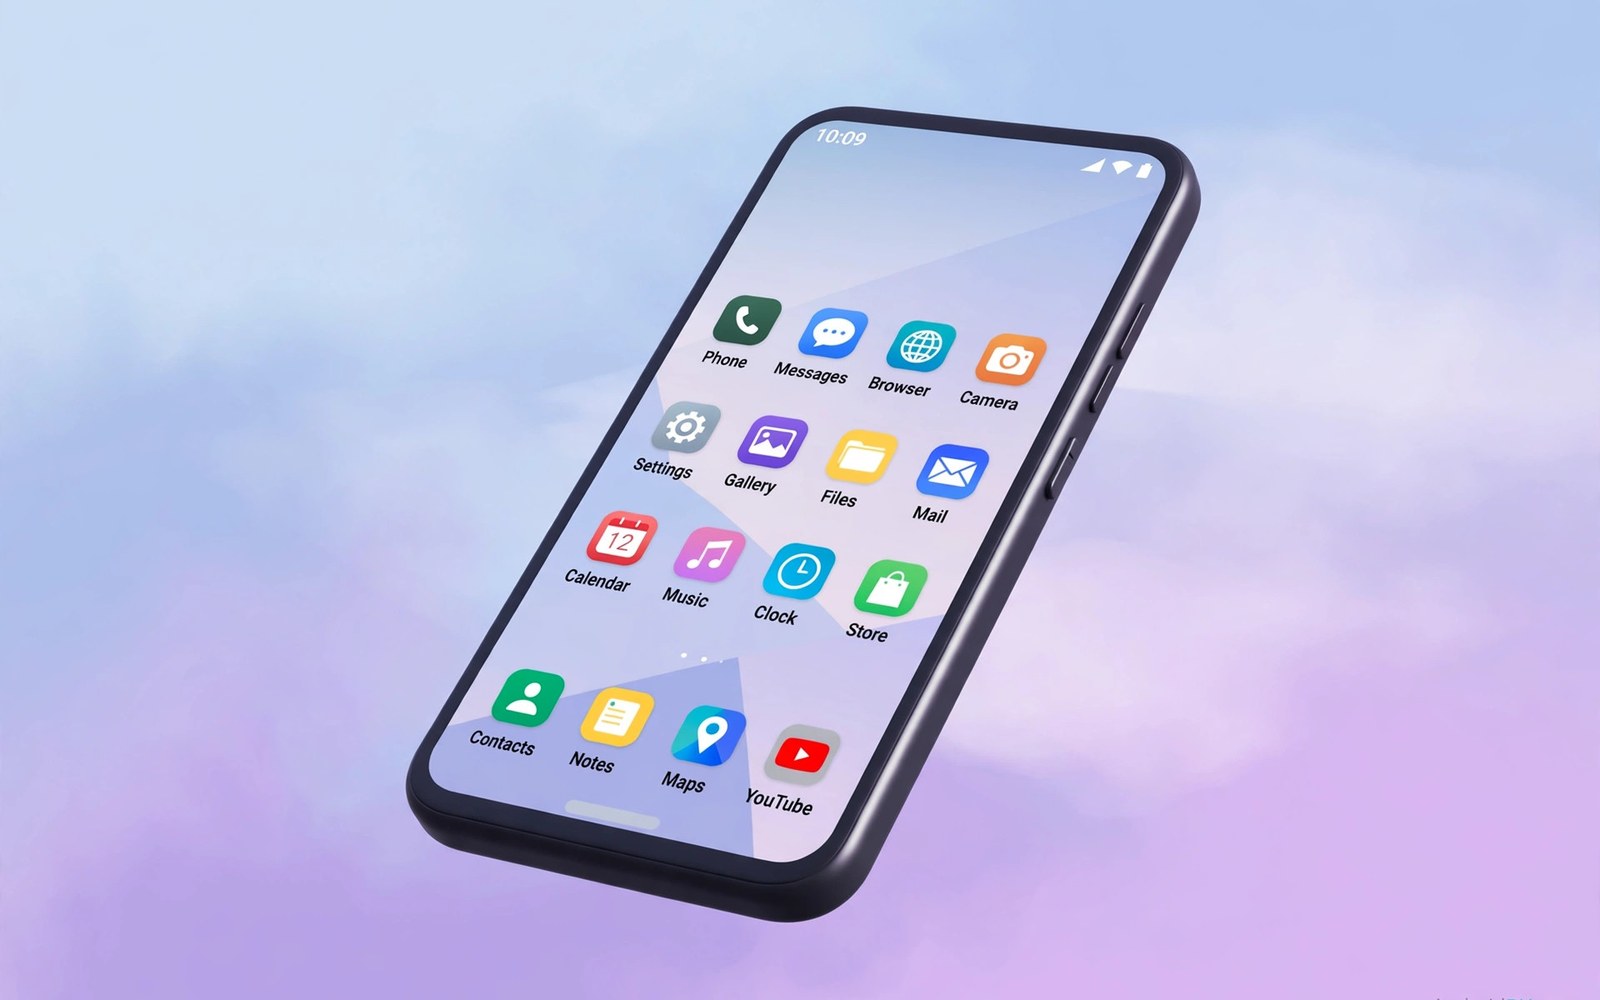
LineageOS is a long running community system that gives many phones a clean Android experience. It focuses on privacy controls and regular updates. It leaves out heavy maker skins and duplicate apps. That clean base appeals to people who want control over their own device. This tutorial walks through the full install in plain order.
Read the whole tutorial once before you touch your phone. Understand each stage and what can go wrong at that stage. Charge the phone fully and keep your computer nearby. You need a USB cable that transfers data and not only power. A cheap charge-only cable is a common hidden cause of failed flashes.
Back up your data before you start. Unlocking the bootloader wipes the phone on most models. Copy photos and documents to a computer first. Export contacts and any app data that matters to you. Do not start the install until your backup opens correctly on another device.
Confirm that your exact model has an official or well tested build. The build page lists the codename and the supported variants. If your codename is missing, stop and do not force a build from another model. A wrong build can break the radio or the camera in ways that are hard to reverse.
When you are ready to go further, read about installing Pixel Experience for a clean Pixel interface and compare it with the plan you made for your own phone.
Check Support And Read The Build Notes
Start on the device page for your codename. Read the install notes and the known issues list. Some models need a specific stock firmware version first. Some models have a quirk with the fingerprint reader or with fast charging. Knowing these facts early lets you decide if the trade-offs suit you.
Note the Android version of the build and the date of the latest release. A fresh build usually includes recent security fixes. An old build may still work but it may miss fixes you want. Check whether the build offers weekly updates or only manual updates. That detail shapes how you will maintain the phone later.
- Confirm your codename on the official device page
- Back up data and test the restore
- Unlock the bootloader and accept the wipe
- Install the matching recovery image
- Flash the ROM before any add-on package
Unlock The Bootloader Safely
Unlocking is the gate to custom software. The exact steps vary by maker. Some phones unlock with a single fastboot command. Others need an unlock tool or an account approval first. Follow the steps for your maker and read every warning on screen. The wipe that follows is normal and it protects your data from later misuse.
After unlocking, the phone may show a warning at every boot. That warning simply states that the bootloader is unlocked. It does not mean the phone is broken. Keep the phone charged during the unlock step. A power loss during unlocking can leave the phone in a confused state.
Install The Custom Recovery
LineageOS provides its own recovery for many devices. That recovery matches the install steps for the build. Download the recovery image for your codename. Boot it with fastboot first to test it. If touch and storage work, install it permanently using the steps for your device layout.
Some devices use a recovery partition and others use a boot image that contains recovery. The distinction matters for the commands you run. Follow the layout note for your model. Do not copy commands from a different model even if the phone looks similar. One wrong partition target can erase the wrong part of the phone.
When you are ready to go further, read about choosing the right GApps package size and compare it with the plan you made for your own phone.
Flash The System And Add-Ons In Order
Place the ROM file on the phone or on an SD card if your model supports one. In recovery, wipe the partitions the guide names. Do not wipe extra partitions out of habit. Flash the ROM file and wait for the success message. Then flash any add-on package the guide lists for your setup.
Order matters when you add extra packages. Flash the system first and then flash the add-ons before the first boot. Rebooting between those steps can change how add-ons register. If you want a minimal setup, skip add-ons and test the base system first. You can add extras later once the base system proves stable.
Complete First Boot And Setup
First boot takes longer than a normal restart. The system builds caches and prepares apps. Give it time and keep the charger connected. When setup appears, connect to Wi-Fi and sign in only if you want cloud restore. A clean setup without restore makes it easier to spot a broken feature.
Test calls and messages and mobile data right away. Test the camera in photo and video modes. Test Bluetooth with a headset or a speaker. Test the fingerprint reader and face unlock if your model offers them. Write down any failure while the install is still fresh in your mind.
Update And Maintain The Install
LineageOS updates arrive through the built-in updater on many builds. The updater downloads the new build and installs it in recovery. Keep a backup before major version jumps. A small monthly update is usually safe. A jump to a new Android version deserves a full backup and extra care.
If an update fails, boot to recovery and check the error message. Do not wipe data at once. Read the message and compare it with the build notes. Many update failures come from a corrupted download. Re-downloading the update fixes those cases without touching your data.
When you are ready to go further, read about deciding between a clean flash and a dirty flash and compare it with the plan you made for your own phone.
Fix Common Problems Without Panic
A bootloop after flashing often points to a missed wipe or a wrong add-on. Boot back to recovery and review what you flashed. Remove the last add-on or repeat the wipe the guide requires. Keep notes on each change so you can undo one step at a time. Random wiping makes diagnosis harder.
If the phone will not boot at all, try fastboot mode and check that the computer sees the device. Reflash recovery first and then repeat the ROM flash. If fastboot also fails, stop and seek help with your exact codename and error text. Clear notes help others help you faster.
What Makes LineageOS Different From Stock Software
LineageOS removes maker skins and duplicate apps from the system. The interface stays close to plain Android. Menus look familiar across many phone models. That familiarity helps when you switch devices later. You learn one layout and reuse it everywhere. The system also gives you privacy controls for each app. You can limit location access and sensor access per app. Those controls suit users who care about data habits.
The project publishes builds on a regular schedule for supported devices. Security fixes arrive with those builds. Users do not wait for a maker to approve an update. The community tests builds and reports bugs openly. That openness lets you read known issues before installing. You can judge a build by its public record. A transparent record beats marketing claims every time.
LineageOS also supports older phones long after makers stop updates. A phone from several years ago can run a current Android version. That longer life reduces electronic waste. It also saves money for owners who like their hardware. The trade-off is manual maintenance. You handle updates and backups yourself. Many users find that trade worthwhile.
After Install: Settle In Over The First Week
The first week after install is a settling period. Apps optimise in the background. Battery use may look high on day one. Do not judge the system from that first day alone. Use the phone normally for several days. Note battery drain and app behaviour each evening. A pattern across days tells the truth. A single day tells only a fragment.
Restore apps in groups rather than all at once. Start with messaging and mail and browser apps. Add banking and work apps next. Add games and media apps last. If a problem appears, you know which group caused it. Group restore also keeps the home screen tidy. You rediscover which apps you truly need. Many users drop apps they never missed.
Join the device community for your model if you want ongoing help. Read the thread before posting a question. Search for your exact error text first. Post your build version and codename when you ask. Clear posts get clear answers. A helpful community makes long term custom ROM use much easier.
LineageOS Privacy Controls In Daily Use
LineageOS privacy controls let you limit what each app can access. Open app settings and review permissions one app at a time. Revoke location access for apps that do not need it. Revoke sensor access for apps that merely display content. A permission audit takes time on first setup. It pays off every day afterwards. Apps function normally with fewer permissions in most cases. When an app truly needs a permission, grant it deliberately.
Privacy Guard style controls vary by LineageOS version. Newer versions use the standard Android permission system with extra options. Older versions offered a dedicated guard interface. Learn the interface on your installed version. Do not follow screenshots from a different version blindly. Menu names change between versions. Current menus on your phone are the authority. Explore them calmly before changing many settings at once.
Trust scores and permission reminders help you stay aware. The system may warn when an app uses a sensitive permission. Read those warnings instead of dismissing them. A warning about background location deserves attention. A warning about clipboard access deserves attention too. Awareness turns privacy controls from decoration into protection. Check privacy history weekly during the first month. Patterns emerge that single warnings hide.
Recovering From A LineageOS Install That Disappoints
A disappointing install is not a disaster when you prepared well. First identify what disappoints you precisely. Is the camera weak or is battery poor or is an app broken. Precise complaints lead to precise fixes. Vague disappointment leads to random changes. Test the complaint on a clean system if possible. A clean test separates ROM faults from restored app faults. That separation guides the next step honestly.
Try a different build of the same project before switching projects. A weekly build may fix your issue. A previous build may avoid a regression. Changing builds within one project keeps your data path simpler. Switching projects usually needs a clean flash. Stay within the project when the issue looks like a regression. Project changelogs often name the fix you need. Read them before jumping elsewhere.
If no build satisfies you, return to stock firmware calmly. Your backup and stock files make that return routine. A return is not a failure. It is a decision based on evidence. Many users return to stock and try custom software again later. Hardware and software both evolve. A ROM that disappoints today may delight after a future update. Keep your notes for that future try.
adb reboot bootloader
fastboot flash recovery recovery.img
fastboot reboot recovery
adb sideload lineageos.zip
The steps above follow the method set out in the official developer documentation for this platform and in the build guides published with the project.

