

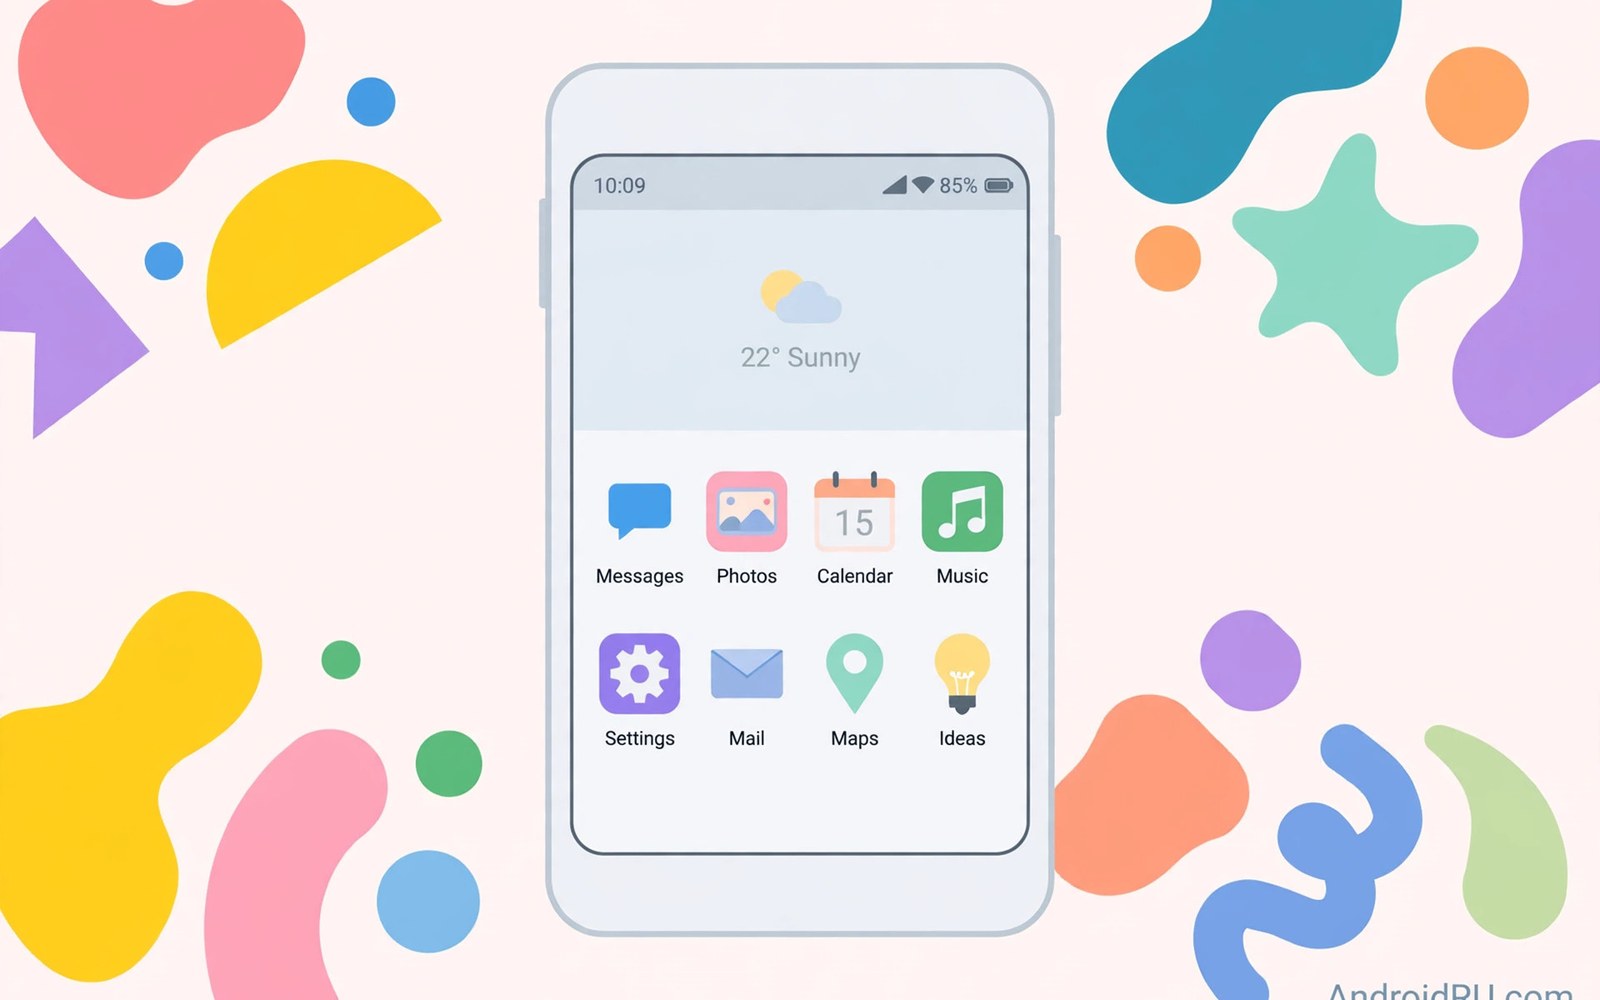
Pixel Experience aims to give non Pixel phones the look and feel of a Pixel. It uses a clean launcher and familiar system apps. It avoids heavy skins and duplicate tools. The result feels simple and fast on many mid range phones. This article explains how to install it and what to expect after first boot.
The project supports a defined list of devices. Each device has its own build and its own install notes. You must match your codename exactly before you download anything. A build for a close model is not good enough. Check the support list twice if your phone has several regional variants.
Back up before you start because unlocking wipes the phone. Copy photos and files to a computer. Export contacts and save any codes you need for your accounts. A clean backup makes the whole install calmer. You can focus on the steps instead of worrying about lost data.
Pixel Experience comes in flavours that differ in extra apps. One flavour stays close to the bare Pixel set. Another flavour adds useful extras chosen by the project. Read the flavour notes before you choose. Pick the flavour that matches how you use your phone every day.
When you are ready to go further, read about choosing the right GApps package size and compare it with the plan you made for your own phone.
Choose The Right Flavour And Build
The basic flavour keeps the system lean and close to stock Pixel software. It suits people who add only a few apps of their own. The plus flavour adds extra tweaks and tools for people who like more control. Both flavours share the same core system. The difference lies in the extras that ship with the build.
Check the build date and the Android version before downloading. A recent build brings newer security fixes and newer features. Read the device notes for camera or charging quirks. If a quirk affects a feature you use daily, weigh it before you flash. A beautiful interface cannot replace a broken camera for most people.
Prepare The Phone And The Computer
Install the platform tools on your computer and test the USB cable. Run a device check in fastboot mode to confirm the computer sees the phone. Update the phone to the stock firmware version the notes require. Some builds need a newer modem or vendor set. Skipping that step can break calls or sensors.
Download the ROM file and the recovery image for your codename. Verify the file size against the download page. Keep both files in one folder with a clear name. Copy that folder to a second location as a spare. Organisation at this stage prevents flashing an old file by mistake later.
- Install platform tools and test the USB cable
- Download the ROM and recovery for your codename
- Unlock the bootloader and accept the wipe
- Wipe only the partitions the guide names
- Flash the ROM and wait for confirmation
Unlock And Install Recovery
Unlock the bootloader using the method for your maker. Accept the data wipe and let the phone restart to the setup screen. You do not need to complete setup at this point. Reboot to fastboot mode and install the matching recovery. Boot into recovery and confirm that touch works.
Learn the recovery layout on your first visit. Find the wipe menu and the install menu. Find the reboot menu and the sideload option. Knowing these locations in advance reduces stress during the real flash. If recovery fails to load, reflash the image and check that you used the file for your codename.
When you are ready to go further, read about deciding between a clean flash and a dirty flash and compare it with the plan you made for your own phone.
Flash Pixel Experience In Order
Wipe the partitions the guide names for your device layout. Flash the ROM file and wait for the confirmation message. Do not reboot early even if the progress bar seems stuck. Large system files take time to write. Patience at this step protects the install from partial writes.
Some builds need an extra firmware file flashed in the same session. Follow the order in the device notes exactly. If the notes say to flash firmware before the ROM, do that first. If they say to flash it after, wait until the ROM finishes. Order errors cause strange bugs that look unrelated to the real cause.
Set Up The Clean Interface
First boot builds the system and can take several minutes. Complete setup with a fresh profile if you want to test stability. The Pixel launcher gives you a clean home screen and a simple app drawer. The system apps cover calls and messages and photos without duplicates. Add your own apps one group at a time.
Explore the settings for gestures and display options. Set your preferred navigation style early. Check the always on display option if your phone supports it. Adjust the accent colour and the icon shape to taste. Small choices like these make the clean interface feel like your own phone.
Test Features That Matter Daily
Test the camera with the stock camera app first. Then test any extra camera app you plan to use. Test calls on mobile data and on Wi-Fi calling if your carrier supports it. Test Bluetooth audio and test NFC payments if you use them. A feature test now is easier than a fix after you restore all your data.
Check battery behaviour over the first two days. A new system settles as apps optimise in the background. Do not judge battery life from the first few hours alone. If drain stays high after two days, check which app uses the most power. A single misbehaving app often explains the drain.
When you are ready to go further, read about how vendor partition files affect ROM installs and compare it with the plan you made for your own phone.
Keep The System Updated
Pixel Experience updates arrive through the system updater on supported builds. Install small updates promptly for security fixes. Back up before a major Android version jump. Read the update notes for any manual step. Some updates need a clean flash while others install over the old system safely.
If an update stalls, boot to recovery and check the message. A corrupted download is a common cause. Delete the download and fetch it again on stable Wi-Fi. Avoid wiping data unless the notes call for it. Careful updates keep the clean experience smooth for months.
Life With A Pixel Style System Day To Day
A Pixel style system feels quiet compared with heavy maker skins. The home screen shows few preinstalled apps. The settings menu uses plain language. Search sits at the top of the app drawer. That simplicity speeds daily tasks. You spend less time hunting through duplicate tools. The phone feels like a tool and not a billboard.
Pixel style features include smart text selection and call screening on supported models. Not every feature reaches every device. Hardware limits decide some features. The device notes list which Pixel features work on your model. Read that list before you expect a specific feature. A missing feature is not a broken install. It is a hardware or porting limit.
Updates keep the clean feel over time. New builds bring security fixes and small feature tweaks. The interface rarely changes dramatically. That stability helps users who dislike relearning menus. You can focus on your apps instead of the system. A calm system is a feature in itself.
Decide If Pixel Experience Suits Your Habits
Pixel Experience suits users who like stock Android. It suits users who want few preinstalled apps. It suits users who value smooth animations and clean menus. It may disappoint users who love heavy customisation. Other ROM projects offer deeper theme engines. Pixel Experience trades that depth for simplicity. Know your preference before flashing.
Consider your camera habits carefully. Pixel style camera apps differ from maker camera apps. Maker apps often include special modes for your sensor. A generic camera app may lose a special mode. Test the camera early after install. Compare photo quality with your old system. If camera quality matters most, keep the old system or test longer.
Consider your carrier features too. Wi-Fi calling and VoLTE depend on vendor and carrier support. Test both after install. Test mobile payments if you use them daily. A beautiful interface cannot replace a payment method you need. Daily features decide whether a ROM stays on your phone.
Pixel Experience Extras Worth Exploring
Pixel Experience includes extras beyond the clean launcher. Explore the settings menu section by section after setup. Look for gesture controls and display options. Look for sound and vibration tuning. Look for privacy indicators and permission history. Each section holds small choices that shape daily feel. Spend an evening exploring slowly. Rushed exploration misses useful options. Slow exploration builds familiarity with the whole system.
The plus flavour adds tweaks that the basic flavour omits. Those tweaks may include status bar options and button remapping. They may include extra launcher gestures. Read the flavour changelog before enabling every tweak. Enable tweaks one at a time. Test each tweak for a day. A tweak that looks fun may annoy you in daily use. One at a time testing reveals that annoyance early. It also lets you revert cleanly.
Do not install every theme and icon pack at once. A pile of visual changes can slow the launcher. It can also hide the clean look you chose Pixel Experience for. Pick one icon style and one accent colour. Live with them for a week. Change them only when you feel a genuine desire. Restraint keeps the Pixel feel intact. It also keeps the system fast and stable.
When Pixel Experience Is Not The Right ROM
Pixel Experience may not suit users who need deep system customisation. Other projects offer theme engines and extensive status bar control. Users who customise every pixel may feel limited. That limitation is a design choice and not a bug. The project values simplicity over endless options. If endless options matter to you, choose a project built for them. Honest preference matching beats forcing a mismatch.
Camera focused users may also prefer a different ROM. Some projects integrate maker camera features more deeply. Pixel Experience uses a generic camera approach on many devices. Photo quality may differ from stock in low light. Test camera quality thoroughly during the first week. Compare with stock samples if you saved any. If the gap bothers you daily, reconsider. Camera quality affects memories. It deserves weight in your decision.
Users who need specific carrier features should test early. Wi-Fi calling support varies by device and carrier. VoLTE support varies similarly. Test both on day one. Test mobile payments on day two. If a daily feature fails, check the device thread for fixes. If no fix exists, another ROM or stock may serve you better. Daily features outweigh interface beauty. Choose the system that works for your life.
fastboot flashing unlock
fastboot flash boot recovery.img
adb reboot recovery
adb sideload pixel-experience.zip
The steps above follow the approach described in the official developer documentation for this platform and in the guides that accompany each device build.

