

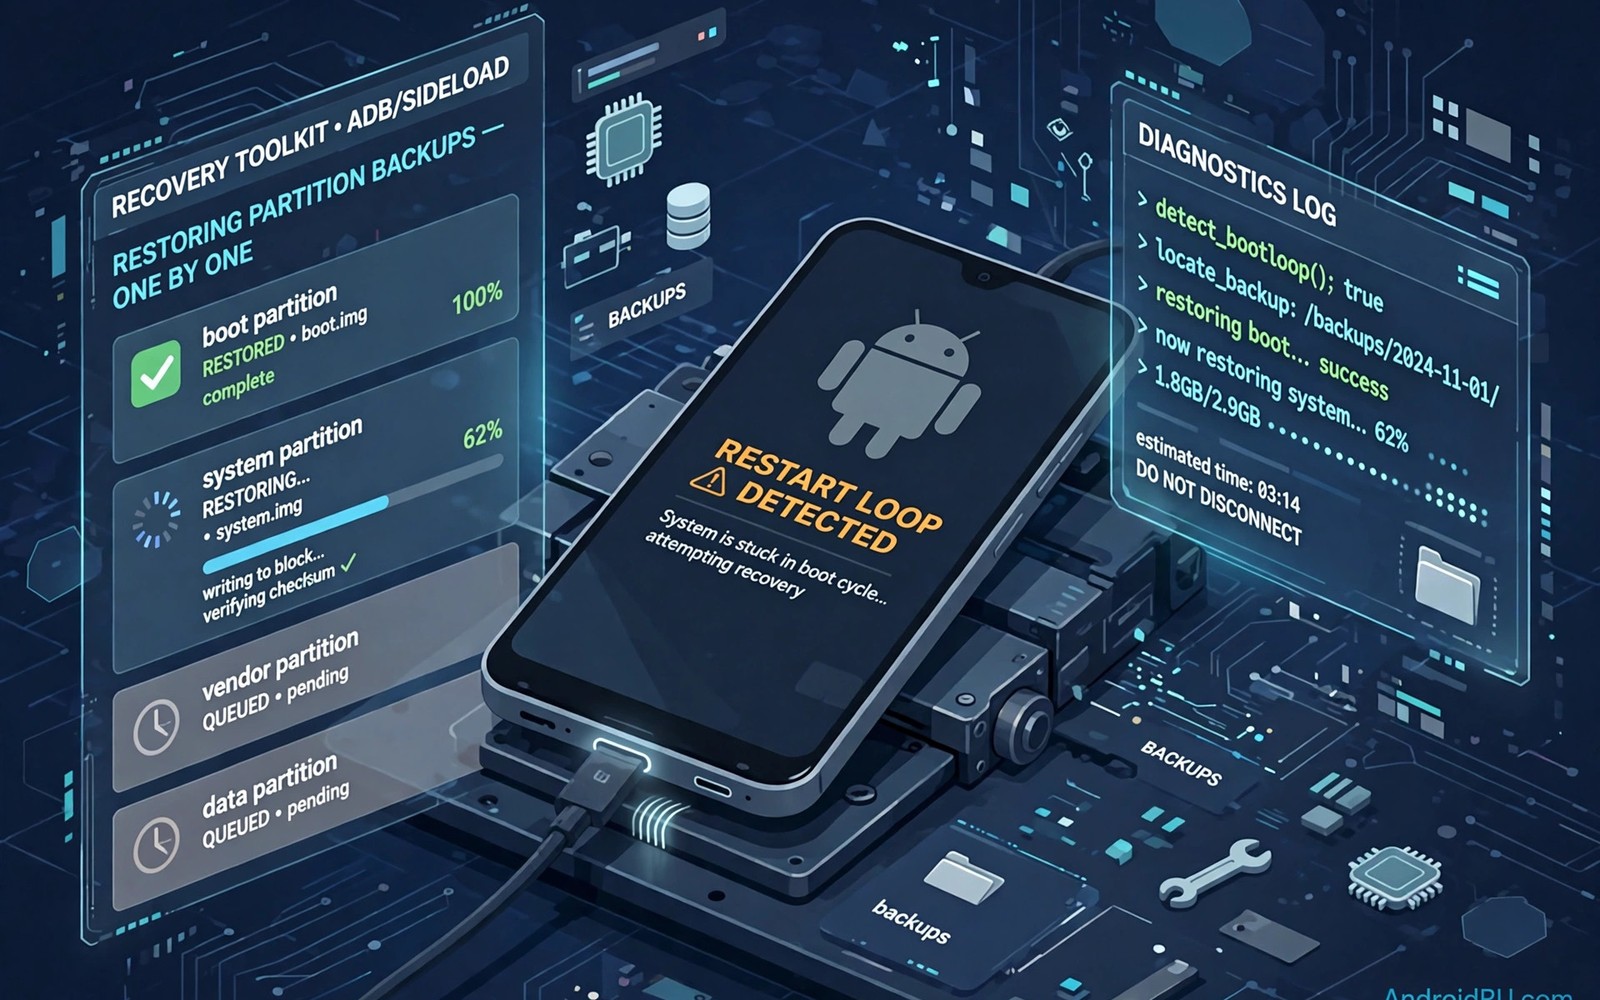
A bootloop traps a phone in endless restarts. The logo appears and then the phone reboots again. Full restores fix bootloops but may overwrite good data. Individual partition restores offer a surgical alternative. Restoring only the faulty partition preserves everything else.
This guide teaches selective restore diagnosis and execution. You will learn which partitions commonly cause bootloops. You will also learn a safe restore order for testing. Patience beats wiping when data matters.
What Causes Bootloops
Bootloops stem from mismatched or corrupted core partitions. A bad kernel in boot can halt startup early. A corrupted system can crash during framework load. A bad module in vendor or data can crash late boot. Each cause lives in a different partition. Selective restore targets the guilty partition only.
Recent changes point to the likely culprit. A bootloop after a kernel flash implicates boot. A bootloop after a ROM flash implicates system. A bootloop after a module install implicates data or vendor. Change history is the best diagnostic clue available. Review it before restoring anything.
- Boot partition faults halt startup very early
- System faults crash during framework and service load
- Data faults from modules crash after framework starts
- Vendor faults break hardware support during boot
Preparing for Selective Restore
Boot into recovery and confirm it works fully. Check that backup folders are visible and readable. Confirm the backup date matches a working state. A backup from after the problem started will not fix it. Choose the newest backup from before the faulty change.
Rescue personal files before any restore when mounts allow. Copy photos and documents to external storage first. Selective restores should preserve data but accidents happen. A rescue copy removes pressure from the repair. It also protects against a wrong partition choice.
Note current partition choices before changing anything. A written note of the plan prevents confusion mid repair. List partitions in restore order with reasons. That note also helps if you need forum help later. Clear notes make help faster and more accurate.
Restore Order for Diagnosis
Restore boot first when a kernel change preceded the loop. Boot restore is quick and often decisive. Test boot after the restore before touching other partitions. A successful boot ends the repair immediately. Data stays untouched in that happy case.
Restore system next when boot restore does not fix the loop. System restore replaces operating system files with known good copies. Test boot again after system restore. If boot succeeds then system was the fault. Data from the current install may still work with the restored system.
Restore vendor next for hardware related boot failures. Vendor restore fixes driver and firmware support files. Test boot after vendor restore as well. Each single restore plus test isolates the fault clearly. Combined restores hide which partition mattered.
Handling Data Related Bootloops
Data related loops often come from modules or bad settings. Restoring all data loses recent app changes and files. A targeted approach may remove only the offending module instead. Recovery file tools can delete module folders when data mounts. That surgical removal preserves the rest of data.
When module removal fails, data restore becomes the fallback. Restore data from the same backup as system for consistency. Mixed era system and data can clash and loop again. Consistency across restored partitions matters greatly. Prefer one backup era for multi partition restores.
Full backup concepts support selective choices well. Review creating full Nandroid backups in recovery for partition selection details. Full backups contain the individual images selective restore uses.
When Selective Restore Fails
Some loops resist every single partition restore. Corruption may span multiple partitions at once. A bad flash can damage system and vendor together. In that case restore a full set from one backup era. Full set restore sacrifices diagnosis for reliability. Reliability wins when the phone must work again soon.
Slot devices add a fallback before full restore. Try booting the other slot when available. The other slot may hold a working system from before. Slot switching is faster than any restore. Check slot status in recovery before restoring.
Kernel related loops deserve special attention in diagnosis. Kernel changes affect boot behavior in subtle ways. You can review how flashing custom kernels changes recovery behavior for kernel specific effects. Kernel awareness sharpens boot restore choices.
Verifying the Fix
After a successful boot, test core functions thoroughly. Check calls and data and Wi-Fi and camera. Launch apps that crashed during the loop period. Watch for slow boots or repeated crashes over a day. A loop that returns points to an unresolved root cause.
Investigate the original trigger before repeating it. A module that caused a loop will loop again if reinstalled. A kernel that caused a loop needs a different version. Fix the trigger rather than just the symptom. Otherwise the repair becomes a cycle.
adb reboot recovery
adb shell ls /sdcard/TWRP/BACKUPS/
adb shell ls /sdcard/TWRP/BACKUPS/device-id/
The commands above list backup folders available for selective restore. Folder paths differ by recovery and device. Confirm the backup era in recovery before selecting partitions. Era consistency prevents mixed system and data clashes.
After Recovery: New Baseline
Make a fresh full backup once the phone boots reliably. That backup captures the repaired state as a new baseline. Future loops restore to this baseline quickly. Label the backup with the fix and the date. Clear labels prevent restoring a loop era backup later.
Document the faulty partition and trigger in device notes. That record speeds future diagnosis enormously. It also warns against reinstalling the same bad package. Good records turn one painful loop into lasting knowledge. Share findings in device forums to help others too.
When no backup exists, image based repair offers another path. See restoring broken operating systems from saved image files for rebuild options. Backups remain better but images can still save a phone.
Bootloop Symptoms by Stage
Early stage loops show only the maker logo briefly. The phone reboots before any animation appears. Boot or bootloader faults dominate this stage. Recovery access usually remains available here. Early loops often resolve with boot restores.
Middle stage loops reach the boot animation and restart. Framework services fail during startup in this stage. System corruption or mismatched framework files cause many middle loops. System restores target this stage directly. Middle loops may still allow recovery fully.
Late stage loops reach the lock screen or home screen briefly. Apps or modules crash the system after startup completes. Data related faults dominate late loops. Module removal or data restore targets this stage. Late loops sometimes allow brief ADB access before crashing.
Preventing Repeat Bootloops
Repeat loops usually mean the trigger was reinstalled after repair. A bad module reinstalled loops the phone again identically. A mismatched kernel reflashed loops again identically. Identify triggers during repair and avoid them afterward. Repair without trigger removal is only a pause.
Staged reinstallation prevents repeat loops after major repairs. Reinstall modules one at a time with boot tests between. A loop after one module identifies that module precisely. Bulk reinstallation hides the culprit among many changes. Patience during reinstallation saves repeat repair cycles.
Version pinning helps when a specific version works reliably. Note working versions for ROM and kernel and modules. Avoid updating all components at once afterward. Update one component at a time with tests between. Controlled updates keep a working phone working.
- Early loops implicate boot and bootloader stages
- Middle loops implicate system framework startup
- Late loops implicate apps modules or data
- Reinstall modules one at a time after repair
Bootloop First Aid Checklist
A bootloop first aid checklist calms stressful repair moments. Confirm recovery boots and shows backup folders. Note the last change before the loop started. Choose the newest backup from before that change. Restore the most suspect partition first and test boot.
Resist wiping data as a first response to any loop. Data wipes destroy files that targeted restores preserve. Try boot and system restores before data options. Rescue files through mounts before destructive steps. Patience in the first hour saves data for years.
Document each restore attempt and its result briefly. A written log prevents repeating failed attempts under stress. It also helps forum helpers spot patterns quickly. Clear logs turn chaotic loops into methodical repairs. Method beats panic in every bootloop case.
Bootloop Recovery Mindset
Mindset matters as much as method during bootloop repair. Panic drives hasty wipes that destroy recoverable data. A calm methodical approach preserves options at every step. Work through one partition at a time with boot tests between. Take breaks when frustration rises rather than forcing progress. Rested decisions beat rushed decisions in every repair scenario. The phone can wait while you think clearly. Data saved by patience outweighs minutes lost to pauses. Treat bootloop repair as a puzzle, not a race against time.
Testing After Each Selective Restore
Testing after each selective restore is the core discipline of this method. Reboot after every single partition restore without exception. Note whether the loop stage changed after that restore. A stage change means the restored partition influenced boot behavior. No change means that partition was likely healthy already. Record each result before restoring the next partition. That record prevents repeating restores and reveals patterns. Skipping tests turns selective restore into blind full restore with extra steps. Discipline here is what makes selective restore valuable at all.
The steps above follow the approach described in the official developer documentation for this platform. That documentation explains boot flow and partition roles in general terms. It also covers fallback behavior that aids loop diagnosis. Combine it with device notes for your exact model.

