

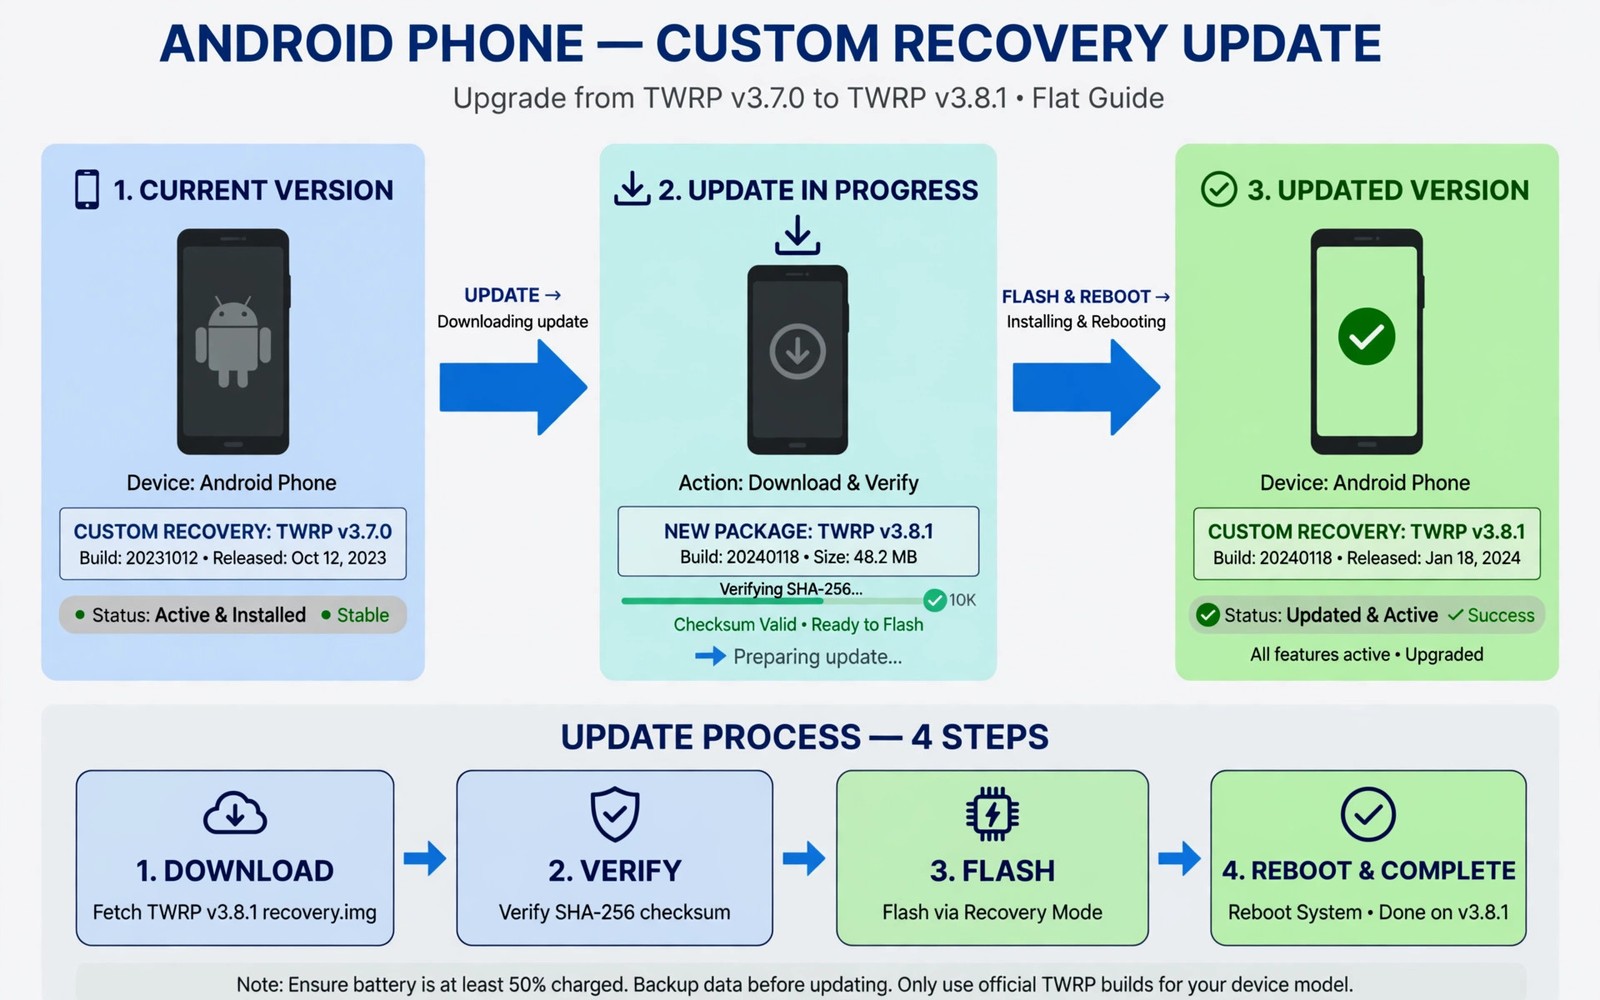
How to Update Your Custom Recovery to Support New Android Releases
Android releases change partition layouts and encryption handling regularly. Old recovery builds may fail on new systems, and a recovery that boots but cannot mount data is worse than a recovery that fails loudly, because it looks fine until the moment you need a backup. Updating recovery keeps backups and flashing working after an upgrade, and it keeps decryption support matched to the new version. Treat recovery updates as part of every major Android upgrade, not as an optional chore you do when something breaks.
This guide explains when to update and how to update safely. It covers compatibility checks, build selection, flash methods, verification steps after the update, and rollback planning for the day a new build does not work. A verified update prevents nasty surprises during the next repair, and a recovery that matches your Android version is the foundation every other modification depends on.
Why Custom Recovery Needs Updates With Each Android Release
Each Android release can change how partitions are organized. Dynamic partition rules evolve with new releases, encryption key handling changes over time, and recovery code must track those changes to mount and flash correctly. A stale recovery may boot but fail at real tasks. Decryption failures are the most common stale recovery symptom: data mounts fail after an Android upgrade with old recovery, backup tools then cannot read personal files, and updating recovery often restores decryption immediately. That single fix justifies regular update checks.
New hardware support also arrives through recovery updates. Touch drivers and storage drivers improve with new builds, and display fixes for newer panels appear in updated builds. Staying current keeps recovery usable on evolving hardware, while old builds may show a broken screen on new panels. Newer partition changes may force bigger recovery changes over time, and you can read about why newer partition structures make custom recovery harder to understand the long term trends behind these updates.
Signs Your Recovery Is Out of Date
Update recovery when backups or mounts start failing without another cause. A failing mount after a system update points to version mismatch, so check for a newer recovery build before deeper diagnosis. Many mysterious failures vanish with a matched build, and version mismatch should be an early suspect, not a last resort. Other signs include a touch screen that stops responding in recovery, a backup that completes but restores nothing, and a new ROM that refuses to flash with a cryptic error.
Decryption Failure Is the Classic Symptom
When data will not mount and the recovery asks for a password it used to accept, the recovery build almost certainly predates the encryption change in your current Android version. Updating the recovery to a build that lists your Android version restores decryption in most cases, and it is the first fix to try before wiping anything.
When to Update Your Custom Recovery
Update recovery before a major Android version upgrade when possible, because the new recovery should match the target Android version. Update again after the upgrade if a newer build appears, because ROM threads often announce the recommended recovery version in the days after a release. Follow those announcements for your exact ROM, and update when decryption or mounting fails after an upgrade. Recheck for builds after switching ROM families, because a build that worked for one ROM may not decrypt another.
Update before major Android version upgrades. Update when decryption or mounting fails after an upgrade. Follow ROM thread recommendations for recovery versions. Recheck for builds after switching ROM families. Those four triggers cover nearly every situation, and a monthly check alongside system updates catches the rest.
Reading Release Notes Before Updating Recovery
Release notes reveal what a new recovery build actually changes. They list fixed bugs, new features, and known issues. Known issues deserve special attention before updating, because a known issue affecting your model outweighs a new feature. Skipping a problematic release is wiser than testing it blindly. Notes also state supported Android versions and device variants, and a build may support only part of a model family. Variant notes prevent flashing a build for a sibling variant, so read variant coverage as carefully as version coverage. Changelog dates show maintenance activity over time: frequent recent releases signal active maintenance, while long gaps may signal a stalled port for your model. Always read the known issues section first, because it tells you what the new build breaks before you find out yourself.
Choosing the Correct New Recovery Build for Your Device
Match the new build to your exact device codename as always. Check the build notes for supported Android versions, because some builds target a specific Android version range while others claim broad support across several versions. Prefer builds with explicit notes for your target version, and check whether the build is official or unofficial for your model. Official builds usually receive faster updates for new releases, while unofficial builds may lag or stop entirely. A lagging unofficial build may force a switch to another recovery, so plan that switch before an urgent repair need arises.
Compare OrangeFox and TWRP update paths when both exist for your model. The comparison in OrangeFox versus TWRP feature and UI comparison helps weigh update speed and features, because update cadence differs by project and device. A project that updates quickly for your model is worth more than a project with more features but slower releases.
Official Builds vs Unofficial Builds
Official builds come from the project maintainers for your device, with tested releases and a public changelog. Unofficial builds come from community developers, and they can be excellent, but they may stop without warning when the developer moves on. If your unofficial build stops receiving updates, switch to an official build or another maintained project before your Android version moves past it.
Check Variant Coverage, Not Just Version Coverage
Some models ship in several hardware variants with different panels or storage chips. A recovery build may support only part of the family, and flashing a build for a sibling variant can break touch or storage. Confirm the build lists your exact variant before flashing.
Flashing the Updated Recovery Build Safely
Flashing an update resembles the original install but with less risk, because your phone already runs a working recovery and bootloader setup. Boot into fastboot or into current recovery depending on your device layout. Flash the new image to the recovery target for your device generation, and on slot devices follow the slot method for your model. Some recoveries can flash a new recovery image from within recovery itself, which avoids a computer entirely: place the image on storage, use the install image option, select recovery as the target partition when prompted, and confirm the target carefully before swiping.
The fastboot method uses two commands. Running fastboot flash recovery recovery-new.img writes the new image, and fastboot reboot recovery boots straight into it. After flashing, boot directly into the new recovery when possible, confirm the version number on the main screen, and check touch response and storage mounting right away. A version check takes seconds and catches failed updates early. Never assume an update worked without seeing the new version number.
Verifying the Recovery Update After Flashing
Test decryption by checking data mount and file visibility. Run a trial backup that includes data and system, and confirm the backup completes without mount errors. Test flashing a small trusted package if you have one, because these checks prove the update works for real tasks. Check that external storage and USB mounting still work, since some updates change storage handling subtly, and a quick mount test catches regressions early. Also confirm that the recovery version matches the expected release, because a mismatched version suggests the flash targeted the wrong slot or partition.
Handling Recovery Update Problems and Rollback Planning
Every recovery update needs a rollback plan before flashing. Keep the previous recovery image file on a computer, and note the exact flash method that installed the previous build. A rollback then takes minutes rather than research. Without a plan, a bad update becomes a stressful search. If the new recovery fails to boot, fall back to the old build and reflash the previous image through fastboot. Your old build remains a valid fallback until the new one proves itself, so keep old image files until verification completes. Deleting them early removes your safety net.
If touch fails on the new build, the build may mismatch your panel variant. Try another build for your codename or revert to the old build, and report the panel issue in the build thread with details. Panel variants cause many update regressions on popular models, and community reports help maintainers fix them faster. If decryption still fails after updating, check ROM specific notes, because some ROMs need a particular recovery build for decryption. The encryption guide on how custom recovery handles encrypted internal storage explains version related decryption limits, and you should match recovery to ROM as well as to Android version.
Confirm Fastboot Access Before You Update
Test rollback readiness by confirming fastboot access still works. Fastboot provides the fallback path when recovery fails to boot, and a phone with working fastboot can recover from almost any recovery update failure. A phone without fastboot access needs maker tools instead, so confirm the fallback path before relying on it. Never flash a recovery update without a confirmed way back, because the fallback is what turns a bad flash into a five-minute fix.
Document Every Update in Your Device Notes
Record version numbers and decryption test outcomes after verification. Note each update date and version in your device records. A simple log prevents confusion about which build is installed, and it helps diagnosis when problems appear later. Future troubleshooting benefits from that history, and good records compound across years of maintenance.
Coordinating Recovery Updates With ROM Updates
ROM updates and recovery updates interact more than users expect. A ROM update may require a newer recovery version first, and installing the ROM before recovery can break flashing midway. Read ROM update notes for recovery requirements carefully, and update recovery first whenever notes mention a minimum version. Recovery updates after ROM updates also matter for decryption, because a ROM change can alter encryption handling subtly, and recovery must track that change to keep data access working. Test data mounting after combined updates, because combined testing catches version drift early.
Stagger major updates rather than changing everything at once. Update recovery first and verify it works, then update the ROM and verify core functions. Staggered updates isolate faults to one change at a time, and isolation makes diagnosis far easier when problems appear. A fault after two simultaneous changes could be either change, while a fault after one change has an obvious suspect.
Keeping Recovery Current Long Term and Around Travel
Check for recovery updates monthly alongside system updates. Subscribe to build threads or release notes for your model, and pair recovery updates with fresh backups after verification. A verified new recovery plus a fresh backup forms a strong baseline, and future upgrades then start from a known good state. That discipline compounds over years of device use, and small habits prevent large repair bills in time and stress.
Travel timing should influence recovery update decisions strongly. Avoid recovery updates immediately before important trips, because a failed update far from home lacks computer access for repair. Schedule updates for weeks with spare time at home instead. Verify decryption and backups thoroughly after any pre-travel update, because a verified recovery plus a fresh backup makes travel failures manageable. Postpone optional updates until after returning home safely, because caution around travel protects both the phone and the trip.
Frequently Asked Questions About Custom Recovery Updates
Do I need to update recovery for every small Android security patch?
Usually not. Small monthly patches rarely change partition layouts or encryption, so the existing recovery keeps working. Update when a major Android version changes, when decryption or mounting fails, or when the ROM thread recommends a specific build for a new release.
Can I update recovery without a computer?
Yes, on many devices. Some recoveries can flash a new recovery image from within recovery: place the image on storage, use the install image option, and select recovery as the target. Fastboot from a computer remains the more reliable fallback, so keep that path available even if you usually update from within recovery.
What happens if the new recovery will not boot?
Reflash the previous image through fastboot. That is why you keep the old image file and confirm fastboot access before updating. A phone with working fastboot can recover from almost any recovery update failure, and the rollback takes minutes when the plan is ready.
Why does decryption fail after an Android upgrade even though recovery still boots?
Android changes encryption handling between releases, and a recovery built for the old version cannot read the new encryption. The recovery boots because the boot process still works, but data stays locked. Updating to a recovery build that lists your Android version restores decryption in most cases.
Recovery maintenance grows more important as Android layouts evolve, and the habit is simple: check monthly, read the release notes, keep the old image, confirm fastboot access, and verify decryption after every update. Your concrete next step is to check your installed recovery version today against the latest build for your device codename. If a newer build lists your Android version, download it and the previous image together, and schedule the update for a quiet evening at home.

