

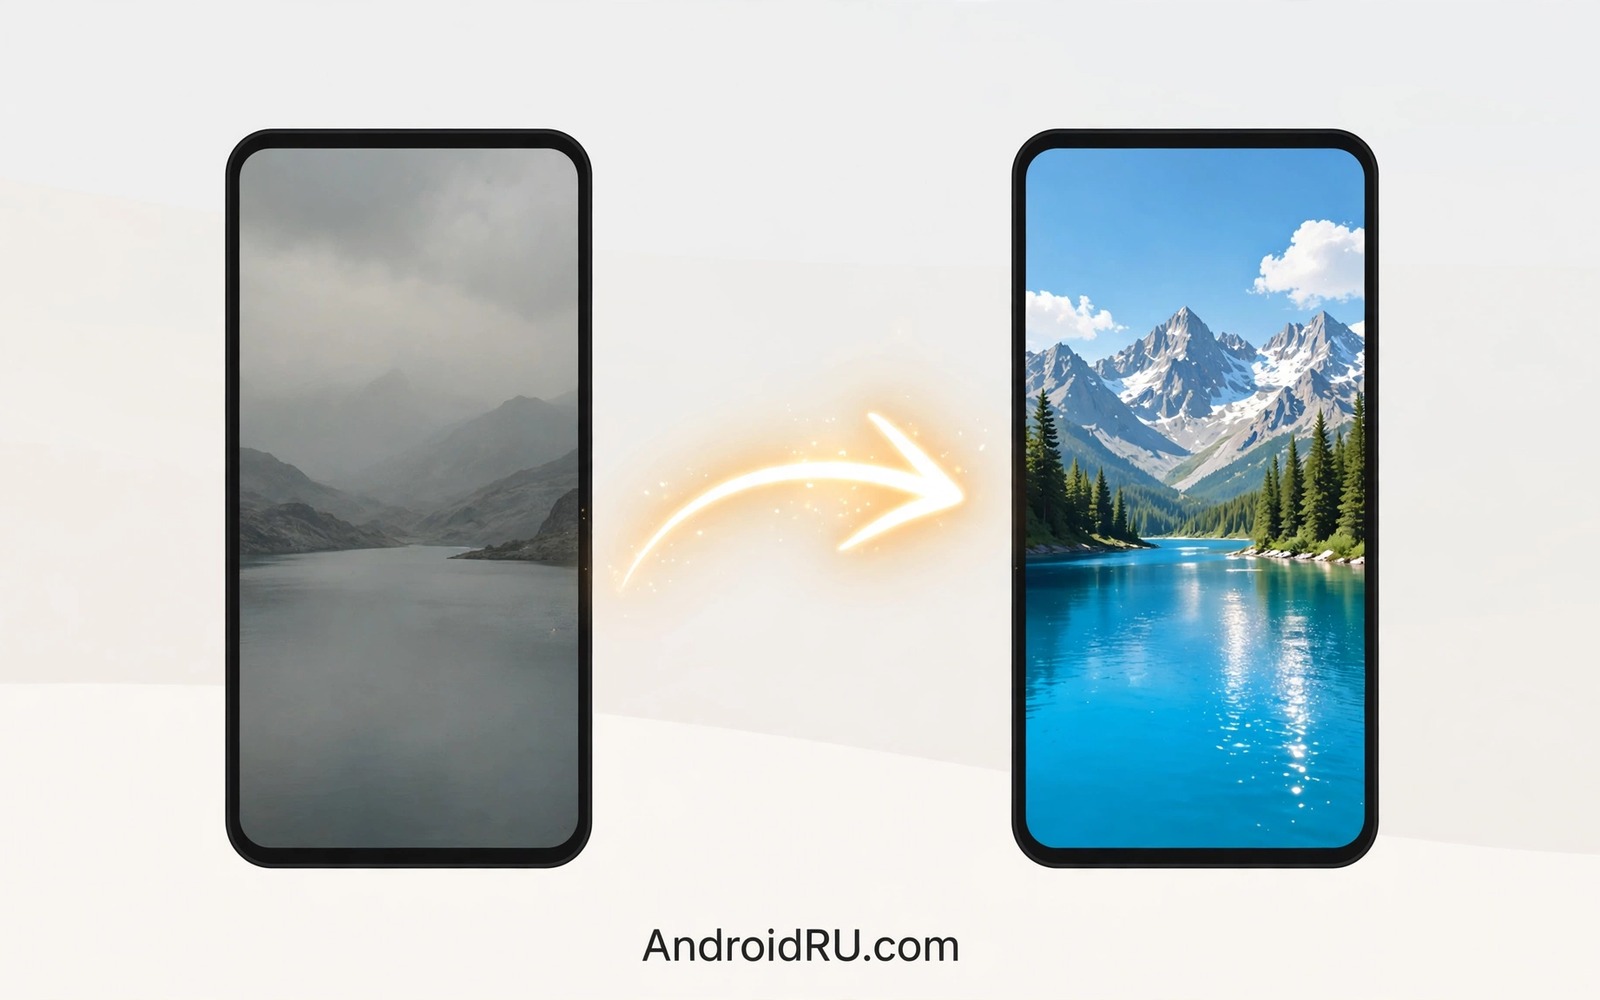
Budget phones often ship with capable sensors held back by rushed camera software. The hardware can capture good light and detail but the stock app may process colours harshly and lose shadow detail. A Google Camera port brings software built for a different phone to your device. That software changes how the phone reads the sensor and how it combines frames. The result can feel like a camera upgrade without buying new hardware.
GCam is not magic and it is not a universal fix. Ports vary by device and by developer build. Some features work perfectly on one budget phone and crash on another. A careful install with a matching configuration file matters more than downloading the newest version blindly. This guide explains the seven real improvements GCam offers and how to test each one safely on your own phone.
Start with a backup mindset. Keep your stock camera app untouched so you can compare results and fall back if a port misbehaves. Photograph the same scenes with both apps under the same light. That comparison tells you whether GCam truly helps your phone or whether the stock app already handles your scenes well. Honest testing beats hype every time.
Better HDR through multi frame capture
GCam HDR combines several frames taken at different exposures into one image. Bright skies keep detail while shadows keep shape. Stock cameras on budget phones often choose a single exposure that sacrifices one end of the range. The multi frame approach rescues scenes with strong contrast such as a person standing against a bright window. The difference shows most in backlit portraits and sunset landscapes.
HDR works best when the phone stays steady for the short capture sequence. Brace the phone or rest it on a surface for the most consistent result. Moving subjects can create ghosting when frames do not align perfectly. For fast action a single frame mode may beat HDR. Use HDR for scenes where the subject is mostly still and the light range is wide.
Test HDR on a doorway scene with bright light outside and a darker room inside. Shoot with the stock app and with GCam HDR and compare the doorway edges and the room detail. A good GCam result keeps both areas readable without a washed out window. Readers who want a step by step install path can follow installing a GCam port on any Android phone before testing HDR in their own scenes.
Night Sight rescues low light scenes
Night Sight extends exposure across multiple frames and aligns them to reduce noise. A dim street or a candlelit room gains visible detail without harsh flash. Stock night modes on budget phones often brighten the image but leave heavy noise and smeared texture. Night Sight preserves more texture because it combines information across frames rather than simply brightening one frame.
Hold the phone very steady during Night Sight capture. A tripod helps but a braced hand works for short exposures. Warn subjects to stay still for a few seconds because movement during the sequence softens the result. A night portrait of a still subject can look dramatically better than a flash photo. A night photo of a moving child will still struggle because the subject moves across frames.
Compare Night Sight with your stock night mode on the same dim scene. Look at text on signs and texture on walls rather than only overall brightness. A brighter image with smeared texture is less useful than a slightly darker image with readable detail. Judge night results at full zoom so noise and texture differences become clear.
Portrait depth without a second lens
GCam portrait mode estimates depth from a single lens using learned patterns. It blurs the background while keeping the subject sharp. Budget phones without a dedicated depth sensor benefit most because the stock portrait mode may rely on a weak secondary sensor. A good GCam portrait creates a smooth falloff around hair and glasses rather than a hard cutout.
Portrait quality depends on distance and light. Stand about one to two metres from the subject and keep the background a few metres behind. Good light helps the depth estimation find edges accurately. Complex hair against a busy background remains hard for any single lens system. A clean background improves the result more than any setting tweak.
Test portrait mode on a person and on a pet and on a still object. Pets with fur test edge handling in a demanding way. A still object tests background separation without movement. If hair edges look torn then try a different GCam build or a different configuration file. Builds differ in depth tuning and one build may suit your sensor better than another.
Cleaner colours and smarter white balance
Many budget stock cameras push saturation too far and shift white balance toward green or magenta under artificial light. GCam processing tends toward more neutral colours with gentler saturation. Skin tones look calmer and foliage looks less neon. The change feels subtle on a small screen but it becomes obvious when photos are printed or viewed together as an album.
Configuration files tune this behaviour further. A config file sets sharpening and noise reduction and colour values for a specific sensor. Loading the right config can transform a generic port into a tailored camera. Loading the wrong config can worsen colours or cause crashes. Use configs made for your exact phone model when possible and test after each config change.
Do not judge colour from a single photo. Photograph a fruit bowl and a street scene and a portrait under the same preset and compare colour consistency. A good setup keeps whites neutral across scenes. A poor setup shifts colour wildly between indoor and outdoor shots. Consistency across scenes is the real sign of a good GCam setup.
A small script to compare GCam and stock shots
The script below builds a comparison strip from two photos of the same scene. It helps you judge HDR and night results without relying on memory. Copy both files to a computer and run the script on local copies.
from PIL import Image
stock = Image.open("stock.jpg")
gcam = Image.open("gcam.jpg")
height = 900
stock = stock.resize((int(stock.width * height / stock.height), height))
gcam = gcam.resize((int(gcam.width * height / gcam.height), height))
strip = Image.new("RGB", (stock.width + gcam.width, height), "white")
strip.paste(stock, (0, 0))
strip.paste(gcam, (stock.width, 0))
strip.save("gcam_comparison.jpg", quality=92)
The code above was written for this guide as an original photo comparison helper. It places a stock photo beside a GCam photo at the same height for fair judgement. It does not modify the original files and it does not send photos to any outside service. Use the strip to compare sky detail and shadow texture and skin tone side by side.
Test GCam in daylight before trusting night mode
Daylight testing reveals colour and sharpness differences without the extra variables of low light. Photograph a street scene and a portrait in daylight with both cameras. Compare skin and foliage and sky detail at full zoom. A port that fails in daylight will rarely rescue a night scene. A port that succeeds in daylight earns a night test.
Daylight testing also reveals whether a config suits your sensor. A wrong config may tint daylight photos green or pink in an obvious way. That tint is easier to spot in daylight than in a dim scene where colour is already uncertain. Fix the config in daylight and night results will improve as a side effect.
Common mistakes
The biggest mistake is installing the first port found without checking device compatibility. A port built for a different chipset may crash or produce green photos. Check the port notes for your processor family and your Android version. A slightly older stable build for your device beats a newest build made for another phone.
Another mistake is skipping the configuration file. A bare port uses generic settings that may not suit your sensor. A matching config adjusts noise and sharpening and colour for your hardware. Test the port without a config first to confirm it opens and then load a config made for your model.
People also judge GCam from one photo in one light. A port may excel at daylight and struggle at night or vice versa. Test daylight and portrait and night scenes before deciding. A balanced judgement across scenes tells you whether the port earns a permanent place on your home screen.
Finally avoid deleting the stock camera app or granting every permission blindly. Keep the stock app as a fallback for features GCam lacks such as a specific video mode. Grant only permissions the camera truly needs. A careful install keeps both cameras available for different jobs.
Frequently asked questions
Will GCam work on every budget phone?
No. Compatibility depends on camera hardware support and processor family. Many popular budget phones have active ports while some lesser known models have none. Search for a port thread for your exact model before installing. A missing port is a sign to keep the stock camera rather than forcing an incompatible build.
Does GCam need root access?
Most modern ports install as a normal app without root. Root may unlock extra features on some devices but it is not required for basic HDR and Night Sight. Avoid rooting solely for GCam unless you understand the warranty and security tradeoffs. A normal install already delivers most of the benefit.
Why do some GCam photos look green or pink?
A colour cast often means the wrong config or a sensor mismatch. Try a different config made for your model or a different port build. Check white balance under the same light with the stock app for comparison. If the cast persists across builds then the port may not suit your sensor and the stock app remains the safer choice.
Conclusion
GCam porting transforms budget photography through smarter HDR and stronger night capture and cleaner portraits and calmer colours. The gains are real when the port matches your device and a good config tunes it for your sensor. The gains disappear when a mismatched build is installed blindly. Testing the same scenes with both cameras gives you an honest answer for your phone.
Your concrete next step is to photograph one backlit doorway and one dim room with your stock camera today. Install a compatible GCam build and repeat both scenes tomorrow under similar light. Build a side by side strip with the script above and keep the camera that preserves detail better. Readers who want deeper camera control will also like the GCam config file that unlocks detail and hidden GCam features exclusive to Pixel phones as follow-ups.

