

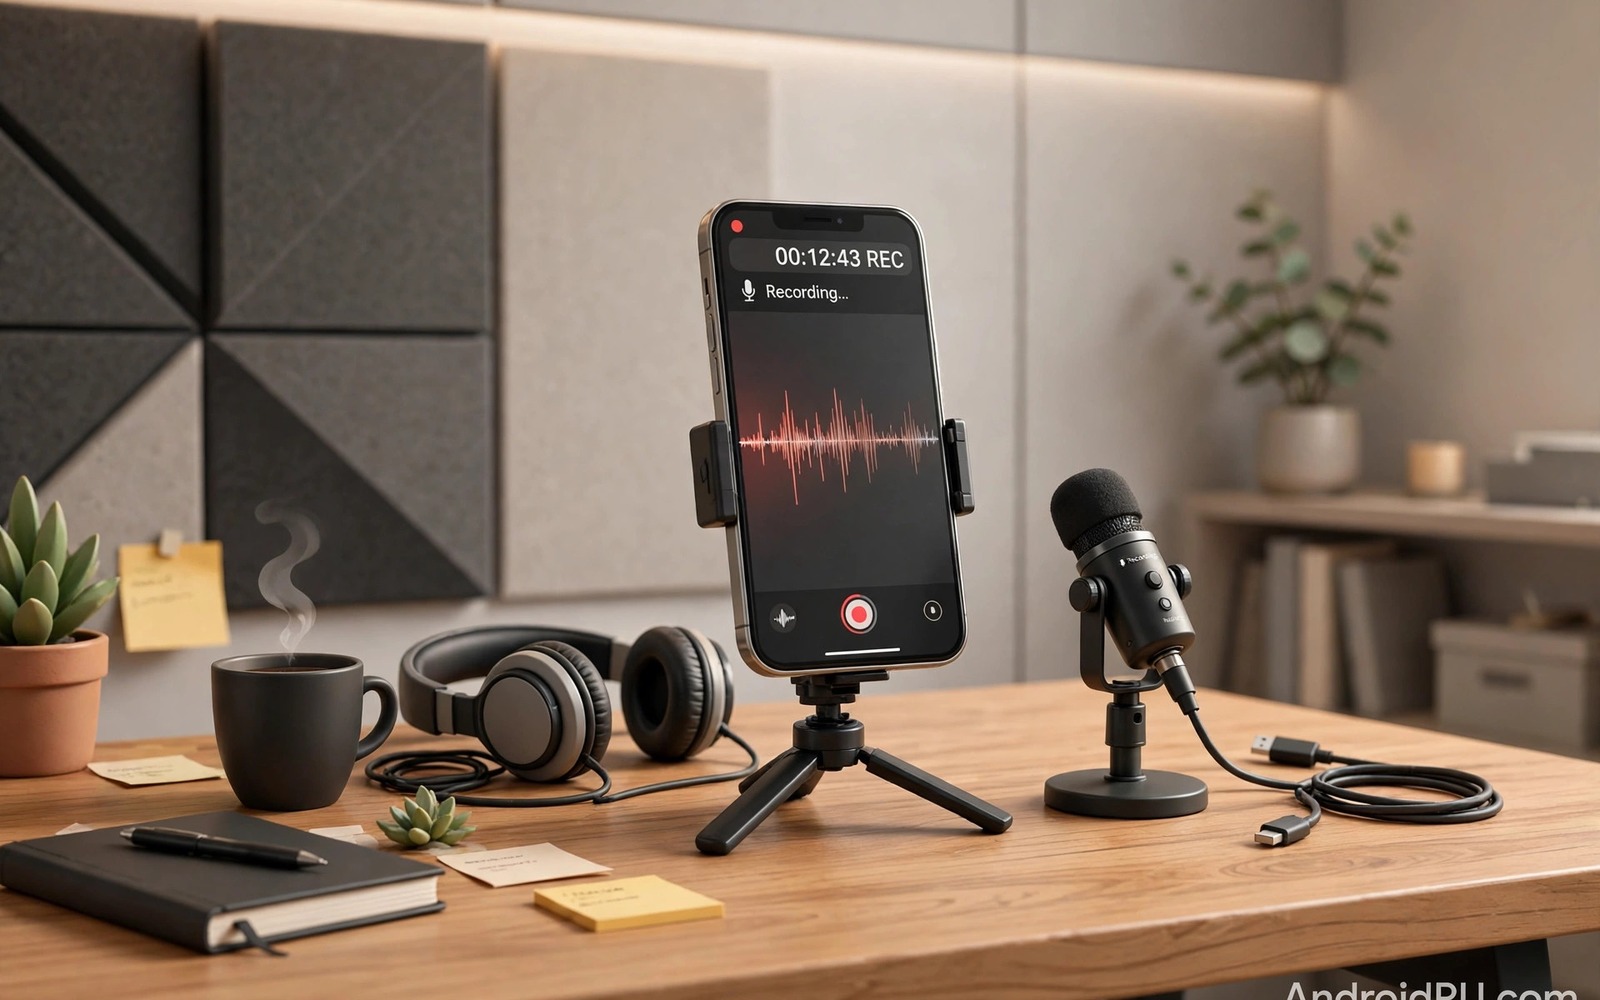
A good story can fail when the recording is hard to hear. Listeners forgive a shaky video long before they forgive muffled speech. Podcasters and journalists face this problem in streets and offices and crowded halls. A phone alone can capture a usable voice in a quiet room. It often struggles when wind and traffic and chatter compete with the speaker. The right tool changes that balance. It puts the microphone closer to the sound that matters. It also gives you control over levels before the moment passes.
Mobile recording tools fall into a few clear groups. Some are simple recorders built for speed and reliability. Others are full editors that let you trim and mark and export on the spot. A third group adds external microphones and monitoring for serious field work. Your choice should follow the job in front of you. A two minute street interview needs a different setup from a forty minute studio style conversation. Battery life and storage and file format also matter when you cannot repeat a take. Think about your worst recording location first. Then choose tools that survive that place.
This guide compares seven practical approaches for Android users. Each approach suits a different kind of storyteller. You will learn what each tool does well and where it falls short. You will also learn simple habits that improve any recorder. Good technique still matters more than a famous brand name. A calm speaker and a close microphone beat an expensive app used badly. Use this guide to build a kit that fits your pocket and your deadline.
Start with the phone recorder you already own
The built in recorder is the fastest tool for a surprise quote. It opens in seconds and it needs no setup. It also records in a format that most editors can open later. Use it for notes and short statements and backup audio. Keep the phone close to the speaker and away from fans and traffic. Hold it steady and avoid touching the case during the take. Small handling noises sound large on playback. A short test clip will reveal room echo before the real interview starts.
The limits appear quickly in noisy places. The built in microphone picks up sound from every direction. It cannot separate a voice from a busy room. It also offers little control over gain and monitoring. That is why many reporters keep it as a second recorder rather than a main tool. Start the built in recorder even when you use better gear. A backup track has saved many stories when a cable failed or a battery died. Label the backup file right away so you can find it later.
File management is the quiet strength of a simple recorder. Short clips with clear names are easy to send to an editor. Long unnamed files are easy to lose in a crowded folder. Rename each file with the date and the speaker and the topic. Keep original files untouched and work only on copies. That habit protects you when an edit goes wrong. It also helps you prove what was actually said.
Choose a recorder with manual gain and monitoring
Manual gain is the single upgrade that matters most for field audio. Automatic gain lifts quiet voices but it also lifts background noise between words. It can pump and breathe in a way that distracts listeners. Manual gain lets you set a steady level for one speaker in one place. You set the level once during a test sentence. Then you leave it alone unless the speaker moves or the room changes. Headphone monitoring lets you hear problems while you can still fix them.
Look for a recorder that shows a live level meter. The meter should move with speech and stay below the red zone on loud peaks. Peaks that hit the top will distort and cannot be repaired later. A level that sits too low will bring hiss when you raise it in editing. Aim for speech that fills most of the meter without touching the limit. Practice with a friend before a real assignment. Your ears will learn the right range faster than any manual can teach it.
Waveform display is another useful feature for journalists on deadline. It shows pauses and loud moments at a glance. You can jump straight to a strong quote instead of playing a whole file. Markers and bookmarks make that search even faster. Drop a marker when a speaker says something important. Write a short note beside it while the detail is fresh. That note becomes gold when you edit hours later under pressure.
Add an external microphone for interviews on the move
An external microphone is the best way to beat distance and noise. A small lavalier microphone clips to a shirt and stays near the mouth. A compact shotgun microphone points at one speaker and rejects sound from the sides. A handheld interview microphone feels natural for street questions. Each type solves a different problem. Choose the lavalier for seated talks. Choose the shotgun for events where you cannot get close. Choose the handheld mic when you pass the microphone between people.
Connection type matters more than most buyers expect. Some microphones use the headphone jack on older phones. Others use USB-C with a digital converter inside the plug. A few use wireless links to a small receiver. Test the full chain before you leave home. Plug in the microphone and record a full minute. Play it back through headphones and check for hum and dropouts. Bring a spare cable and a spare adapter when the story matters. Adapters are small and easy to lose and hard to replace in the field.
Wind protection is not optional outdoors. A foam cover helps in light breeze. A furry cover helps in stronger wind. Without protection a gentle breeze can ruin a perfect answer. Keep the cover on the microphone even when the air feels calm. Gusts arrive without warning near streets and open squares. Your listeners will hear wind as a low rumble that hides consonants. A two dollar cover can save an interview that took an hour to arrange. If you record in noisy rooms then balancing uneven earbud sound during playback helps you judge the real recording instead of a faulty earbud.
Record in a format that survives editing
Lossless formats keep every detail of the original sound. WAV files are large but they are simple and widely supported. They are the safest choice for interviews that may need heavy editing. Compressed formats save space but they discard quiet detail that you cannot recover. Use a high quality compressed format only when storage is tight. Never record an important interview in a low bitrate voice memo format. The small saving is not worth the loss in clarity.
Sample rate and bit depth sound technical but the choice is simple. A rate of 44100 samples per second suits speech and most music. A depth of 16 bits suits field recording in most cases. Higher settings help studio music but they double file size for little gain in a noisy street. Keep one standard for a whole project. Mixed settings slow down editing and confuse exports. Name your export settings in a project note so a colleague can match them later.
Back up audio before you leave the location. Copy files to a second device or a cloud folder while the speaker is still nearby. A second copy turns a lost phone into an annoyance rather than a disaster. Check that the copy plays before you delete anything. A file that copies with an error looks fine until you press play. For long term projects keep one master folder that you never edit. Work from copies and keep the masters safe.
Use a practical field checklist before every take
A checklist removes guesswork when time is short. Start by checking battery and storage and microphone connection. Record ten seconds of room tone with no one speaking. That quiet sample helps an editor remove steady background noise later. Ask the speaker to say their name and count to five. Set gain from that test and watch the meter. Put the phone in airplane mode if calls could interrupt the take. A single call tone can destroy a perfect answer.
Position matters as much as gear. Place the microphone about fifteen centimetres from the mouth for a lavalier. Keep a handheld microphone slightly below the chin and angled upward. Avoid pointing it straight at the mouth because breath pops will strike the capsule. Ask the speaker to face you and speak at a normal pace. Nod instead of saying yes during answers. Your voice on the track makes editing harder and distracts listeners.
ffmpeg -i interview_raw.wav -af loudnorm=I=-16:TP=-1.5:LRA=11 interview_ready.wav
ffmpeg -i interview_raw.wav -ss 00:00:05 -t 00:00:30 preview_clip.wav
ls -lh interview_ready.wav
The snippet above is an original example written for this guide. It shows a simple loudness pass and a short preview export for a raw interview file. It does not replace careful listening. Use it only after you have checked levels and removed obvious handling noise. Keep the raw file beside the processed file so you can return to the original when needed.
Common mistakes
The most common mistake is recording from too far away. Distance lets room echo and street noise grow louder than the voice. Speakers often step back when they see a phone pointed at them. Gently ask them to stay close and speak toward the microphone. A small move of thirty centimetres can transform a muddy track into a clear one. Never rely on software to rescue a distant voice. Software can reduce noise but it cannot invent detail that was never captured.
Another mistake is trusting automatic settings in a changing room. A door opens and a crowd enters and the level jumps. Automatic gain reacts late and then overcorrects. The result sounds uneven and tiring to hear. Manual gain and a steady position prevent most of that damage. If the room changes then pause and reset levels. A two second pause is easy to edit out. A distorted answer is not.
Many beginners also forget to monitor with headphones. Phone speakers hide hiss and wind and distortion. Headphones reveal those problems at once. Wear one earbud if you must hear the room as well. Check the start of each take before you continue. A silent track discovered at the end of an interview cannot be fixed. A quick check at the start costs seconds and saves stories.
Frequently asked questions
Do I need an expensive microphone to start podcasting?
No. Start with your phone and a basic lavalier microphone. Learn mic distance and gain and quiet room habits first. Upgrade only when you can name the exact problem that better gear would solve. Many strong podcasts began with modest kits and careful technique. Spend money on wind protection and storage before you buy a flagship microphone.
What is the best file format for journalist interviews?
WAV is the safest choice for interviews that need editing and archiving. It keeps full detail and opens in almost every editor. Use a compressed format only for quick notes or when storage runs low. Keep the original WAV even after you export a smaller sharing copy. That master file protects you if an editor asks for a cleaner version later.
How can I reduce background noise without special software?
Move closer to the speaker and move away from fans and traffic. Choose a smaller room with soft furniture when you can. Record room tone for noise removal later. Ask the speaker to pause when a loud vehicle passes. These simple moves cut noise more than most filters. When playback still sounds uneven then calibrating sound for your ears and hardware can help you judge what is real noise and what is a playback problem. For music work after the interview then enabling high resolution streaming settings keeps your reference listening honest.
Conclusion
Strong mobile audio comes from a short chain of good choices. Pick a recorder with manual gain. Add a microphone that sits close to the speaker. Record in a durable format and back up the file at once. Practice the checklist until it feels automatic. Those habits matter more than any single app on the store. They turn a phone into a trustworthy field tool.
Your concrete next step is simple. Record a three minute test interview tomorrow with a friend outdoors. Use manual gain and headphones and a wind cover. Listen to the result and note one flaw to fix. Repeat the test with that single fix in place. After three rounds you will have a kit and a routine that you trust on a real deadline.

