

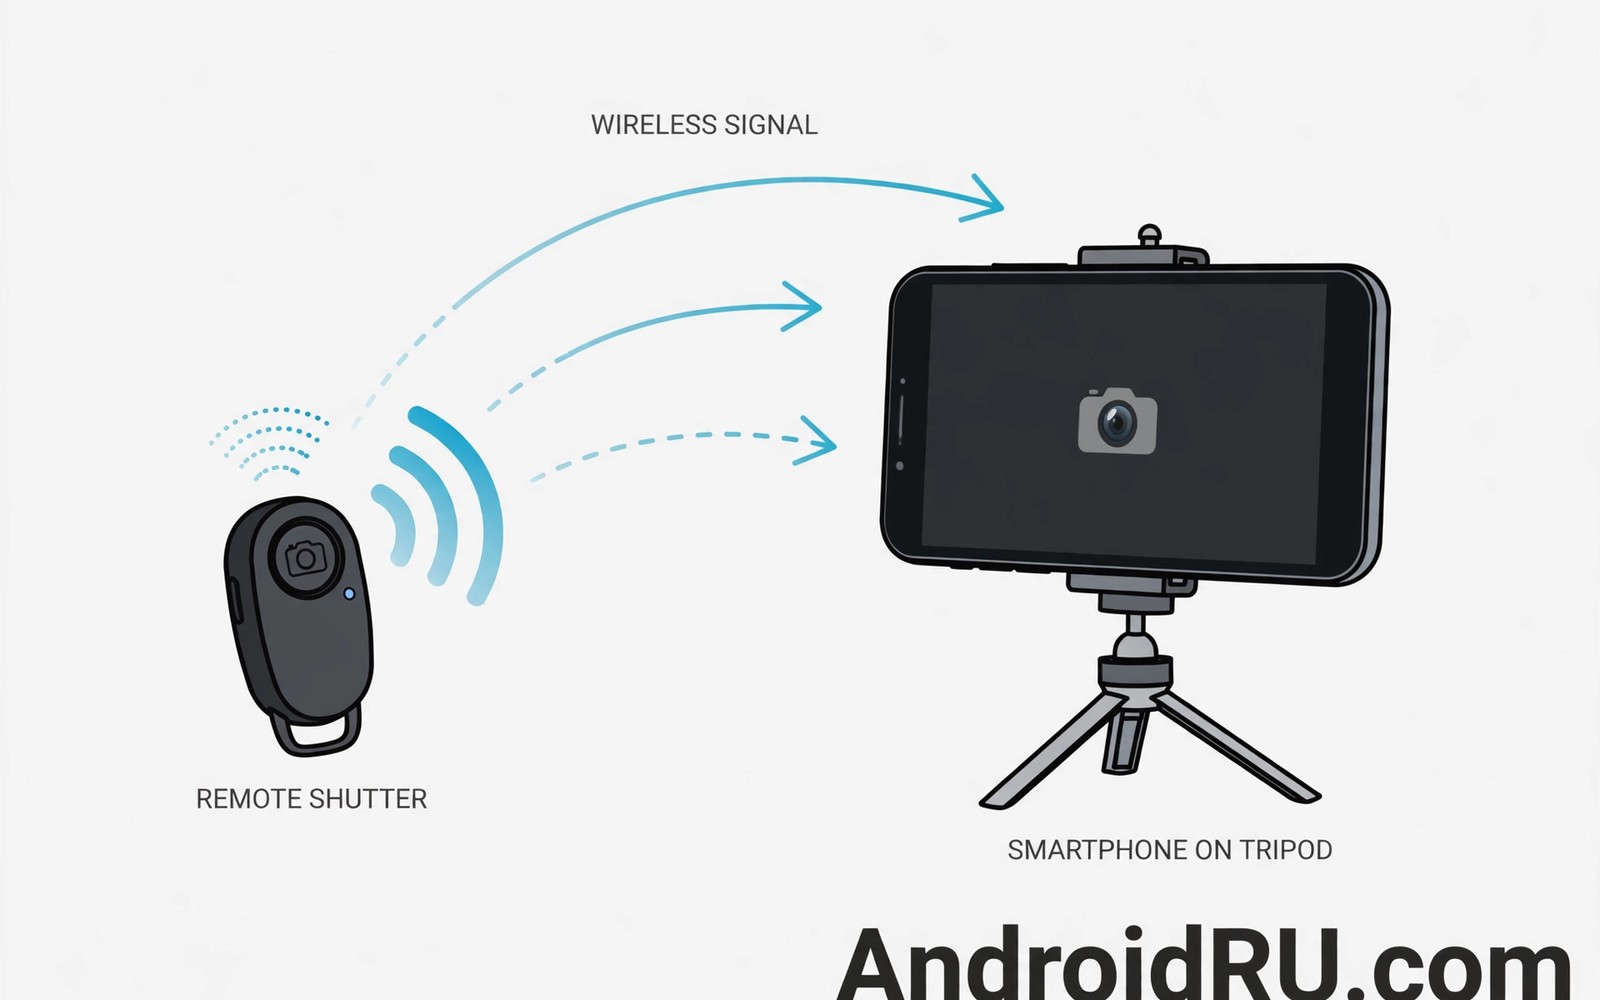
Group photos have a classic problem. Someone must hold the phone and miss the photo. A timer solves the missing person problem poorly. Ten seconds is rarely enough to join a group and pose naturally. A Bluetooth shutter key solves both problems at once. You join the group and press a tiny remote when everyone is ready. The result is a relaxed group photo with everyone included.
A Bluetooth shutter key is a small remote that pairs like a wireless keyboard. Pressing its button sends a volume up signal to the phone. Most camera apps treat that signal as a shutter press. Some remotes offer two buttons for different functions. One button usually fires the shutter. Another button may switch cameras or start video. Learn your remote’s buttons before a real group shoot. A confused button press wastes a good pose.
Pair the remote once and it should reconnect automatically later. Open phone Bluetooth settings and put the remote in pairing mode. Select the remote from the device list. Open the camera app and test a shutter press. Test from the distance you plan to shoot from. Bluetooth range varies with obstacles and interference. A test at home prevents a failed press at an event.
Pair And Test The Remote First
Charge or replace the remote battery before an important shoot. A tiny remote battery lasts months but it still dies without warning. Carry a spare battery for coin cell remotes. Carry a short charging cable for rechargeable remotes. Test the remote the morning of the shoot. A dead remote discovered at the venue cannot be fixed fast.
Test the remote with your exact camera app. Stock camera apps usually accept volume key shutter presses. Some third party camera apps ignore volume keys by default. Check the app settings for a volume key action option. Set that option to shutter before the shoot. Test burst mode if you plan to use it. Burst mode with a remote captures several frames per press in some apps. Several frames increase the chance of a blink free keeper.
Test the remote range in the actual venue type. An open park gives longer range than a crowded hall. Bodies between remote and phone reduce range. Walls and metal objects reduce range further. Stand where you plan to stand in the group. Hold the remote low near your waist. Press and confirm the phone fires. Move closer if a press fails twice. A reliable range test beats a spec sheet claim.
Set The Phone And Frame Before Joining
Set the phone on a tripod before anyone poses. Frame the group area with space at the edges. Leave headroom above tall people. Leave side room for late joiners. Lock focus on the middle row position. Lock exposure on the group area light. A locked phone gives consistent frames across many presses. An unlocked phone may refocus on a passerby at the wrong moment.
Use a timer plus remote combination for the first frame. Set a short timer and join the group while it counts down. Use the remote for later frames without leaving the group. This combination gives a posed first frame and relaxed later frames. Later frames often look better because the group relaxes. People smile naturally after the first formal frame passes. Keep shooting through jokes and movement for candid keepers.
Hide the remote in your hand for natural looking photos. Hold it palm down with a finger on the button. Avoid waving it toward the camera. A visible remote distracts from faces. Practice pressing without looking down. Looking down at the remote breaks eye contact with the lens. A discreet press keeps eyes on the camera where they belong.
Pose Groups For Remote Shooting
Arrange groups in layers rather than a single line. Front people can sit or kneel. Middle people stand normally. Back people stand on a step when one is available. Layers keep faces near the centre of the frame. Centre faces avoid wide lens distortion at the edges. Layers also create depth that a single line lacks. Depth makes a group photo feel like a scene rather than a lineup.
Turn shoulders slightly toward the centre for end people. Straight shoulders at the ends look stiff and wide. A slight inward turn connects end people to the group. Ask tall people to stand at the back centre rather than at an end. Tall ends create a sloping group line. A balanced height arrangement looks intentional. Check the arrangement from the phone preview before the first press.
Give the group a simple action to do together. Ask everyone to laugh at a shared joke. Ask everyone to look at the lens on a count. Actions beat stiff poses for remote shooting because you control timing. Press the remote at the peak of laughter. Press again a second later for a calmer version. Two different moods from one setup doubles your keeper chances. Shooting smooth handheld video without a gimbal helps when you later film group video with a remote start.
Use The Remote For Video And Selfies
A Bluetooth remote also starts and stops video cleanly. Set the phone on a tripod and frame the scene. Join the scene and press to start recording. Press again to stop without walking back to the phone. Clean starts and stops save editing time. Walking back to the phone creates useless footage at both ends. Remote video control keeps clips tight from the first frame.
Use the remote for solo selfies from a distance. A tripod plus remote gives a full body selfie without an arm in frame. Frame a landscape background first. Walk into position and press when ready. Take several frames with small pose changes. A remote selfie session feels like a mini portrait shoot. It beats arm’s length selfies for quality and composition.
Use the remote for long exposure and night shots too. Pressing the phone screen shakes a tripod slightly. A remote press avoids that touch shake. Night shots and long exposures reward zero touch shooting. Pair the remote with a timer delay when your app offers it. A two second delay after the remote press lets vibrations settle fully. That delay gives the sharpest possible long exposure.
Troubleshoot Common Remote Problems
Fix a remote that pairs but does not fire by checking volume key settings. Some phones map volume keys to zoom rather than shutter. Change the camera setting to shutter for volume keys. Restart the camera app after changing the setting. Test again from group distance. A setting change without a restart sometimes fails to apply.
Fix a remote that disconnects often by clearing old pairings. Too many saved Bluetooth devices can cause conflicts. Forget the remote and pair it fresh. Keep the phone Bluetooth list tidy. Turn off other nearby Bluetooth audio devices during a shoot. Audio devices can steal the connection priority. A clean Bluetooth environment gives a stable remote link.
Fix a remote that fires late by moving closer to the phone. Latency grows with distance and interference. Crowded venues with many Bluetooth devices increase latency. Stand within a few metres for critical timing. Use burst mode to cover latency uncertainty. A burst around the peak moment captures the right frame even with slight delay. Camera settings to change before a vacation covers tripod and timer settings that pair with remote shooting.
Pack the remote with your tripod so it is never forgotten. A remote in a camera bag gets used. A remote in a drawer stays home. Attach a small keyring to the remote for easy finding. A bright coloured case helps you spot it in a bag. Check the remote battery when you pack the tripod. That paired packing habit prevents most remote failures before they happen.
remote_step = pair once
remote_step = test shutter in camera app
remote_step = test range at venue
remote_step = hide remote in hand
remote_step = shoot several frames
The snippet above is an original remote checklist written for this guide. It lists only standard Bluetooth steps for your own Android phone. It does not copy instructions from any outside source.
Print a favourite remote group photo to test its real quality. A screen hides soft focus that a print reveals. Check faces at print size before ordering many copies. A sharp print proves the remote method works. A soft print signals a focus or stability problem to fix. One print test improves every future group session. Keep the best print as a reminder of what good setup achieves.
Review group photos together on a larger screen after the event. A phone screen hides blinks and soft faces that a laptop reveals. Pick keepers as a group when everyone can see them. Shared review turns a technical chore into a social moment. It also teaches you which setups produced the most keepers. That lesson improves your next group session without extra gear.
Common Mistakes
One common mistake is to test the remote only at home. Home range and venue range differ greatly. Test at group distance in a similar space. Another mistake is to hold the remote visibly toward the camera. A visible remote distracts from the group. Hide it in your palm and press by feel.
A third mistake is to take only one frame per setup. One frame risks blinks and awkward expressions. Take several frames per setup. A fourth mistake is to forget focus lock before joining the group. An unlocked phone may focus on the background. Lock focus and exposure before you step into the frame. Camera hacks that upgrade mobile photos adds framing checks for group shots.
Frequently Asked Questions
Do Bluetooth remotes work with all Android camera apps?
Most stock camera apps accept volume key shutter presses. Some third party apps need a volume key setting change. Check the app settings before a shoot. Test the exact app you plan to use. A home test prevents a venue failure.
How far can I stand from the phone?
Most remotes work reliably within a few metres in open space. Walls and crowds reduce range. Test at your planned group distance. Move closer if presses fail. Burst mode helps when timing is uncertain.
Can a Bluetooth remote start video recording?
Yes in most camera apps that accept volume key input. Set the app to video mode first. Press once to start and again to stop. Test start and stop at home. Some apps treat a press as a photo even in video mode.
Conclusion
Pair a Bluetooth shutter key today and test it with your camera app at home. Set up a tripod group frame this weekend and take five frames from inside the group. Keep the sharpest and most natural frame as proof. That simple test will change group photos from a chore into a pleasure.

