

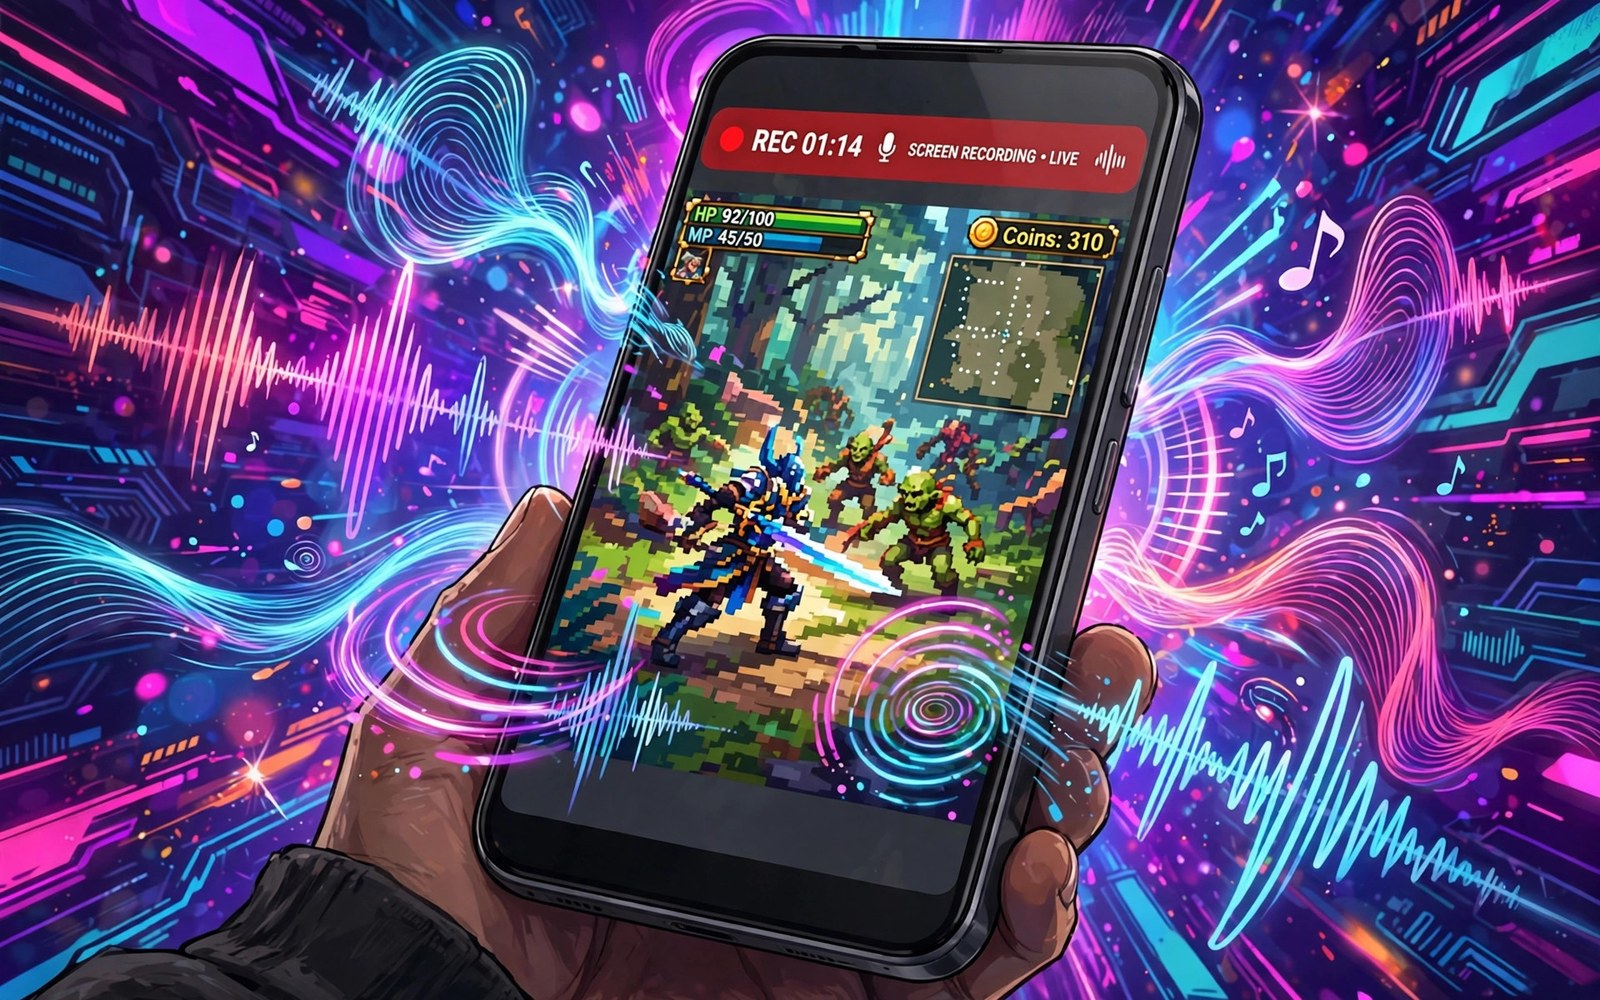
Screen recording captures what happens on your phone display. Internal audio records sound from the app itself rather than the room. That difference matters for game videos and tutorials. Microphone audio picks up fans and background noise. Internal audio stays clean because it comes straight from the app.
Most modern Android phones include a built-in screen recorder. You can start it from quick settings without installing anything. The recorder asks which sound source to use before it starts. Choosing device audio gives you the crisp internal sound this guide covers. Choosing microphone adds your voice on top of app sound in some cases.
Not every app allows internal audio capture. Some apps block recording for copyright or privacy reasons. Banking apps and some video apps may show a black screen. That limit protects content and user data. This guide shows what works and how to fix the common silent recording problem.
Open the Built-In Screen Recorder
Pull down the notification shade twice to show full quick settings. Look for a tile called Screen record. If the tile is missing then tap the edit icon and add it. The edit screen lists tiles you can drag into the active area. Place Screen record where you can reach it quickly.
Tap the tile to open the recorder setup panel. The panel asks about sound and touches. It may also ask about video quality. Take a moment to read each option before you tap Start. A good setup here saves editing time later. Rushing the setup often causes a silent or shaky video.
Choose Device Audio for Crisp Sound
Select device audio when the panel offers sound choices. Device audio captures sound produced inside the phone. It ignores room noise and fan hum. Some phones label this option as internal audio. Others call it media sound. The result is the same clean app sound.
Select microphone only when you need live commentary. Some recorders offer device audio plus microphone together. That mix suits tutorials where you explain steps aloud. Test the mix before a long recording. A loud voice can drown out quiet game sound if levels are unbalanced.
adb shell screenrecord --verbose /sdcard/demo.mp4
# stop with Ctrl+C, then pull the file
Set Resolution and Frame Rate
Most built-in recorders offer quality presets for video. A 1080p setting suits most sharing and tutorial videos. Higher resolution creates huge files and strains older phones. A 60 frames per second setting gives smoother game footage. A 30 frames per second setting suits calm tutorials and saves space.
Match quality to your audience and your storage. A short clip for messaging needs modest quality. A polished tutorial deserves higher quality and steady framing. Record a ten second test at your chosen settings. Watch it back before you commit to a long session. Tests catch problems early.
Record Games and Tutorials Cleanly
Close extra apps before you start recording a game. Background notifications can pop over your video. Turn on Do Not Disturb to silence alerts during the session. Clear the notification shade so stray banners do not appear. A clean screen makes the final video look professional.
Plan your first few seconds before you tap Start. Open the app and reach the screen you want to show. Pause for a second after recording begins. That pause gives you a clean point to trim the start. Move slowly through menus so viewers can follow each step.
Show Touches and Manage the Controls
Turn on show touches if viewers need to see your taps. A small dot appears where your finger touches the screen. This feature helps tutorial viewers follow buttons and gestures. Turn it off for game videos where dots distract from the action. The choice depends on the purpose of the video.
During recording a small floating control appears on screen. Tap it to stop or pause the session. Some phones let you draw or add a front camera bubble. Avoid moving the control across important screen areas. Stop the recording cleanly rather than locking the phone mid-session.
Fix Silent or Low Audio Recordings
Silent recordings often come from the wrong sound source. Open the recorder panel again and confirm device audio is selected. Some apps mute internal audio when another app holds the audio focus. Close music apps before you record. Restart the target app if sound still fails to appear.
Check media volume before you start. A muted media volume produces a silent video even with the right source. Raise media volume to a comfortable level. Test with a short clip after each change. If only one app stays silent then that app may block audio capture by design.
Edit and Share Your Recording
Recordings save to the gallery or a dedicated recordings folder. Open the clip and trim the start and end. Trimming removes the setup taps and the stop button press. Keep edits simple for tutorials. Viewers value clear steps more than flashy transitions.
Check file size before sharing over mobile data. A long high quality clip can exceed messaging limits. Compress the video or upload it over Wi-Fi instead. Add a clear title that describes the content. Good titles help you find the clip later in a crowded gallery.
Respect Privacy While Recording
Screen recording captures everything visible on the display. Notifications can expose messages and codes. Turn on Do Not Disturb and hide sensitive notifications first. Avoid recording password entry or banking screens. Blur any personal detail that slips into a clip before sharing.
Ask permission before recording a video call or a private chat. Recording laws differ by place and situation. A quick check protects you and the other person. Delete clips you no longer need. Old recordings can expose details you forgot they contained.
Why Internal Audio Sounds Better
Internal audio bypasses the room entirely. It captures the digital sound stream directly. No fan noise or echo enters the recording. Music stays balanced and clear. Voices in games stay intelligible even during loud action.
Microphone recording adds room acoustics to every sound. A quiet room still adds hiss and handling noise. Internal audio removes those variables. The result sounds like the app itself. That clarity is why creators prefer internal capture.
Recording for Tutorials Versus Games
Tutorials need slow clear movements and steady narration. Games need smooth frame rates and punchy sound. The same recorder settings do not suit both goals. Lower frame rate suits tutorials and saves space. Higher frame rate suits fast games better.
Plan the recording style before you press start. A tutorial benefits from pauses between steps. A game clip benefits from continuous action. Matching style to purpose improves viewer retention. Viewers forgive modest quality when pacing feels right.
Handling Copyrighted Content in Recordings
Some apps block recording to protect licensed content. Music and video apps may show black video. Respect those blocks rather than seeking workarounds. Workarounds can violate terms of service. They can also expose your account to bans.
Record your own gameplay and app walkthroughs freely. Those recordings showcase your skill and teaching. Avoid recording full movies or shows from streaming apps. Short clips for review may fall under fair use rules in some places. Check local rules when unsure.
Storage Planning for Long Recordings
Long recordings consume storage quickly at high quality. Check free space before a one hour session. A full disk stops recording without warning on some phones. Free space after each session by moving clips to a computer. Archive finished clips in named folders.
Lower resolution for long casual recordings. Reserve high resolution for final polished videos. A two hour casual session does not need cinema quality. Sensible quality choices keep storage under control. They also speed up sharing and editing.
Adding Voice Commentary Well
Good commentary explains actions as they happen. Speak slowly and describe buttons by name. Pause commentary during important game sound cues. Viewers need to hear both voice and game audio. Balance matters more than volume alone.
Record commentary in a quiet room for best results. Close windows and turn off fans before recording. A headset microphone reduces echo further. Test voice levels with a short clip first. Adjust distance from the microphone until voice sounds natural.
Sharing Recordings Without Quality Loss
Messaging apps compress video heavily during sending. Compression blurs text and dulls sound. Use a cloud link for full quality sharing. Upload over Wi-Fi to avoid data charges. Receivers download the original file from the link.
Check the uploaded file size against the original. Matching sizes suggest no compression occurred. Play the uploaded clip before announcing it. A quick check catches upload errors early. Full quality sharing respects the work you put into recording.
Landscape Versus Portrait Recording
Landscape recording suits videos watched on televisions and computers. Portrait recording suits videos watched on phones in social feeds. Choose orientation based on where viewers will watch. A wrong orientation wastes screen space for viewers. Orientation choice shapes the whole viewing experience.
Lock orientation before starting a recording session. Accidental rotation mid-recording looks unprofessional. Quick settings offer a rotation lock toggle. Test orientation with a short clip first. A locked orientation keeps framing stable throughout.
Using an External Microphone
An external microphone improves voice commentary quality greatly. Phone microphones pick up handling noise and room echo. A headset microphone sits close to the mouth. Close placement reduces room noise naturally. Viewers hear commentary clearly even during loud game sound.
Test microphone placement before a long session. Too close causes popping sounds on strong consonants. Too far loses the clarity benefit entirely. A hand width distance suits most headset microphones. A short test finds the sweet spot quickly.
Before You Press Record
Check these points for a clean recording every time.
- Select device audio as the sound source.
- Raise media volume to a normal level.
- Turn on Do Not Disturb to block alerts.
- Close apps you do not need for the video.
- Record a ten second test and play it back.
- Free enough storage for a long session.
This routine takes less than a minute. It prevents silent clips and messy interruptions. Make it a habit before every important recording.
Recorded clips are easy to show on a bigger display too. See how to mirror your Android display to a PC or TV when you want a live audience instead of a file.
For other camera based projects read how to turn your old Android phone into a security camera and how to split screen on Android for side-by-side multitasking.
The steps above follow the approach described in the official developer documentation for Android devices. The documentation explains media capture behaviour and audio source choices in general terms. Phone brands add their own recorder menus on top of that shared foundation.
Crisp internal audio comes down to one choice in the recorder panel. Pick device audio and test before a long session. Keep notifications silent and storage free. With those habits your recordings will sound as good as they look.

