

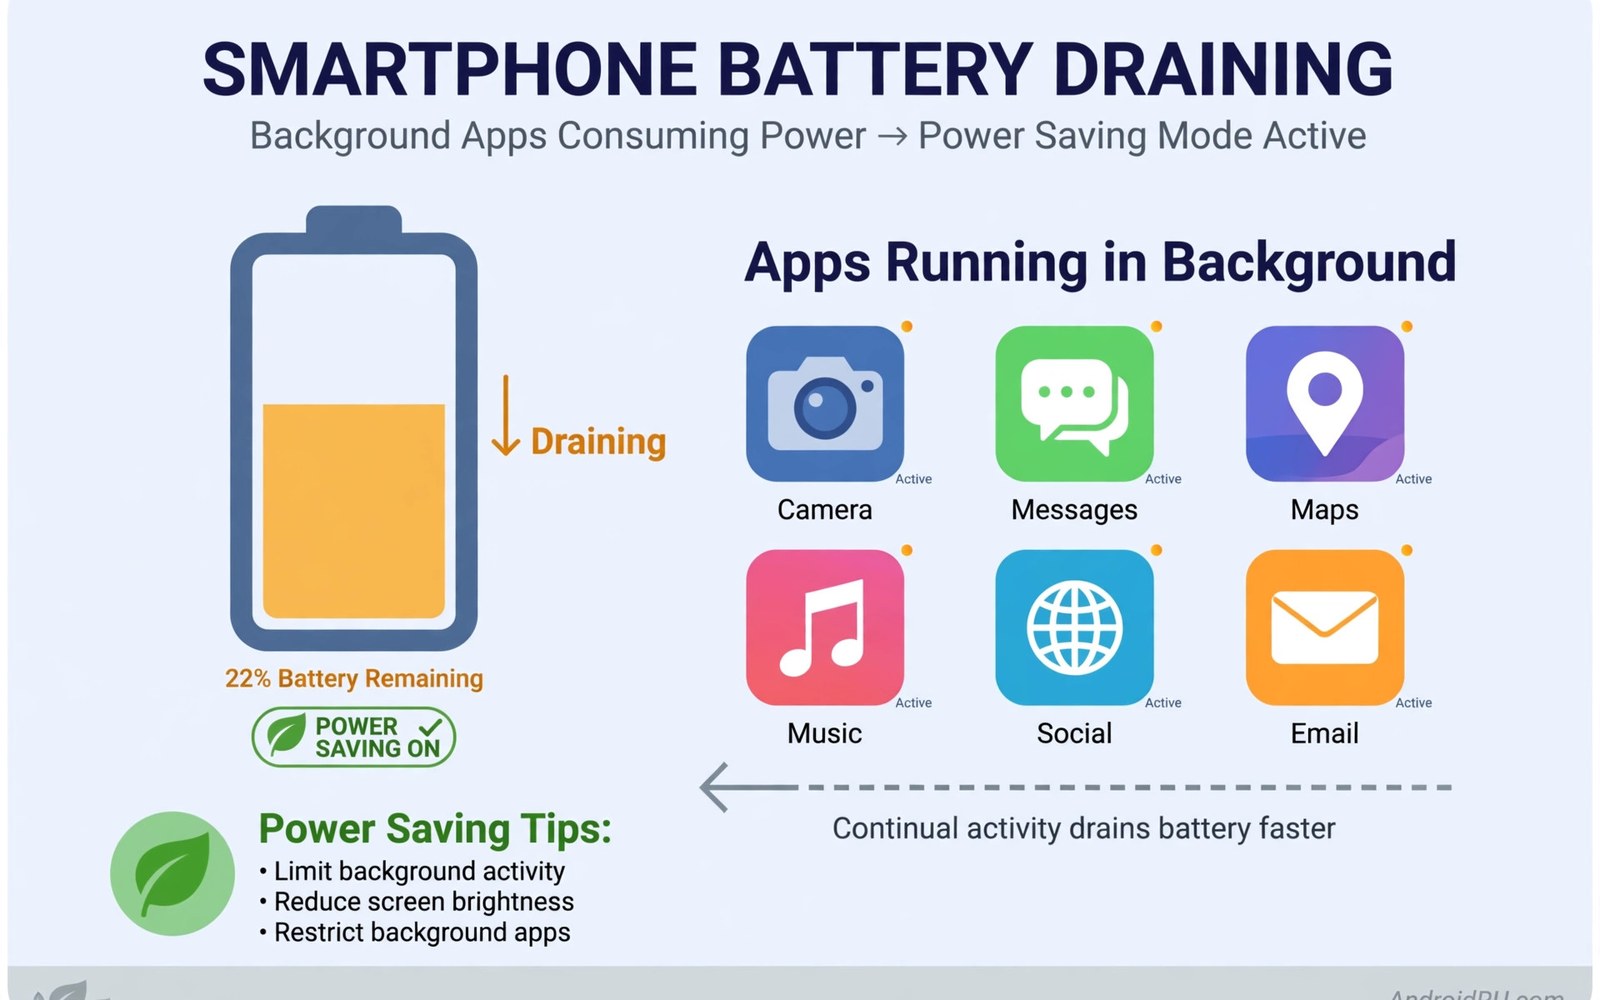
The High Background Usage warning names an app that works too hard unseen. The app may sync, track location or refresh feeds all day. Battery falls fast even when the screen is off. This guide finds the rogue app and tames it.
The fault usually points to one layer of the phone rather than to the whole device. Storage, permissions, a stale cache or a tired component can each block the same feature in a different way. A calm check of each layer in turn will narrow the cause fast.
A related fault can look similar at first glance, so the steps for fixing a GPS location failure are worth comparing before you change deeper settings.
Work through the steps below in order and test the feature after each change. A single change at a time keeps the result clear. If a step fixes the fault, you can stop there and skip the rest.
What causes this fault
Most cases fall into a small set of causes. A setting changed by an update can block a feature that worked yesterday. A cache file can grow stale and confuse a service that reads it on every launch. A permission can sit in a denied state after a reinstall. Hardware strain can also mimic a software fault, so do not skip the physical checks near the end of this guide.
- An app syncs far more often than it needs to.
- Location tracking runs in the background all day.
- A stuck app loops on a failed upload.
- Poor signal forces the radio to work harder.
- An old app ignores modern background limits.
- The battery itself holds less charge than when new.
Write down which causes you have ruled out before you move on. That note will save time if the fault returns later. It will also help a repair technician if the phone needs hands-on service.
Step by step fix
Follow these steps in order and test after each one. Stop at the step that fixes the fault.
- Open battery usage. Open Settings and tap Battery then Battery usage. Look for the app at the top of the list. That app is your first suspect.
- Restrict background use for the app. Tap the suspect app in battery usage. Choose Restricted for background use. Test for a day and watch the battery curve.
- Turn off unneeded sync. Open the app settings and look for sync options. Turn off sync for feeds you do not read. Keep sync only for mail and messages you need.
- Limit background location. Open Settings and tap Apps then Permissions. Find Location for the suspect app. Set it to allow only while using the app.
- Update the suspect app. Open the store app and update the suspect app. Developers often fix battery loops in updates. Restart after the update.
- Force stop and clear cache. Open Settings and tap Apps. Find the suspect app and tap Force stop. Tap Storage then Clear cache and test again.
- Turn on adaptive battery. Open Settings and tap Battery. Turn on Adaptive Battery if it is offered. The system learns which apps can wait and which need instant work.
- Reinstall a stubborn app. Uninstall the suspect app and restart the phone. Install it fresh from the store. A fresh install clears a stuck background loop.
Quick battery check list
1. Open battery usage
2. Restrict the suspect app
3. Turn off unneeded sync
4. Limit background location
5. Update the suspect app
6. Force stop and clear cache
7. Turn on adaptive battery
8. Reinstall a stubborn app
Test the feature for a full day after the last change. Some faults only return under load or after a restart. A full day of normal use is a fair test before you call the fault fixed.
How to spot the real cause
Start with timing. Note when the fault first appeared and what changed just before it. A fault that starts right after an update points to software. A fault that starts after a drop points to hardware.
Next test one variable at a time. Change a single setting and check the result before you change another. Mixed changes hide the true cause and make the fault harder to repeat for a technician.
Finally compare the fault across apps or modes. If only one app fails, the app or its permission is suspect. If every app fails the same way, the system service or the hardware behind it is suspect.
Test the layers one at a time
Start with the software layer because it costs nothing to test. Restart the phone and clear the cache for the affected app. Open the app again and repeat the exact action that failed before. If the fault clears, a stale process was the cause. If it stays, note the exact message and move to the next layer without repeating the same step. Repeating a failed step rarely changes the result and it wastes the time you need for real tests.
Next check the account layer when the feature needs sign in or cloud sync. Sign out and back in on one device only and wait for sync to finish. A half finished sync can look like a fresh fault, so give it ten minutes on stable Wi-Fi. Check the account screen for a warning or a paused switch. Fix the warning first and then test the feature again. If the account screen shows no warning, the account layer is probably clean.
Then check the hardware layer with your hands and eyes. Look for cracks and swelling and dirt in ports and loose trays. Test with a different cable, charger or accessory when you can. A fault that follows the accessory belongs to the accessory rather than the phone. Note any heat, smell or sound that appears with the fault. Those physical signs matter more than any setting and they belong in a repair report.
Finally check the network layer when the feature needs a connection. Test on Wi-Fi and then on mobile data. Test in a second location away from the first router or tower. A fault that stays in one place only points to that place rather than the phone. A fault that travels with the phone points to the phone itself. That single comparison saves many pointless setting changes.
- Software layer: restart done and app cache cleared.
- Account layer: sign in fresh and sync finished.
- Hardware layer: ports clean and accessories tested.
- Network layer: second network and second location tested.
- Power layer: battery health and charger tested.
- Result layer: fault noted with time and trigger.
Advanced checks
If the basic steps fail, look at recent changes on the phone. A system update, a new app or a changed setting often lines up with the first failure. Roll back the most recent change first and test again before you touch anything else.
Safe mode is a strong test because it blocks third party apps from loading. If the feature works in safe mode, a downloaded app is the likely cause. Remove the most recently installed apps one at a time and test after each removal.
A wakelock is a request that keeps the phone awake for background work. A healthy app holds one briefly and releases it. A buggy app can hold one for hours and drain the battery overnight. Battery usage by app is the honest record of that behaviour, so trust it over app claims.
A cache partition wipe clears stale system files without touching personal data. The option lives in recovery mode and it differs by brand. Use the button steps for your own model and choose the wipe cache entry with care.
If this fix does not solve your case, the method for fixing speakers stuck in headphone mode covers a different subsystem that can produce the same symptom.
What not to do
A hasty fix can turn a small fault into a lost data problem. Avoid tools that promise a one tap repair for every error. Avoid deleting system files by hand. Avoid a factory reset as a first step when a restart or a cache clear might work.
- Do not install repair apps from unknown sources.
- Do not delete files from system folders by hand.
- Do not run a factory reset before you back up your data.
- Do not ignore heat, swelling or a burning smell from the phone.
- Do not repeat a failed step ten times and expect a new result.
Back up photos, messages and documents before any reset step. A backup turns a risky step into a safe one. Keep the backup off the phone until the fix is done.
Prevent the fault from returning
Keep the phone updated and leave room for updates to install cleanly. Updates that run out of room can stop halfway and leave a service in a broken state. A weekly check of free space and pending updates prevents many repeat faults.
Restart the phone at least once a week. A restart clears temporary states that build up during long uptime. It also gives system services a clean start after an app misbehaves.
Keep a simple fault log
Write a short log while you test. Note the time, the action that failed and the exact message on screen. Note each change you made and the result after it. That log turns guesswork into evidence.
A good log also helps the next person who looks at the phone. A repair technician can skip the steps you already proved useless. A support agent can read the log and suggest the next test rather than the first one. Keep the log in a notes app so it survives a restart.
Review the log before you try a reset step. If every safe step failed, a reset becomes a reasoned choice rather than a panic move. Back up first and note the reset time in the log. Test the feature right after setup and before you restore apps.
Common questions
Will a restart delete my data? No. A restart only clears temporary states and running apps. Your photos, messages and files stay in place.
Do I need a factory reset? Most faults in this guide clear without one. A reset is the last step and it needs a backup first.
How long should I test after a fix? Test for a full day of normal use. Some faults return only after a restart or under heavy load.
Can I skip steps that look unrelated? You can skip a step that clearly does not fit your case. A Wi-Fi step will not help a camera fault. Keep the order for the steps that do fit.
What if the fault returns after a week? Repeat the first three steps and check the fault log. A returning fault often points to an app update or a setting that changed back. Restrict or remove the app that changed most recently.
When to get help
Stop and seek repair help if the fault involves swelling, a burning smell, a cracked screen that spreads or water damage. Those signs point to hardware risk rather than a setting. A repair shop can test the part safely and quote a fix.
Do not open the phone body yourself unless you have the right tools and training. Modern phones glue the battery and screen in place. A slip can cut a cable or puncture the battery. A shop with the right tools can open the phone safely and test the part directly.
Keep this page with the walkthrough for fixing an app install failure so you can work through both faults without repeating the same checks.
The steps above follow the approach described in the official developer documentation for Android system settings and app management. The same guidance shapes the order used here, from simple restarts to deeper resets. Nothing in this guide asks you to change a setting that the documentation marks as unsafe for normal users.
Most readers fix this fault with the first few steps. The later steps exist for stubborn cases that need a deeper reset. Bookmark this guide so you can repeat the checks if the fault ever returns.

