

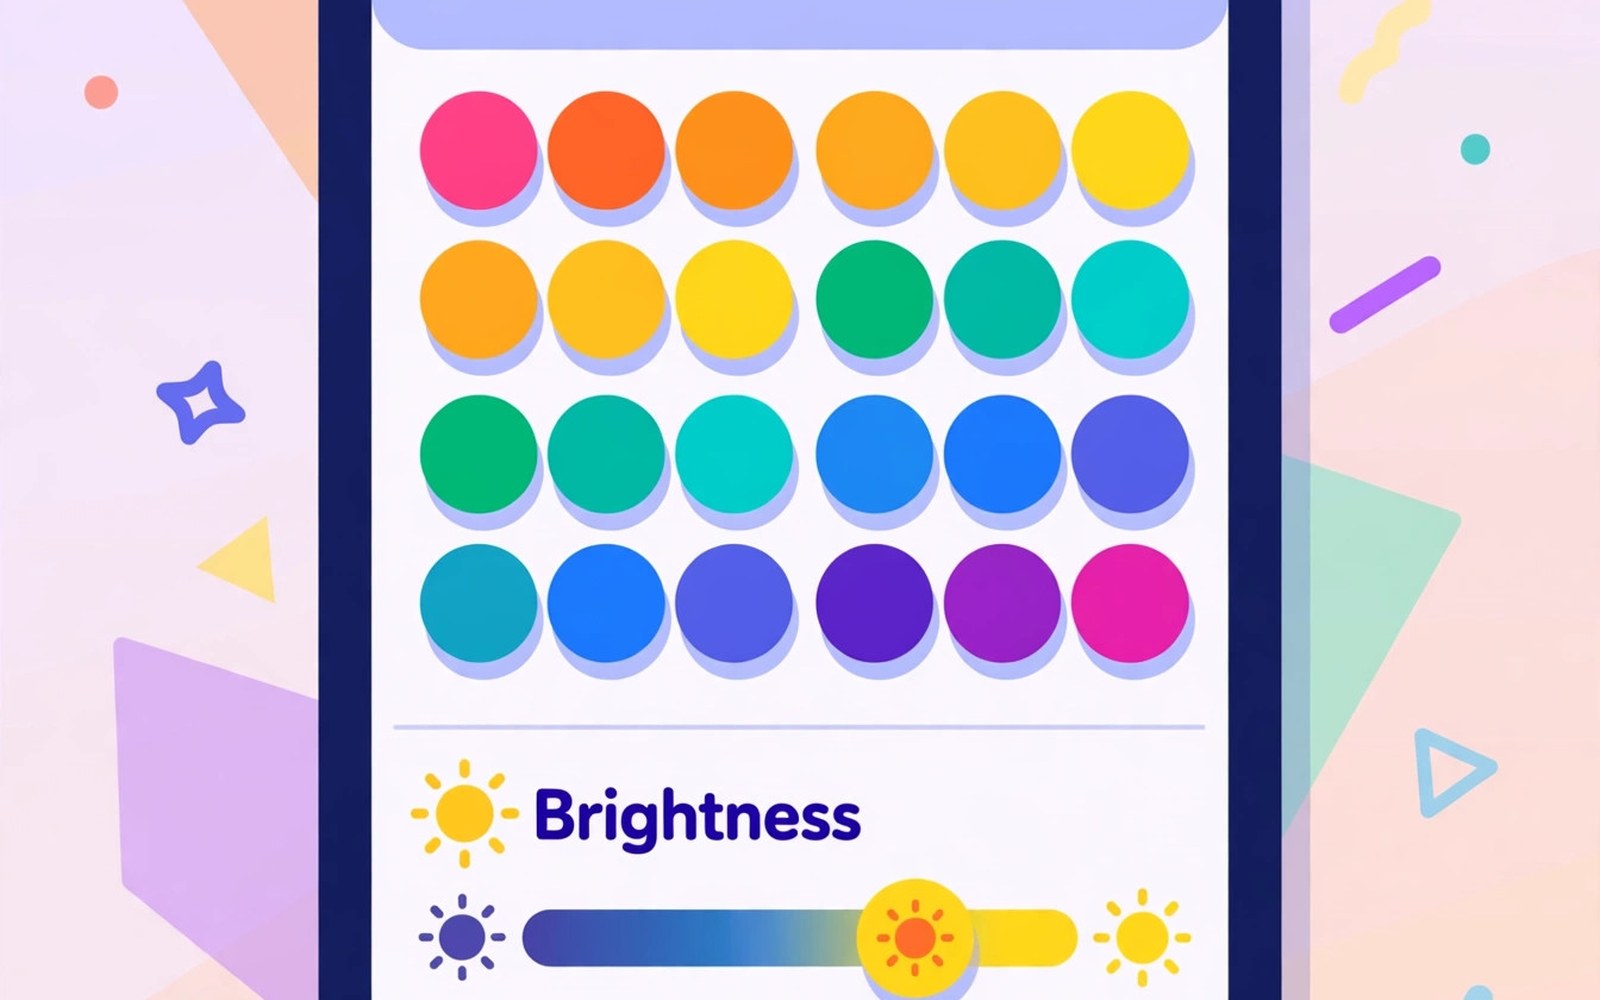
Display calibration decides how colours look on your phone. Refresh profiles decide how smoothly motion appears. Custom ROMs expose both in settings. Stock firmware often hides them behind maker menus. This article explains what each control does and how to choose well.
Calibration affects white balance and colour saturation. A warm calibration looks yellowish. A cool calibration looks bluish. A natural calibration aims for accurate colours. A vivid calibration boosts saturation for punchy photos. None is objectively best for everyone. Your eyes and your content decide.
Refresh rate measures how often the screen updates each second. Higher rates look smoother during scrolling and gaming. Higher rates also use more power. Adaptive refresh switches rate based on content. A static page uses a low rate. A game uses a high rate. Adaptive switching balances smoothness and battery.
Test display settings with content you know well. Use a photo with skin tones and sky colours. Use a video with fast motion. Use a long feed for scrolling smoothness. Familiar content reveals calibration shifts faster than test charts. Trust your eyes after a day of normal use.
When you are ready to go further, read about flashing a generic system image step by step and compare it with the plan you made for your own phone.
Understand Colour Modes
Most ROMs offer a few colour modes. Natural mode targets accurate colours for photos and video. Vivid mode boosts saturation for a lively look. Cinema mode may warm colours for video watching. Each mode changes the colour mapping for the whole system. Switching modes affects every app at once.
Check whether your ROM allows custom white balance. Some ROMs offer red and green and blue sliders. Small slider moves change the look a lot. Move one slider at a time and test with a known photo. Note your favourite values in case an update resets them.
- Natural mode suits photo editing accuracy
- Vivid mode boosts saturation for casual viewing
- Adaptive refresh balances smoothness and battery
- Test settings with familiar photos and video
- Note settings before updates to catch resets
Understand Refresh Rate Profiles
Refresh profiles set the maximum and minimum screen rates. A high maximum gives smooth motion. A low minimum saves power on static content. Adaptive profiles move between those bounds automatically. Fixed profiles lock one rate for testing or for consistency.
Some phones offer rates above the usual range. Those rates look very smooth but drain power fast. Use them for gaming sessions rather than all day. Check whether the ROM lets you set per app rates. Per app control gives smoothness where it matters and savings elsewhere.
Calibrate For Photos And Video
If you edit photos on your phone, prefer natural mode. Accurate colours help edits look right on other screens. Vivid mode can mislead edits toward dull results elsewhere. Switch to vivid only for casual viewing if you like the look. Keep editing in natural mode for consistency.
For video, test both natural and cinema modes. Cinema mode may suit movies in a dark room. Natural mode may suit daylight viewing better. Lighting changes how calibration feels. Test in your usual viewing light. A mode that looks great at night may look dull outdoors.
When you are ready to go further, read about preparing your phone for a custom ROM install and compare it with the plan you made for your own phone.
Balance Smoothness And Battery
Adaptive refresh is the best default for most users. It gives smoothness during motion and savings during reading. Fixed high refresh feels great but costs battery. Measure battery over two days on each profile. A profile that costs hours of battery needs a strong smoothness benefit.
Lower the maximum rate when battery matters more than smoothness. A moderate rate still feels smooth for reading and messaging. Reserve the top rate for games and fast video. That habit extends battery without hurting daily comfort. Small profile choices add up over a day.
Fix Common Display Problems
A yellow tint after flashing often means a night mode or warm calibration is on. Check night mode schedule first. Check colour mode second. A tint that survives both checks may need a vendor calibration fix. Update vendor files to the version the ROM expects. Test again after the update.
Flicker at low brightness can come from pulse width settings. Some ROMs offer a flicker reduction option. Try that option and test at low brightness in a dark room. If flicker persists, raise brightness slightly. Report flicker with phone model and ROM version. Display issues vary by panel type.
Per App Refresh And Special Cases
Games benefit most from high refresh. Set a high rate for games you play often. Reading apps benefit from low rates. Set a low rate for readers to save power. Video apps often lock to the video frame rate. A high screen rate does not improve a low frame video. Match rate to content where possible.
Some apps ignore system refresh settings. Those apps set their own rate internally. Test each important app after changing profiles. Note any app that stays at one rate. That behaviour is app specific and not a ROM bug. Work around it with per app settings when the ROM offers them.
When you are ready to go further, read about installing LineageOS step by step and compare it with the plan you made for your own phone.
Keep Display Settings Stable Across Updates
Note your colour mode and refresh profile before updating. Updates can reset display settings to defaults. Restore your notes after the update. Test with a known photo after restoring. A quick check catches a reset before it annoys you for days.
If an update changes calibration behaviour, read the changelog. A kernel or display driver change may explain it. Report regressions with before and after notes. Include panel behaviour in your report. Good display reports help maintainers tune calibration for your model.
Display Panels: OLED Versus LCD Calibration Needs
OLED panels light each pixel individually. Dark pixels turn off and save power. Calibration on OLED focuses on colour accuracy and white balance. Burn in risk also shapes OLED settings. Static bright elements can wear pixels unevenly. Dark themes and moving elements reduce that risk. Custom ROMs may offer burn in protection options. Use them on OLED phones for longevity.
LCD panels use a backlight behind all pixels. Dark pixels block light but the backlight stays on. Calibration on LCD focuses on backlight and colour filters. Power savings from dark themes are smaller on LCD. Brightness control matters more for LCD battery life. A dimmer backlight saves power directly. Understand your panel type before optimising. Panel physics decides which tricks work.
Panel variation exists even within one model. Two phones can show slightly different whites. Maker calibration compensates per panel at the factory. A custom ROM may use generic calibration instead. That generic tuning can look slightly off on some units. Per device calibration options help. Adjust white balance to taste if generic tuning disappoints. Your eyes judge your panel best.
Accessibility And Display Settings Together
Display settings serve accessibility needs too. Larger text helps low vision users. High contrast modes help in bright light. Colour correction modes help colour vision differences. Custom ROMs often expose these options clearly. Explore accessibility settings after install. A setting that helps one user may help many. Accessibility is not a niche concern. It improves daily use broadly.
Refresh rate affects motion sensitivity for some users. High refresh can feel smoother or more jarring depending on the person. Users sensitive to motion may prefer lower rates. Test rates with real scrolling. Choose comfort over benchmark smoothness. Comfort is a valid performance metric. A comfortable phone gets used happily for years.
Brightness and flicker affect eye comfort. Low brightness flicker bothers some users. Pulse width settings influence that flicker. Try flicker reduction options if your ROM offers them. Test in a dark room at low brightness. Note comfort over several evenings. Eye comfort accumulates. Small display choices affect long term satisfaction.
Display Settings For Outdoor Use
Outdoor use stresses display settings differently than indoor use. Bright sunlight washes out colours. Maximum brightness matters outdoors. Auto brightness must respond quickly to sunlight. Test auto brightness by stepping outside. Note how fast it adapts. Slow adaptation frustrates outdoor reading. Manual brightness may work better outdoors. Set a bright outdoor profile if your ROM allows it. Outdoor profiles improve readability instantly.
Colour accuracy matters less outdoors than readability. A vivid mode may read better in sunlight. A natural mode may look washed out outdoors. Switch modes for outdoor sessions. Switch back indoors for accurate colours. Mode switching is a small habit with big readability payoff. It also reduces eye strain outdoors. Strain accumulates during long outdoor use. Readability first outdoors is wise.
Refresh rate outdoors affects battery during travel. Navigation outdoors uses screen constantly. A high refresh rate drains battery during long trips. Use adaptive refresh for travel days. Adaptive rates save power during map reading. They still smooth scrolling when needed. Travel battery planning includes display settings. Plan display and navigation together. Combined planning extends travel range.
Display Burn In Prevention On Modern Phones
Burn in affects OLED panels over long periods. Static elements like status bars wear pixels unevenly. Navigation bars and keyboards also wear unevenly. Custom ROMs may offer burn in protection. That protection shifts static elements slightly over time. Shifting spreads wear evenly. Enable protection on OLED phones. It costs nothing visible. It preserves panel uniformity for years.
Vary your home screen layout periodically. Move widgets and icons occasionally. Varying layouts spreads wear across pixels. Avoid maximum brightness for static screens. High brightness accelerates wear. Use moderate brightness for reading and browsing. Reserve maximum brightness for brief outdoor use. Brightness discipline protects panels. It also saves battery. Discipline pays twice.
Dark themes reduce OLED wear for many elements. Dark pixels stay off and avoid wear. Light themes keep pixels lit constantly. Use dark themes as a default on OLED phones. Dark themes also save battery. They improve night comfort too. Three benefits from one setting is rare. Take it. Panel longevity, battery life and comfort align here.
adb shell settings get system peak_refresh_rate
adb shell settings put system peak_refresh_rate 120
adb shell settings get system min_refresh_rate
adb shell dumpsys display | grep -i refresh
The steps above follow the approach described in the official developer documentation for this platform and in the display guides for device panels.

