

Many Android users meet this problem at the worst moment. A call drops or a file stalls or a payment fails. The fault often looks random at first glance. A calm and ordered approach reveals a pattern in most cases. This guide explains the volume chain in plain terms. It also gives you a test order that separates phone faults from network faults. You will learn which settings matter and which changes to avoid. Each step builds on the last one so results stay clear.
Before you change anything it helps to see how this topic connects with nearby connection faults such as NFC contactless payment failures at checkout because shared radios and shared settings often explain more than one symptom at once.
Understanding the problem
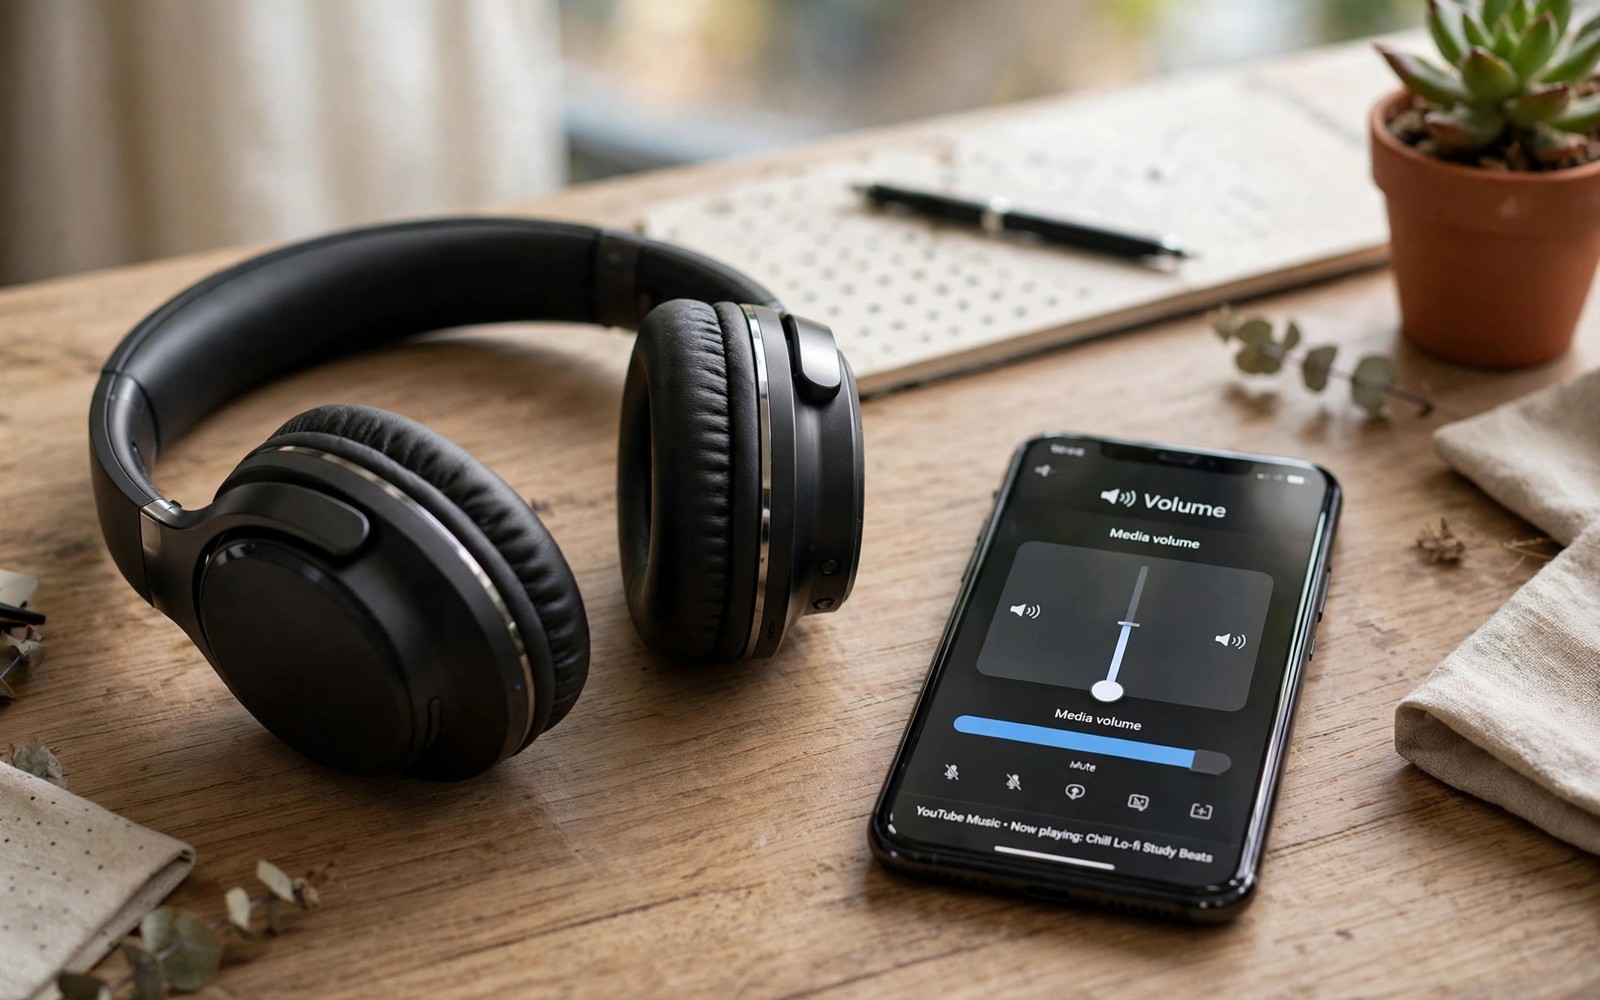
Bluetooth volume involves two controls rather than one. The phone sets a media level and the earbuds set their own output level. Absolute volume links those controls on many Android phones. When the link works well one slider controls both sides. When it maps badly the phone may show full volume while the earbuds stay quiet.
Start by describing the fault in one short sentence of your own. Note when it began and whether it affects one app or every app. Note whether it happens in one place or in many places. Those three facts narrow the search faster than any single setting change. the phone volume and the earbud volume can fail in several ways that look identical on screen. A clear description helps you pick the right test first. It also helps support staff if you later ask for help. Write the facts down before you start changing settings.
A fault diary often reveals a trigger that memory misses. Record the time and the place and the app in use for each failure. Look for a pattern after a week of notes. A pattern tied to one room points to coverage. A pattern tied to one app points to app settings. A pattern tied to movement points to handover or power rules. That diary costs little effort and it turns vague frustration into testable evidence. Share it with support if the fault persists.
Common causes to consider
- Absolute volume sync that maps phone levels badly.
- A separate device volume that stays low despite phone volume.
- An app volume limit or safe hearing cap.
- A codec or gain setting that lowers output.
- One earbud with a blocked speaker mesh or low charge.
Work through causes from the simplest to the most complex. A simple cause often hides behind a dramatic symptom. Check power and distance and basic settings before suspecting hardware failure. Change only one variable at a time during testing. That discipline lets you credit the correct fix when stability returns. It also prevents a pile of changes that interact in confusing ways. Patience at this stage saves a second round of troubleshooting later.
Quick checks before deeper changes
- Check whether calls sound normal while media stays quiet.
- Test the same earbuds on a second phone.
- Look for a safe volume warning that caps the level.
- Check whether an equalizer app lowers overall output.
- Confirm that both earbuds play at the same level.
Quick checks also benefit from context in related connection guides such as how smart network switch moves between Wi-Fi and mobile data where a similar test order separates a device fault from a network fault.
Quick checks cost little time and they protect your settings. A restart clears temporary radio states without deleting saved data. A second device test tells you whether the fault follows the phone or the network. A second location test tells you whether coverage shapes the fault. Record each result in a few words. That record becomes your evidence for the next step. Skip a check only when you already know its result from a recent test.
Step-by-step fix
- Turn the phone media volume up to full for a test.
- Raise the volume on the earbuds or headphones themselves.
- Check for a separate volume limit in the earbuds app.
- Turn absolute volume off and on again in developer settings.
- Forget and re-pair the device if levels stay mismatched.
- Test a second audio app to rule out one app level.
Checklist for this fix
1. Note the fault and the place where it happens
2. Restart the phone and the other device or router
3. Apply one setting change from the list above
4. Test with a music track at a comfortable level
5. Keep the change only if the test improves
6. Revert the change if the test shows no benefit
Follow the steps in order and test after each major change. A step that helps should show a clear improvement in the next test. A step that does nothing should be reverted so settings stay clean. absolute volume and media volume settings deserve special care because a wrong value can create a new fault. Read each option label fully before toggling it. If a label differs on your phone then match it by meaning rather than by exact wording. Menus vary by maker and by software version.
Settings worth reviewing
Review settings that govern the volume chain on a regular basis. Battery optimization can pause background radio work without a visible warning. Permissions can block scanning or discovery in a quiet way. Saved network data can hold stale values after a router change. Each of these areas deserves a look when a fault resists restarts. Reset only the area that matches your evidence. Broad resets cost reconnection time and should stay a later option.
A related guide on mobile hotspot connections that drop users covers a neighbouring setting that often interacts with this fault.
Keep a short note of every setting you change during the fix. Note the old value when the setting offers a choice. That note lets you undo a change that makes things worse. It also speeds up support calls because you can list tried steps clearly. Avoid changing developer options unless a step in this guide names one. Hidden options can alter radio behaviour in ways that are hard to trace later.
Testing the result properly
A fair test uses a music track at a comfortable level in the place where the fault normally appears. Run the test for long enough to catch an intermittent fault. A ten minute test beats a ten second glance for drop problems. Repeat the test after moving to a second location. Compare results with the baseline you recorded before changes. A real fix should improve results in both places or at least in the main place.
Developer settings can break the link for a test. Turning absolute volume off separates the two controls. You can then raise each side independently and find the true bottleneck. Restore the linked mode after testing if you prefer one slider. Re-pairing also rebuilds the volume mapping from scratch.
A second test with a different app or a different peer device adds confidence. If the fault follows the phone across apps then the phone or its settings are suspect. If the fault stays with one app then that app deserves a closer look. If the fault follows one peer device then that device may hold the fault. This cross check prevents a long chase after the wrong component. It also gives you a clean result to report.
Preventing a repeat
Prevention starts with the conditions that caused the first fault. Keep software current because updates often fix radio and pairing bugs. Keep the phone and the other device charged during long sessions. Keep firmware for routers and accessories current where the maker offers updates. Review saved networks and paired devices every few months. Remove entries you no longer use so stale data cannot interfere.
App and safety caps add a third layer that users often miss. Some apps keep their own volume level apart from system volume. A hearing safety warning may cap output until you confirm the level. Earbuds apps may also store a personal limit. Checking each layer in order avoids changing the wrong control.
A monthly review keeps the volume chain healthy without much effort. Open the saved networks list and remove venues you will not visit again. Open the paired devices list and remove old audio gear and old cars. Check for software updates on the phone and on any accessory app. Check data usage if automatic switching plays a role in your setup. That short review prevents stale entries from causing a surprise fault later. It also keeps your device lists short and easy to read.
Daily habits that protect the connection
Small daily habits protect the volume chain better than occasional major fixes. Charge devices before long sessions that rely on the link. Keep the phone software and the peer device software current. Avoid stacking many radio heavy tasks at the same moment when stability matters. Give the phone a short restart after a major update. Those habits reduce the chance that a stale state builds up unnoticed.
The physical environment also shapes the volume chain in quiet ways. Thick walls and metal furniture can weaken a radio link. Crowded public spaces can overload a shared channel. Heat can throttle a phone during a long session. Moving a few steps or finding shade can change the result at once. Notice the environment before blaming the phone alone. A stable spot often matters more than a new setting.
When to seek further help
If the fault continues after these steps then compare your result with captive portal login pages that fail to load because a shared cause may point to a carrier or router issue rather than a phone fault.
Seek further help when the fault affects every network or every peer device. Bring your test notes and your list of changed settings. Mention the places where the fault appears and the places where it does not appear. Mention whether a second device shows the same fault. That evidence lets support skip basic steps and focus on the real cause. Do not pay for a repair before a second device test rules out network faults.
Before any paid repair ask what the repair will actually replace. A radio fault and a software fault can look alike yet need very different work. A shop should explain its diagnosis in plain terms before opening the phone. Back up personal data before handing the phone over for any hardware work. Keep your test notes with the phone so the technician starts from evidence. That preparation protects both your data and your budget.
The steps above follow the approach described in the official developer documentation for this platform. That guidance stresses testing one change at a time and checking results before moving on. It also notes that device menus vary by maker and software version. Use the menu names on your own phone when a label differs slightly. Keep a note of changes that helped so you can repeat them later.

