

What A Lens Attachment Actually Does
A lens attachment adds glass in front of your phone camera. That glass changes the field of view. It can widen a scene for landscapes. It can magnify a small subject for macro shots. It can narrow a scene for distant subjects. It cannot replace the phone sensor or processor. Image quality still depends on the phone camera itself. A good attachment preserves sharpness well. A poor attachment adds blur and color fringes. Color fringes appear as colored edges around bright objects. Vignetting appears as dark corners in photos. Both flaws grow with cheap glass. Test attachments with high contrast scenes. Bright sky against dark buildings reveals fringes quickly. Plain walls reveal vignetting clearly. Compare photos with and without the attachment. That comparison shows the real cost and benefit.
Mounting system decides alignment and stability. A clip mount grips the phone edge over the camera. It suits many phones without a case change. It may slip if the phone case is thick. It may block other cameras on multi camera phones. A case mount uses a dedicated case with a thread. It aligns the lens precisely over one camera. It requires buying a case for your exact model. A magnetic mount uses a ring around the camera. It attaches quickly and removes quickly. It may interfere with some phone features if placed poorly. Check mount compatibility with your case before buying. Test alignment on all camera lenses you plan to use. A lens aligned over the wrong camera gives a black or blurred image. That mistake frustrates beginners often.
Wide Angle Lenses For Landscapes And Rooms
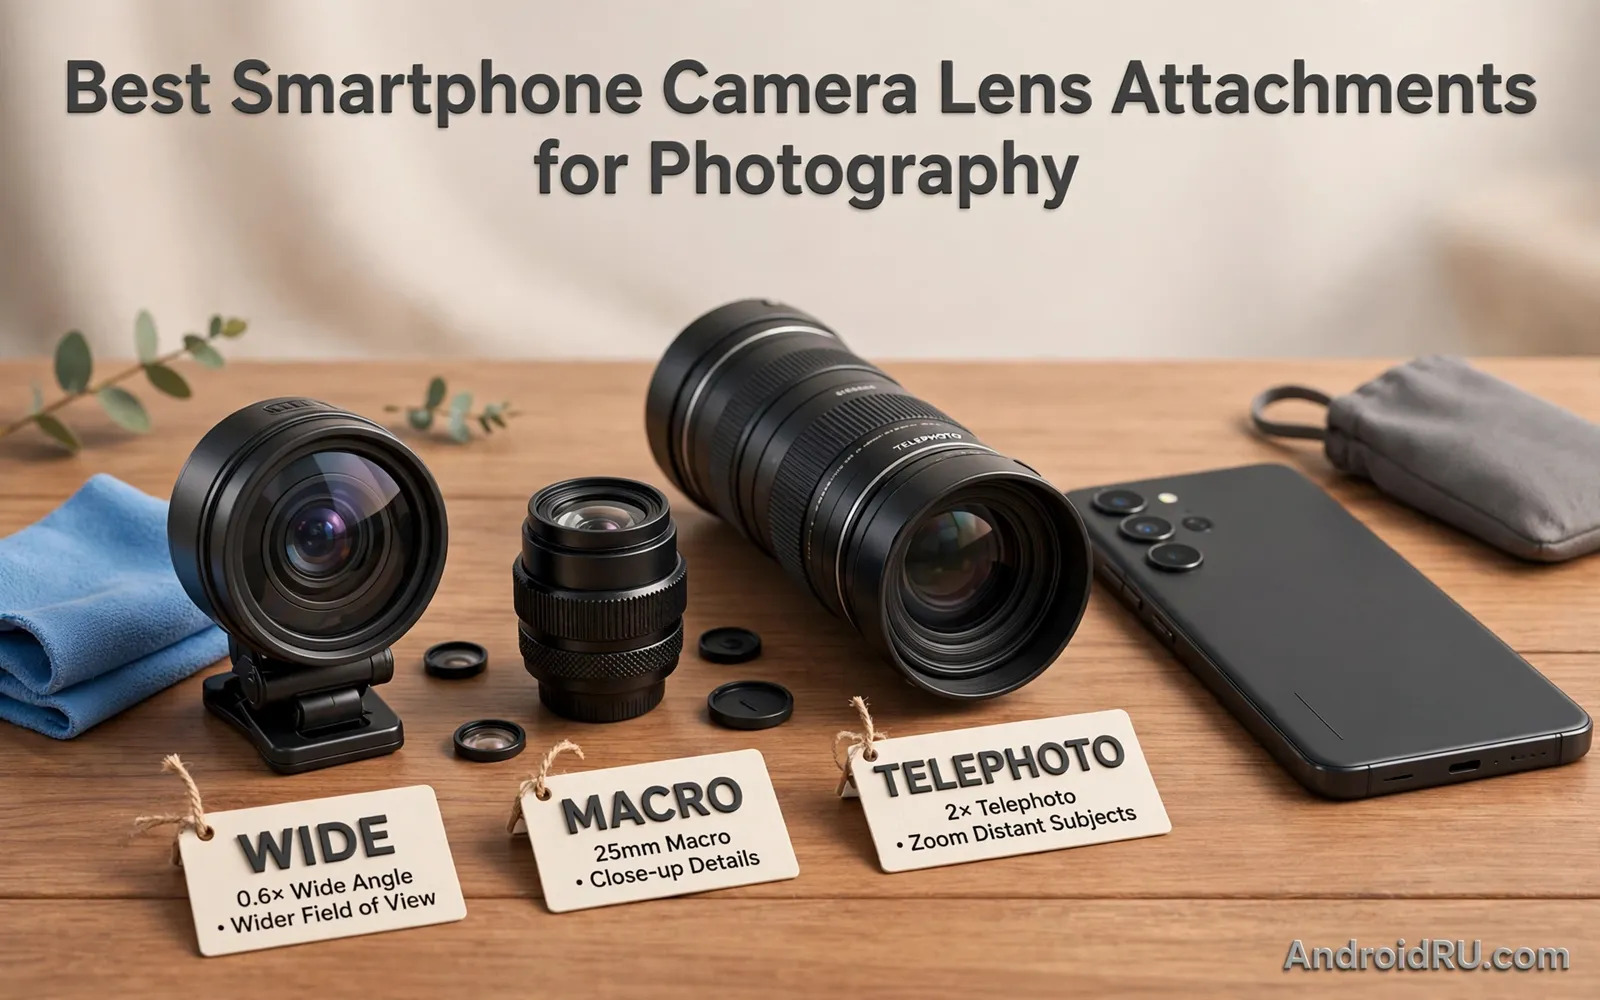
Wide angle attachments expand the scene in one photo. They suit landscapes and architecture and small rooms. They let you include more of a scene from close range. They also distort straight lines near edges. Buildings may lean outward at frame edges. People near edges may look stretched. That distortion grows with wider angles. A moderate wide lens distorts less than an extreme wide lens. Choose moderate width for natural looking photos. Choose extreme width for dramatic creative effects. Test wide lenses in a room with straight walls. Note how walls bend near corners. Note how furniture stretches near edges. A lens with mild distortion suits daily use better. A lens with strong distortion suits artistic use better. Keep the horizon level to reduce distortion impact. Tilted horizons worsen edge distortion visibly.
Wide lenses also affect light and sharpness. Edge sharpness often falls below center sharpness. Cheap wide lenses show soft edges clearly. Quality wide lenses keep edges sharper. Test edge sharpness with detailed subjects. Brick walls and tree leaves reveal softness well. Compare center and edge detail at full zoom. Note any color shift at edges as well. Some wide lenses darken corners noticeably. That darkening can suit creative photos. It can harm documentary photos. Crop slightly to remove worst corners when needed. A small crop often improves a wide photo greatly. Keep the phone steady for wide shots. Wide shots include more movement in the frame. A tripod helps for low light wide scenes.
Macro Lenses For Small Subjects
Macro attachments let you focus very close to a subject. They reveal details invisible to the naked eye. Flower petals and insect wings gain new texture. Coins and jewelry gain crisp surface detail. Macro lenses shorten the minimum focus distance greatly. They also shrink depth of field greatly. Only a thin slice stays sharp in a macro photo. Focus placement becomes critical for good results. Tap to focus on the exact detail you want. Take several shots with slightly different focus points. One of those shots will likely hit perfect focus. Use a tripod or stable support for macro work. Hand shake ruins macro sharpness easily. Even breathing movement can shift focus at close range. Brace elbows on a table for handheld macro shots. Use a short timer to avoid shake from tapping.
Light matters more in macro photography than in normal shots. The phone and lens can cast shadows on close subjects. Natural side light reveals texture better than front light. A small LED light can fill shadows without harshness. Avoid harsh direct flash at close range. Flash can wash out detail and create hot spots. Diffuse light with a thin white sheet if needed. That diffusion softens shadows greatly. Clean the macro lens before each session. Dust specks appear huge in macro photos. A single speck can ruin an otherwise sharp image. Carry a lens cloth in your camera kit. Check the lens surface in bright light before shooting.
Telephoto Lenses For Distant Subjects
Telephoto attachments magnify distant subjects. They suit wildlife and sports and stage events. They narrow the field of view greatly. They also magnify hand shake greatly. A tripod becomes almost essential for telephoto work. Handheld telephoto shots often look soft from shake. Use a fast shutter speed when handheld use is unavoidable. Brace the phone against a stable surface. Lean against a wall or tree for support. Use burst mode to capture several frames. One frame among many may stay sharp. Telephoto lenses also compress perspective in photos. Background objects appear closer to the subject. That compression suits portraits with blurred backgrounds. It can flatten landscapes in a less natural way. Test telephoto compression with familiar scenes before important shoots.
Telephoto quality varies widely across price ranges. Cheap telephoto lenses often show soft detail. They often show strong color fringes as well. Quality telephoto lenses use several glass elements. Those elements correct fringes and softness better. They also weigh more and cost more. Weight matters for clip mounts. A heavy lens can tilt a clip mount during use. A case mount handles heavy lenses better. Check mount strength for telephoto lenses specifically. Test the full setup before an important event. A setup that slips during a concert wastes the moment. Keep expectations realistic for phone telephoto. A dedicated camera still beats phone attachments for distant wildlife. Phone attachments extend reach for casual use well.
Fisheye Anamorphic And Creative Lenses
Fisheye lenses create a round distorted view. They suit skateboarding and action and creative portraits. Straight lines bend strongly in fisheye photos. That bend becomes the artistic point. Fisheye lenses suit fun social photos well. They suit documentary accuracy poorly. Anamorphic lenses create wide cinematic frames. They add horizontal lens flares in bright light. They suit video creators seeking a film look. They need careful handling for still photos. Anamorphic images may need de squeezing in editing apps. That extra step adds time to workflow. Test creative lenses in casual shoots first. Learn their distortion patterns before important work. Creative lenses reward experimentation. They punish rushed use in critical moments. Keep one creative lens in a kit for fun. Keep standard lenses for reliable daily photos.
Filter attachments add another creative layer. Polarizing filters reduce reflections on water and glass. They also deepen blue skies in daylight. Neutral density filters reduce light for long exposures. Long exposures blur moving water smoothly. Color filters shift mood in a photo. Filters need a mount that fits your lens system. Check filter thread size before buying. A mismatched filter cannot attach safely. Forcing a filter can damage threads. Store filters in padded cases. Scratched filters harm every photo taken through them. Clean filters with a soft cloth only. Avoid paper towels that can scratch coatings.
Tripods Stability And Phone Holders
A tripod stabilizes a phone for sharp photos. It matters most for low light and macro and telephoto work. A small table tripod suits travel well. A full height tripod suits landscapes better. A flexible leg tripod wraps around branches and rails. It suits hiking and outdoor creative shots. Check tripod weight capacity for your phone and lens. A heavy lens can tip a light tripod. Check phone holder grip strength as well. A holder that slips drops the phone. Test holder grip with your case on. A case can change grip thickness. Use a remote shutter or timer with a tripod. Touching the phone to shoot can shake the setup. A Bluetooth remote costs little and helps greatly. A timer works well when no remote exists.
Protection during outdoor shoots deserves planning too. A phone that travels to beaches and trails faces drops and dust. Heavy duty protective cases for extreme drops add a safety layer for field photography without blocking the camera. Keep lens attachments in padded pouches during travel. Loose lenses in a bag scratch each other. Label pouches by lens type for quick access. A quick swap matters when light changes fast. Clean tripod legs after beach or mud use. Sand in joints harms movement over time. Rinse flexible legs gently when maker guidance allows. Dry all gear fully before storage.
Phone Camera Settings With Attachments
Camera settings change when an attachment sits on the lens. The phone may misread focus distance with a macro lens. Manual focus helps when autofocus hunts. Tap and hold to lock focus on your subject. Lock exposure as well for consistent results. Auto exposure can shift as you reframe. That shift changes brightness between shots. Use the main camera lens for most attachments. Ultra wide phone cameras may conflict with attachments. An attachment over an ultra wide lens can vignette heavily. Check which physical camera the app uses. Some apps switch cameras automatically by zoom level. Lock the camera choice when possible. Test zoom levels with the attachment on. Digital zoom through an attachment often degrades quality. Optical attachment plus digital zoom compounds softness. Shoot at native zoom for best attachment results.
Editing can correct some attachment flaws. Crop to remove dark corners from wide lenses. Adjust sharpness carefully for soft edges. Over sharpening creates halos around details. Correct color fringes with lens correction tools when available. Many editing apps offer fringe removal. Test correction on a copy of the photo. Keep the original file as a backup. Shoot in the highest quality format your phone offers. Higher quality files tolerate editing better. Compressed files degrade faster under edits. Organize attachment photos in a separate album. That album helps you compare lens performance over time. Review that album before buying another lens. Past results guide future purchases better than specs alone.
Buying Checklist And Final Verdict
Use this checklist before you buy any attachment. Check mount compatibility with your exact phone first. Check mount compatibility with your case second. Check lens type for your main subject third. Check glass quality through sample photos fourth. Check edge sharpness and vignetting fifth. Check weight and mount strength sixth. Check storage pouch quality seventh. Check warranty and return terms eighth. A lens that passes most checks serves well. A lens that fails mount alignment frustrates every use. A lens that fails sharpness disappoints every photo. Start with one versatile lens type. A wide or macro lens suits many beginners well. Add telephoto only after you master the first lens. A focused kit beats a large unused collection. Quality over quantity applies strongly here.
Clear glass in front and behind the lens matters for every shot. A scratched screen makes framing harder in bright light. Choosing between tempered glass and TPU screen protectors helps you pick protection that keeps the display readable outdoors. A second layer of field protection completes the kit. A heavy duty case for extreme drops guards the phone body while lenses stay in pouches. Test any new lens for a week in real scenes. Note sharpness and distortion and handling each day. A week of notes beats a single first impression. Keep the best lens as your daily creative tool.

