

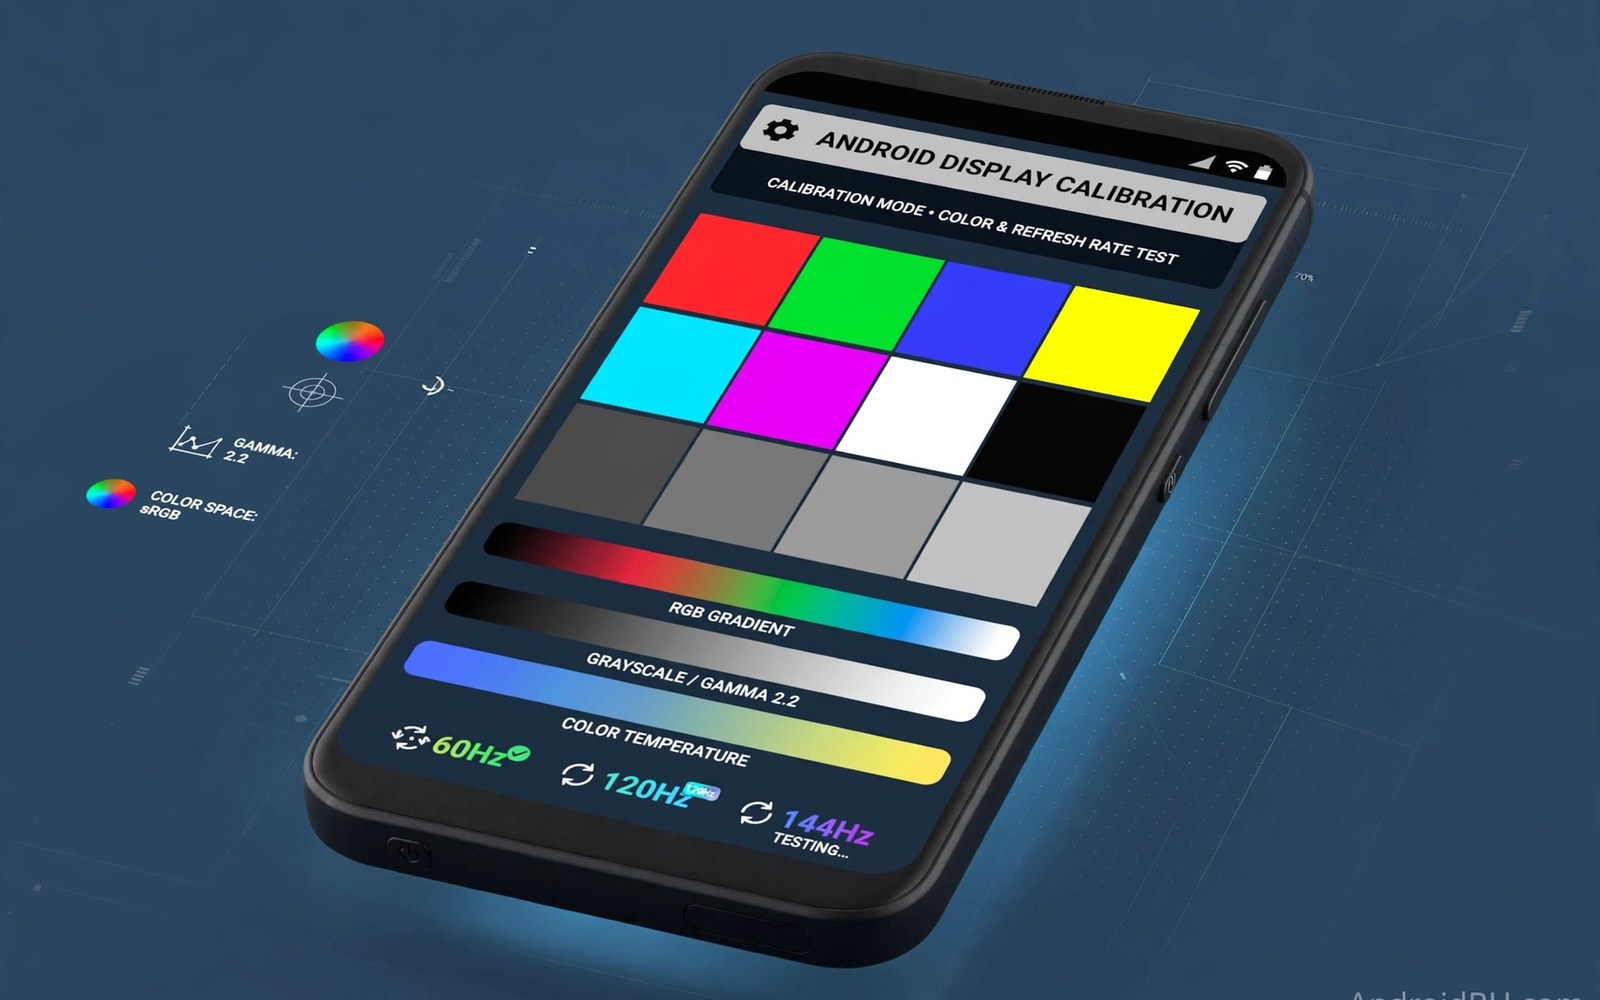
Display calibration apps tune how your phone screen shows color and motion. A tinted white or a dull red or a stuttering scroll often traces to display settings. This guide explains how calibration apps adjust colors and refresh rates and pixels and when a screen needs service instead of software. This article covers display calibration apps in plain language for everyday Android users.
Screens vary even within one model. Factory calibration differs and user settings shift color over time. A calibration app gives you test patterns and controls to judge and adjust. If you record screen videos with internal audio then calibrate first so recordings show true colors and not a tinted screen.
Color temperature and white balance
Color temperature sets how warm or cool white looks. Warm whites lean yellow. Cool whites lean blue. A neutral white near daylight suits most users. Calibration apps show white patches and let you shift warmth until white looks truly white.
Test in normal room light and not in darkness. Room light changes how white appears. Set brightness to a typical level before you judge color. Extreme brightness hides tint. Low brightness exaggerates it. Judge at the level you actually use daily.
Refresh rate and motion smoothness
Refresh rate sets how often the screen redraws per second. Higher rates feel smoother in scrolling. Some phones switch rates automatically to save battery. A calibration app shows the live rate and lets you test fixed versus adaptive modes.
Test scrolling in a long feed at each rate. Adaptive mode may dip during slow scrolls and feel uneven. Fixed high rate feels smooth but uses more battery. Pick the mode that balances smoothness and battery for your use.
Pixel tests for dead and stuck pixels
Pixel tests show full screen solid colors. A dead pixel stays black on every color. A stuck pixel stays one color on every screen. Scan each color slowly and look closely at edges and corners.
Stuck pixels sometimes recover with rapid color cycling. Run a cycling test for several minutes. Dead pixels never recover through software. A cluster of dead pixels warrants a warranty check. Note their positions with a photo for support.
Brightness uniformity and banding
Brightness uniformity means even light across the panel. Gray screens reveal uneven patches best. Look for darker corners or a bright band. Mild unevenness is normal on many panels. Strong patches signal a panel fault.
Banding shows as steps in smooth gradients instead of a smooth blend. Gradient test images reveal banding fast. Banding often traces to color depth limits. It rarely improves with calibration. Judge whether it bothers you in real videos before seeking service.
When calibration cannot help
Calibration cannot fix cracked glass or dead pixels or backlight failure. It cannot fix burn in from static images. It adjusts rendering and not physical damage. Recognizing that line saves hours of useless tweaking.
Burn in shows as ghost images that persist across screens. Screen replacement is the only fix. Flicker at low brightness may trace to panel hardware too. Report these faults with test photos and seek service promptly.
Night mode and blue light settings
Night mode shifts color toward warm tones at evening hours. That shift reduces blue light before sleep. Calibration apps test night mode strength. Too strong a shift turns whites orange and distorts photos. Tune night mode to a mild warm level for comfort without distortion.
Schedule night mode by sunset when possible. Automatic scheduling adapts across seasons. Manual schedules suit fixed routines. Test photo editing with night mode off since warm shifts ruin color judgment. Disable night mode for any color critical work.
HDR and color gamut checks
HDR displays show brighter highlights and deeper shadows. Test HDR with a known HDR video clip. Non HDR screens show the same clip flatter. Calibration apps cannot add HDR to a non HDR panel. They can only verify what the panel already supports.
Color gamut defines the range of colors a screen can show. Wide gamut screens show richer reds and greens. Test gamut with saturated color patches. Compare against a reference screen when possible. Gamut limits are hardware facts and not settings faults.
Text sharpness and font rendering
Text sharpness depends on resolution and pixel density. Small text reveals sharpness limits fastest. Test with a dense text page at normal reading distance. Blurry small text at high density suggests a replaced low quality panel. Sharp text confirms panel integrity.
Font size settings change perceived sharpness too. Larger fonts hide pixel limits. Test sharpness at default font size for a fair judgment. Display size settings also affect layout density. Judge the panel at defaults and then adjust fonts for comfort.
Flicker tests at low brightness
Some OLED screens flicker at low brightness due to pulse modulation. Sensitive users notice eye strain from flicker. Test by recording the screen in slow motion video. Flicker bands appear in slow motion when present. That test reveals flicker invisible to the eye.
Flicker reduction settings exist on some phones. They raise brightness floor or switch dimming methods. Test eye comfort with flicker reduction on and off for a week each. Personal comfort decides the setting since flicker sensitivity varies widely.
Screen protectors and calibration
Screen protectors affect brightness and color slightly. Thick protectors dim the screen and shift tint. Test calibration with the protector installed since that is daily reality. Remove the protector only to isolate a suspected panel fault.
Oleophobic coating wear changes touch feel and glare. Worn coatings show smudges fast. Calibration cannot fix coating wear. A new protector restores smoothness cheaply. Judge display quality with a clean protector for fair results.
Color profiles for photo editing
Photo editing needs accurate color profiles above all. A screen that shifts reds warm ruins edit decisions. Calibration apps help you judge profile accuracy with test patches. Compare edited photos on a second trusted screen before publishing. That cross check catches profile errors that single screen calibration misses.
Editing apps may apply their own color management on top of system profiles. Check whether your editing app respects system calibration or overrides it. Override behavior makes system calibration irrelevant inside that app. Learn each editing app behavior individually. Color critical work deserves app specific verification rather than system wide assumptions.
Refresh rate and battery tradeoffs measured
High refresh rates cost battery measurably. The display redraws twice as often at one hundred twenty hertz versus sixty. GPU work rises with frame demand. Battery tests show the cost clearly across a day of mixed use. Heavy scrollers pay more than light users since scrolling triggers high refresh constantly.
Adaptive refresh balances smoothness and battery by varying rate with content. Static screens drop to low rates automatically. Scrolling raises rates instantly. Test adaptive behavior with a monitor that shows live refresh. A good adaptive system feels smooth while saving power. A poor one stutters at rate transitions.
OLED versus LCD calibration differences
OLED panels calibrate differently than LCD panels. OLED blacks are truly off pixels with infinite contrast. LCD blacks leak backlight and look gray in darkness. Calibration targets differ accordingly. OLED white balance tuning matters most for color accuracy. LCD uniformity tuning matters most for even brightness.
Burn in risk shapes OLED calibration advice. Avoid static bright elements at maximum brightness for hours. Calibration cannot reverse burn in once it appears. LCD panels ignore burn in concerns entirely. Match calibration habits to panel technology for sensible long term screen health.
Calibration after screen replacement
Replacement screens often arrive with different calibration than originals. Colors may shift warm or cool after repair. Brightness uniformity may differ noticeably. Run full calibration tests after any screen replacement. Compare results against pre repair notes when you kept them.
Report calibration differences to the repair shop promptly when they exceed tolerance. Shops may adjust profiles or replace panels again under warranty. Document differences with test pattern photos. Photo evidence strengthens warranty claims far more than verbal color descriptions. Test quickly since warranty windows close.
adb shell settings put system screen_brightness 128The command above follows the standard syntax for the Android developer bridge and sets a mid level screen brightness so calibration tests run at a consistent light level.
Common mistakes
The biggest mistake is calibrating in a dark room at full brightness. That setting exaggerates tint and hides uniformity faults. Calibrate at your normal brightness in normal room light for results that match daily use.
Another mistake is chasing perfect color by eye alone. Eyes adapt fast and fool judgment. Use test patterns and compare against a known good screen. Patterns beat memory for color decisions.
People also confuse software tint with panel damage. A blue tint from night mode is a setting. A persistent ghost image is burn in. Check settings first. A sensor and rotation test can also rule out auto rotate faults that masquerade as display problems.
Frequently asked questions
Can calibration apps damage my screen?
No. They change settings and show test patterns. They do not alter panel hardware. Aggressive color cycling for stuck pixels is safe for short runs but avoid hours of flashing patterns.
Why does my screen look different after an update?
Updates can reset color profiles or change default temperature. Recheck calibration settings after major updates. A quick white patch test confirms whether defaults shifted.
Do I need root for display calibration?
No for most adjustments. Color temperature and refresh rate controls work through settings on many phones. Deep panel tuning may need root but daily calibration never does.
Conclusion
Display calibration apps turn vague screen complaints into testable facts. Check white balance and refresh rate and pixels with patterns. Accept panel limits and service real hardware faults.
Your next step is concrete. Run a white patch and a gray uniformity test today. Note any tint or patch you see. Then check audio analyzer tools if you want a full media quality audit covering both screen and sound.

