

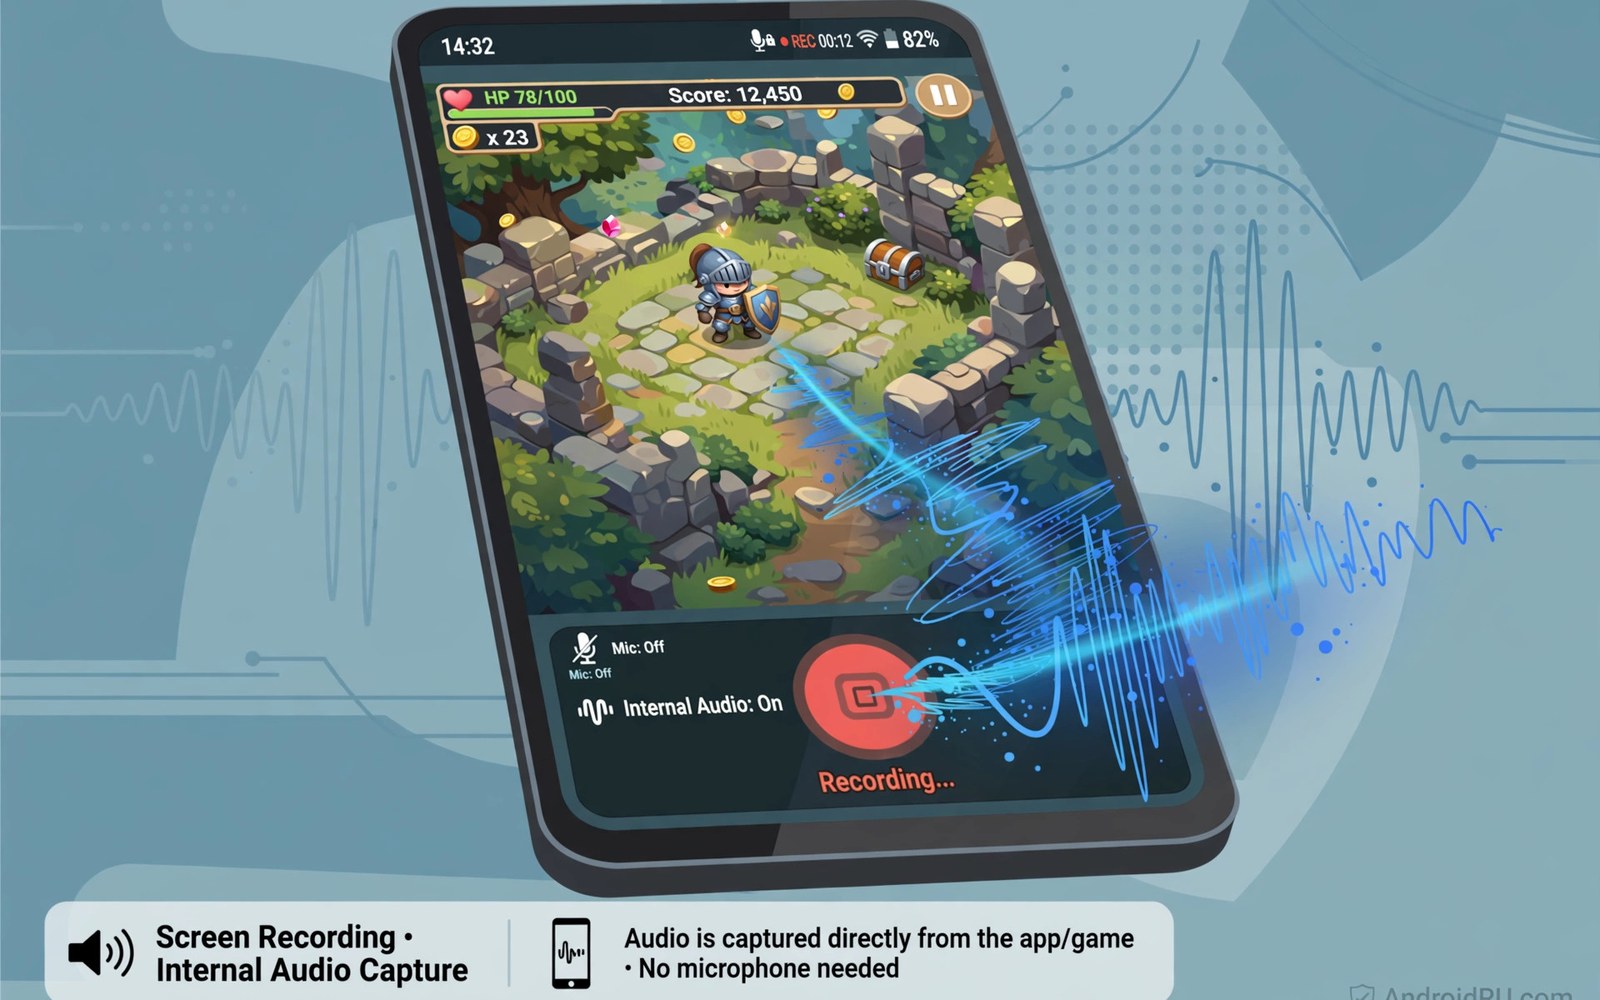
Screen recording apps capture what happens on your phone. Internal audio capture adds the app sound itself instead of room noise from a microphone. This guide explains how internal audio works on Android and which features separate a clean recording from a noisy one. This article covers screen recording apps in plain language for everyday Android users.
Internal audio became a system feature on modern Android. Apps can now capture app sound through an official path. Older phones needed root or workarounds. Knowing your Android version tells you which capture path your phone supports. If you plan to analyze recorded audio quality later then record a short test clip first and check levels before a long session.
How internal audio capture works
Internal audio capture taps the audio stream of an app or the whole device. The system mixes that stream into the recording. Microphone sound stays out unless you enable it. That separation is why internal capture sounds clean even in a noisy room.
Some apps block internal capture for rights reasons. Music and video apps may mute their stream during recording. That block is a rights protection and not a recorder bug. Test capture in each app you plan to record so you learn its policy early.
Resolution and frame rate choices
Record at the phone native resolution for sharp tutorials. Lower resolution saves storage for long gameplay sessions. Sixty frames per second looks smooth for games. Thirty frames per second is enough for menus and how to guides.
Higher settings cost storage and battery and heat. A ten minute 4K recording can exceed a gigabyte. Match settings to the purpose. Tutorial viewers care about clarity of text. Game viewers care about smooth motion. Pick one priority per recording.
Microphone mixing and commentary
Mixing microphone with internal audio suits tutorials and live commentary. Balance matters. Internal audio should sit under your voice and not over it. Test levels with a short clip and adjust before the real recording.
Record in a quiet room even with internal capture. Microphone picks up fans and keyboard clicks. A headset microphone cuts room noise well. Keep the microphone close and speak steadily. Good commentary audio lifts a tutorial more than higher video resolution does.
Editing and sharing after recording
Trim dead time from the start and end of every recording. Viewers leave fast when a tutorial opens with ten seconds of nothing. Cut mistakes with simple trims instead of re-recording the whole session. Small edits make recordings feel professional.
Export in a common format for easy sharing. MP4 works almost everywhere. Check file size before you upload on mobile data. Compress long recordings or split them into parts. A part series also helps viewers find the exact step they need.
Privacy rules before you hit record
Recordings capture notifications and messages that pop up mid session. Turn on do not disturb before you record. Hide sensitive widgets from the home screen. Review the clip before you share it publicly.
Never record banking or password screens. Never share a clip that shows private chats or codes. Pause recording when sensitive content appears. A quick privacy pass before sharing prevents leaks that cannot be undone.
Choosing bitrate for clear recordings
Bitrate sets video quality per second. Higher bitrate means sharper text and larger files. Tutorial text needs enough bitrate to stay readable. A bitrate too low blurs small text even at high resolution. Test text clarity at your chosen bitrate before a long tutorial.
Gameplay needs higher bitrate than menus due to fast motion. Fast motion compresses poorly at low bitrate. Raise bitrate for action games. Lower it for static how to guides. Matching bitrate to motion saves storage without visible loss.
Recording long sessions without failure
Long recordings fail from storage or heat or battery. Check free space for twice the expected file size. Plug in power for sessions over twenty minutes. Pause every half hour on hot days to let the phone cool. These habits prevent most long session failures.
Split very long recordings into parts. Parts protect against one corrupt file ruining everything. A failed part loses minutes. A failed single file loses hours. Parts also upload faster and edit easier. Professional creators split by topic as well as by time.
Capturing system UI and gestures clearly
Show touches on screen so viewers follow your taps. Most recorders offer a touch indicator dot. Enable it for tutorials. Viewers cannot guess taps without it. The dot costs nothing and clarifies every step.
Slow down gestures slightly during tutorials. Fast swipes blur on video and confuse viewers. Pause briefly after each major step. Narration during the pause explains what just happened. That rhythm turns a raw capture into a teachable guide.
Audio sync problems and fixes
Audio drift appears in long recordings when audio and video clocks diverge. Short clips rarely drift. Long clips may show lips or taps lagging sound. Re-encode with a fixed frame rate to correct mild drift. Split long sessions to limit drift scope.
Test sync with a clap or tap at the start of each recording. The visible tap and its sound should align on playback. If they misalign early then the recorder or device struggles. Switch recorder apps before recording important content. Early testing saves re-recording.
Legal and policy notes for recordings
Recording other people calls needs consent in many places. Recording app content may face copyright limits for public sharing. Private personal recordings face fewer limits. Public posting faces more. Check local rules before publishing call or media recordings.
Blur personal data in shared recordings always. Names and numbers and codes slip into captures easily. Review every shared clip frame by frame for sensitive info. A blur pass takes minutes and prevents leaks that last forever online.
Frame rate and resolution tradeoffs in detail
Resolution and frame rate compete for the same encoding budget. Raising both together explodes file size and heat. Choose one priority per recording purpose. Tutorials favor resolution since text clarity matters most. Games favor frame rate since motion smoothness matters most. Mixed content needs a middle setting for both.
Test your chosen combination with a one minute sample before long sessions. Play the sample on the target viewing device. Text that looks sharp on the phone may blur on a large monitor. Motion that looks smooth on the phone may stutter on a TV. Sample testing on real viewing hardware prevents wasted long recordings.
Storage planning for recording libraries
Recording libraries grow faster than most users expect. A weekly tutorial habit can generate tens of gigabytes monthly. Plan storage with a simple rule. Keep raw recordings for one month and finished edits permanently. Delete raw files after the edit publishes successfully.
Offload finished videos to cloud or computer storage monthly. Local phone storage suits active projects only. Archive completed work externally to keep the phone responsive. A monthly offload habit prevents the sudden full storage failure mid recording that ruins sessions.
Recording accessibility features
Accessibility features make recordings usable for wider audiences. Captions help viewers in noisy places and viewers with hearing loss. Touch indicators help viewers follow taps. Clear narration helps viewers who cannot see small screen details. These features cost little effort and expand audience greatly.
Add captions after recording using simple editing tools. Auto captions give a starting draft to correct. Correct names and technical terms manually since auto captions garble them often. A captioned tutorial reaches viewers that an uncaptioned one never will.
Comparing built in versus third party recorders
Built in recorders integrate cleanly with system audio paths. They usually capture internal audio reliably on modern phones. Third party recorders add editing and overlay features that built in tools lack. They may struggle with internal audio on some models due to permission limits.
Test both on your phone before committing to one workflow. Record the same game clip with each tool. Compare audio clarity and file size and heat. The winner varies by phone model and software version. Personal testing beats generic recommendations for recorder choice.
Recording in low light conditions
Low light recordings suffer from screen brightness shifts and noise. Lock brightness manually before recording in dark rooms. Auto brightness changes mid recording distract viewers and shift exposure visibly. A locked mid brightness gives steadier footage throughout the session.
Raise narration clarity in dark recordings since visuals carry less information. Speak steps aloud clearly when the screen is hard to see. Viewers forgive dim video when audio explains every action. Good narration rescues recordings that visuals alone cannot carry.
adb shell screenrecord --bit-rate 8000000 /sdcard/demo.mp4The command above follows the standard syntax for the Android developer bridge and records the device screen to a file so you can compare built in capture with recorder app output.
Common mistakes
The biggest mistake is recording with default settings for every purpose. Defaults may record at low resolution or without internal audio. Check audio source and resolution before each important session. One minute of setup saves a ruined recording.
Another mistake is forgetting do not disturb. A private message popping up mid tutorial ruins the clip and leaks personal info. Enable do not disturb and hide notifications before you press record every time.
People also record long sessions without checking storage. A full storage warning mid recording stops the capture and may corrupt the file. Check free space first. A remote storage check from a PC before a long session can confirm room without interrupting your setup.
Frequently asked questions
Does internal audio capture need root?
No on modern Android. The system offers an official audio capture path. Older Android versions needed root or workarounds. Update the phone first if internal capture is missing.
Why is some app audio silent in recordings?
Rights protection blocks capture in some media apps. The app mutes its stream during recording by design. Try a different app or use microphone capture as a fallback where allowed.
What resolution should I record tutorials in?
Native resolution at thirty frames per second suits most tutorials. Text stays sharp and files stay manageable. Use sixty frames only for fast games or smooth motion demos.
Conclusion
Screen recording with internal audio turns your phone into a tutorial studio. Choose the right audio source and resolution for each purpose. Guard privacy with do not disturb and a review pass before sharing.
Your next step is concrete. Record a one minute test clip with internal audio today. Play it back and check levels and clarity. Then calibrate display color and refresh settings so recordings show accurate colors and smooth motion.

