

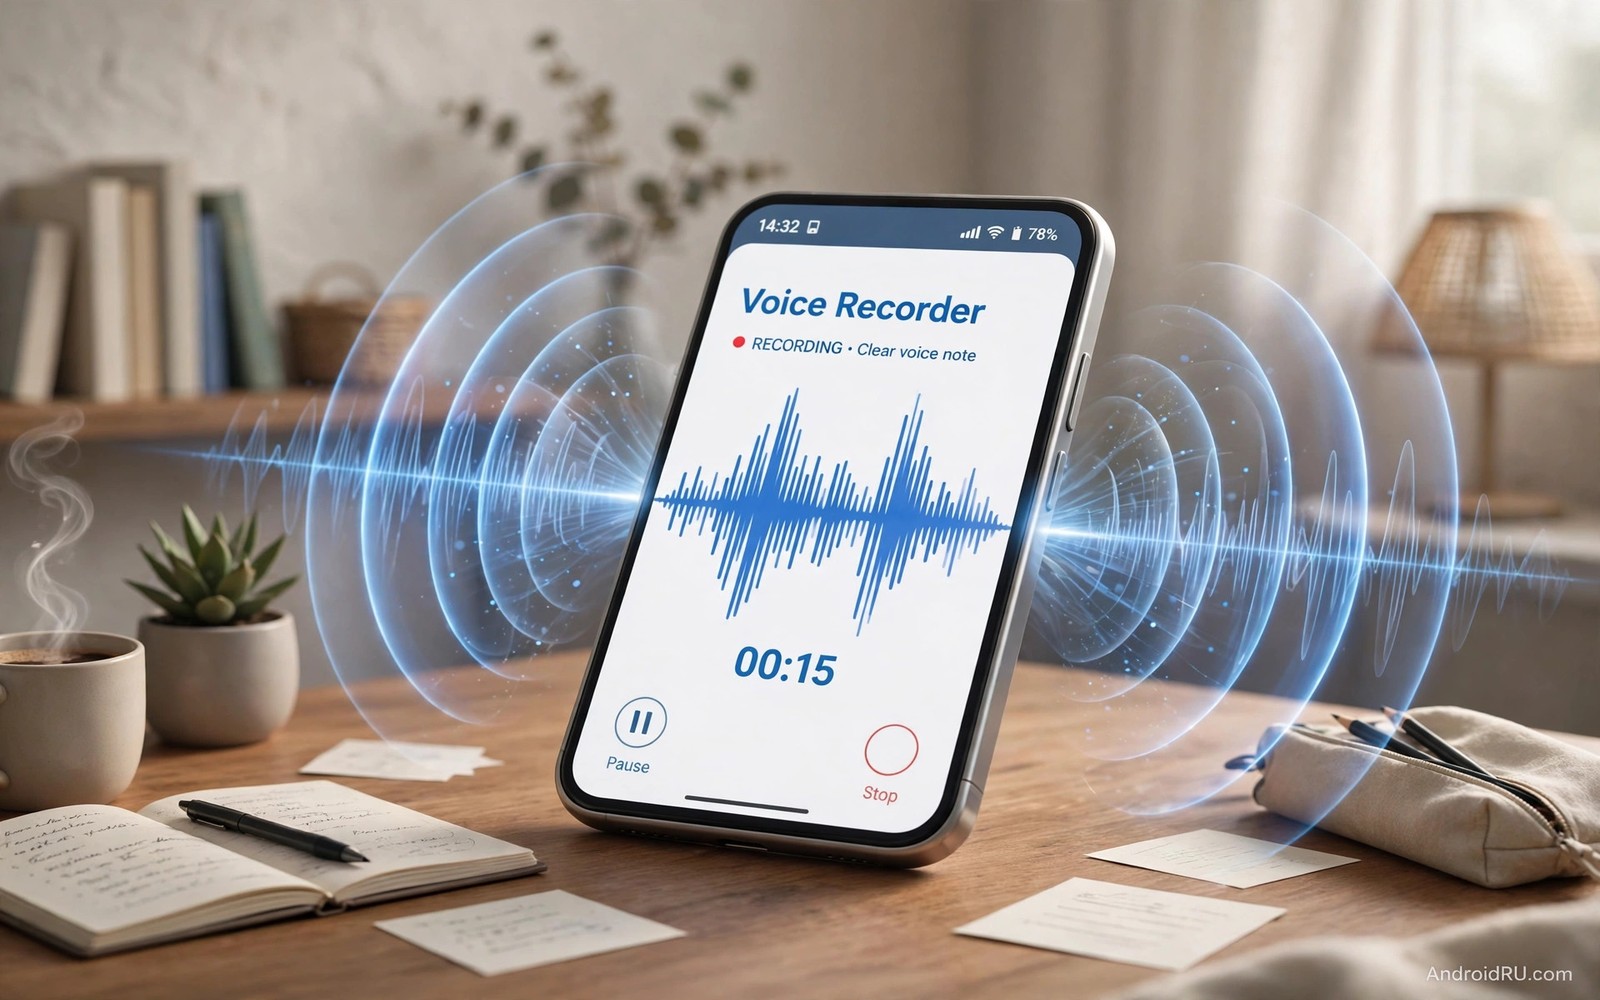
How to Record High-Fidelity Audio Notes Without Background Hiss
Background hiss ruins otherwise good voice notes. Hiss comes from electronic noise and room noise and gain that is set too high. A phone microphone amplifies everything around it. When the voice is quiet the phone raises the gain and hiss rises with it. When the voice is strong and close the gain stays low and hiss stays hidden.
High fidelity recording on a phone does not need studio gear. It needs a quiet room and a steady distance and a recording app that does not add heavy processing. Those three choices control most of the final quality. Expensive microphones help later yet they cannot fix a noisy room or a shaky hand, and I learned that the hard way after buying a mic before I fixed my room.
This guide gives a practical routine for notes and interviews and lectures. You will learn how to choose a room and place the phone, how to set gain and format, how to review a test clip before a long recording begins, and how to edit lightly without making the voice sound metallic. Follow the routine once and your next note will sound cleaner.
What High-Fidelity Audio Notes Mean on a Phone
High fidelity, in plain terms, means the recording sounds like the person in the room. The voice is full, the words are clear, the quiet pauses are quiet, and nothing buzzes, clips or warbles in the background. It does not mean a perfect studio sound. It means a faithful, listenable capture that you can share without apologising for it.
A phone can reach that standard for voice notes, because the human voice needs far less than music does. Speech lives mostly between about 100 Hz and 8,000 Hz, and a modern phone microphone covers that range easily when it is close enough and the room is calm. The weak link is almost never the microphone itself. It is distance, room echo, and gain.
Think of fidelity as a chain. The room feeds the microphone, the microphone feeds the gain stage, the gain feeds the format, and the format feeds the edit. A weak link anywhere in that chain limits the whole result. Fix the links in order, starting with the room, and you will hear the improvement at each step.
How hiss, echo and clipping each damage a voice note
Hiss is a steady, airy noise that sits under everything. It comes from the electronics and from the room, and it grows when gain grows. Echo is a hollow, distant sound caused by reflections off bare walls and floors. Clipping is a harsh, broken sound when the level hits the top of the meter and the peaks are cut off flat.
Each problem has a different fix, so naming the problem matters. Hiss needs a closer voice and lower gain. Echo needs soft furnishings and a smaller room. Clipping needs lower gain and a steadier distance. If you apply the wrong fix, the recording stays bad and you waste a session guessing.
Why a closer voice hides hiss better than any filter
Sound falls off quickly with distance, while electronic hiss stays constant. Move the voice closer and the voice gets louder relative to the hiss, so the gain can come down and the hiss falls with it. That ratio, voice against noise, is the single most useful idea in this whole guide. A filter can only guess what is hiss and what is voice. Distance changes the ratio before the recording even starts.
The 15 centimetre test that proves the point in ten seconds
Record the same sentence twice, once from an arm’s length away and once from about 15 centimetres. Listen to the pause after each sentence on headphones. The close take will have a quieter pause and a fuller voice, even though you spoke at the same volume. That ten-second test convinces most people faster than any explanation, and it is the test I run in every new room.
Choose a Room That Helps the Microphone Record Clean Audio
A small room with soft furnishings gives the cleanest phone recording. Curtains and carpets and bookshelves absorb reflections. A large empty room adds echo that makes speech sound distant. A room near a busy road adds a constant low rumble that is hard to remove later, so a quiet side of the building beats a pretty view.
Close windows and doors before you start. Turn off fans and air conditioning if the recording is short. Those devices add a steady hiss that the ear notices during quiet pauses. A short comfortable recording in a warm room beats a long recording full of fan noise, and a five-minute break to cool the room is cheaper than an hour of editing later.
Place the phone on a stable surface rather than holding it. A table or a stack of books keeps the distance steady. Holding the phone invites handling noise from fingers and clothing. If you must hold it, grip it firmly and avoid shifting your hand during speech, because even a small shift changes the distance and the tone.
Soft furnishings, curtains and bookshelves that tame echo
Echo lives on hard, flat surfaces. A bare wall opposite another bare wall bounces sound back and forth and makes a voice sound like it was recorded in a bathroom. Hang a curtain, pull a rug onto the floor, or sit near a full bookshelf, and the reflections fall away. You do not need acoustic foam. A bedroom with a bed, curtains and clothes in a wardrobe is often the best recording room in a house.
Test a room by clapping once and listening. A sharp, ringing clap means a live room that will add echo. A dull, short clap means a dead room that will record cleanly. That clap test takes two seconds and it tells you more than a long guess about which room to use.
Finding the quiet corner away from fans, traffic and fridges
Walk the room with the recorder running and listen back. The fridge hums in the kitchen corner, the fan whirs near the window, and the traffic rumbles on the street side. The quiet corner is often the one furthest from all three, with your back to a soft surface. I found my best corner by recording thirty seconds in each corner and comparing the pauses. The winner was not the corner I expected.
Scout the room for five minutes before the speaker arrives
Visit the recording location early when possible. Listen for fans and traffic and echo before the speaker arrives. A five-minute scout reveals noise sources that are easy to miss during a busy session. Early scouting gives you time to move furniture, close a door, or pick a different corner, and it saves the embarrassment of discovering the noise after the speaker has left.
Set Distance and Gain With a Test Clip for Low-Noise Recording
Speak at a natural volume from about fifteen centimetres away. That distance gives a full voice without harsh pops. Closer recording adds bass boom and breath noise. Farther recording adds room echo and forces the gain higher, which raises hiss. Fifteen centimetres is a hand span, so you can measure it without a ruler.
Record a ten second test clip before the real note. Speak a normal sentence and then pause for two seconds. Listen to the pause on headphones. The pause reveals hiss and room noise that speech can hide. If the pause sounds noisy, move closer or choose a quieter corner, and test again. Never start a long interview without that test.
Set the recording gain manually if the app allows it. Aim for peaks that reach about three quarters of the meter without hitting the top. Peaks at the top cause harsh clipping. Peaks at the bottom force later amplification, which raises hiss. A steady middle level is the safest target, and it leaves room for a laugh or a loud word without clipping.
Manual gain, automatic gain and the three-quarter peak target
Automatic gain can pump the level up during pauses and create audible hiss swells, where the noise rises and falls with the speech. Manual gain with a steady distance gives a more natural result, because the level stays put. Use automatic gain only for unpredictable speakers who move a lot, and even then, keep the distance as steady as you can.
Watch the meter during the test clip, not just during the real recording. The meter should dance in the upper middle, touching three quarters on loud words and falling back on quiet ones. If it sits near the bottom, move closer. If it hits the red, turn the gain down one step and test again. One step at a time is the rule.
Why the two-second pause in your test clip matters most
Speech hides noise. A loud voice covers hiss, echo and fan hum while it is speaking, and the problems only show in the gaps. That is why the pause is the honest part of the test. Listen to the pause at a normal volume, not turned up to maximum, and judge whether it sounds like a quiet room or like a faint radio tuned between stations. If the pause is clean, the recording will be clean.
What to change first if the pause sounds noisy
Change distance first, because it is free and it works fastest. Move from an arm’s length to fifteen centimetres and test again. If the pause is still noisy, change the room corner next. Only after those two steps should you touch gain or a filter, because a filter is a repair, while distance and room are prevention.
Choose the Right Format and App for High-Fidelity Voice Notes
Use a lossless or high bitrate format for important notes. A WAV file preserves detail and it avoids compression artefacts. A high bitrate AAC file is a good compromise for long lectures because it saves space while keeping voice clear. Avoid low bitrate voice formats for music or detailed interviews, because they throw away the very detail that makes a voice sound natural.
Choose a recording app with a simple interface and manual gain control. Avoid apps that add automatic noise gates that cut quiet speech. A gate that is too aggressive can clip the start of words, so the first syllable of a sentence goes missing. A clean raw recording is easier to edit than an over-processed one, and you can always add gentle processing later.
Check free space before a long session. A lossless hour can use several hundred megabytes. Free space prevents a recording from stopping mid-sentence. A set of hacks for microphone sound quality on calls covers similar placement and gain ideas for live conversations, and the same habits carry over to recording.
WAV vs high-bitrate AAC vs low-bitrate voice formats
WAV is uncompressed, so it keeps everything the microphone captured, at the cost of large files. High-bitrate AAC, at 192 kbps or above, keeps voice sounding natural while cutting file size sharply, which suits lectures and long interviews. Low-bitrate formats, often below 64 kbps, save space but can make consonants sound smeared and room noise sound worse. For a note you will keep, choose WAV or high-bitrate AAC. For a quick memo you will delete tomorrow, a smaller format is fine.
Sample rate matters less than most people think for voice. A 44.1 kHz or 48 kHz sample rate covers speech fully, and a higher rate will not make a noisy room sound better. Spend your attention on distance and gain, not on chasing a higher number in the settings menu.
Recording apps with manual gain, meters and no heavy processing
Look for three features in a recording app: a visible level meter, manual gain, and a choice of WAV or high-bitrate AAC. A fourth useful feature is a simple file list with clear names and dates. Skip apps that promise automatic studio sound with one tap, because that processing often adds the metallic artefacts you are trying to avoid. The best app is the one that gets out of the way and records what the microphone hears.
Check sample rate, bitrate and free space before a long session
Open the app settings, confirm WAV or high-bitrate AAC, confirm the sample rate is 44.1 kHz or 48 kHz, and check free space on the phone. A one-minute test recording tells you the file size per minute, so you can multiply by the length of your session and confirm you have room. That two-minute check prevents a recording from stopping in the middle of the most important sentence.
Handle Wind, Handling Noise and Outdoor Recording Without Hiss
Outdoor recording needs wind protection. A simple foam cover over the microphone can reduce wind rumble greatly. Shield the phone with your body when wind comes from one direction. Record with your back to the wind when possible, so your body blocks the gusts before they reach the microphone.
Keep the phone still during outdoor notes. Walking while recording adds footstep thumps and clothing rustle. Stop for important sentences and then continue walking. That habit gives you clean segments that are easy to find later, and it is far better than a continuous take full of thumps.
Accept that outdoor recordings will never match an indoor room. The goal outdoors is intelligible speech rather than studio silence. A clear voice with light wind noise is a success. Chasing perfect silence outdoors wastes time and misses the content, and the content is the reason you are recording.
Foam covers, body shielding and stopping to speak clearly
A foam wind cover costs little and it works by breaking up the air before it hits the microphone. Without it, even a light breeze sounds like a roar. With it, the same breeze becomes a soft background. If you have no foam cover, cup your hand around the phone without covering the microphone hole, and turn so the wind hits your back. Both tricks help, and the foam cover helps more.
When you stop to speak, plant your feet, hold the phone steady at fifteen centimetres, and say the sentence in one breath. Then walk on. That stop-start rhythm feels odd at first, yet the recording will sound far cleaner, and you will spend less time editing later.
Prepare the Speaker and the Script Before You Press Record
A prepared speaker records cleaner notes than an unprepared speaker. Read the key points once before pressing record. A short pause to gather thoughts beats a long rambling take full of corrections. Preparation also keeps the voice steady, because the speaker is not searching for words mid-sentence.
Drink water before a long recording session. A dry throat creates clicks and throat clearing that distract from content. A small sip between sections keeps the voice smooth. Avoid noisy snacks during recording, because chewing sounds carry clearly through a phone microphone.
Place a short written outline beside the phone. Glance at it between points rather than during speech. Paper rustle near the microphone can ruin a sentence. Keep the outline flat and still while you speak, and turn pages slowly between sections, never while someone is talking.
Warm-up, water and a flat outline beside the phone
Read the first sentence aloud once before you record it for real. That warm-up loosens the voice and it reveals any awkward phrasing in the outline. Take a sip of water, check the distance one last time, and then press record. That thirty-second ritual prevents most of the false starts that fill up a recording with wasted takes.
Edit Lightly, Keep the Original and Review on Headphones
Light editing preserves the natural voice better than heavy processing. Trim long pauses at the start and end. Apply only a gentle noise reduction if the room was not perfect. Save the edited file under a new name and keep the original untouched. That backup protects you if an edit goes wrong, and it costs nothing but a little space.
Listen to the edited file fully before sharing it. An edit can accidentally cut a word or create a jump in tone. A full listen catches those errors while the speaker is still available for a retake. A quick skim of the waveform is not a substitute for listening, because the waveform cannot tell you whether a word was cut in half.
For live voice work, read about five hacks that improve microphone sound quality on calls and about custom tuning sound profiles for your ears. Those guides share placement and listening habits that help recorded and live voice alike, and the listening test on headphones is the same in both cases.
Gentle noise reduction, trimming and saving a backup copy
Apply noise reduction in small steps. A light pass that takes the edge off the hiss is enough. A heavy pass makes voices sound metallic and unnatural, with a bubbling sound under the words. If you can hear the processing, you have used too much. Undo it, go lighter, and accept a faint hiss rather than a robotic voice.
Trim the start and end first, then remove only the long pauses in the middle that add nothing. Leave natural breathing pauses alone, because removing every pause makes the speaker sound rushed and nervous. Save the edited copy with a new name, keep the original, and write the date and topic in the file name.
Review and name the recording at once, while the details are fresh
Listen to the first minute on headphones right after recording. Check for hiss and clipping and missing words. A quick review catches a bad gain setting before the speaker leaves. Name the file with a date and a topic in plain words, and add a short note about the room and the distance if the recording was important. Those notes help you repeat a good setup in future sessions.
Record in Different Environments With a Plan, Not by Luck
Each recording environment needs a different plan. A quiet office needs only steady distance and a stable surface. A busy hall needs a closer microphone and a quieter corner. A car needs a parked position and closed windows. Planning for the environment prevents a wasted session, and a one-line plan written before you leave is enough.
Label recordings immediately after each session. A clear date and topic name prevents confusion later. Unlabelled files pile up and become hard to find. A minute of labelling after recording saves an hour of searching later, and it is the habit that separates people who can find their notes from people who record the same thing twice.
Bring a small backup recorder or a second phone when the recording matters. A backup protects against a full storage card or a dead battery. A second device running in parallel costs little effort and it can save an irreplaceable interview. Redundancy is professional practice for important content, not paranoia.
For clean gameplay recording without microphone noise, read about capturing clean internal game audio without mic noise. That guide uses internal capture to keep game sound pure. Its test clip habit also works for voice recording, and the idea of separating the sound you want from the sound you do not want applies in both cases.
Office, hall, car and classroom: a plan for each setting
In an office, pick the smallest quiet room, close the door, and put the phone on the table. In a hall, sit in a corner away from the door, move the phone closer than usual, and accept a little more room sound. In a car, park, turn the engine off, close the windows, and record before the cabin heats up. In a classroom, sit near the speaker, test the distance with the ten-second clip, and ask the speaker to stay near the phone if they move around.
Each plan is short, yet each one changes the result. The mistake is using the same setup everywhere and hoping the room will cooperate. Rooms do not cooperate. You have to meet each room on its own terms.
Common Mistakes That Add Hiss to Voice Notes
The most common mistake is recording from too far away. A phone on the far side of a table picks up more room than voice. The gain rises to compensate and hiss rises with it. Move the phone closer and the voice will dominate the noise without any extra processing.
Another mistake is trusting automatic gain completely. Automatic gain can pump the level up during pauses and create audible hiss swells. Manual gain with a steady distance gives a more natural result. Use automatic gain only for unpredictable speakers who move a lot.
People also record in a pocket or a bag by accident. A covered microphone sounds muffled and it forces the gain high. Check that the microphone holes are clear before you press record. A quick visual check prevents a wasted session, and it takes two seconds.
Other mistakes include recording next to a fan, holding the phone in a shaky hand, and using a low-bitrate format for an important interview. Each one is easy to avoid once you know it exists. Run through the list before a long session, and tick each item off in your head.
The three mistakes to check before every important recording
First, check distance: is the phone about fifteen centimetres from the speaker? Second, check the pause: does the test clip pause sound quiet? Third, check the format: are you on WAV or high-bitrate AAC with enough free space? If all three are right, most other problems will be small. If any one is wrong, fix it before you press record for real.
Frequently Asked Questions About Recording High-Fidelity Audio Notes
Why do my recordings hiss even in a quiet room?
Electronic hiss rises when gain is high and the voice is quiet. Move closer and speak at a natural strong volume. That change lowers the relative hiss without any filter. A quiet room alone cannot fix a distant voice, so distance is the first fix, not a new app or a new microphone.
Should I use a noise reduction filter on my voice notes?
A light noise reduction filter can help a finished recording. A heavy filter can make voices sound metallic and unnatural. Record clean first and apply only light reduction later. Heavy filtering cannot rescue a badly placed recording, and it often makes a mediocre recording sound worse.
Does a wired headset record better than the phone microphone?
A wired headset can reduce handling noise and keep distance steady. It can also add cable rustle if the cable moves. Test both options with the same sentence and keep the one that sounds cleaner for your use. The best option depends on the room and the task, so a quick A-B test beats a long debate.
What format should I use for a lecture that lasts two hours?
Use high-bitrate AAC for a long lecture, because a two-hour WAV file is very large and a low-bitrate format will smear the consonants. Check free space first, test the first minute, and bring a backup recorder if the lecture cannot be repeated. That combination gives you clear audio without filling the phone.
Can I fix a hissy recording after I have already recorded it?
You can reduce hiss a little with gentle noise reduction, yet you cannot remove it fully without damaging the voice. The hiss and the voice share the same frequencies, so a filter that kills the hiss also dulls the voice. The honest answer is to re-record if the content matters, and to use the test clip routine next time so you never need the repair.
Your Next Step to Cleaner Audio Notes Today
Clean voice notes come from a quiet room and a steady distance and a sensible gain level. Choose soft furnishings and a stable surface. Record a test clip and listen to the pause. Use a high quality format for important content. Those four habits, repeated every time, will change your recordings more than any new microphone will.
Your concrete next step is to record a ten second test clip today in your usual room and listen to the two second pause on headphones. If hiss dominates the pause, move fifteen centimetres closer and test again. For live voice clarity, continue with five hacks that improve microphone sound quality on phone calls. One test clip today is worth more than a new app tomorrow.

