

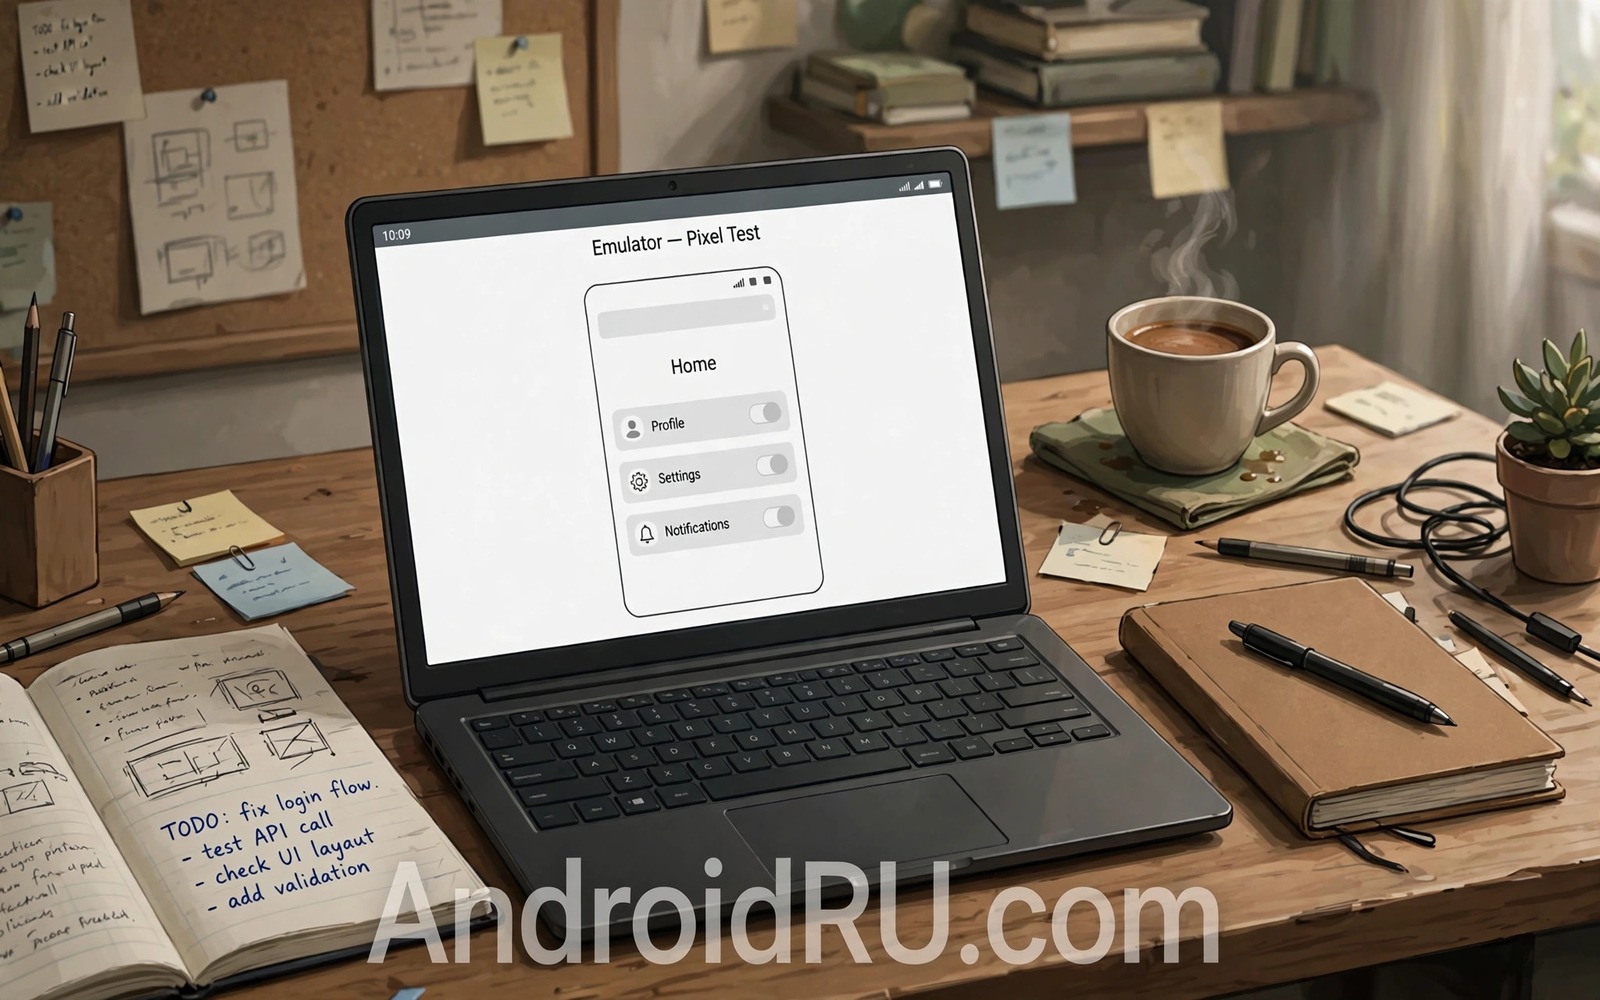
An emulator lets you test an Android app without a physical phone in your hand. It runs a virtual device on your computer with its own screen and storage. You can test different screen sizes and Android versions from one machine. This guide shows a setup that starts fast and stays reliable for daily testing.
Start by checking your computer hardware before you create a device. Emulator speed depends on processor support for virtualisation and on available memory. Enable virtualisation in your computer firmware if it is off. Give the emulator enough memory without starving your development tools. A balanced setup runs the emulator and the editor together without lag.
Create one virtual device first and test it fully before you add more devices. A single working device teaches you the controls and the limits. Add more device profiles only when a test needs a different screen or version. A small set of well chosen devices beats a large set of unused profiles.
Install And Prepare Android Studio
Install Android Studio with the emulator component included. Open the device manager after installation and check that the emulator tools are present. Download a system image for the Android version that you target. Choose a system image with Google APIs when your app needs location or maps in tests. Choose a plain image when you want a clean system without extra services.
Update the emulator tools when an update fixes a bug that affects your tests. Avoid updating in the middle of a release test because a new tool version can change behaviour. Update between test cycles and re-run a basic app after the update. A short smoke test after an update prevents surprises during important work.
- Enable hardware virtualisation in firmware settings
- Install the emulator component with Android Studio
- Download one system image for your target version
- Create one virtual device and test it fully first
- Keep a snapshot for a fast clean start state
Create A Device Profile That Matches Real Users
Choose a device profile that matches the phones your users actually use. A mid-range profile with a common screen size gives realistic results. A flagship profile can hide performance problems that appear on slower phones. A low memory profile can reveal crashes that a fast device hides. Test on a mix that reflects your real audience.
Set the screen size and density to match the profile that you chose. Set the memory size to a realistic value for that device class. Add an SD card image only when your app uses external storage. Keep other settings at defaults until a test needs a change. Defaults reduce the chance of a strange emulator behaviour that does not exist on real phones.
Device choice also matters for signature and permission work covered in the material on manifest permissions and Play rejections. A device profile with the right Android version shows permission behaviour accurately. Test permission flows on the oldest version that you support and on the newest version that you target. That range catches most permission differences.
Use Snapshots And Fast Boot
Snapshots save the full state of a virtual device. A snapshot lets you return to a clean state in seconds. Create a snapshot after you install test data and set up test accounts. Use that snapshot as the starting point for each test run. A consistent start state makes test results comparable across days.
Fast boot resumes the emulator from a saved state instead of a full boot. It saves minutes on every test cycle. Keep fast boot enabled for daily work and use a cold boot when you need a truly clean system. A cold boot clears temporary state that fast boot preserves. Use cold boot before a final release test to avoid a hidden state effect.
Test App Installs And Debugging
Install your app from Android Studio with one click and watch the log output. The log shows install errors and runtime warnings in real time. Filter the log by your app package name to remove noise. Save the filtered log when a test fails so you can study it later. A saved log is more useful than a memory of an error message.
Use breakpoints to pause code at key points during a test. A breakpoint lets you inspect variable values before the code moves on. Step through a failing method slowly and note the first value that looks wrong. That value often points to the real cause. Avoid adding many breakpoints at once because they slow the test and hide the flow.
Test Network And Location Features
Emulator network settings let you test slow connections and offline states. Throttle the network to a slow speed and watch how the app handles a delayed response. Test the offline state by cutting network access and then restoring it. An app that handles these states gracefully feels reliable to users on real networks.
Location testing uses a virtual location that you set in the emulator controls. Set a location and confirm that the app reads it correctly. Move the location along a route when you test a tracking feature. Test a missing location permission separately to confirm that the app shows a clear message. Location tests on an emulator save travel time and they are repeatable.
Handle Performance Limits Honestly
An emulator runs slower than a real phone for some tasks. Graphics and sensor tasks may behave differently on virtual hardware. Do not trust emulator frame rates as final proof of performance. Use the emulator for logic and layout tests. Use a real phone for final performance and battery tests before release.
Watch computer resource use while the emulator runs. Close heavy apps that compete for memory during a test. A test that fails because the computer ran out of memory is not a real app failure. Keep the test environment stable so failures point to app code rather than to the machine.
emulator_device = Pixel_8
android_version = 14
memory_mb = 2048
snapshot = clean_test_state
The snippet above is an original example written for this guide. It shows generic settings that you can adapt to your own virtual device. It does not copy code from any outside source.
Replace the device name and version with values that match your target users. Keep memory at a realistic level for the device class that you test. Save the snapshot name in your test notes so teammates can use the same start state.
Share Emulator Setups With Teammates
A shared emulator setup saves time when a team tests the same app. Export the device profile and the snapshot name so a teammate can recreate the same virtual device. A shared profile ensures that test results mean the same thing for every tester. A tester who uses a different screen size may report a layout problem that no one else can reproduce. A shared setup removes that confusion and it makes bug reports comparable across the team.
Document the emulator settings that matter for your app. A document should list the Android version and the screen size and the memory setting and the snapshot name. It should also list any special settings such as a custom location or a throttled network. A teammate who follows the document should reach the same test state in minutes. Test the document by asking a new teammate to set up the emulator from it alone. A document that works for a new teammate is a good document.
Update shared setups when the target audience changes. A new popular device may deserve a new profile. An old device that users abandon can leave the set. Review the device set each quarter and compare it with real user data. A device set that matches real users gives test results that predict real behaviour. A stale device set gives false confidence. Regular review keeps the emulator fleet useful.
Shared setups also help during incident triage when a bug appears only on one device type. A team that shares profiles can reproduce the bug on the same virtual device quickly. A team without shared profiles may waste time arguing about device differences. Reproduction on a shared profile focuses the discussion on app code rather than on setup differences. That focus speeds up fixes.
Common Mistakes
A common mistake is creating many virtual devices before testing one fully. Many devices consume disk space and update time. Start with one device and add profiles only for a real test need. A focused device set is easier to maintain.
Another mistake is testing only on a flagship profile. Flagship profiles hide lag and memory problems. Add a mid-range or low-end profile to your routine. Real users include slower phones and your app should work well on them too.
Some developers also trust emulator performance as final proof. Emulator graphics and sensors differ from real hardware. Use the emulator for logic tests and use a real phone for final performance checks. A mixed approach gives honest results.
Finally do not leave a proxy or a test certificate on an emulator that you share. Shared emulator images can carry test settings into other work. Reset shared images to a clean snapshot after testing. A clean shared image prevents confusion for the next tester.
Frequently Asked Questions
Can an emulator replace a real phone for testing?
An emulator replaces a real phone for logic and layout tests. It does not fully replace a real phone for performance and sensor tests. Use both tools for a complete test plan.
Why is my emulator slow?
Slow emulators often lack hardware virtualisation or enough memory. Enable virtualisation and close heavy apps on the computer. Choose a system image that matches your computer processor type.
Should I use snapshots for every test?
Snapshots help when you need a repeatable start state. Use a clean snapshot for most tests. Use a cold boot before a final release test to clear hidden state.
Conclusion
A good emulator setup starts fast and gives repeatable results. Create one realistic device profile and use snapshots for a clean start state. Test logic on the emulator and test performance on a real phone. Your concrete next step is to create one virtual device today and run your app through a full user flow on it. Record any failure in a saved log and fix it before you add a second device profile. For follow-up work you can study dynamic code injection with Frida and securing mobile app credentials and decompiling Smali back to Java as next steps.

