

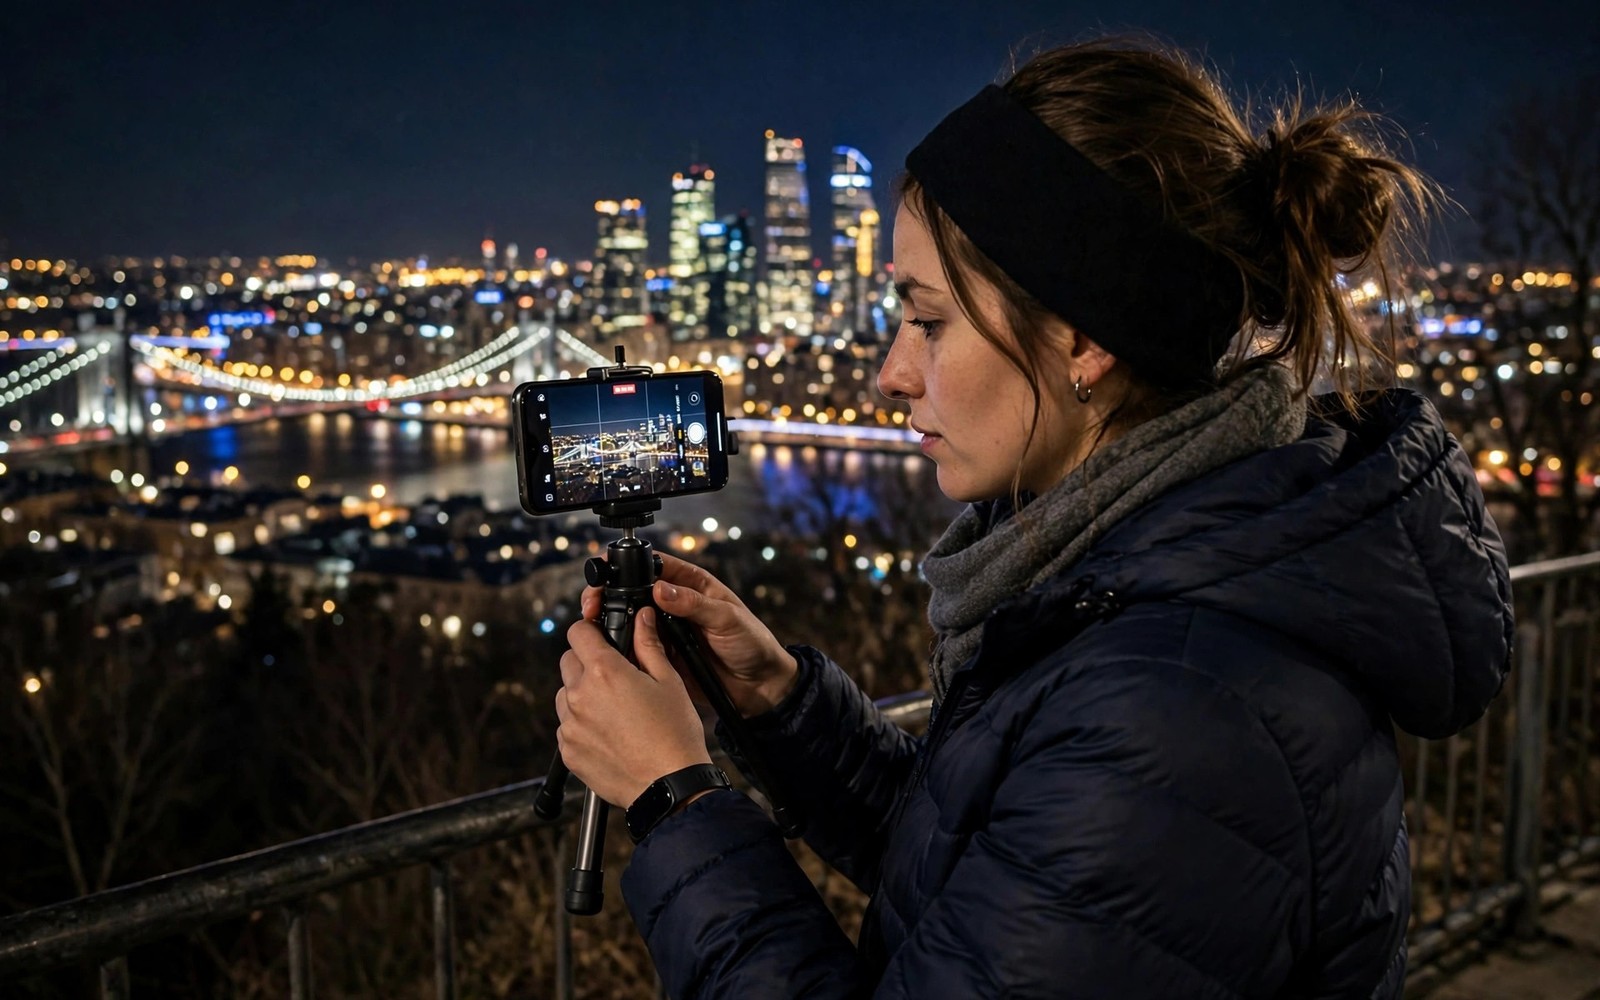
Night photos fail for a simple reason that has nothing to do with how expensive your phone was. Darkness forces the camera to keep the shutter open longer and any tiny hand movement during that longer window smears light across the sensor. The phone then tries to rescue the soft frame with heavy noise reduction and the result looks mushy and flat. Fix the stability and the exposure first and most night blur disappears without new hardware.
The setting fix in this guide centres on night mode and manual focus lock and a steadier shooting posture used together. Night mode alone helps but it cannot save a shot taken with a shaking hand in very dark light. A locked focus point stops the camera hunting in the dark and a braced body gives the long exposure a fair chance. Readers who want stronger night tools can also explore night sight tricks that replace harsh flash because flash often makes night scenes worse.
Start by testing your phone in a familiar dark place before you need it for a real event. Shoot the same street scene with normal mode and with night mode and compare them on a larger screen the next morning. That comparison teaches you how long your phone needs for a clean night frame and it shows whether your usual grip is steady enough. Knowledge from a calm test beats guesswork during a birthday dinner or a night market walk.
Turn on night mode the right way
Night mode works by capturing several frames and merging them into one brighter image with less noise. It needs stillness because the merge assumes the scene barely moved between frames. Hold the phone steady for the full countdown and keep holding it for a second after the shutter sound because some phones keep capturing after the first click. Watch the on screen progress ring and do not lower the phone early.
Night mode also needs a focus target with some contrast such as a lit sign or a face near a lamp. Tap that target to lock focus before you start the capture and avoid tapping a pure black area where the camera cannot find an edge. If the scene is almost pitch dark then shine a brief light on the subject to help focus lock and then turn the light off before capture. That trick gives the camera an anchor without flooding the final frame with harsh light.
Choose the night mode strength that matches the scene rather than always picking the maximum setting. Maximum processing can turn a moody street into a daylight fake with grey skies and plastic skin. A moderate setting keeps shadows dark and keeps lights warm and keeps the photo believable. Test both strengths on the same scene and keep the version that still feels like night.
Stabilise your body and the phone
Your body is the tripod when no tripod is available and small habits make a large difference. Stand with feet shoulder width apart and tuck elbows tight against your ribs and hold the phone with both hands. Lean your back or shoulder against a wall or a pole when one stands nearby. Press the shutter with the volume button so your thumb does not reach across the screen and disturb the grip.
A bag or a jacket or a railing can become a rest for the phone in seconds. Set the phone on the rest and use the self timer so your finger never touches the phone during capture. Even a two second timer removes the shake from the initial tap and that removal matters most during long night exposures. Carry a tiny phone tripod in a coat pocket if you shoot at night often because it pays for itself on the first clear night portrait.
Wear a strap or use a grip case when you shoot at night because a secure hold lets you relax your fingers instead of clutching the phone. A relaxed grip shakes less than a tense grip and it lets you hold the phone still through a longer exposure. Test different cases at home and keep the one that feels secure without adding bulk that makes the shutter hard to reach.
Breathing control also helps because a deep breath moves the chest and the arms with it. Breathe out gently and pause naturally and shoot during that still pause rather than holding a forced breath. Forced breath holding creates tremor after a few seconds and that tremor blurs exactly when the shutter stays open longest. Relaxed stillness beats tense rigidity every time in low light.
Fix focus hunting in the dark
Autofocus hunts at night because it searches for contrast that darkness hides. Manual focus lock gives you control when the camera keeps pulsing in and out. Tap and hold the subject until the lock icon appears and then start night mode without moving the phone. If your camera app offers a manual focus slider then drag it slowly until the subject looks sharpest on screen and leave it there for the whole set.
Use a small flashlight or a phone screen at low brightness as a focus aid when the scene offers no contrast at all. Hold the light near the subject for a second while focus locks and then remove it before capture. That brief aid often makes the difference between a hunting lens and a confident lock. Never leave the aid light on during capture because it flattens the night mood you wanted to keep.
Distance matters for focus because a subject too close in the dark confuses many phone cameras. Step back a little and let the camera find a larger target and then crop later if needed. A slightly wider sharp photo beats a close blurry photo every time. For people portraits ask the subject to stand near a light source so the face carries enough contrast for a reliable lock.
adb shell settings get system camera_night_mode_enabled
adb shell dumpsys media.camera | grep -i exposure
adb shell input keyevent 27
The commands above follow the standard Android developer workflow for checking camera settings and triggering the shutter from a computer. Credit for this method belongs to the wider Android developer community that documents these utilities for everyday night camera testing.
Control exposure and light sources
Bright lights in a night frame fool the meter into darkening everything else into mud. Tap a mid tone area such as a lit wall or a jacket under a lamp rather than tapping the brightest bulb. Drag exposure down a little if lights bloom into white blobs and let the darker areas stay dark. A night photo needs shadows to feel like night and a fully lifted image looks artificial.
Move yourself to change the angle of harsh lights instead of accepting glare head on. A step sideways can move a street lamp out of the frame or turn it into a pleasing starburst at the edge. Shield the lens with your hand when a stray light hits the glass from the side because that flare washes out contrast. Clean the lens before night shooting because fingerprints scatter light and create haze that looks like blur.
Check the histogram or the exposure warning in your camera app when the phone offers one because the screen brightness at night misleads your eyes. A screen set to full brightness makes a dark photo look brighter than it really is. Lower screen brightness during review or trust the exposure meter instead of the preview glow.
Use available light creatively by placing subjects near shop windows and neon signs and warm lamps. Those sources give faces shape and colour that overhead street lights rarely provide. Avoid mixing too many colour temperatures in one frame because the phone white balance struggles when warm and cool lights compete. One dominant light source usually produces the cleanest night portrait.
Common mistakes
The biggest mistake is using flash as a cure for night blur because flash freezes only nearby subjects and leaves backgrounds pitch black. Flash also creates harsh shadows and red eye and shiny skin that ruin mood. Turn flash off for street scenes and landscapes and rely on night mode and steady hands instead. Flash still helps for a close document or a face in total darkness but it should stay off by default at night.
Another mistake is shooting with dirty glass because night light exposes every smudge as a halo around lamps. Wipe the lens with a soft cloth before every night session and check the glass by angling it toward a light. A clean lens alone can transform hazy night shots into crisp ones without changing any setting.
People also review night shots only on the small phone screen and miss soft focus until it is too late. Zoom into eyes and sign text on screen right after capture and reshoot while the scene still exists. That thirty second check saves disappointment the next morning when the moment cannot be repeated.
Frequently asked questions
Why does night mode take so long?
Night mode captures multiple frames over several seconds so it can merge them into a brighter cleaner image. Movement during that window causes blur so stillness matters more than speed in this mode.
Does a tripod guarantee sharp night photos?
A tripod removes hand shake but moving subjects can still blur during a long exposure. Use a tripod for still scenes and ask people to hold still for portraits in very low light.
Should I raise ISO instead of using night mode?
High ISO brightens a single frame but adds grain and colour noise that night mode avoids by merging frames. Night mode usually gives cleaner results on modern phones.
Conclusion
Sharp night photos come from night mode used patiently and focus locked deliberately and hands steadied properly. Clean the lens and find a rest and let the phone finish its capture before you move. Those habits turn most blurry night attempts into keepers without spending money.
Keep a night test album on your phone so you can track which settings worked in rain and in clear air and in mixed neon light. That album becomes a quick reference before an important night event. Review it for two minutes before you leave home and you will arrive with a plan instead of a guess.
Your concrete next step is to shoot the same night street scene tonight with night mode and a braced posture and a locked focus point. Compare it with your old method tomorrow morning and keep the new method if the signs read sharper. Readers building a full night kit will enjoy turning a cheap sensor into a night vision camera and camera hacks that upgrade everyday mobile photos as natural follow-ups.

