

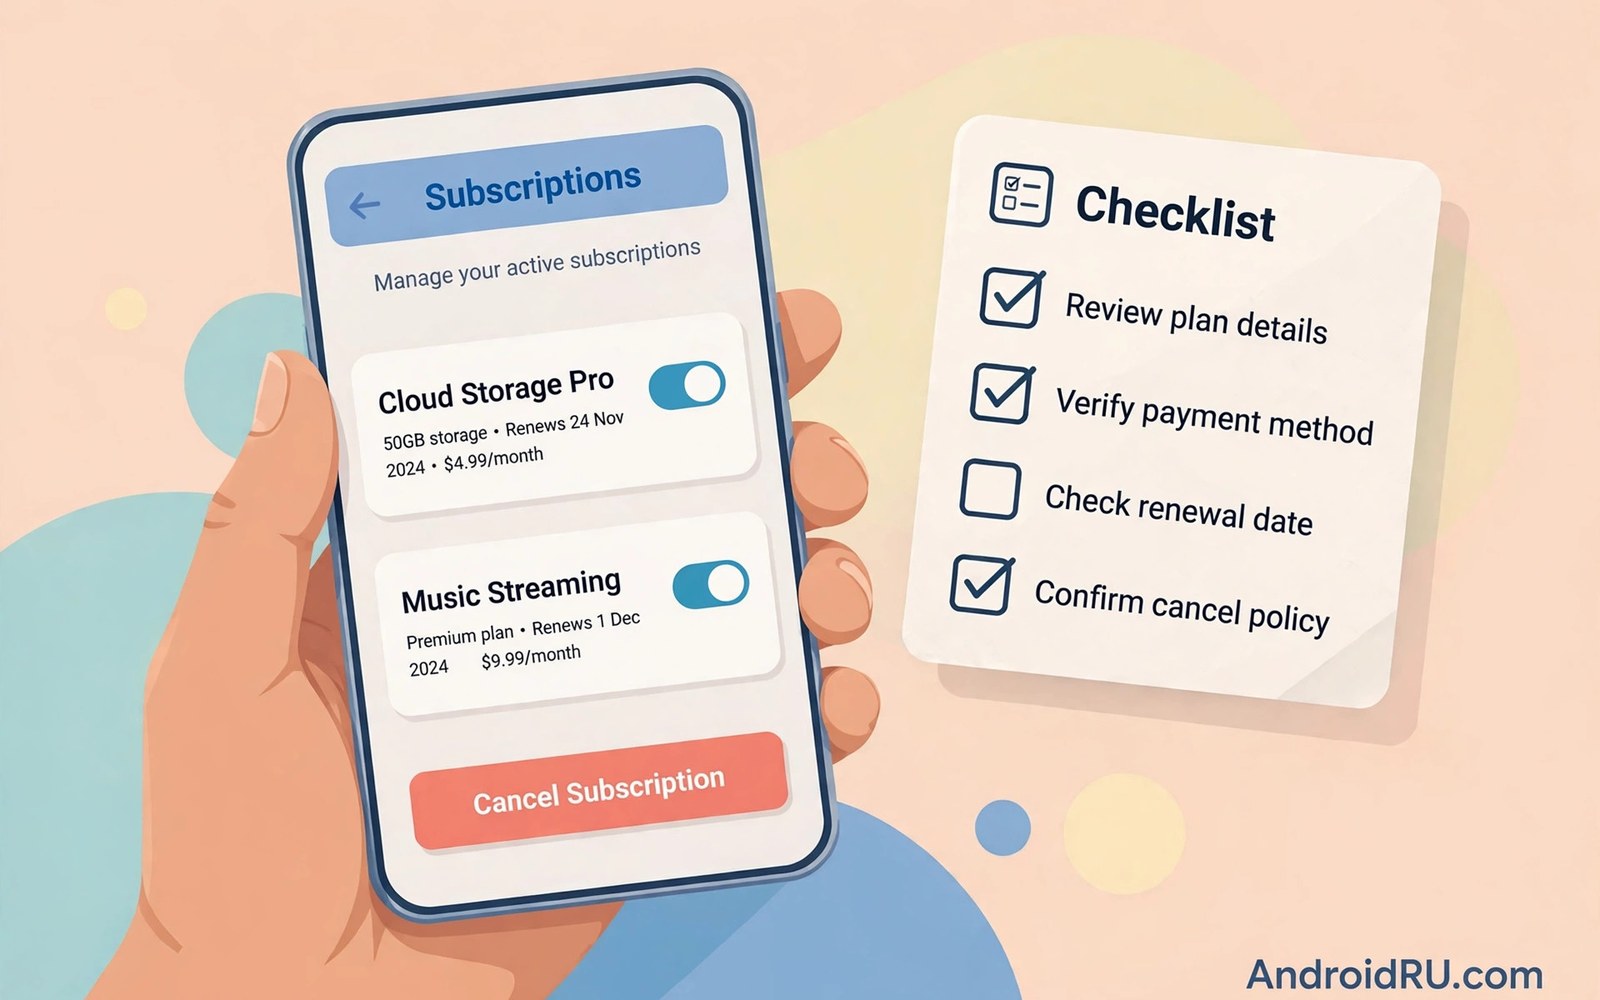
How to Manage and Cancel Unwanted App Subscriptions on Google Play
Unwanted subscriptions are one of the most common money leaks on Android phones. A free trial ends quietly. A forgotten app renews for another year. A family member subscribes on a shared device. Before long your bank statement shows charges you barely recognize. The good news is that Google Play gives you full control over every subscription tied to your account, and cancelling one takes less than a minute once you know where the list lives. This guide walks through finding, cancelling, pausing and preventing subscriptions, with the exact menu paths and the exact checks to run after each step, so nothing renews without your knowledge again.
Start with the one fact that causes most of the confusion: cancelling a subscription and deleting an app are two different actions. Uninstalling an app does not cancel its billing. You can delete an app from your phone and still get charged every month, because the billing record lives in your Google account, not in the app itself. Every step in this guide works from that record, which is why the same steps work on any Android phone or tablet, regardless of brand.
I run this cleanup on my own phone once a month, and it takes about five minutes. The routine below is the same one: open the list, read the renewal dates, cancel what you no longer use, and set one reminder for anything you want to reconsider. Follow it once today and the monthly version becomes a habit that pays for itself many times over.
Where Every Subscription Lives on Your Phone
Every subscription you buy through Google Play is listed in one place. Open the Play Store app and tap your profile picture in the top right corner. Then tap Payments & subscriptions, followed by Subscriptions. You will see active subscriptions and expired ones side by side. Each entry shows the app name, the price, and the next billing date. That list is the single source of truth for your billing, and any cleanup starts there rather than inside individual apps.
You can also manage subscriptions from a web browser. Visit the Google Play subscriptions page while signed in to the same account, and the web view offers the same cancel and resume options. Use whichever screen feels easier on the day you do your cleanup. The phone app is faster for a quick check, while the browser is easier when you want to compare several subscriptions at once on a larger screen.
What the subscriptions list shows you
Each entry on the list carries four facts worth reading before you act: the app name, the plan and price, the next billing date, and the payment method that will be charged. The next billing date is the most important of the four, because it tells you the deadline for cancelling before the next charge. A yearly plan renewing in three weeks deserves attention today, while a monthly plan renewing tomorrow deserves attention right now.
How to tell an active subscription from an expired one
Active subscriptions show a next billing date and a Cancel option. Expired subscriptions show an end date in the past and a Resubscribe option instead. If an entry shows neither, and the app still charges you, the subscription was probably bought outside Google Play, which is covered later in this guide.
How to Cancel a Subscription on Android: Step by Step
Follow these steps exactly, in order, for each subscription you want to end. Do not skip the checks at the end of each step: they are what confirm the cancellation actually worked.
- Open the Play Store app and tap your profile picture in the top right corner. Check: the account shown is the one that made the purchase. If you have two accounts on the phone, switch to the purchasing account before going further.
- Tap Payments & subscriptions, then tap Subscriptions. Check: the full list loads, including entries you do not recognize. Scroll through the whole list rather than stopping at the first few entries.
- Tap the subscription you want to end and read the details screen carefully. Check: the plan name, the price, and the next billing date all match what you expect. If the price is higher than you remember, the plan may have changed since you signed up.
- Tap Cancel subscription, then tap it again on the confirmation screen if asked. Check: a confirmation message appears saying the subscription is cancelled, and the entry now shows an end date instead of a next billing date.
- Answer the reason question or tap Skip. Google Play may ask why you are leaving. Check: your choice here does not affect the cancellation. Pick any reason or skip it entirely.
- Check your email for the cancellation confirmation from Google Play. Check: the email names the app, the cancellation date, and the date your access ends. Save it in a folder you can find later.
- Note the date your access ends, usually the end of the current billing period. Check: premium features still work until that date, which is normal. You paid for that period already, and cancelling stops future charges rather than ending access at once.
What to check after cancelling
Return to the Subscriptions list a few minutes later and confirm the entry now reads Cancelled or shows an expiry date rather than a renewal date. If it still shows a next billing date, the cancellation did not go through, and you should repeat the steps. A second check a week later, against your bank statement, catches the rare case where a cancellation was recorded on one account while the charge belongs to another.
Why the cancel button sometimes looks different
Some apps replace the Cancel subscription button with a Manage subscription link that opens the app itself, usually because the developer handles billing through their own system. Others show a Pause option first, with cancellation one tap further down. Neither variation means you cannot cancel. Follow the link, finish the flow inside the app, and then return to the Subscriptions list to confirm the entry changed.
How to Cancel from a Browser and on a Second Device
The browser route is useful when your phone is lost, the screen is broken, or you simply prefer a keyboard. Sign in to your Google account in a browser, open the Google Play subscriptions page, and you will see the same list as on the phone. Click a subscription, click Cancel subscription, and confirm. The confirmation email arrives the same way, and the change syncs to your phone within minutes.
On a second device, such as a tablet or a Chromebook, the steps are identical, as long as you are signed in to the same account. The trap here is a different account: a tablet signed in to a work account will show a different subscription list, or an empty one, and cancelling there does nothing to the charges on your personal account. Always confirm the account first, on every device, before you conclude that a subscription does not exist.
Managing subscriptions for a different account
Open the Play Store app, tap your profile picture, tap the small arrow next to your account name, and switch accounts. Repeat the Subscriptions check for each account on the device. A work account or an old account may hold charges you forgot, and family members on a shared tablet may have subscribed with their own accounts. Each account keeps its own list, so check them all before you declare the cleanup finished.
Free Trials That Convert: Cancel Before the First Charge
Free trials are the biggest source of surprise charges. A trial gives you full access for a set number of days, and when the trial ends the subscription starts and billing begins. Many users forget the trial entirely until the charge appears. The fix is to cancel during the trial itself, which usually keeps your access until the trial ends. You enjoy the full trial and pay nothing, because the cancellation stops the first charge rather than the trial.
The habit that makes this work is a reminder set the moment you start a trial. Open your calendar app, create an event two days before the trial ends, and name it with the app and the word cancel. Two days gives you time to decide calmly, and the reminder arrives before the charge rather than after it. I have saved more money with this one habit than with any budgeting app, because it forces a real decision about whether the app is worth paying for, while the decision is still free.
Cancel during the trial and keep access
Open Subscriptions, tap the trial entry, and tap Cancel subscription. The entry should change to show that access continues until the trial end date, with no charge scheduled. If the entry instead says access ends at once, read the details screen again: a few apps end trial access immediately on cancellation, and those are the trials worth deciding on the same day you start them.
The two-day reminder rule
Set the reminder for two days before expiry, not the day before, because a reminder that arrives while you are busy, travelling or asleep is easy to miss. Two days gives you a full evening to open the list, check the trial, and cancel without rushing. Add the trial end date to the reminder text so you can act even if the calendar notification is all you see.
Pause, Resume and Change Plans Instead of Cancelling
Some subscriptions offer a pause option instead of full cancellation. Pausing stops billing for a set period while keeping your account data, which suits seasonal apps like a ski tracker or a tax tool. You resume when you need the app again without losing your history. Not every app supports pausing, and when the option exists it appears on the same screen as cancellation. Read the pause terms before choosing it: a pause still ends eventually and billing resumes on the stated date, so treat a pause like a delayed renewal rather than a permanent stop.
Resuming is rarely permanent either. Google Play lets you resubscribe to most apps at any time, and your account data often survives cancellation for a while. Open the app again and choose the subscription option to restart billing, but check whether the price changed since you left. Resubscribing is also a good moment to reconsider the plan level: many apps offer monthly and yearly tiers, and a yearly plan costs less per month but locks you in longer. Start monthly after a break and switch to yearly only once the app proves its value again.
When pausing beats cancelling
Pause when you know you will return within a few months and your data, history or settings would be painful to rebuild. Cancel when you are unsure, because a cancelled subscription can be restarted just as easily, and a pause that quietly resumes is the same surprise charge you were trying to avoid. The difference between the two is not the money saved, it is whether you want a reminder to decide again or a clean break.
Subscriptions Bought Outside Google Play
Some apps sell subscriptions on their own websites instead of through Google Play. Those subscriptions will not appear in your Play list at all, and cancelling in the Play Store app does nothing to them. You must cancel them on the developer website or through the payment service you used. Check your email for receipts that name the billing provider, because the receipt is usually the only document that says where the money actually goes.
When in doubt, search your inbox for the app name plus the word receipt. The receipt usually names the company that bills you, and it often contains a link to manage or cancel the subscription. Cancel there and keep the confirmation email. If the developer makes cancellation hard, then your bank or card provider may offer a recurring payment block as a last resort. Readers worried about billing traps should also review auto-renewal traps and the settings that block them, because the same patterns appear whether the billing runs through the Play billing system or through a developer website.
How to find an outside subscription from a bank charge
Open your bank statement, find the charge, and note the merchant name and the exact amount. Search your email for that merchant name and for the amount. The matching receipt names the app and the billing provider, and it usually links to the cancellation page. If no receipt exists, search for the app name together with the word subscription, and check the app itself under Settings, Account or Premium, where an outside subscription often shows a Manage subscription link.
Preventing Surprise Renewals: A Monthly Routine
The strongest protection is a monthly review habit. Pick one day each month, for example the first Sunday, to open your subscriptions list. Cancel anything you have not used in the past thirty days. This review takes five minutes and it catches problems early. Pair it with a look at your bank statement for charges that do not match your list, because a charge with no matching list entry is the clearest sign of a subscription bought outside Google Play or on another account.
Another layer of protection is purchase authentication. Turn on authentication for purchases in Google Play settings, under Settings, then Authentication, then Require authentication for purchases. Choose For all purchases through Google Play on this device. This requires your fingerprint or password before any new subscription starts, which stops accidental signups and stops children from subscribing on a shared device. A full monthly expense audit helps you decide which apps deserve to stay, by putting every subscription next to its monthly cost and its last use date, so the least used entries stand out at once.
Turn on purchase authentication
Open the Play Store app, tap your profile picture, tap Settings, then Authentication, then Require authentication for purchases. Select For all purchases through Google Play on this device, confirm with your fingerprint or password, and test it by opening any app and tapping a premium purchase screen. The authentication prompt should appear before any payment is taken. Check that the setting is on for every device you share, because the setting is per device rather than per account.
What purchase authentication blocks
Authentication blocks new purchases and new subscriptions, including free trials that convert to paid plans, because the trial signup is itself a purchase action. It does not block renewals of subscriptions you already hold, and it does not cancel anything, so pair it with the monthly review rather than treating it as a replacement for one.
Frequently Asked Questions About Cancelling Subscriptions
Does uninstalling an app cancel its subscription?
No. Uninstalling removes the app from your phone and leaves the billing record untouched, so the subscription keeps renewing. Always cancel in Google Play first, confirm the entry shows an end date, and only then uninstall the app if you wish. This single misunderstanding causes more surprise charges than any other mistake in this guide.
Will I lose access the moment I cancel?
Usually not. Most subscriptions stay active until the end of the current billing period, which means you keep premium features until the date you already paid for, and nothing else is charged after that. A few apps end access at once, and the details screen on the subscription entry says which behaviour applies, so read it before you cancel rather than after.
Can I get a refund after cancelling?
Cancelling stops future charges but does not automatically refund the current period, because you paid for that period already and generally keep access until it ends. Refunds follow a separate process with its own rules, and the window is short. If you believe a charge was a mistake, a duplicate, or the result of a trial you never meant to start, check the Google Play refund policies guide before you assume the money is gone for good, and start the request while the charge is still recent.
What if the cancel button is missing?
A missing cancel button usually means the subscription came from outside Google Play, or the app handles billing through its own website. Check your email receipts for the true billing provider, look for a Manage subscription link inside the app, and check the developer website under Account or Billing. If you cannot find any cancellation path, contact the developer support team in writing, keep a copy of your message and the date you sent it, and if billing continues after a confirmed cancellation, your card provider can dispute the charge with that documentation in hand.
How do I stop a yearly subscription from renewing?
Cancel it the same way as a monthly one, but do it early. A yearly renewal charges a larger sum on a date that is easy to forget, so set a reminder thirty days before the renewal date, open the Subscriptions list, and cancel then. Cancelling early still keeps your access until the period ends, so there is no reason to wait until the last week.
Your Five-Minute Cleanup Checklist
Open your subscriptions list today and cancel anything unused. Set reminders before every free trial ends. Turn on purchase authentication on every device you share. Review your bank statement once a month for stray charges. These four habits together end nearly all surprise billing, and they take less time than reading this guide did.
- Open Payments & subscriptions, then Subscriptions, and read every entry, including the ones on your other accounts.
- Cancel every subscription you have not opened in the past thirty days, and save each confirmation email.
- Set a calendar reminder two days before each remaining trial or yearly renewal.
- Turn on Require authentication for purchases on every shared device.
- Compare the list against your latest bank statement and chase any charge with no matching entry.
Subscriptions are useful when they serve a real need. They become a problem only when they run on autopilot. Take five minutes each month to stay in charge, and open the list today: the first cancellation is the hardest, and every one after it takes less than a minute.

