

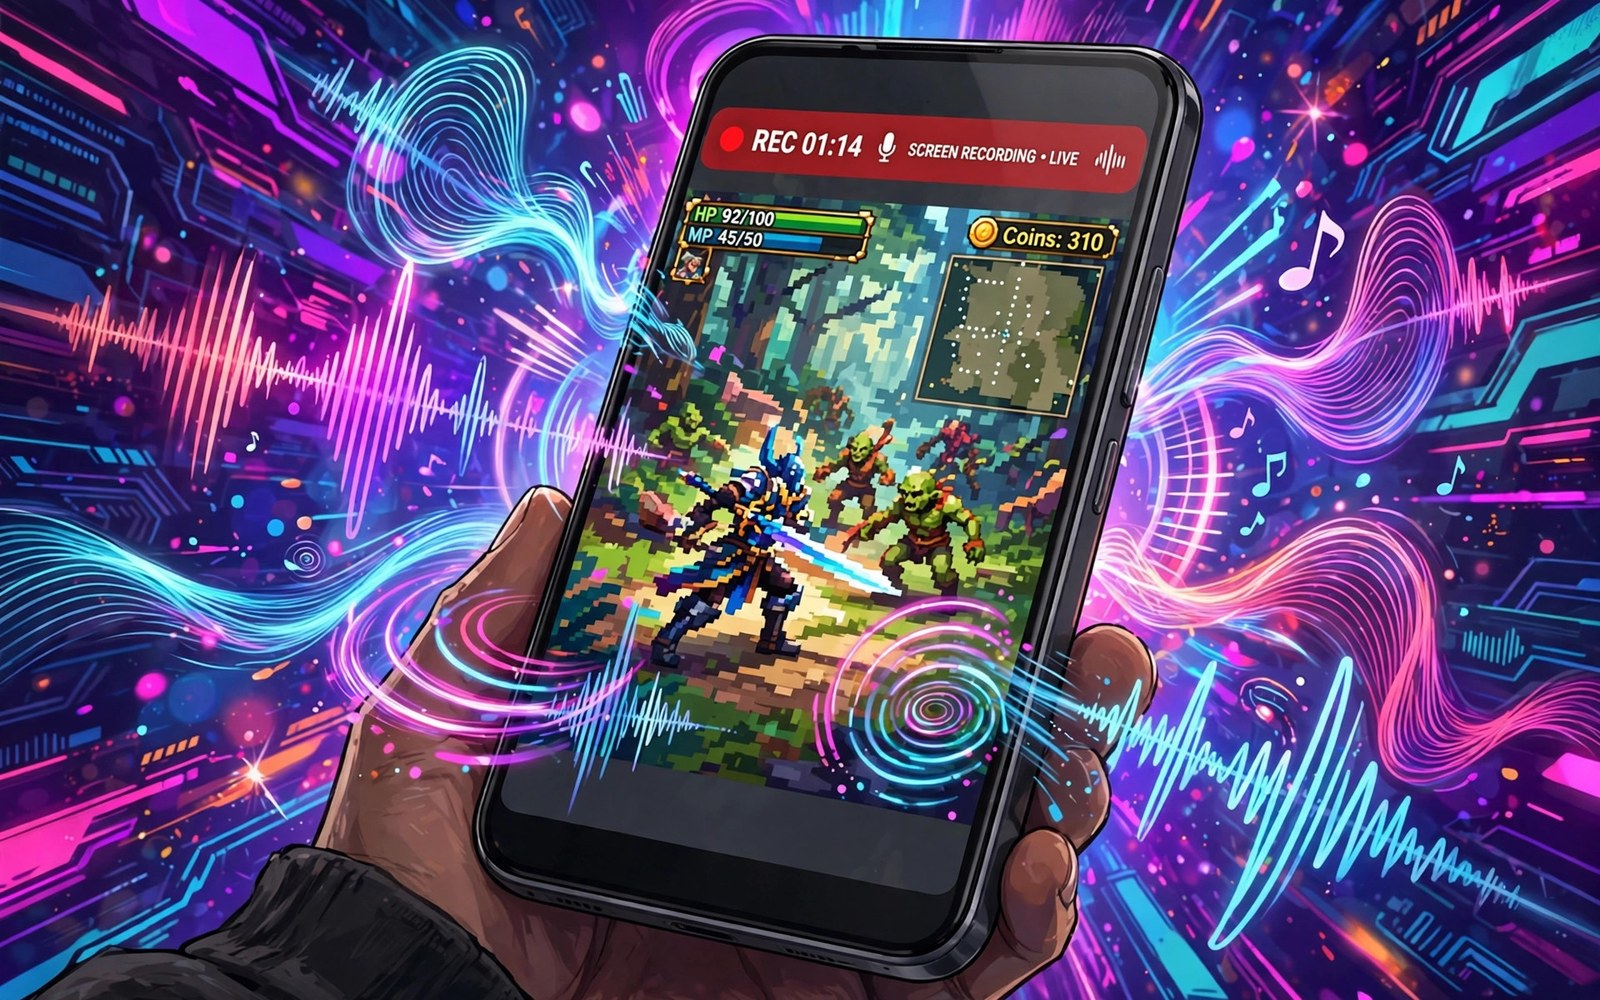
How to Record Your Screen on Android with Crisp Internal Audio
Screen recording captures what happens on your phone display, and internal audio records sound from the app itself rather than the room. That difference matters for game videos and tutorials. Microphone audio picks up fans and background noise, while internal audio stays clean because it comes straight from the app. I recorded my first tutorial with the microphone on and spent an hour wondering why the game sounded like it was played inside a washing machine. One toggle fixed it.
This guide shows how to record your screen on Android with crisp internal audio using the built-in recorder, how to fix the common silent recording problem, and how to share the result without losing quality. Most modern Android phones include a built-in screen recorder, so you can start from quick settings without installing anything.
Open the Built-In Screen Recorder on Android
Pull down the notification shade twice to show full quick settings. Look for a tile called Screen record. If the tile is missing, tap the edit icon and add it. The edit screen lists tiles you can drag into the active area, so place Screen record where you can reach it quickly.
Tap the tile to open the recorder setup panel. The panel asks about sound and touches, and it may also ask about video quality. Take a moment to read each option before you tap Start, because a good setup here saves editing time later. Rushing the setup often causes a silent or shaky video, and the fix is always slower than the setup would have been.
Adding the Screen Record Tile on Any Phone
On Samsung phones the tile is called Screen recorder and lives in the quick panel editor. On Pixel phones it is called Screen record and appears in the same place. On Xiaomi, Oppo, and Vivo phones the recorder may sit in a tools folder or in the screen recorder app itself. The name varies, but the tile is there on Android 11 and newer. If you cannot find it, search Settings for “screen record” and open the result.
What the Setup Panel Asks Before Recording
The panel usually asks three things: sound source, video quality, and whether to show touches. Answer sound first, because it is the choice this guide cares about most. Then pick quality, then decide on touches. That order matches the order of the mistakes people make, with sound at the top.
Choose Device Audio for Crisp Internal Sound
Select device audio when the panel offers sound choices. Device audio captures sound produced inside the phone and ignores room noise and fan hum. Some phones label this option as internal audio, while others call it media sound. The result is the same clean app sound.
Select microphone only when you need live commentary. Some recorders offer device audio plus microphone together, and that mix suits tutorials where you explain steps aloud. Test the mix before a long recording, because a loud voice can drown out quiet game sound if levels are unbalanced.
Device Audio vs Microphone vs Both
Device audio alone gives the cleanest game sound and the cleanest app sound. Microphone alone gives your voice with room noise and no app sound. Both together gives voice plus app sound, and the balance depends on your phone. Record a ten-second test of each option and listen back with earphones before you commit to a long session.
Why Some Apps Stay Silent Even With Device Audio
Not every app allows internal audio capture. Some apps block recording for copyright or privacy reasons, and banking apps and some video apps may show a black screen. That limit protects content and user data, and it is built into the app rather than into your recorder. If only one app stays silent while others record fine, that app is blocking capture by design.
Set Resolution and Frame Rate Before You Record
Most built-in recorders offer quality presets for video. A 1080p setting suits most sharing and tutorial videos, while higher resolution creates huge files and strains older phones. A 60 frames per second setting gives smoother game footage, and a 30 frames per second setting suits calm tutorials and saves space.
Match quality to your audience and your storage. A short clip for messaging needs modest quality, while a polished tutorial deserves higher quality and steady framing. Record a ten second test at your chosen settings and watch it back before you commit to a long session, because tests catch problems early.
1080p at 30fps vs 60fps: Which to Pick
Pick 60fps for fast games, racing, and anything with quick camera movement, because the extra frames keep motion readable. Pick 30fps for tutorials, app walkthroughs, and settings demos, because the file is half the size and the content does not move fast enough to need more. A 4K setting is rarely worth it on a phone, since the file grows four times larger while most viewers watch on a small screen.
Bitrate and File Size You Should Expect
A minute of 1080p at 30fps usually lands between 30 and 60 MB depending on the phone and the content. A minute at 60fps can reach 80 to 120 MB. A busy game with constant motion compresses worse than a calm settings screen, so check free space before a one-hour session. A full disk stops recording without warning on some phones.
Record Games and Tutorials Cleanly
Close extra apps before you start recording a game. Background notifications can pop over your video, so turn on Do Not Disturb to silence alerts during the session. Clear the notification shade so stray banners do not appear, because a clean screen makes the final video look professional.
Plan your first few seconds before you tap Start. Open the app and reach the screen you want to show, then pause for a second after recording begins. That pause gives you a clean point to trim the start. Move slowly through menus so viewers can follow each step, and keep the pace steady rather than rushing through the interesting part.
Show Touches and Manage the Floating Controls
Turn on show touches if viewers need to see your taps, because a small dot appears where your finger touches the screen. This feature helps tutorial viewers follow buttons and gestures, so turn it off for game videos where dots distract from the action. During recording a small floating control appears on screen; tap it to stop or pause the session. Some phones let you draw or add a front camera bubble, but avoid moving the control across important screen areas. Stop the recording cleanly rather than locking the phone mid-session.
Using ADB screenrecord as a Backup Method
When the built-in recorder is missing or misbehaves, the command line still works. Connect the phone to a computer with USB debugging on and run adb shell screenrecord --verbose /sdcard/demo.mp4, then stop with Ctrl+C and pull the file to the computer. This method records video without audio on most devices, so treat it as a backup for silent clips rather than as your main recorder.
Fix Silent or Low Audio Recordings
Silent recordings often come from the wrong sound source. Open the recorder panel again and confirm device audio is selected, because the setting can reset after an update. Some apps mute internal audio when another app holds the audio focus, so close music apps before you record and restart the target app if sound still fails to appear.
Check media volume before you start. A muted media volume produces a silent video even with the right source, so raise media volume to a comfortable level. Test with a short clip after each change, and if only one app stays silent then that app may block audio capture by design.
A Checklist for Silent Recordings
- Confirm device audio is selected in the recorder panel, not microphone or no sound.
- Raise media volume to at least half and play a test sound in the target app.
- Close music and video apps that might hold audio focus.
- Restart the target app and record a ten-second test clip.
- Check the test clip with earphones before recording the real session.
When the Problem Is the App, Not Your Settings
Streaming apps and banking apps can block audio capture at the system level. No setting on your phone overrides that block, and workarounds can violate terms of service. Record your own gameplay and app walkthroughs freely instead, and treat a blocked app as a hard limit rather than a puzzle to solve.
Why Internal Audio Sounds Better Than Microphone Audio
Internal audio bypasses the room entirely. It captures the digital sound stream directly, so no fan noise or echo enters the recording. Music stays balanced and clear, and voices in games stay intelligible even during loud action. Microphone recording adds room acoustics to every sound, and a quiet room still adds hiss and handling noise.
Internal audio removes those variables, and the result sounds like the app itself. That clarity is why creators prefer internal capture, and it is also why viewers stay longer: the brain does not have to filter noise while following the content.
The Room Noise Problem in Numbers
A typical room adds a constant hiss around 30 to 40 decibels to a microphone recording, plus sudden noises from fans, keyboards, and traffic. Internal audio has none of that, because the signal never leaves the digital domain. The difference is audible on phone speakers and obvious on earphones.
When Microphone Audio Is Actually the Right Choice
Microphone audio wins when your voice is the content: a reaction video, a live explanation, or a review spoken over gameplay. In those cases use the mixed mode, device audio plus microphone, and record in a quiet room with the phone close to your mouth. A headset microphone reduces echo further and keeps your voice clear during loud game sound.
Edit and Share Your Recording Without Losing Quality
Recordings save to the gallery or a dedicated recordings folder. Open the clip and trim the start and end, because trimming removes the setup taps and the stop button press. Keep edits simple for tutorials, since viewers value clear steps more than flashy transitions.
Check file size before sharing over mobile data. A long high quality clip can exceed messaging limits, so compress the video or upload it over Wi-Fi instead. Add a clear title that describes the content, because good titles help you find the clip later in a crowded gallery.
Sharing Without the Messaging App Ruining Quality
Messaging apps compress video heavily during sending. Compression blurs text and dulls sound, so use a cloud link for full quality sharing. Upload over Wi-Fi to avoid data charges, and check the uploaded file size against the original: matching sizes suggest no compression occurred. Play the uploaded clip before announcing it, because a quick check catches upload errors early.
Trimming and Naming Clips for Later
Trim the first two seconds and the last two seconds of every clip, since those seconds almost always contain setup taps. Rename the file with the topic and the date, such as “screen-record-settings-2026-11-06”, so you can find it without opening it. Archive finished clips in named folders and move them to a computer when the phone fills up.
Respect Privacy While Recording Your Screen
Screen recording captures everything visible on the display. Notifications can expose messages and codes, so turn on Do Not Disturb and hide sensitive notifications first. Avoid recording password entry or banking screens, and blur any personal detail that slips into a clip before sharing.
Ask permission before recording a video call or a private chat. Recording laws differ by place and situation, and a quick check protects you and the other person. Delete clips you no longer need, because old recordings can expose details you forgot they contained.
Copyright Rules for Recorded Content
Some apps block recording to protect licensed content, and music and video apps may show black video. Respect those blocks rather than seeking workarounds, because workarounds can violate terms of service and can expose your account to bans. Record your own gameplay and app walkthroughs freely, since those recordings showcase your skill and teaching. Avoid recording full movies or shows from streaming apps, and check local rules when unsure about short clips for review.
Do Not Disturb Is Your Best Privacy Tool
One toggle blocks the notification that would have shown a private message mid-recording. Turn it on before every session and turn it off after, and make it part of the pre-recording checklist below. It costs one tap and saves an awkward edit later.
Recording for Tutorials Versus Games
Tutorials need slow clear movements and steady narration, while games need smooth frame rates and punchy sound. The same recorder settings do not suit both goals, so plan the recording style before you press start. A tutorial benefits from pauses between steps, and a game clip benefits from continuous action. Matching style to purpose improves viewer retention, and viewers forgive modest quality when pacing feels right.
Landscape recording suits videos watched on televisions and computers, while portrait recording suits videos watched on phones in social feeds. Choose orientation based on where viewers will watch, and lock orientation before starting a recording session. Accidental rotation mid-recording looks unprofessional, so test orientation with a short clip first. Recorded clips are easy to show on a bigger display too; see how to mirror your Android display to a PC or TV when you want a live audience instead of a file.
Adding Voice Commentary That Actually Helps
Good commentary explains actions as they happen. Speak slowly and describe buttons by name, pause commentary during important game sound cues, and record in a quiet room for best results. Close windows and turn off fans before recording, and test voice levels with a short clip first. Adjust distance from the microphone until voice sounds natural, and remember that balance matters more than volume alone.
Storage Planning for Long Sessions
Long recordings consume storage quickly at high quality. Lower resolution for long casual recordings and reserve high resolution for final polished videos. A two hour casual session does not need cinema quality, and sensible quality choices keep storage under control while speeding up sharing and editing. For other camera based projects read how to turn your old Android phone into a security camera and how to split screen on Android for side-by-side multitasking.
Frequently Asked Questions About Screen Recording on Android
Why is my screen recording silent even though I picked device audio?
Check media volume first, then close apps holding audio focus, then restart the target app. If only one app stays silent while others record fine, that app blocks audio capture by design and no setting will change it. Test with a different app to confirm the recorder itself works.
How do I record internal audio and my voice at the same time?
Pick the mixed mode in the recorder panel, usually labelled device audio and microphone. Record a ten-second test and listen back, because a loud voice can drown out quiet game sound. If the mix is unbalanced, record voice separately in a quiet room and combine the tracks in a simple editor.
Can I record my screen on an old Android phone without a built-in recorder?
Yes. Use the ADB screenrecord command from a computer, or install a reputable recorder app from the Play Store. The ADB method records video without audio on most devices, so it suits silent clips and gameplay without sound. Check that the recorder app you pick asks only for the permissions it needs.
Why does my recording stop by itself during long sessions?
The usual causes are a full disk, a low battery shutdown, or a system limit on recording length. Free at least 2 GB before a long session, keep the phone charging, and check your phone maker for a maximum recording time. Some phones cap recordings at one hour, so plan long sessions in parts.
Before you press record, check these points for a clean recording every time. Select device audio as the sound source, raise media volume to a normal level, turn on Do Not Disturb to block alerts, close apps you do not need for the video, record a ten second test and play it back, and free enough storage for a long session. This routine takes less than a minute and prevents silent clips and messy interruptions. Make it a habit before every important recording, and your clips will sound as good as they look from the first take.

