

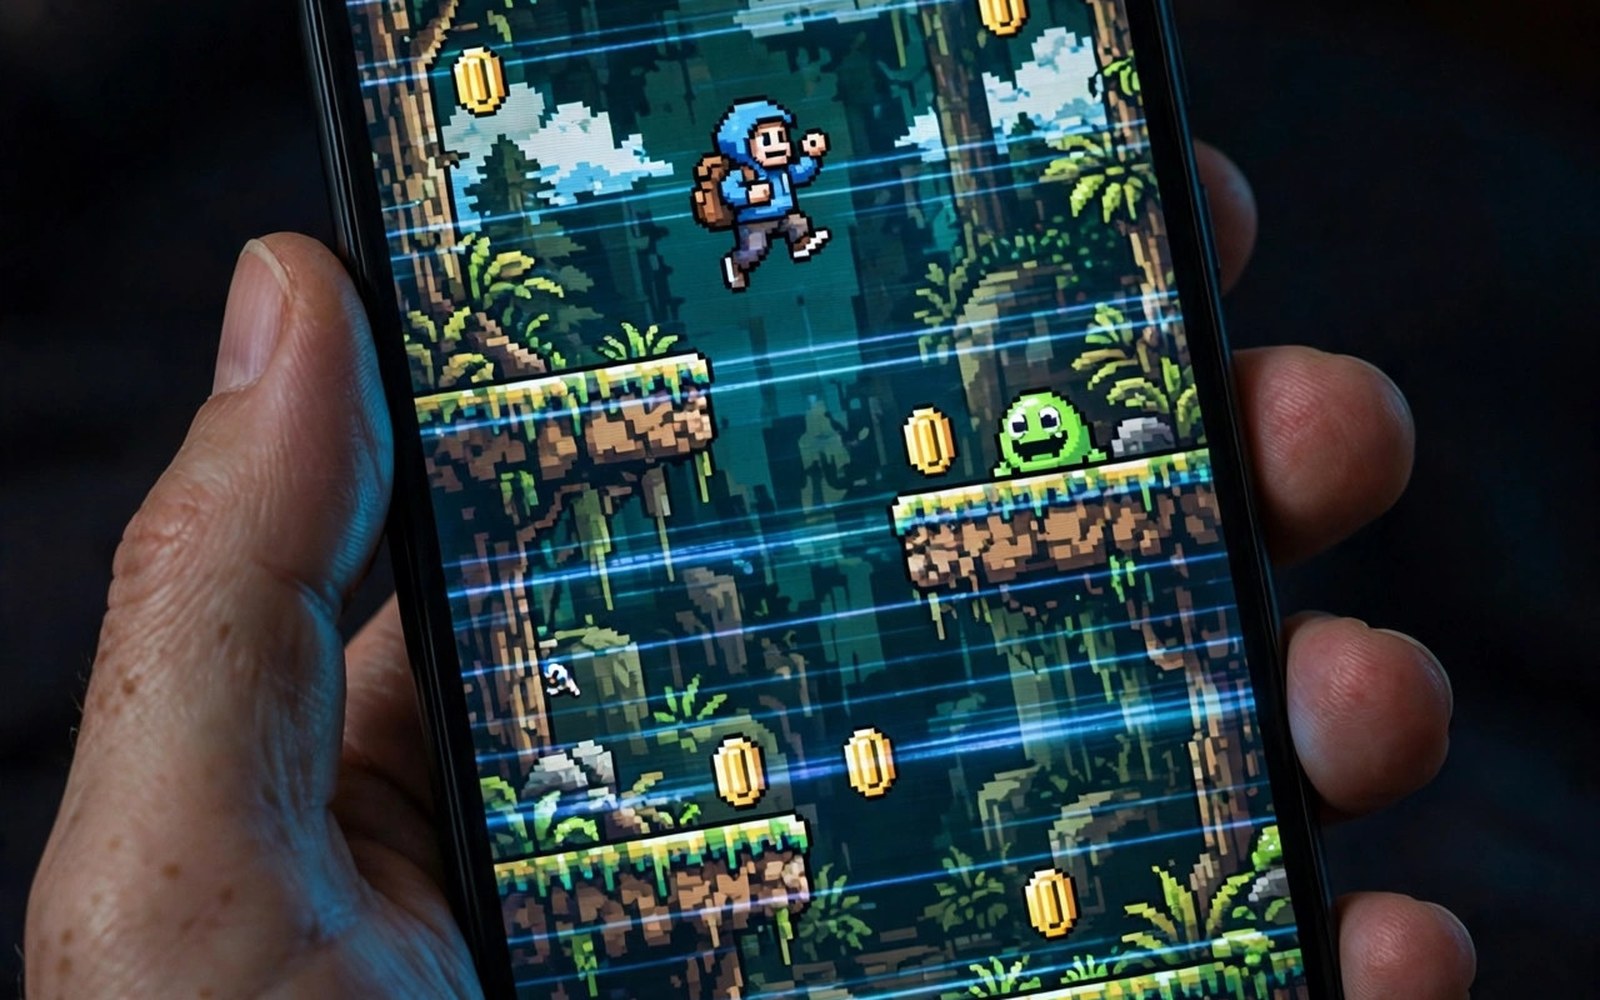
Old games were drawn for old televisions. Those screens softened pixels and blended colours gently. Modern OLED screens show every pixel with harsh clarity. The right shader filters for retro games bridge that gap. They recreate the soft feel of old displays on new screens.
A shader is a small program that changes how the picture is drawn. It can add scanlines or soften edges or simulate a curved screen. Each effect changes the mood of the game. The right shader makes pixel art feel alive again. The wrong shader makes it look muddy.
Start with light effects and judge from normal viewing distance. A shader that looks strong up close may look perfect at arm length. A sharp handheld picture needs a different touch than a pixel game. Match the shader to the art style of each game.
Why pixels look harsh on OLED
OLED screens show perfect squares with sharp edges. Old art was never meant to be seen that sharply. Artists used the blur of old screens as part of the picture. Without that blur colours can look flat and edges can look jagged. Shaders restore some of that lost softness.
High resolution also enlarges each original pixel. A single old pixel may cover many screen pixels now. That enlargement exposes the blocky structure of the art. A light shader breaks up the blocks without hiding detail. The picture gains depth instead of harshness.
Scanlines and aperture grille effects
Scanlines are dark lines between rows of pixels on old screens. They give retro games their classic texture. A light scanline shader adds that texture gently. Heavy scanlines darken the picture too much on a phone. Keep scanline strength low on small screens.
Aperture grille effects mimic the vertical stripes inside old televisions. They add a fine texture across the whole picture. The effect suits bright colourful games well. Dark games may look too dim with a strong grille. Test the effect in a bright level first.
Smoothing versus crisp pixels
Smoothing shaders blend neighbouring pixels together. They soften jagged edges in a pleasing way. Too much smoothing turns pixel art into a blurry painting. Light smoothing keeps shapes clear while softening steps. The balance point differs per game.
Crisp pixel shaders keep edges sharp but even out pixel sizes. They suit players who love the raw pixel look. Integer scaling pairs well with crisp shaders. Even pixels plus crisp edges give a clean modern retro feel. Try crisp first if you dislike blur of any kind.
Shaders for different game types
Platform games with bold sprites suit light scanlines well. The scanlines add texture without hiding jumps. Role playing games with text suit crisp pixels better. Text must stay readable above all else. A shader that blurs text fails for story games.
Racing and action games need a clear picture at speed. Heavy effects can distract during fast movement. Use a subtle shader for fast games. Save dramatic effects for slow exploration titles. Speed and clarity outrank style in action play.
Performance cost of shaders
Shaders cost processor power on every frame. Complex shaders can slow a game on a weak phone. Start with simple shaders on modest devices. Test speed in a busy scene after applying a shader. A shader that causes stutter is not worth its beauty.
Some emulators offer shader presets tuned for phones. Presets balance beauty and speed for common devices. Use a preset as a starting point. Adjust strength down if speed drops. A preset saves time compared with building an effect from scratch.
Shader presets for beginners
Shader presets bundle settings into a ready made look. A preset saves beginners from tuning dozens of values. Start with a preset named for scanlines or crisp pixels. Test the preset in a bright level and a dark level. Bright and dark scenes reveal different preset flaws. A preset that works in both is a safe default. Save the preset choice per game when the app allows it. Per game presets turn a good look into a lasting one.
Preset strength sliders let you soften any effect. A strong effect at full strength often looks too heavy. Reduce strength to half and compare again. Half strength frequently looks better than full strength. Subtle effects suit long play sessions best. Heavy effects tire the eyes over time. Choose the strength you can enjoy for hours. Comfort over hours beats drama in screenshots.
Some presets mimic specific old television types. A preset may copy a curved tube television look. Another may copy a handheld screen look. Match the preset to the original hardware when you can. A handheld game suits a handheld screen preset. A console game suits a television preset better. Historical matching gives the most authentic feel. Authenticity pleases players who remember the original hardware.
Shaders on OLED versus LCD screens
OLED screens show perfect blacks and vivid colours. Shaders that darken the picture can look too dim on OLED. Keep scanline strength lower on OLED than on LCD. OLED contrast already adds depth to pixel art. A light shader completes the picture without dimming it. Test shader strength in a dark room for OLED. Dark rooms reveal dimming problems clearly. Adjust strength for your actual viewing environment.
LCD screens show greyish blacks compared with OLED. Stronger scanlines can add depth on LCD screens. The extra darkness compensates for weaker LCD contrast. Test the same shader on both screen types if you own both. The ideal strength differs noticeably between them. Do not copy a friend LCD setting to an OLED phone blindly. Screen technology changes the shader result. Tune for your own screen always.
High refresh rate screens change how shaders feel in motion. Smooth scrolling plus a shader can look especially clean. Some shaders flicker at high refresh rates in rare cases. Test scrolling scenes after applying a new shader. A flickering shader should be replaced at once. Eye comfort matters more than any retro effect. A clean steady picture beats a flickering authentic one. Replace problem shaders without hesitation.
CRT simulation versus simple scanlines
CRT simulation tries to copy a whole old television experience. It adds scanlines and colour bleed and screen curvature together. Simple scanlines add only the dark line texture. CRT simulation looks richer but costs more performance. Simple scanlines cost little and suit weaker phones. Choose based on phone power and personal taste. A strong phone can handle full CRT simulation smoothly. A weak phone should stay with simple scanlines for speed.
Colour bleed in CRT simulation softens harsh colour edges. Old televisions blended neighbouring colours naturally. That blending made pixel art look painterly and warm. Modern screens show colours with sharp separation instead. A light bleed effect restores some old warmth. Heavy bleed turns the picture muddy and indistinct. Test bleed strength in a colourful platform level. Colourful levels reveal bleed effects most clearly.
Screen curvature in CRT simulation bends the picture edges slightly. Curvature adds nostalgia for players who remember tube televisions. It also shrinks the effective play area a little. Some players find curvature distracting during fast play. Others love the authentic tube feel it provides. Test curvature in a slow exploration game first. Slow games let you judge the effect without pressure. Keep curvature only if it adds joy without distraction.
Performance cost separates CRT simulation from simple scanlines clearly. Full simulation may halve speed on a weak phone. Simple scanlines rarely affect speed noticeably. Test speed in a busy scene after enabling simulation. A speed drop means the effect costs too much. Lower the simulation strength or switch to scanlines. Beauty never justifies a stuttering game. A smooth simple picture beats a beautiful slow one.
Common mistakes
The most common shader mistake is stacking several heavy effects. Stacked effects darken the picture and blur detail. One well chosen effect beats three competing ones. Pick the single effect that fixes the main flaw. Add a second only if the picture still needs it.
Another mistake is judging shaders from screenshots alone. Screenshots hide motion and brightness issues. Test a shader in real gameplay for several minutes. Motion reveals flaws that still images hide. Your eyes in motion are the true judge.
Do not apply one shader to every game blindly. Text heavy games and fast games need different treatments. A shader that suits a platform game may ruin a story game. Save a shader choice per game when the app allows it. Per game choices take minutes and pay off for hours.
A practical example you can try
# shader strength is a number in most presets
# lower the number if the picture looks too dark
# test in a bright level and in a dark level
This snippet is an original example written for this article. It shows the idea in a compact form that you can adapt to your own setup and change as you learn what works best on your phone.
Frequently asked questions
Do shaders work on every emulator?
Most modern emulators support shaders in some form. Support depth varies between apps. Check the video settings menu for shader options. A multi core app offers the widest shader choice. Single system apps may offer a smaller set.
Most modern emulators support shaders in some form. Support depth varies between apps and systems. Check the video settings menu for shader options. A multi core app offers the widest shader choice. Single system apps may offer a smaller set.
Will shaders slow down my phone?
Simple shaders cost very little speed. Complex shaders can cost a lot on weak phones. A budget phone setup should start with the lightest shader. Test speed in a busy scene and lower strength if frames drop.
Simple shaders cost very little speed on modern phones. Complex shaders can cost a lot on weak hardware. A budget phone setup should start with the lightest shader. Test speed in a busy scene after applying it. Lower strength at once if frames drop.
What shader suits a first time user?
A light scanline shader is a safe first choice. It adds retro texture without hiding detail. A handheld pixel game shows the benefit clearly. Keep strength low and judge from normal distance.
A light scanline shader is a safe first choice for beginners. It adds retro texture without hiding detail. A handheld pixel game shows the benefit clearly. Keep strength low and judge from normal distance. Normal distance gives the honest verdict.
Conclusion
Your concrete next step is a ten minute shader test tonight. Pick one pixel game you know well. Try a light scanline shader at low strength in a bright level. Compare it with no shader at normal viewing distance. Keep the version that makes the game feel right to you.
Keep a short list of shader choices per game type from now on. Note which shader suits platform games and which suits story games. That list speeds up every future setup. After ten games the list becomes a personal style guide. Your library will gain a consistent and pleasing look.

