

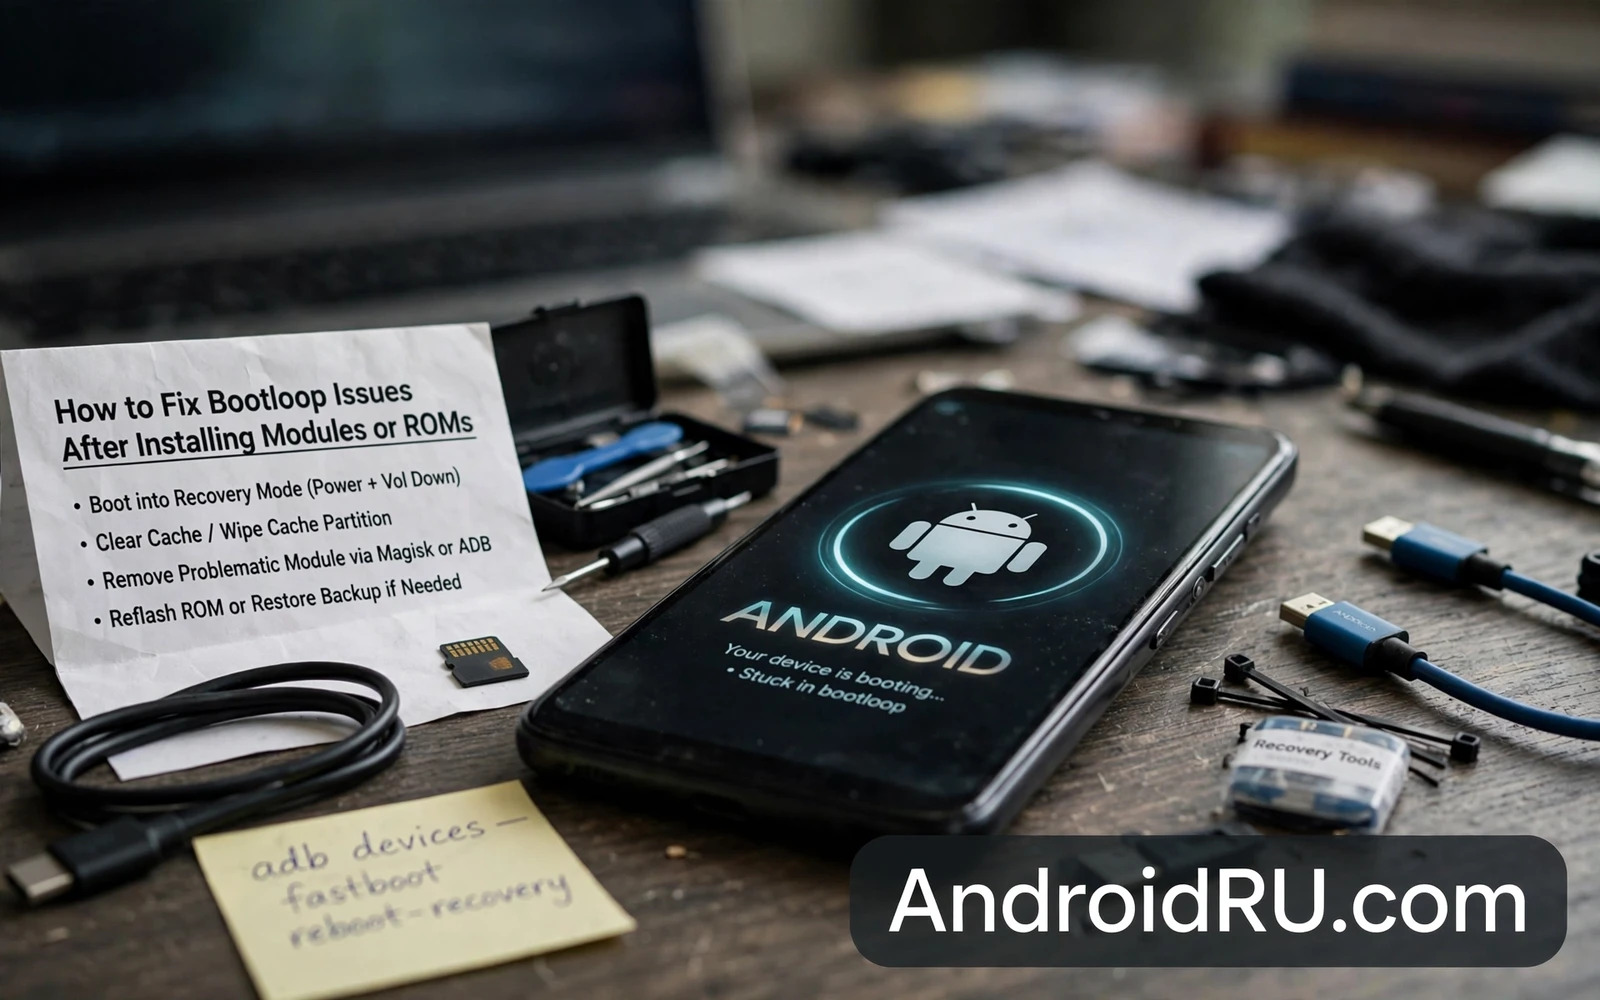
How to Fix Bootloop Issues After Installing Modules or ROMs
The phone showed the logo, vibrated, went dark, and showed the logo again. I had just enabled a new module, rebooted, and watched the device loop through the same ten seconds of startup for the third time. The panic that follows a bootloop is understandable — the phone holds photos, messages, and two-factor codes — but the loop itself is rarely the disaster it looks like. In most cases a single change made just before the loop is the cause, and undoing that one change brings the phone back.
A bootloop is a cycle where the phone starts to boot and then restarts before reaching the home screen. The animation may repeat endlessly, or the phone may restart a few seconds after the logo appears. After a module or ROM install, the loop usually means one system component fails during startup and the system restarts in response. The loop is a symptom. The failed component is the cause, and this guide works through finding it and removing it, from the gentlest fix to the deepest recovery mode, without wiping your data unless there is truly no other choice.
What a Bootloop Really Is After a Module or ROM Install
Bootloops differ in severity, and knowing which kind you have decides which fix is possible. A soft bootloop still allows access to recovery or fastboot mode. A harder loop may still allow fastboot but not recovery. A device that shows nothing at all — no logo, no vibration, no charging icon — is beyond a simple bootloop and needs a deeper recovery path. Test recovery and fastboot separately before assuming the worst, because many phones that look dead in normal boot still answer in one of those modes.
Modules cause bootloops by changing a service that runs at startup, or by replacing a file that the system expects in a specific form. A module that patches the system interface, the audio stack, or the boot animation can crash the process that starts the home screen, and the system restarts to try again — forever. ROMs cause bootloops through a mismatched firmware base, a missing vendor file, or a bad flash. A module bootloop often appears immediately after enabling the module. A ROM bootloop often appears on the first boot after flashing. Timing is a useful clue, so note exactly when the loop began and what changed just before it.
Panic flashing is the biggest risk during a bootloop. Flashing a new ROM over a module problem can destroy a working backup or introduce a second problem on top of the first. The correct first move is diagnosis. Identify the last change before the loop began and undo that change first. One revert at a time keeps the repair understandable, and it keeps your data safe while you work.
Soft bootloop vs hard bootloop vs a dead device
A soft bootloop reaches the logo or animation and restarts; recovery and fastboot usually still work, and the fix is often a single module removal. A hard bootloop may reach the logo only briefly or not at all, yet fastboot mode still answers when you hold the right key combination — that points to a damaged boot or system image rather than a module. A device with no response to any button combination and no charging icon may have a drained battery, a failed storage chip, or a deeper hardware fault, and software fixes cannot help until the hardware answers. Charge the phone for at least thirty minutes on a known-good charger before declaring it dead; a fully drained battery can mimic a bricked device.
Why the last change before the loop matters most
Bootloops rarely appear without a trigger. List every change made in the session before the loop began: modules enabled, modules updated, ROM files flashed, kernel changes, and settings edited. A complete list often reveals a single change that stands out. Module updates deserve the same suspicion as new installs — an update can introduce a bug the previous version did not have, and people often focus only on newly installed modules while overlooking an update that ran in the same session. Configuration changes without any new module can also cause a loop: a kernel parameter edit or a system property change can break a service that runs at boot. Include those edits in the list even when no new file was installed.
Diagnose the Bootloop by Its Timing and Symptoms
Timing separates boot-time failures from runtime failures. A loop that begins immediately after a reboot points to a boot-time change such as a module or a boot image. A loop that begins after the phone has run normally for hours points to something else, such as a scheduled task or a delayed service. Watch how far the boot gets: a loop at the logo points to the boot image or kernel; a loop at the boot animation points to the system framework; a loop that reaches the lock screen and then restarts points to a system app or a module that hooks the interface.
Note any error that repeats on every boot attempt, and note whether the phone vibrates, shows a charging icon, or warms up. A phone that warms up during the loop is still running its processor, which means the hardware is alive and the problem is software. A phone that stays cold and dark after thirty minutes on a charger is a different problem entirely. These small observations save hours, because they tell you whether to keep working in software or to stop and consider hardware and professional help.
Check whether recovery and fastboot still answer
With the phone off, press and hold Power and Volume Down together for several seconds to try fastboot mode, and Power and Volume Up for recovery mode. The exact combination varies by brand — Samsung uses Power plus Volume Up with the phone connected to a computer on newer models, Pixel uses Power plus Volume Down — so check your device guide if the first try fails. If either mode appears, you have a working repair path. If neither appears, charge the phone and try again before moving to deeper modes such as EDL or download mode.
Read the recovery log before changing anything
If recovery opens, look for a log or error view. In TWRP, go to Advanced, then Copy Log, or check the log shown on screen after a failed action. A log entry naming a service or a file gives a direct lead. Logs look technical and are often overlooked, yet even a partial log can distinguish a module failure from a system image failure. Write down or photograph any error that repeats, because you will need the exact wording if you ask the module community for help later.
First Steps in Recovery: Disable the Suspect Module
Boot into custom recovery if available and do not wipe user data as a first step. Wiping data destroys photos and messages that might have been recoverable, and it is almost never the right opening move. Recovery mode offers safer first moves: disable recently installed modules through the recovery module manager, or through the module directory if the recovery supports file management.
In TWRP or OrangeFox, open the file manager and navigate to /data/adb/modules. Each module has its own folder. Rename the most recently added module folder — for example, add .bak to its name — or delete it, then reboot. If the phone boots, the removed module was the cause. If the loop continues, remove the next most recent module and reboot again. This method is slow but reliable, and it preserves the rest of the setup. Alternatively, create an empty file named disable inside a module folder to switch that module off without deleting it, which is the gentler option when you want to keep the module for later testing.
Magisk itself offers a faster route on many devices. Connect the phone to a computer while it is in the bootloop, then run adb wait-for-device shell magisk --remove-modules to remove all modules at once. This is the right choice when several modules changed in one session and you cannot tell which one is at fault. Newer Magisk versions also support safe mode: hold Volume Up while the phone boots, and Magisk disables all modules for that boot. If the phone starts in safe mode, the cause is certainly a module, and you can then re-enable them one at a time from the Magisk app.
Remove one module at a time, with a reboot after each
Resist the urge to delete every module at once when the one-by-one method is still possible. Deleting everything fixes the loop but teaches you nothing, and you will face the same guessing game the next time you reinstall. One removal and one reboot per test gives a clean answer for each module. Keep a short written note of each test — module name, what you did, and the result — because after the fourth reboot the details blur, and a written log is what turns a frustrating evening into a solved problem.
What to do when there is no custom recovery
Phones with only the stock recovery have fewer options, but they are not helpless. Stock recovery usually offers a cache wipe and a factory reset; use the cache wipe first, since it costs nothing. If the phone has an unlocked bootloader and fastboot access, you can boot a recovery image temporarily without installing it, using fastboot boot twrp.img with the recovery image for your exact device model. A temporary boot leaves nothing installed, yet gives you the full file manager and module controls for the repair.
Restore a Working Boot Image With Fastboot
If disabling modules does not help, the boot image itself is the next suspect. Restore a backup of the boot image taken before the change — a backup made through recovery is the fastest route back to a working state. Restore only the partitions that are relevant at first. Restoring everything at once can overwrite a newer data partition with an older copy unnecessarily, so start with boot and see whether the phone starts.
If no recovery backup exists, flash a clean boot image for the exact ROM and build that was running before the loop. A boot image from a different build can cause new failures, so match the build number and the device model exactly. Flash it with fastboot flash boot boot.img followed by fastboot reboot. If the device uses a separate init_boot partition, as many newer phones do, flash the matching image there instead with fastboot flash init_boot init_boot.img. Using the wrong partition name is a common mistake that leaves the loop unchanged, so check your device guide for which partition holds the boot image.
Match the firmware base before flashing a ROM again
A ROM bootloop may need a clean flash of the ROM itself, but before that, check the firmware base requirement for that ROM. Some ROMs require a specific stock firmware version as a base, and flashing a ROM on the wrong base produces a loop that no module fix will solve. Flash the required base firmware first and then flash the ROM again. Also confirm the vendor image matches: on many devices the vendor partition carries the drivers for the camera, fingerprint sensor, and modem, and a mismatched vendor image loops the phone just as surely as a bad system image.
Switch the active slot on A/B devices
Phones with A/B partitions keep two copies of the system, and a failed update or flash may have damaged only the active slot. From fastboot, run fastboot getvar all and look for the current slot, then switch with fastboot --set-active=a or fastboot --set-active=b to boot the other slot. If the phone starts on the other slot, the previous slot holds the bad image, and you can repair it at leisure instead of in a panic. This single command has rescued more phones than most people realise, and it costs nothing to try.
When Recovery Itself Is Gone
If recovery is broken, fastboot becomes the main tool. Flash a working recovery image for the exact device and then use recovery to disable modules or restore a backup. Fastboot flashing demands exact image matching: a recovery image for a similar model can fail to boot or can damage the recovery partition. Download the image from the official source for your device, verify its checksum if one is published, and flash it with fastboot flash recovery recovery.img on devices with a recovery partition, or fastboot boot recovery.img for a temporary start.
If fastboot is also unavailable, the device needs a deeper mode. Samsung devices may still enter download mode, Qualcomm devices may still enter emergency download mode, and MediaTek devices may still enter preloader mode. Each mode has its own tool and its own firmware requirements, and the flashing guide that explains how to flash firmware using Odin and Fastboot and SP Flash Tools shows the return path to stock firmware for these cases. The guide on how to use FastbootD mode for dynamic partition flashing explains the partition mode used by newer devices, and the guide on how to unbrick hard-bricked Android phones using EDL mode covers the deepest recovery route when nothing else answers.
Keep the phone charged and still during any flash
Recovery work can take time, and a dead battery during a flash or a restore creates a second problem on top of the first. Use a reliable cable, keep the phone connected to a charger or a powered USB port, and avoid moving the phone while a restore is running. Stability matters as much as the correct command. A flash interrupted halfway is how a soft bootloop becomes a hard brick, so never start a flash on a phone showing less than 30 percent battery unless you have no choice.
When the bootloader is locked and nothing boots
A locked bootloader limits your options: fastboot will refuse most flash commands, and custom recovery cannot be installed. On many devices you can still use the stock recovery and the manufacturer flash tool — Odin for Samsung, the Mi Flash Tool for Xiaomi, or the official rescue tool for your brand. If the bootloader needs unlocking to proceed, remember that unlocking wipes user data on nearly every device, so treat it as a last resort and only after accepting that the data on the phone may be lost. An unlocked bootloader is a powerful repair tool, but the wipe that comes with it is the price.
Recover Without Losing Your Data
Data preservation starts before trouble, because a bootloop phone cannot create a fresh backup easily. Regular backups to external storage are the real protection: people who back up weekly lose at most a week of data in a worst-case wipe, while people who never back up risk losing everything. A bootloop is a reminder of a backup habit rather than a substitute for one.
Recovery file managers can sometimes copy user data from a bootloop phone before a wipe. That option depends on the data encryption state and on recovery compatibility — encrypted data may be inaccessible in recovery without the correct decryption support, which is why you should test recovery data access on a working phone rather than discovering its limits during a crisis. In TWRP, try mounting the data partition and using the file manager or MTP mode to copy photos and documents to a computer. If MTP works, copy the DCIM folder and the Download folder first, since those hold the files people miss most.
Selective wipes are preferable to full wipes when the problem is isolated. Wiping cache alone can resolve some boot issues without touching user data. Wiping a single problematic app data partition can resolve an app-driven loop. Full data wipes should be a last step after selective steps have failed, and each wipe level should be tried in order from least destructive to most destructive. Module disabling through recovery preserves data while removing the suspected cause, which is why it should precede any wipe. A wipe performed before module disabling destroys data for a problem that a simple disable might have fixed. Order matters in recovery just as order matters in diagnosis: least destructive effective step first is the guiding rule.
Copy what you can before any wipe
Before any wipe, spend ten minutes trying to copy data. Boot recovery, connect the phone to a computer, and run adb pull /sdcard/DCIM and adb pull /sdcard/Download. If adb works in recovery, those two commands can save the photos and files that matter most. If adb does not work, use the recovery MTP mode or the built-in file manager to copy files to a USB drive through an OTG adapter. Even a partial copy is worth the effort, because a wipe is permanent and a copied folder is not.
After recovery, change one habit to prevent the next loop
A single habit change after a bootloop is more valuable than a promise to be more careful in general. Take a recovery backup before every module change. Install modules one at a time. Keep a written change log with the date, the module name and version, and the ROM build. Any one of these habits would have made the loop you just fixed a ten-minute job instead of an evening of worry. Specific habits prevent specific failures.
Reinstall Modules One at a Time After the Phone Boots
After the phone boots successfully, test basic functions before reinstalling modules. Test calls, Wi-Fi, the camera, and sensors. Then reinstall modules one at a time with a reboot and a short test after each one. A module that passed alone may still conflict with another module, and slow reinstallation finds conflicts that bulk reinstallation hides. If the loop returns after a particular module, you have found the culprit, and you can check whether a newer version of that module fixes the problem or whether it simply does not suit your ROM build.
Check the module community before reinstalling a suspect module. A report that names the module version, the device model, and the software build helps other owners avoid the same loop, and reading other reports may tell you that the module is already known to fail on your build. Share your own experience when the cause is clear: a specific report improves the whole ecosystem, while a vague report that only says the phone bootlooped helps nobody.
Separate system updates from module changes
A system update plus a module update in the same session makes attribution difficult when trouble appears. Update the system and test stability before updating modules, and update modules one at a time with a reboot between them. Separate sessions create clean attribution, so when a loop appears you already know which change caused it. This discipline feels slow, yet it is far faster than the hours lost to a loop with two suspects.
Common Mistakes That Turn a Soft Bootloop Into a Brick
The first mistake is wiping data before trying module removal. The second is flashing a random boot image from a different build or a similar model, which can replace a fixable problem with a worse one. The third is interrupting a flash because it looks stuck — some flashes take several minutes with no visible progress, and pulling the cable halfway is how partitions get corrupted. The fourth is flashing with a low battery, which risks a shutdown mid-write. The fifth is ignoring the firmware base: a ROM flashed on the wrong base loops no matter how many times you reflash it, and each reflash wastes time that should have gone to flashing the correct base first.
Another common mistake is reinstalling every module at once after the repair. If two modules conflict, the loop returns and you are back at the start with no idea which one caused it. Reinstall slowly, test each one, and keep the change log going. The loop you just fixed was a lesson; reinstalling in bulk throws the lesson away.
Frequently Asked Questions About Bootloop Repairs
Will a bootloop delete my photos and files?
Not by itself. A bootloop is a failed startup, not a wipe, and your files stay on the storage chip while the phone loops. Data is only lost if you choose a factory reset or a data wipe during the repair, or if the storage itself has failed. That is why module removal and boot image repair come before any wipe in this guide, and why copying files through recovery is worth trying first.
How do I know whether a module or the ROM caused the loop?
Look at the timing. A loop that starts right after enabling or updating a module points to that module, especially if the phone ran fine on the same ROM for days before. A loop that starts on the first boot after flashing a ROM points to the ROM, its firmware base, or a bad flash. If the phone boots in Magisk safe mode with modules disabled, the cause is a module. If it still loops with all modules off, the cause sits in the boot image or the ROM itself.
Can I fix a bootloop without a computer?
Sometimes. If custom recovery is installed, you can disable modules from the recovery file manager entirely on the phone, and that fixes most module loops with no computer at all. A ROM loop, a missing recovery, or a need to flash a boot image usually requires a computer with fastboot and the correct image files. Keep a copy of your working boot image and recovery image on a USB drive or an OTG stick so the tools are ready before trouble starts.
What if the phone loops even after I remove all modules?
Then the problem is deeper than modules. Restore a known-good boot image with fastboot, check that the firmware base matches your ROM, and try switching the active slot on A/B devices. If recovery itself is broken, flash a fresh recovery image first. If none of those steps help and fastboot still answers, a clean flash of the stock firmware through the manufacturer tool is the next step, accepting that it may wipe data.
How long should I wait before giving up on a bootloop fix?
There is no fixed clock, but there is a sensible order: module removal, boot image repair, slot switch, clean flash of the same ROM, then stock firmware. If you have worked through that order with the correct images for your exact model and the phone still loops, the cause may be hardware — a failing storage chip or a damaged board — and professional repair is the honest next step rather than more flashing. Stop before repeated blind flashes make a hardware problem worse.
Your next step is a small one you can do today while the phone works: open recovery, make a full backup, and copy it plus your working boot image to a computer or a USB drive. Write down the ROM build number and the module versions you run. That ten-minute job is the difference between a loop that costs you an evening and a loop that costs you ten minutes, and the next time a module misbehaves, you will already have everything the repair needs.

