

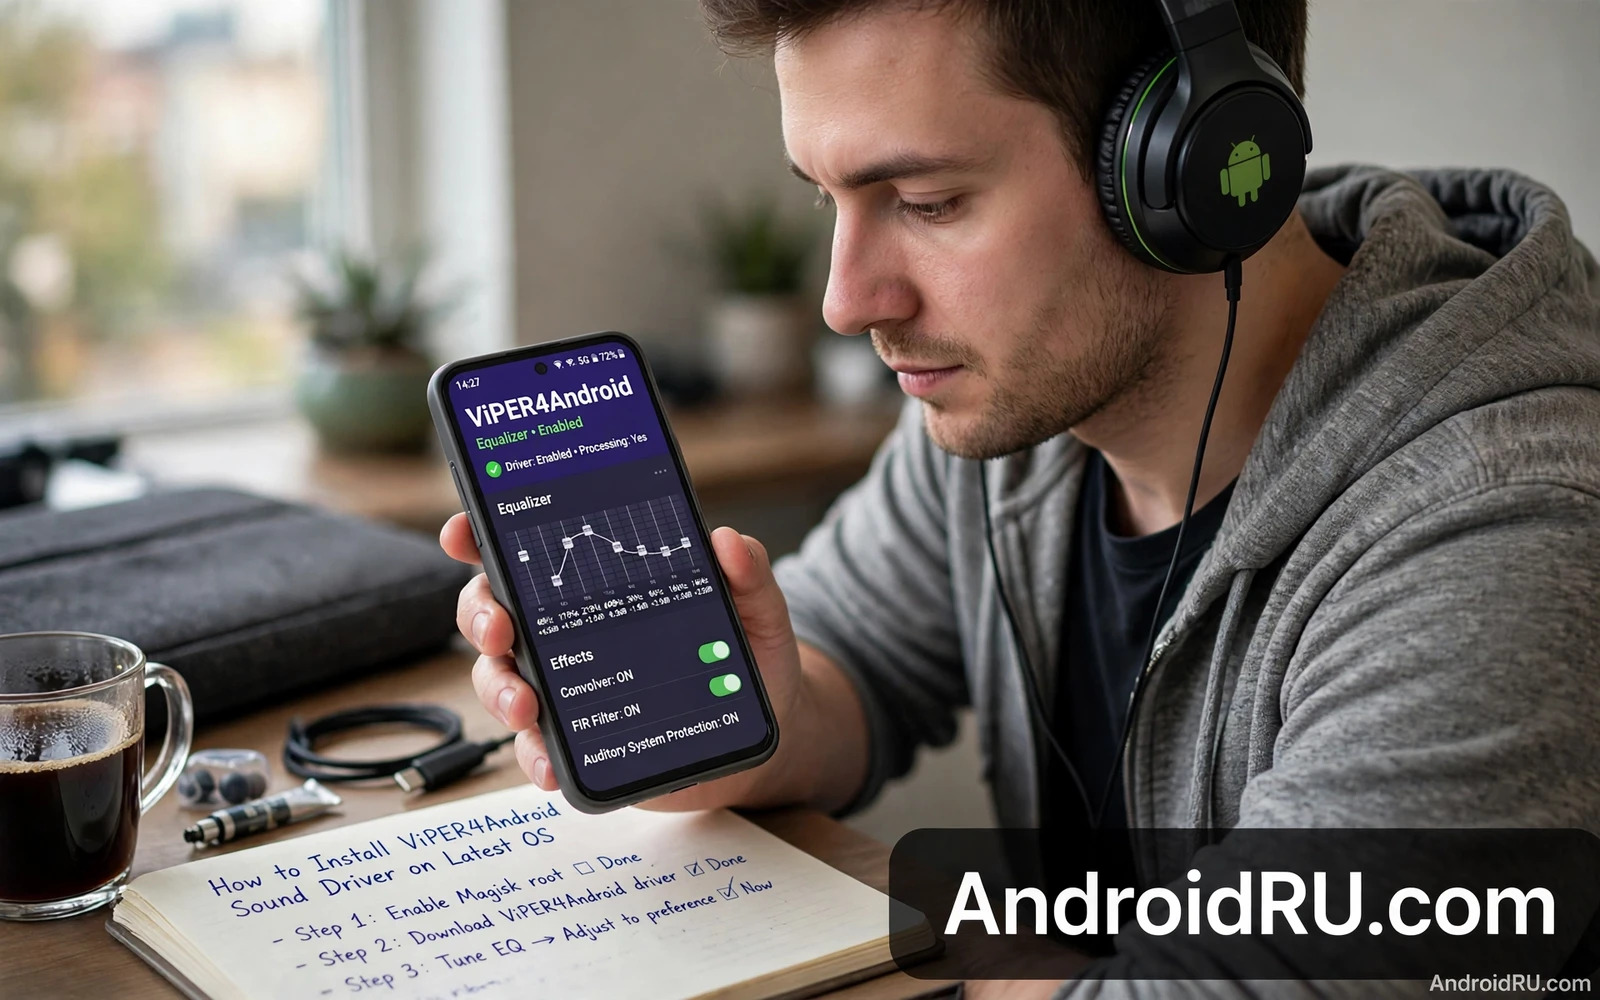
ViPER4Android is a system level audio driver that adds deep sound control to Android phones. It adds an equalizer and bass control and clarity tools and surround effects that go beyond the normal volume and tone settings. Many users install it through a root module because the driver must hook the audio path at a low level. This guide explains how the driver works and how to install it on a recent Android system and how to recover when audio breaks. It focuses on a careful install rather than a fast install.
Read the safety warning before you install any audio driver at system level. A wrong driver install can silence all audio and can cause a bootloop or a brick and it can void the device warranty. Driver work can also force a data wipe when a failed boot leads to a factory reset. Back up photos and videos and documents and accounts before you start and keep a full system backup ready. Test on a spare device first when you can and never install a driver on your only phone without a rollback plan.
What ViPER4Android Changes In The Audio Path
Normal Android audio passes from an app through the audio framework and then through a hardware layer to the speaker or to headphones. ViPER4Android inserts its own processing stage into that path so it can shape sound before it reaches the hardware. That stage can boost bass and widen the stereo image and clarify voices and apply a custom equalizer curve. Because the stage sits low in the path it affects many apps at once instead of one app at a time.
That low position is both the strength and the risk of the driver. A well tuned profile can make cheap earbuds sound fuller and can make voices clearer on calls and media. A badly tuned profile can distort sound and clip loud passages and make music tiring to listen to for long sessions. A driver that conflicts with a maker audio effect can silence output entirely. Always test with a simple profile first and add effects one at a time so you can find the setting that causes a problem.
Requirements Before Installation
ViPER4Android on a recent system normally requires root access and a module system that can install the driver systemlessly. Check that root works and that the module manager opens without errors before you add any audio module. Check that your ROM supports the driver version you plan to use because a driver built for an older audio framework may fail on a newer system. Read the module notes for your exact Android version and for your exact device family before you download anything.
Disable or remove other system audio mods before you install ViPER4Android. Two drivers that fight over the same audio path will produce silence or distortion or crashes in media apps. Make a list of every audio module already installed and remove the ones you do not need. Keep only one active audio processing module at a time during testing. That single driver rule saves hours of confusion when sound stops working after an install.
Module basics matter here and the Magisk modules guide for performance battery and audio shows how module choice and module order affect stability. That guide helps you place an audio driver among other modules without creating conflicts. Read it before you add ViPER4Android to a phone that already runs several modules. A crowded module list is a common cause of audio failure.
Installation Steps In Safe Order
Back up the system and back up the current audio settings before you install. Download the driver module from a trusted source that the module community clearly endorses. Install the module through the module manager and do not install extra audio files from random posts during the same session. Reboot once and wait for the system to settle before you open the driver app. A second reboot too soon can interrupt driver setup and leave the audio path half configured.
Open the driver app and grant the permissions it requests for audio processing. Install the driver component from inside the app when the app asks for that step. Reboot again after the driver component installs and then test audio with a simple music file and with a call test. If sound works then create a mild profile with a gentle equalizer curve and a small bass boost. Save that profile under a clear name so you can return to it after later experiments.
Install module through module manager
Reboot and wait for system to settle
Install driver from inside the app
Reboot again and test simple audio first
Tuning Without Distortion
Tuning starts with flat settings and small changes. Set the equalizer flat and listen to familiar music and note what feels missing. Add a small bass lift first and listen again before you touch other bands. Add clarity in small steps and stop when voices sound natural rather than harsh. Avoid pushing every slider to its maximum because maximum values stack into clipping and clipping damages listening quality even when the volume stays moderate.
Use separate profiles for headphones and for speakers because the same curve rarely fits both outputs. Headphones need less bass boost than a small phone speaker in many cases. Speakers need care with low frequencies because a tiny speaker cannot reproduce deep bass cleanly. Save each profile with a name that states the output device so you do not apply a headphone profile to the speaker by mistake. Test each profile at normal volume before you test at high volume.
Property tweaks can interact with audio behavior and the build prop editing guide explains how a single system property can change audio routing on some devices. That guide warns against changing audio properties and installing a driver in the same session. Change one audio layer at a time so a failure has a single suspect. When sound breaks after two changes at once you cannot tell which change caused the break.
When Audio Breaks After Installation
When audio breaks first disable the ViPER4Android module from the module manager or from recovery and reboot. If sound returns then the driver conflicted with another module or with the ROM audio framework. Remove other audio modules one at a time and retest the driver after each removal. If sound stays broken after disabling the module then restore the system backup you made before installation. Do not keep reinstalling the driver on a broken system because repeated installs can stack conflicting files.
Profiles For Music Styles
Music styles respond differently to the same equalizer curve because bass heavy music and vocal music stress different frequency ranges. A curve that flatters bass heavy tracks can make vocal tracks sound muddy. A curve that clarifies vocals can make bass heavy tracks sound thin. Build separate profiles by style rather than forcing one universal curve to serve every genre. Name each profile by style and by output device so the right profile is easy to find during listening.
Listening volume changes how a profile feels because human hearing perceives bass and treble differently at low volume and at high volume. A profile tuned at high volume may sound dull at low volume. A profile tuned at low volume may sound harsh at high volume. Tune profiles at the volume you actually use most often. Retune when your listening habits change from quiet rooms to noisy travel.
Long listening sessions deserve gentler profiles than short test sessions. A dramatic bass boost feels exciting for a few minutes and tiring after an hour. A mild curve with a small bass lift and a small clarity lift stays pleasant for longer sessions. Save the dramatic profile for short demonstrations and save the gentle profile for daily listening. Your ears will notice the difference over a full day.
Driver Conflicts And Kernel Audio
Kernel audio settings can interact with a user space driver in ways that look like driver bugs. A kernel level equalizer or a maker audio enhancement may process sound before or after the driver stage. Two stages that both boost the same frequency range can stack into distortion even when each stage looks mild alone. Disable maker enhancements during driver testing so the driver stage is the only active processing stage. Reintroduce enhancements one at a time only after the driver works cleanly alone.
Kernel tuning knowledge helps you separate driver problems from kernel problems and the kernel tuning guide explains how low level tuning affects performance and stability. That guide helps you judge whether a sound stutter comes from audio processing or from processor scheduling. A stutter that appears only under heavy load may be a scheduling issue rather than an audio issue.
ROM updates can break a working driver because a new audio framework may change the hook points that the driver uses. After a ROM update test audio before you assume the driver still works. If audio breaks after an update then check for a driver update built for the new framework before you reinstall the old driver. Reinstalling an old driver on a new framework often repeats the same failure.
Listening Safety And Hearing Care
Listening safety matters as much as sound quality because long sessions at high volume can harm hearing over time. Keep volume moderate during tuning tests so you can judge a profile without loudness masking its flaws. A profile that only sounds good at high volume is a poor profile. Test profiles at moderate volume first and treat high volume as an occasional check rather than a daily habit.
Take breaks during long tuning sessions because ear fatigue changes judgment. A curve that sounds balanced after an hour of loud testing may sound harsh to fresh ears the next morning. Rest your ears and retest the next day before you save a profile as final. Fresh ears give more honest judgments than tired ears.
Protect children and other listeners from extreme profiles by keeping dramatic bass profiles private to your own headphones. A shared speaker profile should stay mild so it does not surprise others with sudden loud bass. Considerate audio tuning is part of responsible driver use.
Driver Updates And Long Term Care
Driver updates need the same caution as the first install because an update can change processing behavior without warning. Read update notes before you apply a driver update and test audio after the update with a familiar track. A driver update that changes default profiles can surprise you with a different sound on first listen. Keep the previous working profile saved under a clear name so a bad update does not erase your best tuning.
Long term care means reviewing profiles after phone updates and after headphone changes. A new phone update can change audio routing and a new headphone model can change frequency response. A profile tuned for one headphone rarely transfers perfectly to another headphone. Retune briefly whenever hardware or system software changes and keep profiles labeled by headphone model.
ViPER4Android rewards patience and a single driver rule and a backup before every change. Start mild and test with familiar audio and keep profiles separate for each output. With that discipline the driver can improve daily listening without turning a music phone into a silent phone.

