

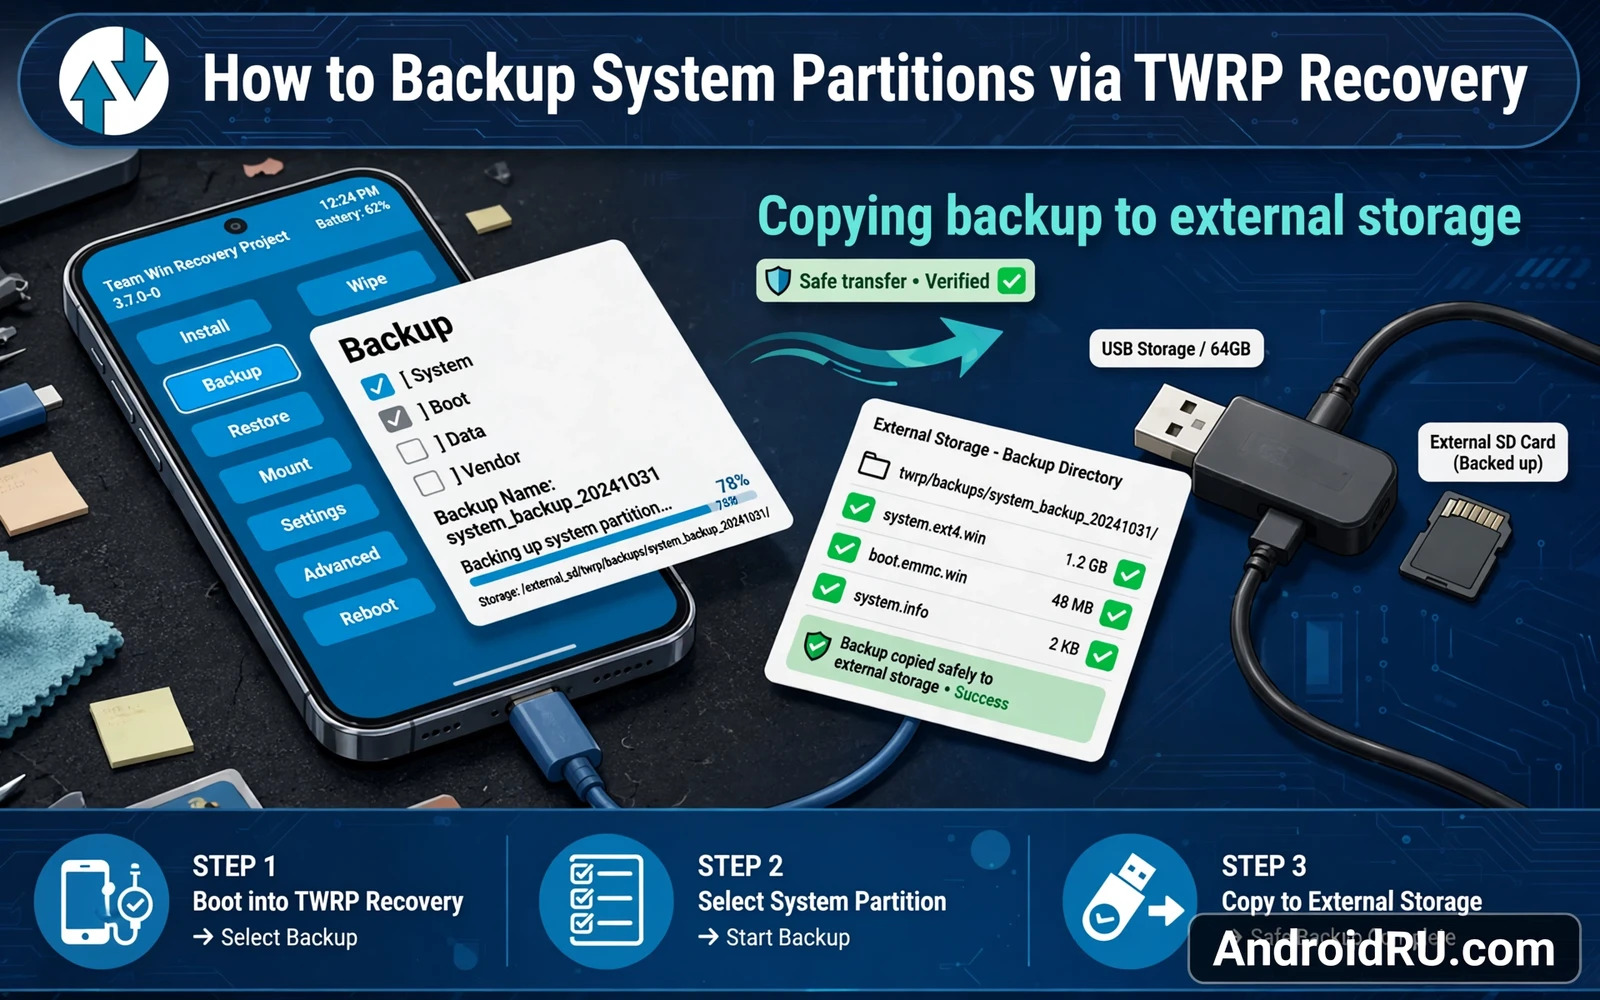
A recovery backup saves your phone from bad flashes and bad modules. TWRP recovery can back up system partitions before you change anything. A good backup lets you restore a working phone in minutes. A bad backup plan leaves you with a wiped phone and no way back. This guide explains which partitions matter. It explains how to make a backup. It explains how to verify a backup. It explains how to restore a backup. Follow the routine before every ROM flash and every risky module install.
Backup is not a single file. Backup is a set of partition images plus a plan. Partition images hold system code and boot code and user data. The plan tells you where the images live. The plan tells you how to restore them. The plan tells you which backup matches which system version. A backup without a clear plan causes confusion during rescue. Name every backup clearly. Store every backup in a known place.
Partitions You Should Understand
Boot partition holds the kernel and the boot image. Boot partition changes when you root the phone. Boot partition changes when you flash a custom kernel. A boot backup lets you undo a bad kernel flash fast. A boot backup lets you undo a bad root patch fast. Always include boot in a recovery backup.
System partition holds the Android system files. System partition changes when you flash a ROM. System partition changes when a module mounts files over it at boot. A system backup lets you restore the old ROM version. A system backup lets you undo a failed ROM flash. Always include system in a recovery backup when the recovery offers it.
Vendor partition holds maker hardware code. Vendor partition holds drivers for camera and modem and sensors. Vendor partition changes rarely on most ROM paths. A vendor backup protects hardware behavior after a ROM change. Include vendor when the recovery lists it for your model.
Data partition holds your apps and settings and files. Data partition is the largest backup in most cases. Data partition backup takes the longest time. Data partition backup needs the most storage space. Data partition backup can fail when encryption blocks recovery access. Test data backup on your build before you rely on it fully.
Super partition holds dynamic partitions on modern devices. Super partition layout differs from older partition layouts. Recovery handling of super varies by build. Check super support for your exact recovery build. Check super support for your exact model. A backup that misses super may restore only part of a modern system.
Making A Backup In TWRP
Boot into recovery before you change anything. Use the recovery boot key combination for your model or the reboot command from the system. Wait for the recovery menu to load fully. Check that touch input responds. Check that storage mounts correctly. A recovery session that starts with storage errors needs fixing before backup.
Open the backup menu in recovery. Select boot and system and vendor and data when the recovery lists them. Select super handling when the recovery offers it for your model. Choose a clear backup name with date and system version and purpose. Choose external storage or USB storage when available. Internal storage backups die with a full wipe.
Start the backup and wait without interruption. A backup can take many minutes for a large data partition. Keep the phone connected to power during backup. Do not unplug storage during backup. Do not reboot during backup. Read the log when backup finishes. A backup that reports errors needs a retry before you trust it.
- Boot into recovery and confirm storage mounts
- Select boot system vendor and data partitions
- Name the backup with date version and purpose
- Store the backup on external storage or a computer
- Read the backup log and retry on any error
- Copy the backup off the phone before risky changes
Verifying A Backup Before You Trust It
Verification starts with the backup log. A clean log means the recovery read every selected partition. A log with errors means part of the backup may be missing. A log with skipped partitions means the restore will miss those parts. Read the log every time. A backup that you never checked may fail during restore.
Verification continues with file checks. Open the backup folder on a computer when possible. Check that files exist for each selected partition. Check that file sizes look plausible for your phone. A zero size file signals a failed backup. A missing partition file signals a skipped backup. Delete and remake any backup that looks incomplete.
Verification ends with a restore test when you can afford one. A restore test on a second identical phone proves the backup works. A restore test on your own phone proves the backup works but risks downtime. Most users cannot test every backup fully. At minimum verify logs and files for every backup. Test a full restore once after your first backup routine.
Copying Backups Off The Phone
Copy backups to a computer after every important backup. A computer copy survives a phone wipe. A computer copy survives a storage failure on the phone. A computer copy survives a lost phone in some cases. Use a cable transfer or a recovery file transfer method. Confirm the copy size matches the phone folder size. Keep at least two copies for critical system states.
Organize backup folders by date and system version. A folder named with date and ROM version is easy to find during rescue. A folder named with a vague label wastes time during rescue. Keep a short text note with each backup when the backup matters. Note the ROM version and root method and module list. A note turns restore from guesswork into a clear choice.
Clean old backups on a schedule. Old backups consume large storage space. Old backups for outdated system versions may restore poorly. Keep the newest working backup always. Keep the last stock backup always. Keep one backup per major system version. Delete the rest when storage runs low.
Restoring A Backup Step By Step
Boot into recovery and open the restore menu. Choose the backup folder by date and version. Select the partitions to restore. Restore boot and system and vendor together for a full system restore. Restore data only when you need user data back without changing the system. Read the restore log before reboot. A restore that reports errors needs attention before reboot.
Wipe cache after a system restore when the recovery guide suggests it. Cache wipe clears stale app optimization data. Cache wipe does not delete user files. Cache wipe can fix app crashes after restore. Do not wipe data as part of a system restore unless the restore itself requires it. Data wipe removes the user data that the restore tries to save.
Reboot after restore and wait for first boot. First boot after restore can take longer than normal. The system rebuilds app caches. The system checks restored data. Test calls and messages and mobile data first. Test the camera and fingerprint unlock next. Test banking apps before daily reliance returns. A restore that passes core tests is a good restore.
Encryption And Backup Limits
Modern Android encrypts user data by default. Recovery must decrypt data to back it up fully. Decryption support varies by device and by recovery build. Some builds decrypt cleanly with a lock screen credential. Some builds back up data only in encrypted form. Some builds skip data backup when decryption fails. Enter the lock credential in recovery when the build asks for it. Test data restore on your build before you rely on it.
Data backup limits mean app level backup still matters. Back up photos and files separately from recovery backup. Back up app exports separately from recovery backup. Back up contacts and messages through system backup tools as well. Layered backup beats a single backup method. A recovery backup plus a file backup plus an app export covers more failure types.
Recovery choice shapes backup quality. The TWRP and OrangeFox custom recovery comparison weighs decryption and partition handling across builds. A build with clean decryption for your model is worth more than a build with a prettier menu. Choose recovery by backup results on your model.
Backup discipline connects directly to ROM work. The how to install custom ROMs LineageOS step by step path starts with a recovery backup for good reason. A ROM flash without a backup leaves no way back when the new system fails. Make the backup first every time. No exception for a quick flash.
Backup discipline also connects to root safety. The complete Android rooting guide sets out backup and recovery habits for a rooted phone. Pair those habits with a verified recovery backup and risky changes become experiments instead of crises. A tested backup is the cheapest insurance in Android customization.
Backup Frequency By Risk Level
Backup frequency should match how often you change the system. A daily driver with no changes needs a backup once a month. A daily driver before any system update needs a fresh backup. A phone under active ROM testing needs a backup before every flash. A phone under active module testing needs a backup before every module round. Match frequency to risk and you will rarely lose more than a day of changes.
Selective restore needs extra care. Restoring data from a different ROM version can break app settings. Restoring data from a different Android version can break system apps. Restoring system partitions from a different build can cause boot failure. Restore data only onto the same ROM version and Android version when possible. Test core apps after any selective restore. Revert to a full restore when selective restore causes crashes.
Backup size planning prevents failed backups. Check free space on the backup destination before you start. Data partition backups can exceed many gigabytes on a full phone. A destination that fills halfway through backup produces a corrupt backup. Free space on the destination first. Delete old backups that you no longer need. A backup that fits cleanly is worth more than a backup that fails at ninety percent.
A backup routine for teams and families needs written notes. Note the phone model and system version for each backup. Note the ROM name and build date for each backup. Note the root method for each backup. A family member or a future you will thank a clear note during a stressful restore. A backup folder without notes forces guesswork at the worst moment.

