

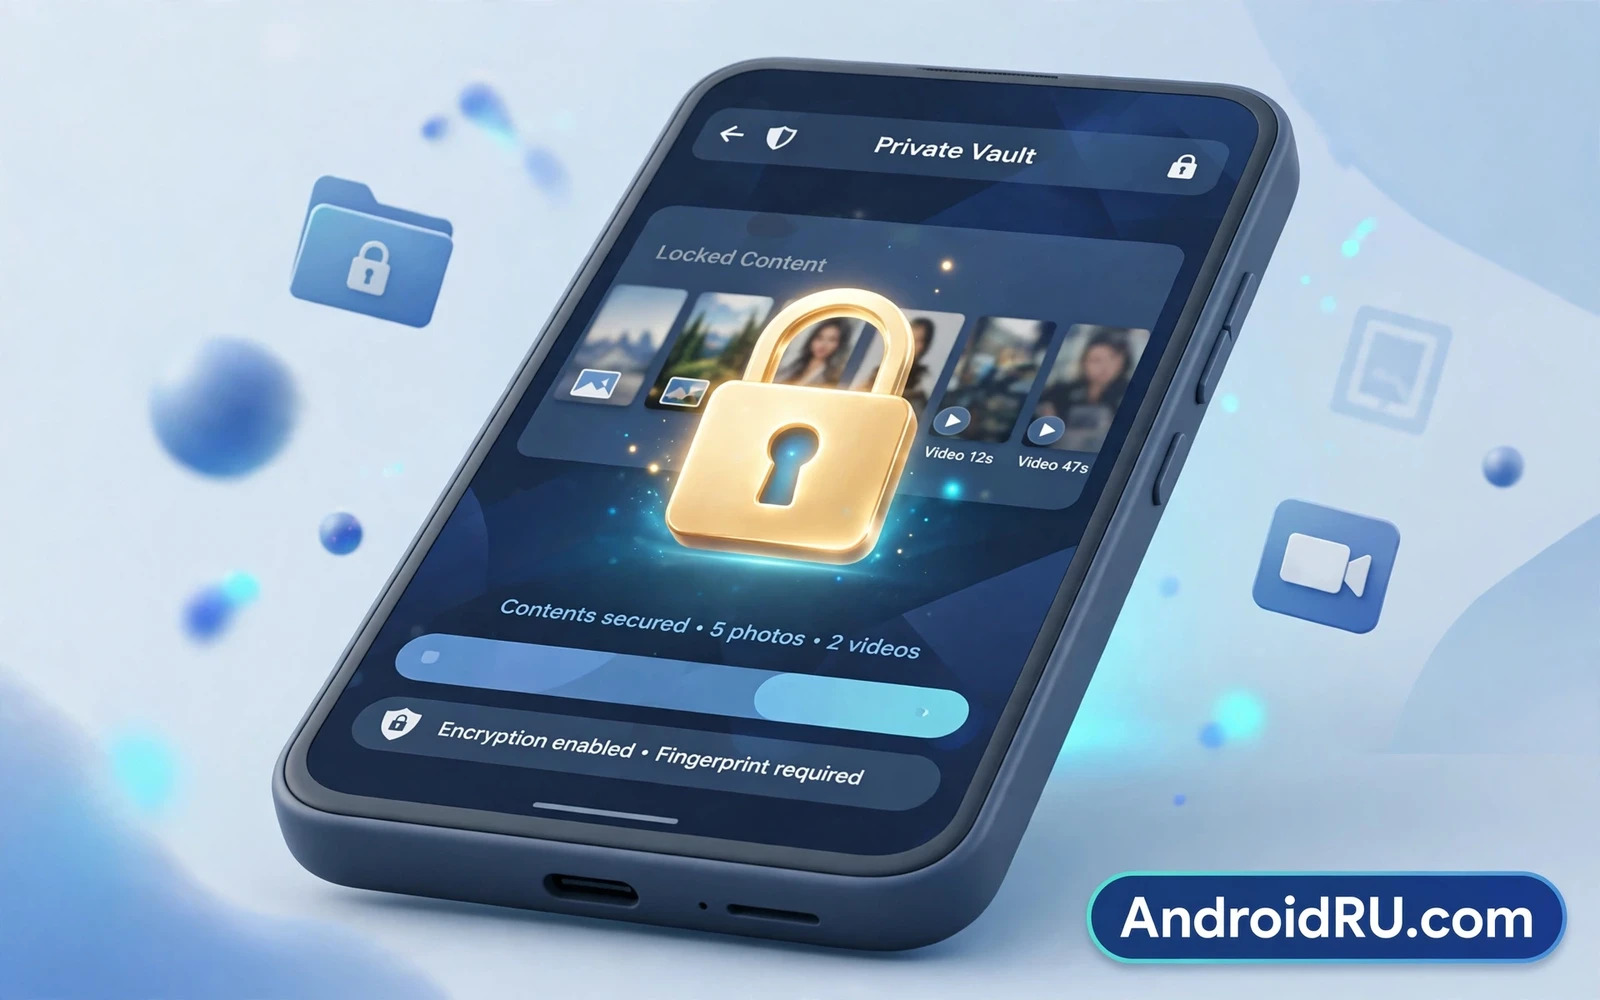
A photo that sits in a normal gallery folder is easy to find because anyone who holds your unlocked phone can open the gallery and scroll through every image in seconds. An encrypted locker changes that picture completely because it moves chosen media into a protected vault and scrambles the files so that they cannot be viewed without the correct unlock method. The original files leave the public folders and only a locked entry point remains for the owner. That separation matters most for travel photos and family videos and personal documents that were never meant for casual viewing. A locker does not make a phone invisible but it does make private media far harder to reach by accident or by curiosity.
Encryption differs from a simple hide trick because a hidden folder can still be opened by a file manager while an encrypted vault cannot be read without its key. A locker app should encrypt each file as it moves into the vault and should decrypt it only while you view it inside the locked area. Check the locker description for clear encryption language and avoid any tool that only renames files or moves them to a folder with a dot at the start of its name. A real locker also protects thumbnails and recent files lists because those small previews can leak the very images that you tried to hide. Test the locker after setup by opening a file manager and confirming that the vault files look unreadable outside the app.
Choose A Real Locker Rather Than A Simple Hide Trick
Choose a locker with care because the app that guards your media will hold some of your most personal files. Look for a locker that works fully offline for local vaults and that asks for no broad network permission that it cannot justify in plain terms. Prefer a locker that supports a strong PIN and biometric unlock and that locks itself quickly when you leave the app or switch to another screen. Read permission requests during setup and reject any request for contacts or messages or location that has nothing to do with storing photos. A locker that respects least privilege from the first screen is far more likely to respect your media over time.
Setup should start with a small test batch rather than a full library move because a test reveals problems before they affect irreplaceable memories. Pick a few unimportant photos and move them into the vault and then lock the app and reopen it with your chosen unlock method. Check that the images look sharp inside the vault and that the originals no longer appear in the gallery or in recent files. Test the lock timer by leaving the app open and returning after a short break to confirm that it asks for unlock again. Only after that test succeeds should you move larger groups of photos and videos in stages.
Moving media in stages also protects you from a single failure that could affect a whole library at once. Move one album at a time and verify each album inside the vault before you move the next album. Keep the originals until verification is complete and only then allow the locker to remove the public copies. Watch for videos that need more time to encrypt because large files can fail silently when storage runs low or when the phone sleeps during a long transfer. Keep the phone charged and awake during large moves and check free storage before you start a large batch.
A strong unlock method is the front door of the vault and it deserves the same care as the encryption behind it. Use a PIN that is not a birth year or a simple sequence and avoid reusing the phone lock PIN when the locker allows a separate code. Biometric unlock adds speed but it should sit beside a strong fallback PIN rather than replacing it entirely. Change the unlock code if anyone else has seen you enter it and never share the code through a message that stays on another device. The habit of guarding the code matters as much as the strength of the code itself.
Back Up Locked Media Without Undoing Encryption
Backups need special thought for locked media because a normal gallery backup may copy public files while ignoring the encrypted vault completely. Check whether the locker offers its own encrypted backup and read how that backup is protected before you enable it. An encrypted cloud copy can rescue media after a lost phone but it also creates a second vault that needs its own strong password. You can compare that approach with how encrypted cloud backup services protect Android device copies so that your locker backup and your general backup do not work against each other. Keep at least one backup route that you control and test a restore from a single file before you trust the whole system.
Recovery planning prevents a locker from becoming a trap when a phone breaks or a PIN is forgotten. Write down the recovery method that the locker offers and test whether it uses an email reset or a security question or a separate recovery key. Store any recovery key outside the phone in a place that only you can reach and never store it inside the same vault that it is meant to unlock. If the locker offers no recovery at all then treat that vault as high risk and keep a second encrypted copy of the most important media elsewhere. A locker without recovery can protect privacy perfectly while still causing permanent loss after a simple memory lapse.
Add Layers Around The Vault
App level locking adds a second layer for media apps that must stay visible on the phone for everyday use. A gallery app that holds shared albums or a camera app that holds recent shots can sit behind biometric or PIN protection even when the main vault holds the most sensitive items. That layered approach mirrors how locking apps behind biometrics or PIN codes works for everyday apps because it keeps casual access blocked while still letting you use the phone quickly. Use app locking for the gallery and for file managers and for cloud apps that might show locked media through a preview. Layered locks slow down a curious borrower far more than any single lock alone.
Private Space offers a system level home for sensitive documents and media when a locker app alone feels insufficient for your needs. A separate space can hold its own gallery and its own files apart from the main profile so that private media never appears in main searches or main recents. That separation complements how Android Private Space keeps sensitive documents apart on the device because it moves protection from a single app to a whole area of the phone. Use Private Space for items that need the strongest separation and use a locker for items that need quick access inside the main profile.
Sharing from a vault needs a deliberate pause because an export can undo encryption in a single tap. When you share a locked photo the locker usually creates a decrypted copy for the receiving app and that copy may remain in a shared folder after the share finishes. Check the shared folder after any export and delete decrypted copies that you no longer need. Avoid sharing directly from inside the vault to a public social app when a private message route would serve the same purpose. Treat every export as a temporary release of protection and close that release as soon as the share is done.
Share And Restore With Care
Children and guests deserve a clear boundary rather than a lecture about privacy when they borrow a phone for a game or a video. Lock the vault and lock the gallery and set a short lock timer before you hand the phone over. Remove any decrypted exports from recent files before the handover and check that the locker does not show thumbnails on its locked screen. A short preparation routine takes less than a minute and it prevents awkward moments far better than any explanation after the fact. Keep the routine consistent so that it becomes a habit rather than a reaction to a specific request.
Restoring media from a locker after a phone change should follow the same staged method as the original move. Install the locker on the new phone and sign in through its secure route and restore a small test batch first. Verify image quality and video playback inside the vault before you restore the full collection. If the locker backup uses a separate password then enter that password carefully and avoid saving it in a browser on the new phone during setup. A staged restore catches encryption or account problems early while the old phone still holds a usable copy.
Keep The Vault Healthy Over Time
Long term care for a locked library depends on regular checks that take only a few minutes each month. Open the vault and confirm that recent photos moved correctly and that no public copies remain in the gallery. Review locker permissions and update the app through a trusted source when an update is available. Refresh your backup and confirm that the recovery method still works with your current email and current phone number. A locker that is checked often stays trustworthy and a library that is backed up often stays safe even when a phone is lost or damaged.
Vault organisation inside a locker app helps you find media quickly without exposing thumbnails to other apps. Create folders for family and travel and personal media inside the vault and use clear names that mean something only to you. Avoid folder names that describe sensitive content in plain terms on any screen that might show during a share. A tidy vault also makes backup verification easier because each folder can be checked separately. Organisation inside the vault is a privacy habit rather than a cosmetic choice.
Lock screen previews for a locker app deserve a test because a preview can show the most recent vault item even when the vault stays locked. Open locker settings and disable any preview or recent item display on the lock screen. Test the setting by locking the vault and then viewing the app icon and its preview area from outside. A locker that shows no preview gives a borrower nothing to guess from. Preview control is a small setting with a large privacy payoff.
Moving a vault to a new phone needs a transfer plan that never leaves a decrypted copy on the old phone. Export the vault through its encrypted route and verify the export on the new phone before deleting anything from the old phone. After verification delete the vault from the old phone and check that no public copies remain in its gallery. A clean transfer ends with one encrypted vault on the new phone and no readable leftovers on the old phone. That ending is worth the extra verification step.

