

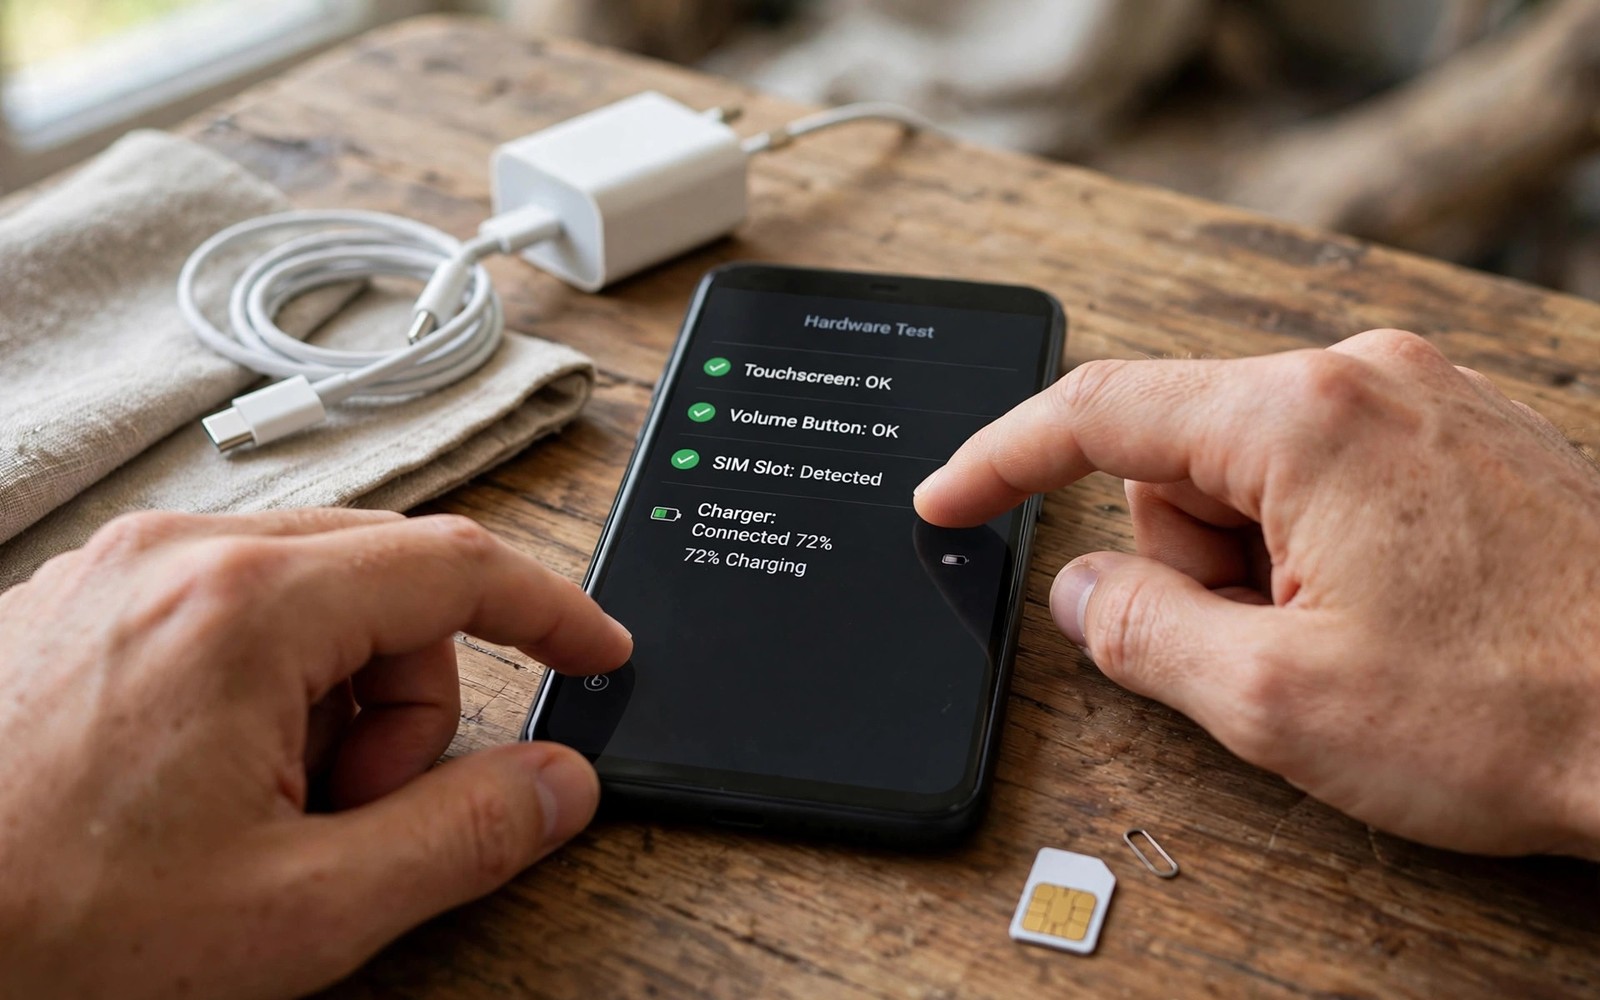
A used phone can hide faults that photos never show. Screens can have dead zones. Speakers can crackle at high volume. Ports can fail under slight movement. Ten minutes of testing can save you from months of regret. This guide gives you a practical test order. Follow it every time you inspect a phone.
Bring your own tools for the test. Pack a charger and a cable. Pack a SIM card and a pair of earphones. Pack a small flashlight for close inspection. These simple items reveal most common faults. Sellers respect buyers who arrive prepared.
Start With The Outside
Hold the phone under bright light and turn it slowly. Look for bends along the frame. Look for gaps between the screen and the frame. Gaps can signal a past repair or a swollen battery. Press gently around the edges and feel for movement. A solid phone feels uniform all around.
Inspect the charging port with your flashlight. Lint and corrosion hide inside the port. Corrosion looks green or white around metal contacts. Lint blocks full cable insertion. A blocked port may only need cleaning. A corroded port may need repair.
Check the SIM tray and its seal. Pull the tray out and look at the rubber ring if present. A missing ring weakens water resistance. Check the tray for bends or cracks. A damaged tray can cause signal drops.
Test The Screen Thoroughly
Open a solid white image first. Look for yellow stains and dark patches. Open a solid black image next. Look for bright spots and light bleed at edges. Open a solid red image and a solid blue image. Color patches reveal panel damage early.
Drag an icon slowly across every part of the screen. Watch for spots where the icon stops following your finger. Dead touch zones often sit near edges. Test multi touch with two fingers. Pinch to zoom in a photo app. Faulty touch ruins daily use fast.
Test brightness at minimum and maximum levels. A dim maximum suggests panel wear. Flicker at low brightness suggests a failing panel. Compare your results with notes in battery health testing for a full buying plan. Screen replacement is one of the costliest repairs.
Test Sound Cameras And Buttons
Play music at low volume and then at full volume. Listen for distortion and rattling. Test the earpiece with a real call. Test the microphones with a voice recording. Record in a quiet room and play it back. Muffled audio often means a blocked or damaged mic.
Open every camera on the phone. Take photos with the main camera and the front camera. Switch to wide and zoom lenses if present. Record a short video with sound. Check focus speed in dim light. Blurry photos can mean a scratched lens or a failing module.
Press each physical button ten times. Buttons should click firmly every time. A mushy button may fail soon. Test the fingerprint reader with several fingers. Test face unlock in bright and dim light. Biometric faults are expensive and annoying.
Test Radios Sensors And Heat
Insert your SIM and make a call. Test mobile data with a quick download. Connect to Wi-Fi and stream a short video. Pair a Bluetooth earphone and play audio. Each radio should connect quickly and stay stable. Drops suggest antenna damage.
Open a sensor test app if one is installed. Check the accelerometer and gyroscope response. Check the proximity sensor during a call. Check the compass direction against a known landmark. Full sensor guidance appears in blacklist and carrier lock checks for deeper testing. Sensors affect gaming and navigation daily.
Run a demanding game or video for ten minutes. Feel the back for uneven hot spots. A phone that overheats fast may have a failing battery. Sudden shutdowns under load are a hard stop. Do not accept promises that a reset will fix heat issues.
- Screen: solid colors plus slow drag across all edges.
- Sound: speaker and earpiece and mic recording test.
- Cameras: all lenses plus video with sound.
- Buttons: firm clicks plus biometric repeat tests.
- Radios: call and data and Wi-Fi and Bluetooth.
- Heat: ten minute load test without shutdowns.
Quick test order
1. Frame and ports under bright light
2. Screen colors and touch drag
3. Sound and cameras and buttons
4. SIM and Wi-Fi and Bluetooth
5. Heat test under load for ten minutes
This order moves from fast visual checks to longer functional tests. It helps you spot deal breakers early. You can stop the inspection at any failed step without wasting time.
Decide With Evidence
Note every fault you find with a photo. Use faults to negotiate a fair discount. Small cosmetic marks justify a small discount. Functional faults justify a large discount or a walk away. A phone with several faults is rarely a bargain.
Trust your test results over seller stories. A good phone passes tests without excuses. A bad phone generates excuses at every step. Keep your notes for warranty claims later. The habits in marketplace refurbished phone safety will protect every future purchase. Buy only the phone that earns your confidence.
Testing Under Real Conditions
Lab style tests miss faults that appear in daily life. Test the phone outdoors in sunlight. Sunlight reveals screen dimness and glare problems. It also reveals scratches that indoor light hides. Walk with the phone and test GPS tracking. GPS drift in real streets matters more than a static test. Real conditions expose weak antennas fast.
Test the phone with your own SIM and your own apps. Seller apps may mask performance issues. Your apps reflect your real usage. Install a messaging app and send several messages. Stream a video over mobile data for five minutes. Watch for buffering that suggests radio weakness. These real tests take little time and reveal much.
Test the phone at low battery as well as full charge. Some faults appear only below 20 percent. Throttling can increase as voltage drops. Shutdowns can occur at low charge with worn batteries. A phone that works perfectly at full charge can still fail daily. Low battery testing completes the picture honestly.
Test the phone after it warms up. Cold phones behave better than warm phones. Heat exposes weak batteries and poor cooling. Play a video for fifteen minutes before final checks. Then test touch response and camera focus again. Heat related faults appear in this second round. Sellers may resist long tests but patient testing protects you.
What Test Failures Mean For Price
A single minor fault rarely kills a deal. A scratched frame lowers value slightly. A weak speaker lowers value more. A failing battery lowers value by replacement cost. Price each fault separately and add them up. Present the total as a calm counter offer. Sellers accept itemized discounts better than vague low offers.
Multiple faults together signal deeper problems. A phone with screen faults and battery faults and speaker faults likely suffered drops. Drops can damage internal boards invisibly. Board damage causes future failures without warning. Offer a steep discount for multi fault phones or walk away. A clean single fault phone is a better bargain.
Some faults cost more than they appear. Screen replacement can exceed half the phone value. Board repair can exceed the phone value entirely. Get repair quotes before you negotiate these faults. A repair quote turns opinion into evidence. Sellers respect evidence and often accept fair discounts.
Advanced Hardware Tests For Confident Buyers
Test storage health beyond simple file copies. Fill storage to 90 percent and use apps normally. Worn storage slows dramatically when nearly full. Apps may crash on worn storage under load. A phone that works empty but fails full needs attention. Storage faults are costly and hard to repair. Full storage testing reveals them before purchase.
Test GPS accuracy on a known route. Walk a familiar street with maps open. Note whether the blue dot follows your path. Drift across parallel streets signals antenna weakness. Test GPS after the phone warms up. Heat can worsen antenna faults. Accurate GPS matters for driving and delivery work.
Test NFC with a payment card reader or transit tag when possible. Hold the phone near the reader steadily. A working NFC chip responds within seconds. Repeated failures suggest chip or antenna faults. NFC faults matter for contactless payment users. Test this feature when you rely on tap payments daily.
Test vibration motor strength across settings. Set vibration to strong and trigger notifications. Weak or rattling vibration suggests motor wear. Rattling motors worsen over time. Vibration matters for silent notifications at work. A failing motor is a small fault with daily annoyance.
Test all microphones separately. Record with the bottom mic and then the top mic. Video recording uses different mics than calls. Noise cancellation mics affect call clarity. Test each mic with a quiet recording. Muffled secondary mics suggest blocked holes or damage. Clean holes gently and retest before concluding faults.
Interpreting Test Results Together
Single test failures need context from other tests. A slow app launch alone may reflect full storage. A slow launch plus heat plus shutdowns suggests deeper faults. Combine results into a whole device picture. Patterns reveal root causes better than isolated numbers. A systematic buyer reads patterns rather than single scores.
Compare test results across several listings of the same model. One phone may score better on battery but worse on screen. Another may score the opposite. Your priorities decide the winner. A photographer should prioritize camera scores. A traveler should prioritize battery and GPS scores. Personal priorities turn raw tests into decisions.
Document results in a simple table for each phone. Record battery percent and screen condition and fault lists. Record prices alongside results. Tables make comparison instant across visits. Memory alone confuses listings after several inspections. Written tables protect you from mixing up phones.
Revisit borderline phones after a day of thought. Excitement fades and faults stand out clearer. Review your notes with fresh eyes. A phone that seemed great may show warning patterns. A phone that seemed average may look solid on review. Patience improves decisions more than any single test.
Quick Reference Checklist
- Inspect the frame under bright light for bends and gaps.
- Check the charging port for lint and corrosion deposits.
- Test the SIM tray seal and fit before inserting your SIM.
- Open solid white images to reveal stains and dark patches.
- Open solid black images to reveal bright spots and bleed.
- Drag an icon slowly across every screen edge for dead zones.
- Test pinch zoom with two fingers in a photo app.
- Play audio softly and loudly through speakers and earpiece.
- Record a voice memo and play it back for mic clarity.
- Test every camera lens including front and zoom lenses.
- Record video with sound to check stabilization and audio.
- Press each button ten times for firm and consistent clicks.
- Enroll a fingerprint and test unlock ten times in a row.
- Test face unlock in bright light and dim light.
- Make a call and test mobile data with your own SIM.
- Connect Wi-Fi and stream video for five minutes.
- Pair Bluetooth earphones and play audio without drops.
- Run a demanding app for ten minutes and watch for heat.
- Check for shutdowns or restarts during the load test.
- Photograph every fault and note it before negotiating price.

