

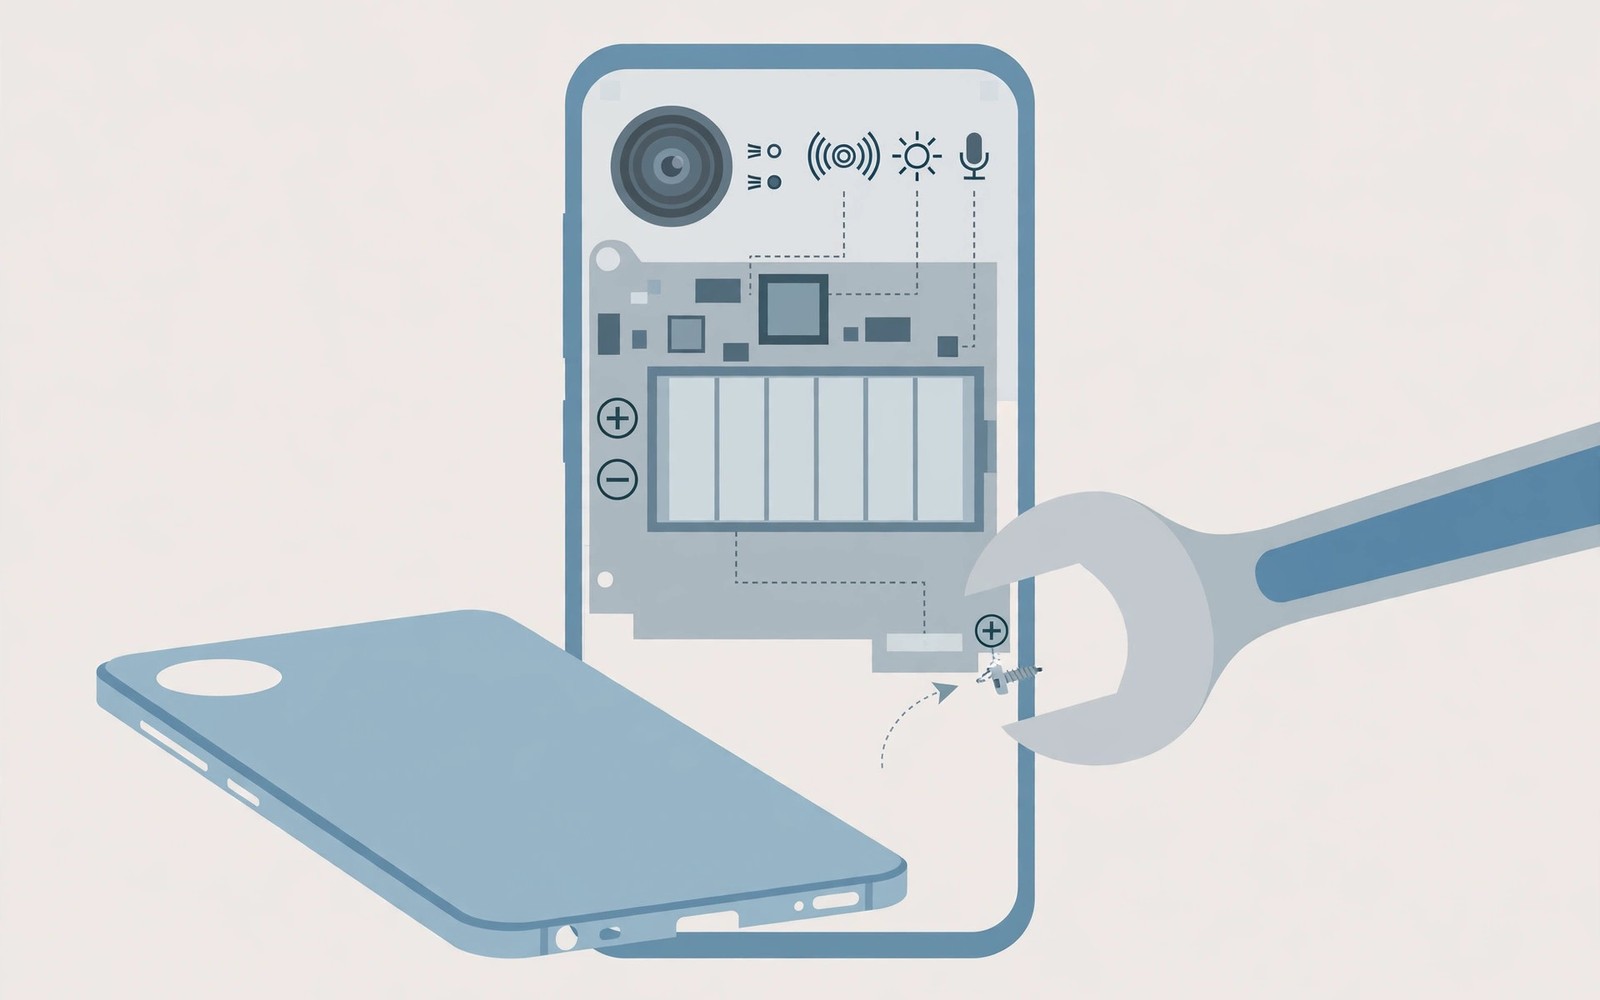
Sensors and cameras often break first after a ROM flash. The phone may boot fine while the camera app crashes. Auto rotation may stop. Proximity sensing during calls may fail. These faults usually trace to drivers or vendor files. They rarely mean the hardware itself died during flashing. This article gives a calm diagnostic order.
Start by listing exactly what fails. Note whether the camera fails in every app or only in one app. Note whether rotation fails everywhere or only in one game. Note whether the proximity sensor fails during calls only. Precise symptoms narrow the cause. Vague reports lead to random fixes.
Test on a clean system before restoring apps. A restored app can break a sensor that the ROM handles fine. A clean test separates ROM faults from app faults. Keep notes from that test. Those notes guide every later step and help others help you.
Vendor files deserve early attention. Many sensor drivers live in vendor code. A ROM built for one vendor version may fail with another. Check the required vendor version in the build notes. Match it before you try exotic fixes.
When you are ready to go further, read about how vendor boot images work in Treble ROMs and compare it with the plan you made for your own phone.
List Symptoms Before Changing Anything
Open the camera app and try photo mode and video mode. Open a compass app and check orientation. Rotate the phone on the home screen and in a browser. Make a test call and cover the top of the phone. Each test maps to a different sensor or driver.
Write results in a short table in your notes. Mark each test as pass or fail. Note any error message exactly. A table turns a confusing mess into a clear pattern. A pattern points to a shared driver or a single faulty app.
Check Vendor And Firmware First
Confirm the vendor version on your phone against the build notes. Flash the required vendor package if yours differs. Reboot and repeat the failing tests. Do not change the ROM at the same time. One change at a time keeps the diagnosis clean.
Check modem and firmware versions too when sensors fail broadly. A firmware mismatch can affect several drivers at once. Update firmware to the version the ROM expects. Test again before moving to app level fixes. Firmware fixes are boring and effective.
Test Camera Apps Separately
Try the stock camera app that ships with the ROM. Then try a trusted third party camera app. If one works and the other fails, the fault lies with the app. Clear the failing app cache and data. Reinstall the app if clearing cache fails. Do not blame the ROM for a single app fault.
Check camera permissions for each app. A denied permission can mimic a hardware failure. Grant camera permission and test again. Check whether the app needs location permission for photo tags. Some apps fail oddly when an optional permission is missing. Grant it for testing and then decide.
- List exact failing features before fixing
- Match vendor and firmware to build notes
- Test stock camera before third party apps
- Use sensor readings to separate driver faults
- Never wipe persist without a trusted guide
When you are ready to go further, read about comparing custom ROM speed with stock firmware and compare it with the plan you made for your own phone.
Test Sensors With Diagnostic Tools
Use a sensor test app to read raw sensor values. Check accelerometer and gyroscope and proximity readings. A sensor that reports no data likely lacks a driver. A sensor that reports wild values may lack calibration. Raw readings tell you more than a failing feature alone.
Compare readings after moving the phone slowly. The accelerometer should change smoothly. The gyroscope should settle when the phone rests. The proximity sensor should flip state near your hand. Jumpy or frozen readings point to driver or calibration issues. Note those readings for bug reports.
Fix Calibration And Settings Issues
Some sensors need calibration data from the maker. That data may live in a persist partition. Do not wipe persist unless a trusted guide directs you. Wiping persist can destroy calibration for several sensors at once. Back up persist when a guide allows it before any risky step.
Check display and rotation settings in the system. A locked rotation setting can mimic a sensor failure. Check pocket mode and accidental touch settings. Those settings can block the proximity sensor in some builds. Reset settings for the affected feature and test again.
When A Clean Flash Is Warranted
If several sensors fail on a clean system with correct vendor files, consider a clean flash. A dirty flash can keep old sensor settings that conflict with the new system. Back up and clean flash the same ROM version. Test sensors before restoring apps. A clean result proves the old data caused the fault.
If a clean flash still fails, try the previous ROM version. A regression in the new version may explain the fault. Report the regression with your test table. Include vendor version and ROM version and sensor readings. Good reports help maintainers fix regressions fast.
When you are ready to go further, read about solving encryption and passcode problems after first boot and compare it with the plan you made for your own phone.
Know When Hardware Is The Cause
Hardware failure is possible but less common after flashing. A sensor that failed before flashing likely has a hardware fault. A sensor that fails only in one ROM version likely has a software fault. That distinction guides your next step. Do not open the phone based on a software symptom alone.
If hardware is suspect, test with stock firmware. Stock firmware uses maker drivers and calibration. A sensor that fails on stock too points to hardware. Seek repair in that case. A sensor that works on stock points back to the custom build. Keep that evidence for your bug report.
Camera Hardware: Why Maker Tuning Is Hard To Replace
Maker camera tuning involves sensor calibration and image processing. Each sensor needs noise profiles for different light levels. Each lens needs distortion correction data. Maker teams tune those profiles for months. A custom ROM reuses some tuning through vendor code. It cannot always reuse the full maker camera stack. That gap explains quality differences. A custom camera may look flatter or noisier in low light.
Third party camera apps can narrow the gap. Some apps bring their own processing pipelines. They may improve dynamic range or night shots. Test several camera apps after flashing. Compare results in daylight and in low light. Keep the app that suits your sensor best. Camera choice is personal and sensor specific. No single app wins on every phone.
Video recording adds stabilisation complexity. Electronic stabilisation needs gyroscope data and tuning. A custom ROM may handle stabilisation differently. Test video while walking. Compare smoothness with stock footage if you kept samples. Stabilisation differences show clearly in motion. Still footage hides them. Test in motion for honest comparison.
Sensor Privacy And Permission Controls After Flashing
Custom ROMs often give finer sensor permission controls. You can block sensor access for apps that do not need it. A game does not need step counting. A shopping app does not need gyroscope data. Review sensor permissions after install. Restrict access where it makes sense. Fewer sensor permissions mean less background tracking. Privacy improves without hurting daily use.
Check which apps request body sensors or activity recognition. Those permissions reveal movement patterns. Grant them only to fitness apps you trust. Revoke them for other apps promptly. A permission audit takes ten minutes. It protects movement privacy for months. Repeat the audit after major updates. Updates can reset permissions in some cases.
Proximity and light sensors also deserve attention. An app that reads light levels constantly can infer usage patterns. Most apps do not need continuous light data. Restrict background sensor access for such apps. Foreground access during use is usually enough. Thoughtful sensor control balances function and privacy. It costs little effort.
Camera App Permissions And Sensor Access
Camera apps request several permissions beyond camera access. They may request location for photo tags. They may request microphone for video sound. They may request storage for saving files. Grant permissions based on actual use. A photo only app does not need microphone access. Deny unused permissions without guilt. Denied permissions rarely break core photo capture. They protect privacy at no cost. Review permissions after each camera app update. Updates can add new requests.
Sensor permissions interact with camera features. Stabilisation uses gyroscope data. Panorama modes use rotation data. Denying sensor access may disable those features. Test features after denying a sensor permission. If a feature fails, grant that permission back. Permission tuning is iterative. Deny broadly then grant narrowly for features you use. That method finds the minimal permission set. Minimal sets protect privacy and preserve function.
Background camera access deserves special scrutiny. No normal app needs background camera access. A background camera permission request is a red flag. Deny it immediately and investigate the app. Check the app reputation and recent reviews. A legitimate app rarely needs that access. Protective denial costs nothing. Careless granting costs privacy. Default to denial for background sensor access.
Sensor Failures In Specific Situations
Sensors may fail only in specific situations. A compass may fail near magnetic cases. A proximity sensor may fail with a thick screen protector. An accelerometer may misbehave after a drop. Situational failures point to environment or hardware. Test sensors without cases and protectors. Test in different locations. Situational testing separates software faults from physical interference. Physical interference fixes are simple. Software fixes cannot overcome a magnetic case.
Temperature affects sensor accuracy too. Extreme cold can slow sensor response. Extreme heat can distort readings. Test sensors at room temperature first. A sensor that works indoors but fails outdoors may suffer temperature effects. That pattern is hardware physics. It is not a ROM bug. Note temperature during tests. Temperature notes improve bug reports. They also prevent wasted ROM changes.
Sensor failures after water exposure need hardware attention. Water can damage sensor contacts permanently. A ROM change cannot repair water damage. Test with stock firmware if water exposure happened. Stock testing confirms hardware damage. Seek repair for confirmed hardware faults. Software troubleshooting wastes time on wet hardware. Honest history guides efficient repair.
adb shell dumpsys sensorservice
adb shell cmd media_session list-sessions
adb logcat -b all | grep -i camera
adb shell getprop ro.vendor.build.version
The steps above follow the approach described in the official developer documentation for this platform and in the device guides that cover sensor support.

