

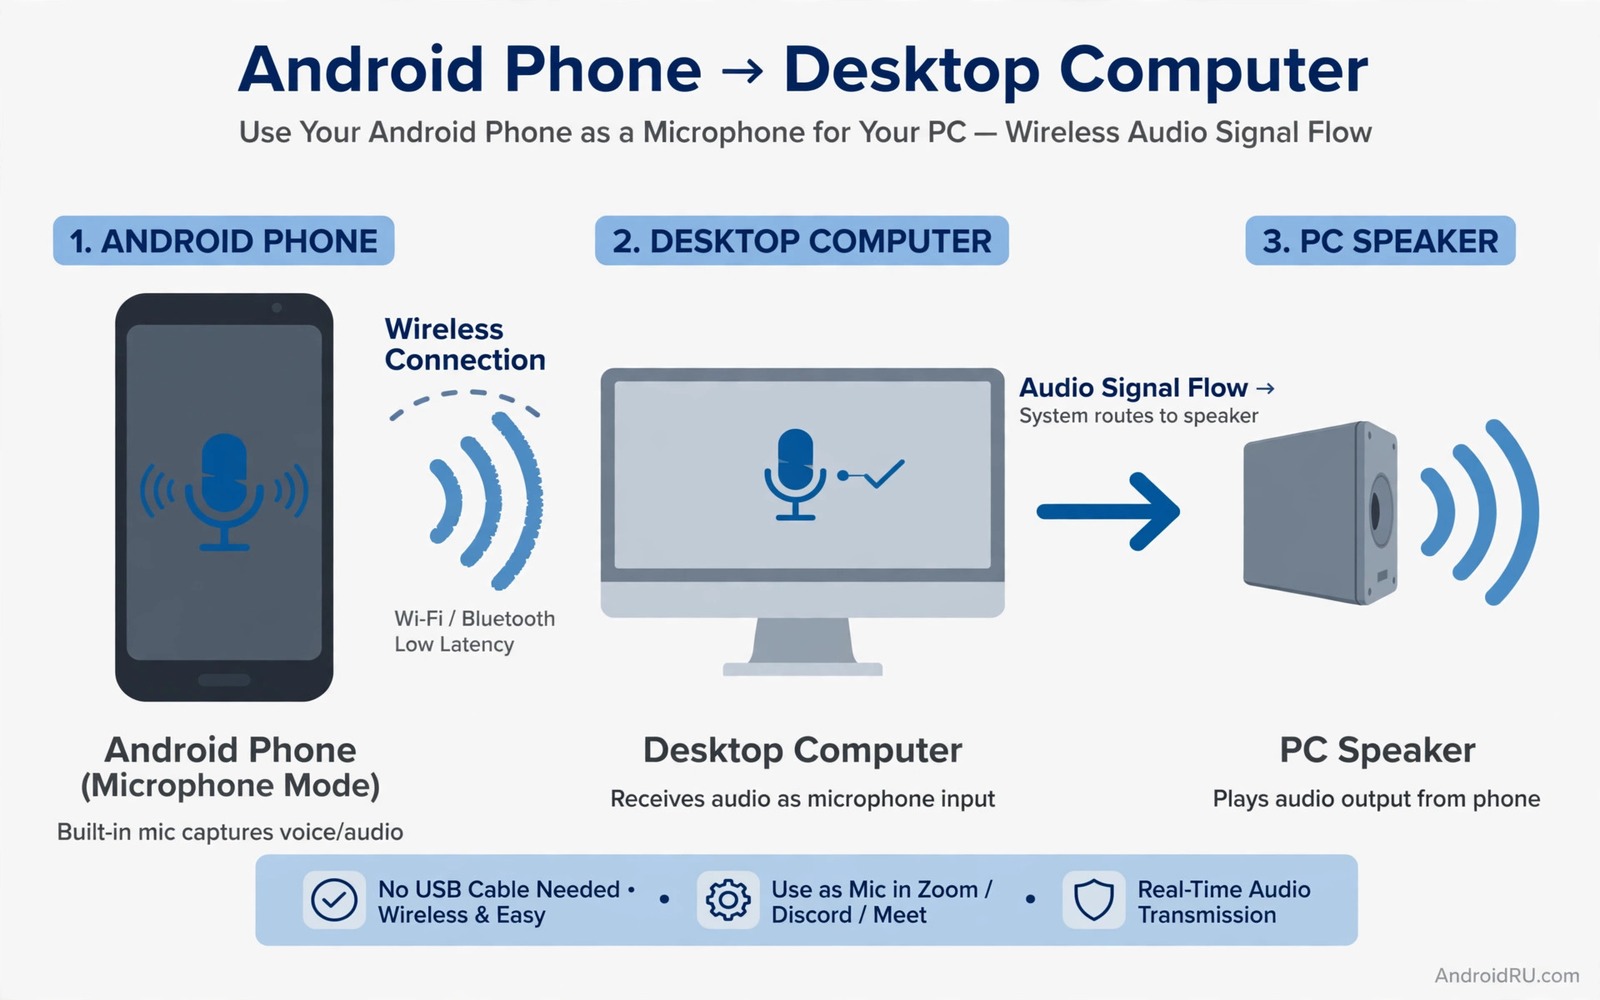
A phone can rescue a video call when your PC microphone fails. Modern phones carry excellent microphones and noise handling. A wireless link lets you place the phone near your voice while your PC stays on the desk. That placement alone can improve clarity more than a new headset. This guide shows a reliable setup for calls and streaming and recording. It also explains the limits so you do not discover them during a live meeting.
The basic idea is simple. An app on your phone captures your voice and sends it over your local network or over Bluetooth. A receiver on your PC accepts that stream and presents it as a microphone input. Your meeting app then uses that input like any other microphone. The quality depends on the network and the app and the distance. A strong WiFi link on the same network gives the best result. A congested network can add delay or dropouts.
Choose A Method That Fits Your PC
WiFi microphone apps are the easiest path for most users. Install a microphone app on your phone and a matching receiver on your PC. Connect both devices to the same WiFi network. Open the receiver first and note the address it shows. Open the phone app and enter that address or scan the code it offers. Speak a test sentence and watch the level meter on the PC. A steady meter with no red clipping means the basic link works.
Bluetooth can work when WiFi is unavailable. Pair the phone as an audio device if your PC supports that profile. Bluetooth audio quality for voice is often lower than WiFi quality. Delay can also be higher on Bluetooth. Use Bluetooth as a backup rather than a first choice for streaming. A wired USB connection can beat both methods for stability. Some apps support USB audio routing and that path avoids network delay entirely.
Set Levels And Reduce Noise
Place the phone about a hand span from your mouth and slightly to one side. That position reduces breath noise while keeping your voice strong. Speak at a normal level and watch the PC input meter. Aim for peaks in the upper middle of the meter without hitting the top. If your voice clips then move the phone slightly farther away or lower the input gain. Clipping sounds harsh and no software fix can fully restore clipped speech.
Turn off extra processing on the phone if the voice sounds hollow. Some apps add echo removal that fights with the meeting app processing. Test with one processing layer at a time. Record a short clip and listen back on headphones. Your own recording reveals problems that you cannot hear while speaking. If you record video as well then consider high quality live concert videos for tips on balancing voice and room sound.
Fix Delay And Dropouts
Delay is the main weakness of a wireless microphone. A small delay is fine for recording because you can shift the track later. A large delay is distracting on a live call because you hear yourself late. Keep the phone close to the router and close other heavy downloads during a call. Use the five gigahertz band if your router offers it and the phone supports it. Restart the phone app if delay grows during a long session.
Dropouts often come from WiFi power saving. Some phones throttle background network use when the screen sleeps. Keep the phone app in the foreground and keep the screen on during a call. Disable battery optimisation for the microphone app if your phone allows it. Test a full ten minute call before an important meeting. A short test hides problems that appear only after several minutes.
adb shell dumpsys audio
adb shell ip addr show wlan0
The snippet above shows a standard Android network and audio check and it was adapted for this microphone guide so you can verify the link safely.
Choose The Right Phone Position
Position matters more than microphone brand for a phone used as a wireless microphone. A phone held near your mouth captures direct voice with little room echo. A phone left on a desk captures keyboard taps and fan noise along with your voice. Use a small tripod or a stand to hold the phone steady near your face. A stand also stops handling noise when you shift in your chair. If you move your head while speaking then keep the phone centred rather than fixed to one side. A centred position keeps volume steady when you turn to look at notes.
Room acoustics shape the result as much as the app you choose. A bare room with hard walls adds echo that makes speech harder to understand. A room with curtains and soft furniture absorbs reflections and improves clarity. Close windows facing a busy road during important calls. A quiet room lets you lower gain and that lower gain reduces background hiss. Test the same setup in two rooms if you have a choice. The difference often surprises first time users.
Record A Backup Track
For important recordings always capture a backup track on the phone itself. The wireless stream can drop while the local recording keeps going. A local recording also gives you a clean track for editing later. Start the phone recorder before you start the wireless link. Keep both recordings running for the whole session. After the session compare the two tracks and use the cleaner one. That habit has saved many creators from a lost interview or a ruined podcast episode.
Syncing a backup track is easier than most people expect. Clap once at the start of the recording on both tracks. That clap gives your editor a clear sync point. Align the clap spikes in your editing app and then trim the extra start. A backup track also protects you if the PC app crashes mid session. The phone keeps recording even when the PC side fails. That independence is a major advantage of using a phone as a microphone.
Daily Checklist For Wireless Mic Use
Build a pre call checklist and use it every time. Charge the phone above half battery before a long call. Connect to the same network as the PC and test the level meter. Disable notifications that could interrupt the microphone app. Close other apps that might claim the microphone. Test for ten minutes before an important meeting. That checklist takes two minutes and it prevents most live failures.
After the call note any problems while they are fresh. Note dropouts and delay and background noise separately. A pattern over several calls points to the true cause. Random dropouts point to network issues while steady hiss points to gain issues. A written log turns vague frustration into a fixable problem. Share the log with support if you need help because it gives them facts instead of guesses.
Test Under Real Meeting Load
A wireless microphone that works in a quiet test can fail during a real meeting. Meeting apps add video processing and screen sharing and chat traffic on the same network. That extra load competes with your microphone stream for bandwidth and processor time. Test with video on and screen sharing on before you trust the setup. Open the same apps you will use in a real meeting and speak for several minutes. Watch for delay growth and for dropouts that appear only under load. A setup that survives full meeting load is ready for real work.
Other people on the same network also affect your microphone stream. A family member streaming video can consume bandwidth that your voice stream needs. Test during a busy evening period rather than only during a quiet morning. If dropouts appear during busy periods then move to a less congested band or a wired path. A five gigahertz connection often helps because fewer household devices use it. Note the time of day for each test so you can compare busy and quiet results fairly.
Keep Settings Stable After Updates
System updates can change network permissions and background rules for microphone apps. An app that worked yesterday can lose background network access after an update. Check battery optimisation settings after every major update before an important call. That quick check prevents a silent microphone during a live meeting. App updates can also reset gain levels or processing options. Test levels after an update with a short recording before you join a real call. A two minute test after updates is cheap insurance against embarrassing live failures.
Document your working combination once you find it. Note the app name and the receiver address and the gain setting that works. That note lets you rebuild the setup quickly on a new phone or after a reset. It also helps you compare results when a new app version behaves differently. A stable wireless microphone setup deserves a short written record because the details are easy to forget under time pressure.
Plan a fallback for every important meeting even when the wireless setup works well. Keep a wired headset nearby and know how to switch inputs in your meeting app. A fallback switch takes seconds when you have practised it once. It takes minutes of panic when you try it for the first time during a live call. Practise the switch during a test call so the motion feels familiar. That preparation turns a potential disaster into a minor pause.
Common Mistakes
The biggest mistake is placing the phone flat on a desk far from your mouth. Desk placement picks up keyboard noise and room echo. Hold the phone near your voice or use a small stand close to you. Another mistake is running two microphone apps at once. They can fight for the microphone and produce silence or distortion. Close other recording apps before you start.
A third mistake is trusting a setup that was never tested under call conditions. A quiet room test does not prove a busy meeting will work. Test with the actual meeting app and the actual network you will use. If the PC also needs separate app audio then learn about individual app audio to Bluetooth speakers to keep voice and media paths clear.
Frequently Asked Questions
Can any Android phone work as a wireless microphone?
Most modern Android phones can work with a suitable app. The phone needs a working microphone and a stable network link. Older phones may add more delay but they can still work for calls. Test your specific phone before you rely on it for an important meeting.
Is wireless microphone quality good enough for streaming?
WiFi microphone quality can be good enough for many streams. The result depends on network stability and microphone placement. A dedicated USB microphone still wins for professional studio work. A phone is an excellent backup and a strong choice for casual streaming.
Why does my voice sound delayed on calls?
Delay comes from network buffering and audio processing on both devices. A congested WiFi network makes delay worse. Move closer to the router and close heavy downloads. If delay stays high then try a USB connection for a more direct path.
For a related audio topic that pairs well with this one, explore headphone jack crackling fixes and compare how its setup choices affect everyday listening.
Conclusion
A phone makes a capable wireless microphone when the network is strong and the placement is close. Use WiFi first and keep the app in the foreground and test with your real meeting app. Your concrete next step is a ten minute test call today. Set up the link and record yourself speaking for ten minutes. If that recording stays clear and steady then your phone is ready for real meetings.

