

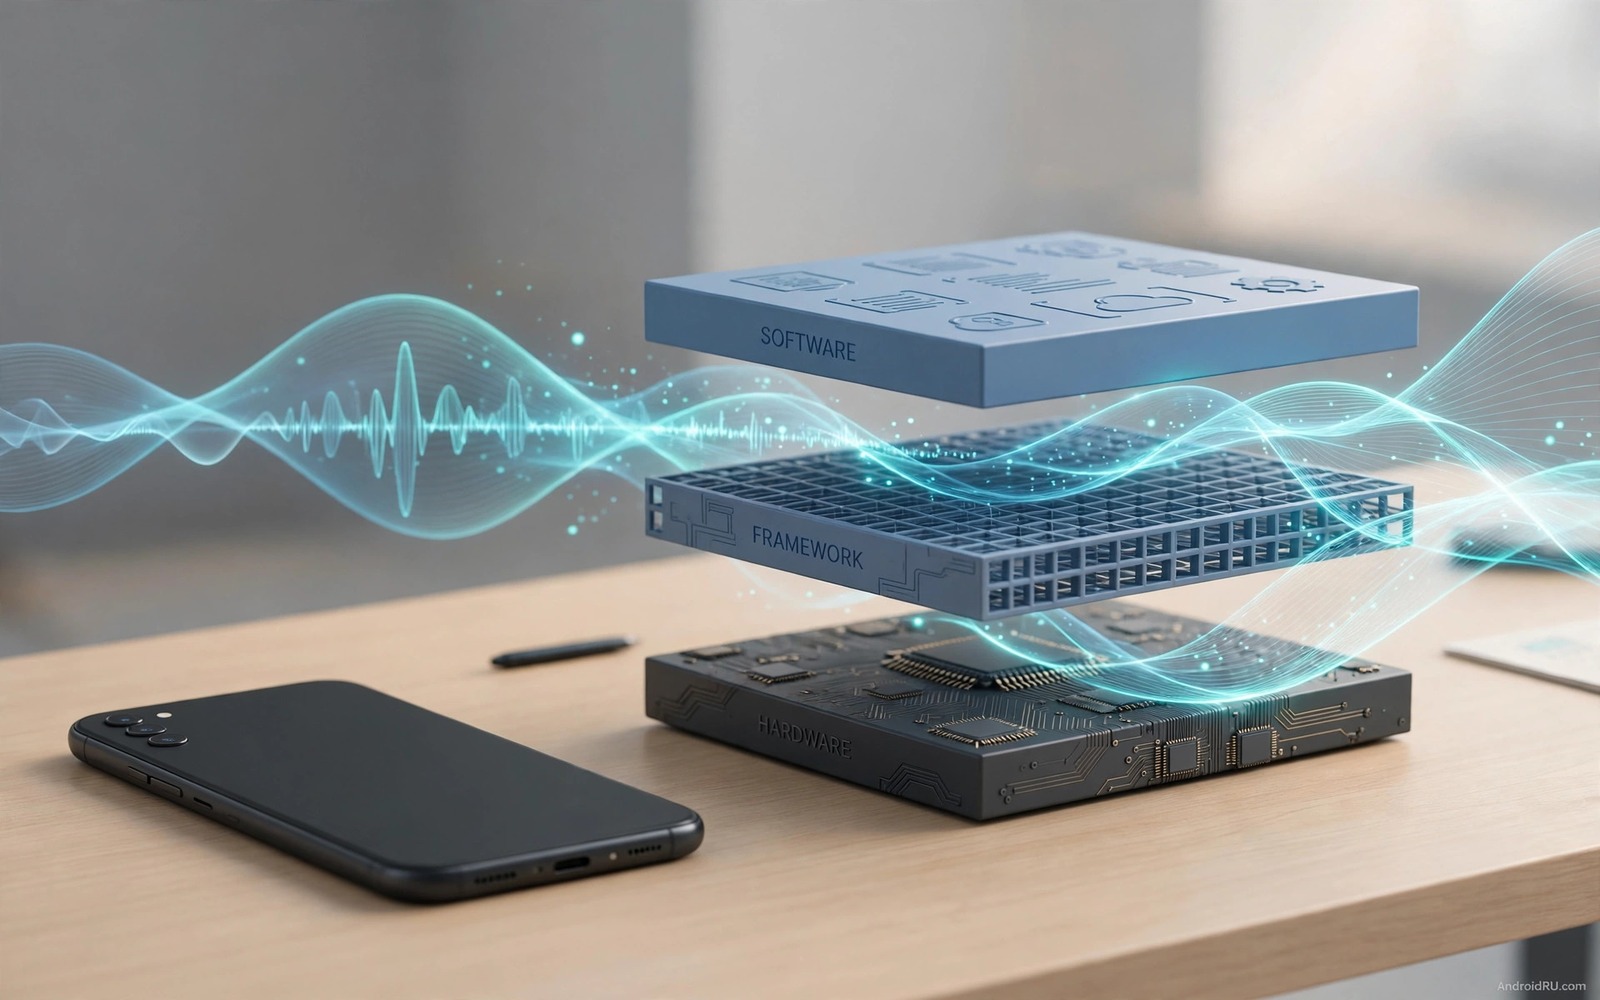
Audio input on Android looks simple from the app side. An app asks for the microphone and sound arrives. Under that simple request there is a chain of layers and each layer can change the result. The microphone hardware sends a signal to a driver. The driver hands the signal to the audio HAL. The HAL hands it to the audio framework. The framework then delivers it to the app that requested it.
Problems in that chain are hard to find when you only look at the app. A recording may sound quiet or distorted or delayed. The app code may look correct while the fault sits one layer lower. A gain stage may be wrong. A sample rate conversion may be lossy. A routing decision may send the wrong source to the app. You need a way to check each layer in turn rather than guessing at the top.
This guide explains how to intercept audio input streams at HAL framework driver levels for your own test devices and your own apps. It keeps the work legal and safe. Test only hardware and software that you own or that you have clear permission to test. Do not use these methods to capture audio from apps or users without consent. The goal is debugging and learning and not surveillance.
How the audio input chain really works
The chain starts with a physical microphone or another input source. The kernel driver talks to that hardware and exposes a capture device. The audio HAL in Android sits above the driver and presents a standard interface to the framework. The framework manages routing and policy and mixing. It decides which input source an app receives and which format the app receives.
Each layer adds its own settings. The driver may set a gain value or a channel map. The HAL may resample audio to a rate that the framework expects. The framework may apply effects or echo cancellation or noise suppression. A change at any point can alter level or timing or quality. A useful mental model is a pipeline with checkpoints. You test one checkpoint at a time and you record what you observe.
A practical setup you can follow
Start with a dedicated test device and a test app that you control. Build a small recorder that logs sample rate and channel count and buffer size for every session. Keep the test environment quiet for one set of tests and noisy for another set. Use the same spoken phrase or the same test tone for every run so results stay comparable. Change only one setting between runs and note the change in a log file.
Use the system audio tools on the device to inspect routing while the test app runs. Watch for a switch from the built-in microphone to a headset microphone or a Bluetooth microphone. Note the exact moment when the switch happens. Compare the waveform level before and after the switch. That comparison often reveals a routing problem faster than a code review can.
- Record a baseline clip before you change any setting.
- Log sample rate and channel count for every test run.
- Test the built-in microphone and a headset microphone separately.
- Repeat the same phrase so level changes stay easy to compare.
Device differences that change what you hear
Android devices do not share one audio tuning. One maker may boost low frequencies for calls. Another maker may cut background sound aggressively for voice chats. A third maker may route a call through a different microphone array than a normal recording uses. Those choices live below the app and they explain why the same test app can sound different on two phones that run the same Android version.
Test on at least two devices when you can. Use one device from a large maker and one device from a smaller maker if your budget allows it. Record the model name and the Android version and the build number with every clip. That record lets you spot a pattern that belongs to one device family rather than a bug in your own code. It also helps you answer support reports with facts instead of guesses.
Pay attention to permission behaviour on newer Android versions. An app that loses microphone permission in the background may record silence rather than an error. An app that requests the wrong audio source may receive processed voice audio instead of raw microphone audio. Check the permission state and the audio source together when a recording suddenly goes silent or sounds heavily processed.
Latency and quality tradeoffs worth measuring
Low latency feels better for live voice and for music apps. Low latency often means smaller buffers and more work for the processor. Larger buffers feel safer for long recordings because they tolerate brief load spikes. The right choice depends on the job that the app must do. A voice call needs low delay. A dictation app can accept a little more delay if the result is cleaner.
Measure latency with a simple loopback test on your own test device. Play a short click through a speaker and record it with the microphone at a fixed distance. Measure the gap between the click in the recording and the moment that you played it. Repeat the test five times and take the middle value. That number gives you a practical latency figure without expensive lab equipment.
Quality checks need a similar routine. Record a spoken sentence and a piece of music and a quiet room tone. Listen for distortion at loud levels and for hiss at quiet levels. Check whether high frequencies sound dull after processing. A short listening test on good headphones often reveals a problem that a waveform picture hides. Keep those three test clips as a standard set for every device that you support.
Code you can adapt
// Test recorder that logs the exact AudioRecord configuration
int sampleRate = 48000;
int channelConfig = AudioFormat.CHANNEL_IN_MONO;
int audioFormat = AudioFormat.ENCODING_PCM_16BIT;
int minBuffer = AudioRecord.getMinBufferSize(sampleRate, channelConfig, audioFormat);
AudioRecord recorder = new AudioRecord(
    MediaRecorder.AudioSource.MIC,
    sampleRate, channelConfig, audioFormat, minBuffer * 2);
Log.d("AudioTest", "buffer=" + minBuffer + " rate=" + sampleRate);
The snippet above is an original example written for this guide. It shows how to log a test recorder configuration so results stay reproducible across devices and runs.
A clear log makes HAL level work much easier. When a recording sounds wrong you can check whether the app asked for the rate that it actually received. You can also check whether the buffer size matches the value that the system returned. Small mismatches here can cause gaps or clicks in captured audio.
The next step is to compare the app level result with a lower level capture on a test device that you own. If the lower level capture sounds clean and the app level capture does not then the fault likely sits in the framework or in the app. If both captures sound wrong then the fault likely sits in the driver or in the hardware path. That simple split saves hours of blind debugging.
How this topic connects to nearby work
Readers who want the output side of the same problem can follow virtual audio routing drivers for a related design.
A related view of system level observation appears in the guide to ART runtime hooks for test apps.
Privacy boundaries around audio capture are explained in the guide to Android application sandboxing for developers.
Putting it into practice
Sample rate conversion deserves its own test because it changes sound in a subtle way. A HAL that converts 44100 hertz audio to 48000 hertz audio should preserve tone and level. A poor conversion can add artefacts that sound like a faint ringing or a loss of high detail. Test conversion with a sweep tone that moves from low to high frequencies. Listen for artefacts at the top of the sweep where conversion errors show up first. Record the sweep before and after conversion and compare the waveforms in a simple audio editor.
Calibration of your test tone matters for every later measurement. Use the same playback volume and the same microphone distance for every run. A change in distance changes level more than most HAL settings change level. Fix the phone in a stand and fix the speaker position on the desk. Mark both positions with tape during a test series so you can restore them after a break. That physical discipline turns a rough listening test into a repeatable measurement.
A final audio check should use a reference recording from a known good device. Record the same phrase on a trusted phone and on the test phone under identical conditions. Compare the two recordings side by side in an audio editor and note differences in level and clarity and background noise. A difference that appears only on the test phone points to that phone audio path rather than to the recording environment. Keep the reference recording with your test notes so a future comparison uses the same baseline. That habit turns a subjective impression about sound quality into a documented comparison that a colleague can reproduce.
Common mistakes
A common mistake is to test with a noisy room and a moving phone. That setup hides the fault that you want to find. Keep the phone still and keep the sound source at a fixed distance. A second common mistake is to change sample rate and gain and routing at the same time. When several settings change at once you cannot tell which change fixed the problem.
Another mistake is to assume that a headset microphone behaves like the built-in microphone. Headsets often use different gains and different noise handling. Test each source on its own and record the result for each source. A third mistake is to ignore buffer behaviour. A buffer that is too small can drop audio under load. A buffer that is too large can add delay that makes live use feel slow.
Frequently asked questions
Why does my recording sound quiet on one device but normal on another?
Different devices use different microphone gains and different HAL defaults. Test the same app on each device with the same phrase and the same distance. Compare the logged configuration and the waveform level. The difference usually points to a gain or routing value at a lower layer.
Can I intercept audio from another app with these methods?
No and you should not try. This guide covers testing of your own apps on devices that you own. Android protects app audio with permissions and sandbox rules for a reason. Respect those rules and use a test app that you control for every experiment.
What is the first check when audio arrives late?
Check buffer size and sample rate first. Then check whether an effect chain adds delay. Then check whether the device is under heavy load. A short systematic check beats a random change to a setting that you do not understand.
Conclusion
Audio input debugging becomes manageable when you treat it as a chain with checkpoints. Start at the app and work downward only when the evidence points downward. Log every configuration value and keep test conditions fixed. That discipline turns a vague complaint about bad sound into a concrete fault at a known layer.
Your concrete next step is to build the small test recorder from this guide and record a baseline clip on your test device today. Log the sample rate and channel count and buffer size with that clip. That baseline will make every later comparison faster and more reliable.

