

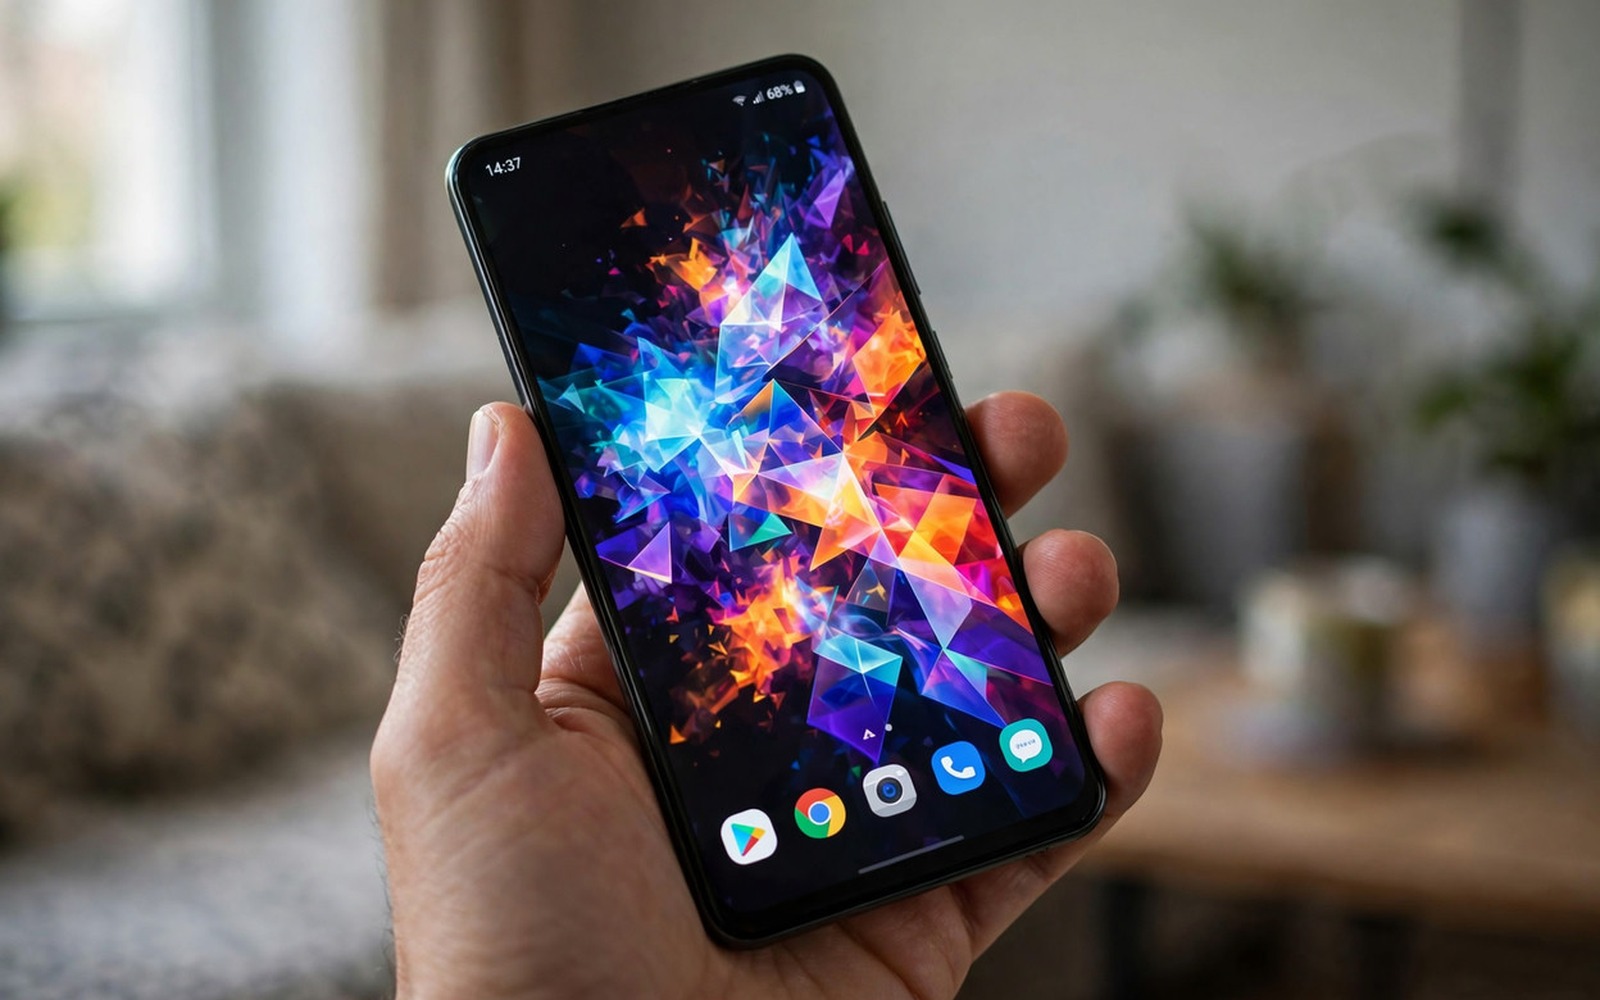
You lower brightness at night and the screen starts flashing with a green tint in dark areas. You raise brightness and the tint fades but the flashing returns when you dim the screen again. That behaviour is unsettling because it looks like the screen is failing.
AMOLED screens control brightness by pulsing pixels and low brightness can reveal uneven pixel behaviour. A faulty display driver or a damaged panel can also cause green tint and flashing. Software settings can trigger the same symptoms on a healthy panel in some cases. Display faults rarely arrive alone, and an unresponsive touchscreen with ghost-touch errors can share the same failing panel or loose connection behind the flicker.
This guide helps you test brightness and refresh rate and display modes before you conclude that the panel is faulty. Take a screenshot test first because a screenshot can separate software tint from panel tint.
Test whether tint is in the panel or the image
Take a screenshot when the green tint appears and view that screenshot on another device. If the tint appears in the screenshot on another device then the image itself carries the tint. If the tint disappears on another device then your panel shows the tint.
Open a solid grey image at low brightness and look for flashing in dark areas. Grey reveals AMOLED unevenness better than colourful images. Note whether flashing happens only below a certain brightness level.
Test in a dark room and in a bright room separately. Low brightness flashing often appears only in dark rooms where you use the lowest brightness. That pattern points to a low brightness driver issue rather than a constant panel fault.
Adjust brightness and refresh rate
Raise brightness slightly above the lowest level for night use. The lowest brightness steps can trigger flicker on some AMOLED panels. A small increase often removes flashing without making the screen too bright.
Turn on extra dim or a night mode that uses a software overlay instead of the lowest hardware brightness if your phone offers it. A software overlay dims the image without pushing the panel to its lowest pulse level. That method can reduce flicker at night.
Change refresh rate to a fixed sixty hertz for a test if your phone uses adaptive refresh rate. Adaptive switching can cause flicker when the rate changes in dark scenes. A fixed rate removes that variable for diagnosis.
Check display modes and updates
Switch display colour mode to natural or standard for a test. Vivid modes boost colours and they can make a green tint look stronger. If tint fades in natural mode then colour calibration is part of the problem.
Turn off always on display and test the main screen again. Always on display uses low brightness pulses that can interact with panel behaviour. A fault that appears only with always on display points to that feature.
Install any system update that fixes display driver issues. Display flicker fixes often arrive in updates without a clear headline. Test the same grey image after the update at the same brightness. If the phone also restarts randomly then the steps for stopping a phone from restarting randomly can help you check whether a deeper system fault affects the display too.
Spot a hardware fault early
Check for a crack or pressure damage near the screen edge. A damaged panel can show green tint that spreads from the damage point. Do not press hard on a flashing area to test it because pressure can worsen panel damage.
Note whether tint appears at all brightness levels and in all apps. A fault that appears everywhere at every brightness is more likely hardware. A fault that appears only at low brightness is more likely a driver or calibration issue.
Back up your data if you suspect a hardware fault and the phone is still usable. A panel replacement may require a reset during repair. A backup protects photos and settings during that process.
adb shell dumpsys display
adb shell settings get system screen_brightness
adb shell settings get global peak_refresh_rate
The commands above were prepared for this guide and they use only standard tools that ship with Android developer tools. They show display state for advanced users who want to confirm brightness and refresh settings.
While you work through these steps it helps to compare symptoms with other fixes in the same area. For example the steps for random restart problems show how a related fault behaves differently and the steps for fingerprint scanner failures help you rule out a second fault that shares early symptoms.
Common mistakes
One common mistake is using the lowest brightness every night and blaming the panel for flicker. Raising brightness slightly often fixes the symptom. Another mistake is pressing on the screen to stop flashing which can damage the panel further.
Another mistake is installing a screen filter app that adds its own flicker on top of panel flicker. Test without filter apps first. A filter can hide the real pattern.
A third mistake is ignoring a spreading green tint after a drop. A spreading tint after physical damage needs a hardware check promptly. Software settings cannot fix a cracked panel.
A week-long display test that proves the fix
View a grey image at low brightness each evening for a week and note whether flashing or green tint appears. A consistent brightness threshold for flashing points to a driver or panel behaviour at low pulse levels. Flashing that spreads or worsens over the week points to panel damage that needs attention.
Test with natural colour mode for three days and vivid mode for three days. A tint that fades in natural mode points to colour calibration. A tint that stays the same in both modes points to the panel itself.
Test with a fixed refresh rate on day six after adaptive tests. A fixed rate that removes flicker points to adaptive switching as a trigger. Flicker that persists at a fixed rate points to brightness or panel causes.
Long-term habits that protect AMOLED displays
Avoid the absolute lowest brightness for long night sessions. A slightly higher brightness with a software dim overlay is gentler on the eyes and on the panel pulse behaviour. That habit reduces flicker without losing night comfort.
Protect the screen from pressure and drops because panel damage can start as a small tint spot and spread. A good case and careful handling prevent many panel faults. A cracked screen should be checked promptly before tint spreads.
Install display updates promptly because driver timing fixes often arrive quietly. A delayed update can leave flicker in place for months. A prompt update gives you the latest driver behaviour.
What to do when tint persists at all brightness levels
Test the screen with a solid white image and a solid black image at several brightness levels. A tint that appears on white and black at all levels points to panel or driver hardware. A tint that appears only on grey at low brightness points to low brightness behaviour.
Check whether the tint changes after a restart or after the phone cools down. A tint that changes with temperature can indicate a loose display connector. A stable tint across restarts points to panel calibration or damage.
Compare the screen with another phone of the same model if you can. A side-by-side comparison reveals whether your tint is within normal variation for that model. A large difference from a same-model phone supports a warranty claim.
Back up data before any display repair because a panel replacement can require a reset. A backup ensures photos and settings survive the repair process. That preparation makes a hardware decision easier.
Testing screen tint with a second phone and a second image
Test the screen with a solid red image and a solid blue image at low brightness. A tint that appears on all colours points to a general panel issue. A tint that appears only on grey points to low brightness calibration. Colour tests add detail to diagnosis.
Test the screen after the phone has been off for an hour and cooled completely. A cool phone test removes heat effects from display behaviour. A tint that appears only when hot points to a thermal connector issue. A tint that appears cold too points to panel or driver causes.
Test the screen with a screen protector removed for a day. A protector can affect light refraction and make tint look worse. A protector-free test gives a true view of the panel. A large improvement without a protector points to the protector itself.
Test the screen in complete darkness and in a dimly lit room. A darkness test reveals low brightness flicker most clearly. A dim room test shows whether ambient light masks the flicker. Comparing those tests helps you describe the fault accurately.
Test the screen with dark mode on and off on separate days. A dark mode test changes the colours that show tint most. A tint that appears mainly in dark mode points to dark colour calibration. A tint in both modes points to a broader panel issue.
Take a photo of the screen with another phone when tint appears. A photo gives objective evidence for a repair shop or warranty claim. A photo also lets you compare tint over time to see whether it spreads.
Frequently asked questions
Why does green tint appear only at low brightness?
Low brightness uses short pulses to dim AMOLED pixels and uneven pixels show more at low pulse levels. Raising brightness lengthens pulses and hides unevenness. That pattern is common on AMOLED panels.
Can a software update fix screen flashing?
Yes when flashing comes from a display driver or refresh rate bug. Updates tune driver timing and can remove flicker. Hardware damage will not improve with an update.
Should I replace the screen for low brightness flicker?
Replace the screen only when flicker appears at all brightness levels or after physical damage. Low brightness only flicker often responds to brightness and refresh settings. A repair shop can test the panel before replacement.
Conclusion
AMOLED flashing and green tint often improve with a small brightness increase and a fixed refresh rate. Test with a screenshot and a grey image to separate panel faults from image faults. Try natural colour mode and install display updates before any repair decision. If tint appears at every brightness after a drop then book a panel test. Start today by raising night brightness one step and testing a grey image in a dark room.

