

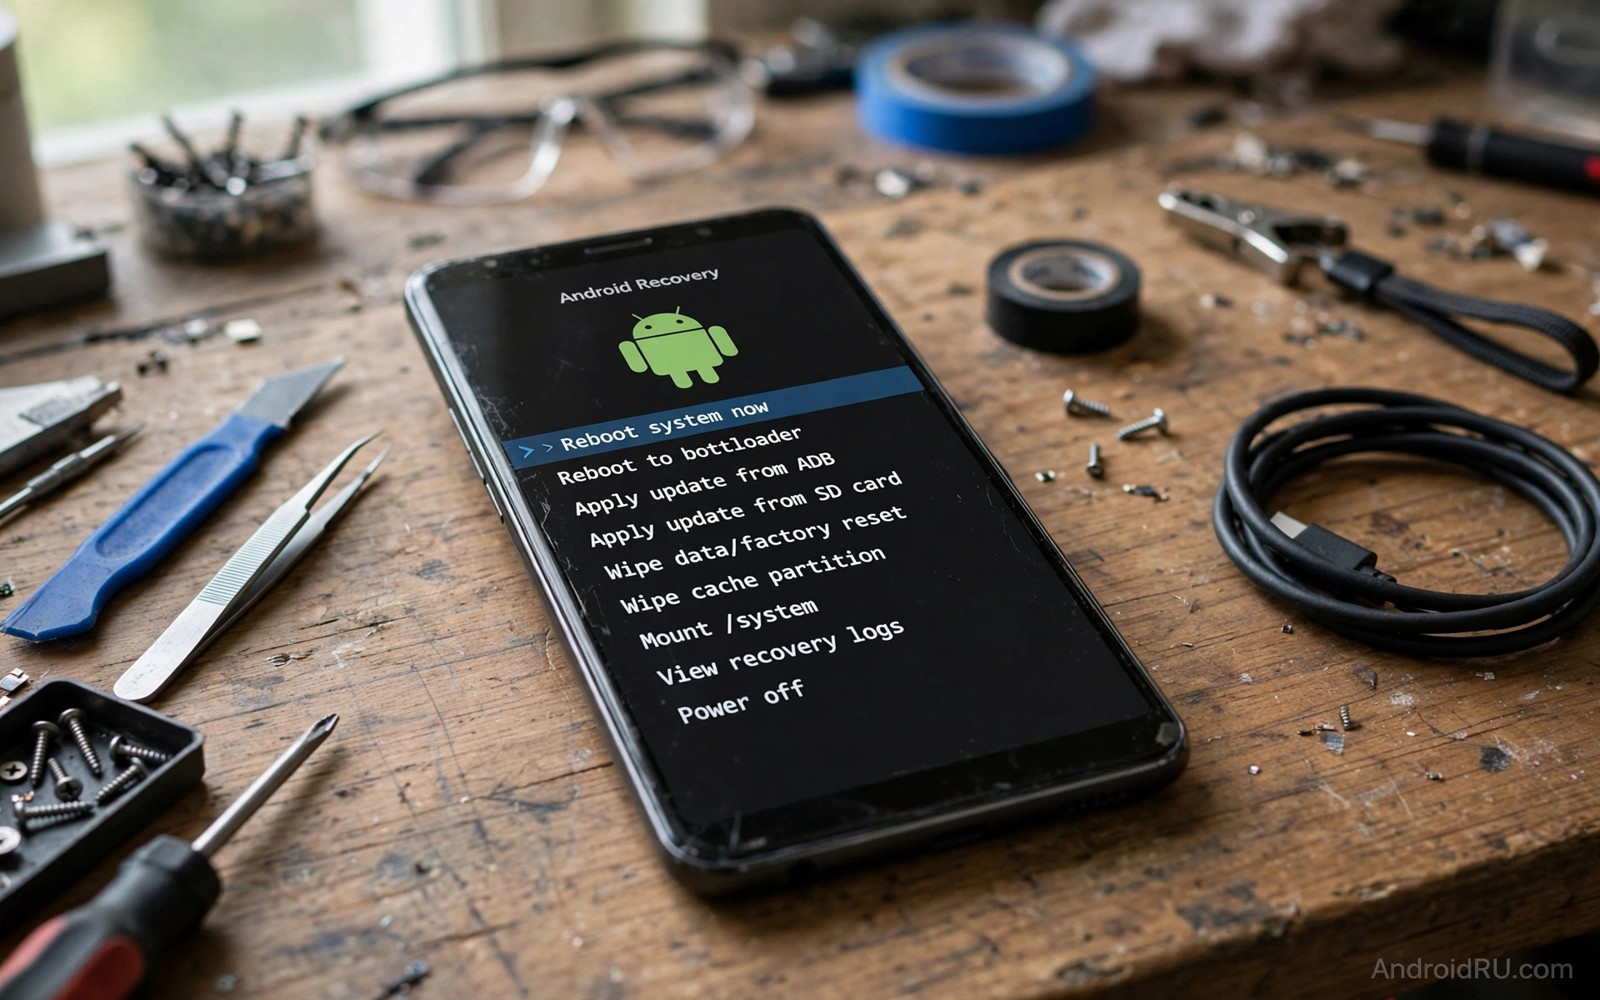
Stop Using Old TWRP: Upgrade to Modern Custom Recovery Tools
Recovery is the safety net for a rooted phone. It restores backups, flashes updates, and wipes a broken system back to life. An old recovery may still boot. It may still show familiar menus. It may fail silently on a modern phone layout, and that silent failure appears only when you need recovery most, which is the worst possible moment to discover it.
Modern Android changed the rules underneath recovery. A/B slots replaced single system partitions. Dynamic partitions replaced fixed partitions. File-based encryption replaced full-disk encryption on many devices. Old recovery tools were built before those changes, so they may not see dynamic partitions correctly and may not decrypt modern storage correctly. I have watched an old recovery show an empty data folder on a phone full of photos, and the owner only learned the backup was useless when the phone would not boot.
This guide explains why an upgrade matters, compares the modern recovery tools by name, and gives a migration path that preserves your old backups. It also explains backup format differences and shows you how to test the new recovery before a crisis. A tested recovery is a safety net. An untested recovery is a hope.
Why Old TWRP Builds Fail on Modern Android Phones
Old TWRP builds were written for a simpler Android. One system partition, one boot partition, one data partition, and encryption that recovery could handle with a password prompt. That world is gone. A phone from the last few years uses a super partition full of logical partitions, two slots for background updates, and encryption that ties data access to the running system in ways old code cannot follow. Each of those changes breaks old recovery in a different way, and the failures are quiet until they are total.
The most common failure is encryption. Old recovery may not mount the data partition on an encrypted device. It may ask for a password it cannot process, or it may show an empty data folder where your files should be. A backup to an unreadable partition is useless, and a restore from an unreadable partition is impossible. If your recovery cannot read your data, it cannot protect your data, and every backup you made with it is a false promise.
Touch and display drivers age as well. Old recovery may lack drivers for a new screen, show a blank display on a new panel, or ignore touch input entirely. A recovery you cannot see or touch cannot help you, and this failure is easy to miss because you only discover it when the phone is already in trouble. Modern recovery builds include current drivers for the models they support, which is one more reason to match the build to your exact model.
File-based encryption and the empty data folder
File-based encryption encrypts individual files with different keys, and it replaced full-disk encryption on most modern Android devices. Old recovery code was written for full-disk encryption, where one password opened the whole partition. With file-based encryption, recovery must handle key management the modern way, and old builds simply cannot. The symptom is always the same: recovery boots, the menus look fine, and the data partition appears empty. Your files are still there. Recovery just cannot read them.
Before you trust any recovery, check whether it can decrypt your data. Boot into recovery, look at the data partition, and confirm your files and folders are visible with plausible sizes. If the folder is empty or the sizes look wrong, stop and find a newer build. A recovery that cannot decrypt is not a recovery at all, and no backup made through it should be trusted.
How to check whether your recovery can decrypt data
Boot into recovery and open the file manager or the backup screen. Navigate to the data partition and look for folders you recognise, such as your media folders or app data directories. Check that file sizes look sensible and that the backup list shows your existing backups. Then create a small test backup of the boot partition and confirm the file appears with a plausible size. Listing alone does not prove write access. A test backup proves it.
Dynamic partitions and the super partition
Dynamic partitions changed how Android organises storage. Instead of fixed partitions for system, vendor, and product, a modern phone uses one large super partition that contains logical partitions, and those logical partitions can be resized during updates. Old recovery may not resize or map those logical partitions correctly. A flash to the wrong logical partition can break boot, and a backup that misses a logical partition restores incompletely, leaving you with a phone that boots halfway and fails.
The practical risk is subtle. An old recovery might back up the system partition and report success while silently skipping logical partitions it does not understand. You only learn the backup was incomplete when the restore leaves the phone broken. Modern recovery tools understand the super partition layout, map logical partitions correctly, and back up the full set. That understanding is not a luxury feature. It is the core job of recovery on a modern phone.
Logical partitions inside the super partition
Inside the super partition live logical partitions such as system, vendor, product, and system_ext, and their sizes change when an update arrives. A recovery that understands this layout can read the partition table, back up each logical partition, and restore them to the right places. A recovery that does not understand it treats the super partition as one opaque block, which is how incomplete backups happen. When you choose a recovery, confirm it lists dynamic partition support for your Android version, not just for your model.
A/B slots and the two-boot problem
A/B slots give a phone two copies of the system and boot partitions, so an update can install to the inactive slot while you keep using the active one. Old recovery menus assume one system and one boot partition, so they may flash to the active slot only and ignore the inactive slot entirely. An update that expects both slots to be consistent may then fail, and a backup that covers only one slot restores only half the phone.
Slot awareness is essential now. A modern recovery shows which slot is active, lets you switch slots, flashes to the correct slot, and backs up both slots where needed. Before you flash anything, check the slot display in recovery and confirm it matches what your system reports. If recovery shows no slot information at all on an A/B phone, it is too old for that phone, whatever version number it claims.
Modern Custom Recovery Tools Compared: OrangeFox vs PitchBlack vs SHRP vs Lineage Recovery
Four modern tools cover most rooted phones today, and each suits a different kind of user. OrangeFox is the most feature-rich custom recovery, built on the TWRP base with a modern interface and extra tools. PitchBlack Recovery, often shortened to PBRP, is another TWRP-based recovery with its own interface and a strong following on Xiaomi and OnePlus devices. SHRP, the Sky Hawk Recovery Project, is a TWRP-based recovery with a polished touch interface and built-in extras. Lineage Recovery is the official recovery from the LineageOS project, minimal by design, and the right choice for users who want official support and nothing more.
The table below compares them on the criteria that matter for a modern phone, with old TWRP included as the baseline you are leaving behind. Use it to narrow the field to two candidates, then check model support for your exact device codename before you commit, because a recovery that lacks your model is not modern for you.
| Recovery | Android support | Dynamic partitions | Encryption handling | A/B slots | Best for |
|---|---|---|---|---|---|
| Old TWRP builds | Android 9 to 11 era | No, often incomplete | Full-disk era only | Partial or none | Retired phones only |
| OrangeFox | Android 11 to 15 | Yes, full support | Current file-based support | Yes, slot aware | Power users who want features |
| PitchBlack | Android 11 to 15 | Yes, full support | Current file-based support | Yes, slot aware | Xiaomi and OnePlus owners |
| SHRP | Android 11 to 14 | Yes, full support | Current file-based support | Yes, slot aware | Users who want a polished interface |
| Lineage Recovery | Android 12 to 15 | Yes, via OTA design | Works with LineageOS builds | Yes, built for A/B | LineageOS users who want official support |
Verdict for most rooted users: OrangeFox is the safest default, because it combines TWRP familiarity with current partition and encryption support and the widest feature set. Verdict for Xiaomi and OnePlus owners: PitchBlack deserves a close look, because its maintainer community is strongest on those brands and model support is deep. Verdict for LineageOS users: Lineage Recovery is the honest choice, because it matches the system it serves and updates alongside it. Verdict for users who only need updates and factory resets: stock recovery or Lineage Recovery is enough, and a feature-rich custom recovery adds risk you will never use.
One warning applies to all four. Community builds vary in quality, and a recovery built for a similar model may boot but fail on partitions. Exact model support matters more than feature lists, and the codename is what counts, not the marketing name. A Redmi Note 12 and a Redmi Note 12 Pro can have different codenames and different partition layouts, and flashing the wrong one can break boot. Check the codename in your system settings before you download anything.
OrangeFox Recovery: Features, Pros and Cons
OrangeFox Recovery is the most capable custom recovery in common use today, and it is the one I recommend first to users leaving old TWRP. It is built on the TWRP base, so the backup, restore, wipe, and flash menus feel familiar, but it adds a modern touch interface, built-in support for current encryption, full dynamic partition handling, and tools that old TWRP never had, such as built-in Magisk handling and a more capable file manager. On supported Xiaomi, OnePlus, and Poco devices, it is actively maintained, which matters because Android changes every year and recovery must keep up.
OrangeFox handles the modern layout properly. It reads file-based encryption on supported devices, maps logical partitions inside the super partition, understands A/B slots, and backs up the full partition set. It also includes extras that save time during a crisis: the ability to flash Magisk directly from recovery, support for password and pattern decryption, and a settings system that survives updates. Those extras are why power users stay with it once they switch.
OrangeFox built-in features worth using
Start with the backup system, which covers boot, system, vendor, and data together, and labels backups clearly. Then look at the built-in Magisk support, which lets you flash or reflash root from recovery without a computer nearby. The file manager is genuinely useful for deleting a bad module or a broken configuration file by hand, which is often the fastest fix for a bootloop. OrangeFox also supports OTA survival features on some devices, so an update does not silently replace your recovery. Learn those four features and you have covered most emergencies.
OrangeFox also supports incremental updates to itself, so you can update recovery from inside recovery on supported devices. That matters because recovery goes stale like any software, and a recovery that cannot update itself tends to be forgotten until it fails. Check for OrangeFox updates for your codename every few months, and treat a recovery update like a system update: back up first, then update, then test.
OrangeFox downsides to know before flashing
OrangeFox is not official, it is not available for every phone, and its feature set can be a liability for a nervous beginner. More features mean more menus, and more menus mean more chances to tap the wrong option during a stressful moment. Some builds are device-specific and maintained by one person, so support can stop without warning. If your codename has no active OrangeFox maintainer, do not force it. Choose a tool with an active maintainer for your model instead, even if that tool has fewer features.
Pros: full modern partition and encryption support, familiar TWRP-style menus, built-in root handling, active maintenance on popular models, and a capable file manager. Cons: not available for every model, feature depth can overwhelm beginners, community builds vary in quality, and some devices need a specific build for each Android version. Who it is for: rooted users who flash often, manage modules, and want one recovery that handles every emergency.
PitchBlack, SHRP and Lineage Recovery: Who Each One Suits
PitchBlack, SHRP, and Lineage Recovery each answer a different need, and choosing between them is mostly a question of what you value. PitchBlack is a TWRP-based recovery with a dark themed interface, strong Xiaomi and OnePlus support, and a focus on doing the core jobs well. SHRP is a TWRP-based recovery with one of the most polished touch interfaces in the custom recovery world, plus built-in extras such as theme support and a more modern settings layout. Lineage Recovery is the opposite of both: minimal, official, and deliberately small, designed to install LineageOS updates and perform factory resets, nothing more.
None of the three is better for everyone. The right choice depends on your phone, your system, and your habits. A Xiaomi owner on a custom ROM will have a different answer from a LineageOS user on a Pixel, and both answers are correct for their owners.
PitchBlack Recovery in short
PitchBlack Recovery, known as PBRP, is built on TWRP and keeps the familiar backup and flash workflow while adding a cleaner interface and current support for dynamic partitions, file-based encryption, and A/B slots. Its maintainer community is strongest on Xiaomi, Redmi, Poco, and OnePlus devices, where model coverage is deep and builds are updated regularly. Pros: solid modern support, familiar menus for TWRP users, strong coverage on its best-supported brands, and a straightforward interface. Cons: coverage is thinner outside its core brands, and some builds lag behind the newest Android version. Who it is for: Xiaomi and OnePlus owners who want a dependable TWRP successor without learning a new workflow.
SHRP Recovery in short
SHRP, the Sky Hawk Recovery Project, is a TWRP-based recovery with a polished interface, theme support, and built-in tools such as a better file manager and more flexible backup options. It handles dynamic partitions, file-based encryption, and A/B slots on its supported devices, and it appeals to users who spend real time in recovery and want the experience to feel modern. Pros: excellent interface, good modern support on covered models, and useful built-in extras. Cons: model coverage is narrower than OrangeFox, and development pace has varied over time, so check that your codename has a recent build. Who it is for: users who value a clean interface and extra tools, and whose model has an active SHRP build.
Lineage Recovery in short
Lineage Recovery is the official recovery shipped with LineageOS, and it is deliberately minimal. It installs updates, applies factory resets, and supports ADB sideload, and it does not offer full partition backups or custom flashing menus. That minimalism is a feature, not a gap, because it matches the LineageOS update model: the system handles updates itself, and recovery only needs to apply them. Pros: official support, matched to the system it serves, simple menus that are hard to misuse, and reliable A/B handling. Cons: no full backup and restore, no custom flashing, and no use at all if you do not run LineageOS. Who it is for: LineageOS users who want the official recovery and nothing else.
A Step-by-Step Migration From Old TWRP to a Modern Recovery
Migration is safe when it is done in order, and dangerous when it is rushed. The order below protects your data first, tests the new recovery before committing to it, and leaves you a rollback path at every step. Do not skip steps, and do not flash a recovery image to a phone whose codename you have not confirmed. If you are unsure about any step, stop and check the device forum for your exact model before you continue.
Before you flash: the rescue kit checklist
Assemble the rescue kit before you touch recovery. You need the stock boot image for your current build, the stock firmware package for your model, the new recovery image for your exact codename, a computer with fastboot tools installed, a good USB cable, and a written note of your device codename, Android version, and current slot. Keep the secret emergency recovery command in that note as well, because it gives you one more way back when menus alone cannot help. A rescue kit on the phone is not a rescue kit. Keep it on your computer.
Files to keep on your computer, not only on the phone
Copy your old TWRP backups to the computer before migrating, because old backup formats may differ from new formats and a new recovery may not read an old backup directly. A computer copy preserves the old backup regardless of format, and it frees phone storage for new backups. Also keep the previous recovery image, not just the new one, so you can roll back if the new recovery fails. Two images beat one during a recovery problem, and a computer copy beats a phone copy when the phone will not boot.
- Confirm your device codename in system settings and write it down, then check your Android version, your current slot, and whether your phone uses dynamic partitions. Those facts decide which recovery image fits.
- Copy all old backups to your computer and verify the copies by checking file sizes, then create one fresh backup with the old recovery if it still works, so you have a current restore point.
- Download the new recovery image only from the official page for your exact codename, verify the file size and checksum if the page provides one, and place it in your fastboot folder on the computer.
- Reboot to fastboot mode, connect the phone to the computer, and confirm the computer sees the device with the fastboot devices command before you run anything else.
- Boot the new recovery image temporarily with fastboot boot, without flashing it yet, so you can test it safely and return to the old recovery by rebooting if anything looks wrong.
- In the temporary recovery, check that touch responds, that the data partition mounts and your files are visible, that backups list correctly, and that the current system version shows correctly.
- If every check passes, flash the recovery image to the recovery partition, or to the boot partition on devices where recovery lives inside boot, following the instructions for your exact model.
- Reboot into the newly flashed recovery, create a fresh backup immediately with the new format, label it with the date and build number, and copy it to your computer as your new primary restore point.
Boot image patching and recovery work together, and the guide on patching a boot image manually with fastboot covers the other half of the rescue set. A recovery backup plus a stock boot image gives you two restore paths, and two paths beat one. Test both together every few months, not only when something breaks.
Backup Strategy for Modern Layouts
Back up boot, system, and data together for a full restore, because a boot-only backup cannot restore apps and a data-only backup cannot restore a broken system. A full set covers both failures. Store the full set outside the phone, on a computer or external drive, because a backup stored only on the phone disappears with the phone. Back up before every major change: a system update deserves a backup, a root manager switch deserves a backup, and a new module set deserves a backup. A backup routine takes minutes. A recovery without a backup takes hours or fails entirely.
Label backups with the date and build number, because a label turns a folder of backups into a usable archive. An unlabeled backup forces guessing during a crisis, and guessing wastes time when time matters most. A clear label costs seconds at creation and saves minutes when you are stressed. Keep at most three full backups on the phone and the rest on the computer, so the phone stays usable and the archive stays safe.
What to back up and where to keep it
The minimum set is boot, system image, vendor where applicable, and data. On A/B devices, confirm the backup covers the active slot and note which slot it came from. On dynamic partition devices, confirm the backup includes the logical partitions, not just the super partition as one block. Keep the newest full backup on the phone for fast restores, keep the previous full backup on the computer, and keep the stock boot image and stock firmware on the computer as well. That arrangement gives you a fast path, a safe path, and a factory path.
Labelling backups by date and build number
Use a label format you can read at a glance, such as year, month, day, and build number, and add one word for what changed, like before-update or before-modules. A label like 2026-11-07-build-14-before-update tells you everything you need in a crisis, while a label like backup1 tells you nothing. Write the label in recovery when you create the backup, and repeat it in the folder name on the computer so the two copies match.
Testing Your New Recovery Before You Trust It
Test recovery with a safe checklist, and repeat the test after every system update. Boot into recovery and check that touch responds, that storage mounts, that backups list correctly, and that the current system version shows correctly. Each check takes seconds, and together they prove recovery readiness. Test backup creation as well: create a small backup of boot only, check that the backup file appears with a plausible size, then delete the test backup after verification. A backup creation test proves write access. Listing alone does not prove it.
Test sideload or flash readiness without flashing anything. Check that recovery recognises a test package file, then stop at recognition. Recognition proves file access, and flashing an unneeded package adds risk. Test recovery touch input at different brightness levels too, because a recovery screen may behave differently at low brightness on some panels. Operability matters during a night-time crisis, when you cannot afford a screen you cannot use.
Test recovery after every system update, because an update can change partition layout and encryption behaviour, and a recovery that worked before may fail after. A post-update test catches that failure early, and an early catch allows a recovery update before a crisis. Document test results with dates in a short note, because a dated log shows when recovery last proved working and exposes gaps in testing. A gap of many months is a warning. Monthly tests keep the log fresh.
Keep recovery images for your model in your rescue folder, and keep the written boot key combination for your model with your inventory note outside the phone. The guide on updating a rooted device over the air also relies on recovery readiness for safe updates, so a tested recovery protects your updates as well as your data. A recovery you have tested is a tool. A recovery you have only installed is a guess.
Frequently Asked Questions About Upgrading Custom Recovery
Can I keep using old TWRP if my phone still boots into it?
You can boot it, but you should not trust it. Booting proves the menus work, and it proves nothing about encryption, dynamic partitions, or slot handling. Old TWRP fails silently on modern layouts, so the first sign of trouble is usually a backup that cannot be read or a restore that leaves the phone half working. If your phone runs Android 12 or newer, or uses A/B slots or dynamic partitions, replace the recovery before you need it, not after.
Will a modern recovery erase my data when I flash it?
Flashing a recovery image does not erase user data by itself, because it writes to the recovery or boot partition, not to data. That said, any flashing carries risk, so back up first and keep the copies on your computer. Never wipe data as part of a recovery upgrade unless you have a verified backup and a reason to wipe. A recovery upgrade is a small operation, and it should stay small.
Which modern recovery is best for a Xiaomi phone?
For most Xiaomi, Redmi, and Poco devices, OrangeFox and PitchBlack are the strongest choices, because both have deep model coverage and active maintainers on those brands. Check which one has a recent build for your exact codename, then choose the one with the fresher build. If both are current, OrangeFox suits users who want more built-in tools, while PitchBlack suits users who want a simpler workflow. Either beats old TWRP by a wide margin.
What should I do if the new recovery cannot read my encrypted data?
Stop and do not wipe anything. An unreadable data partition usually means the recovery build lacks decryption support for your Android version or your device, not that your data is gone. Reboot to the system, confirm your data is intact, and look for a newer recovery build for your codename, or a build made for your exact Android version. If no build decrypts your data, ask in the device forum with your codename and Android version, and do not attempt a restore until decryption works. Your data is safe in the system. It is only invisible to that recovery.
Verdict: Which Modern Recovery Fits Your Phone and Your Habits
Choose OrangeFox if you flash often, manage modules, and want the most capable recovery with the widest toolset. Choose PitchBlack if you own a Xiaomi or OnePlus device and want a dependable TWRP successor with a simpler feel. Choose SHRP if your model has an active build and you value a polished interface with extra tools. Choose Lineage Recovery if you run LineageOS and want the official recovery that matches your system. Choose stock recovery only if you plan to unroot fully and never flash again.
Whatever you choose, do the work today, not after the next bootloop. Confirm your codename, copy your old backups to your computer, boot the new recovery temporarily, test decryption and backups, then flash it and make a fresh backup. That afternoon of careful work is the difference between a phone you can rescue and a phone you can only wipe. Recovery is the safety net. Make sure yours is real.

