

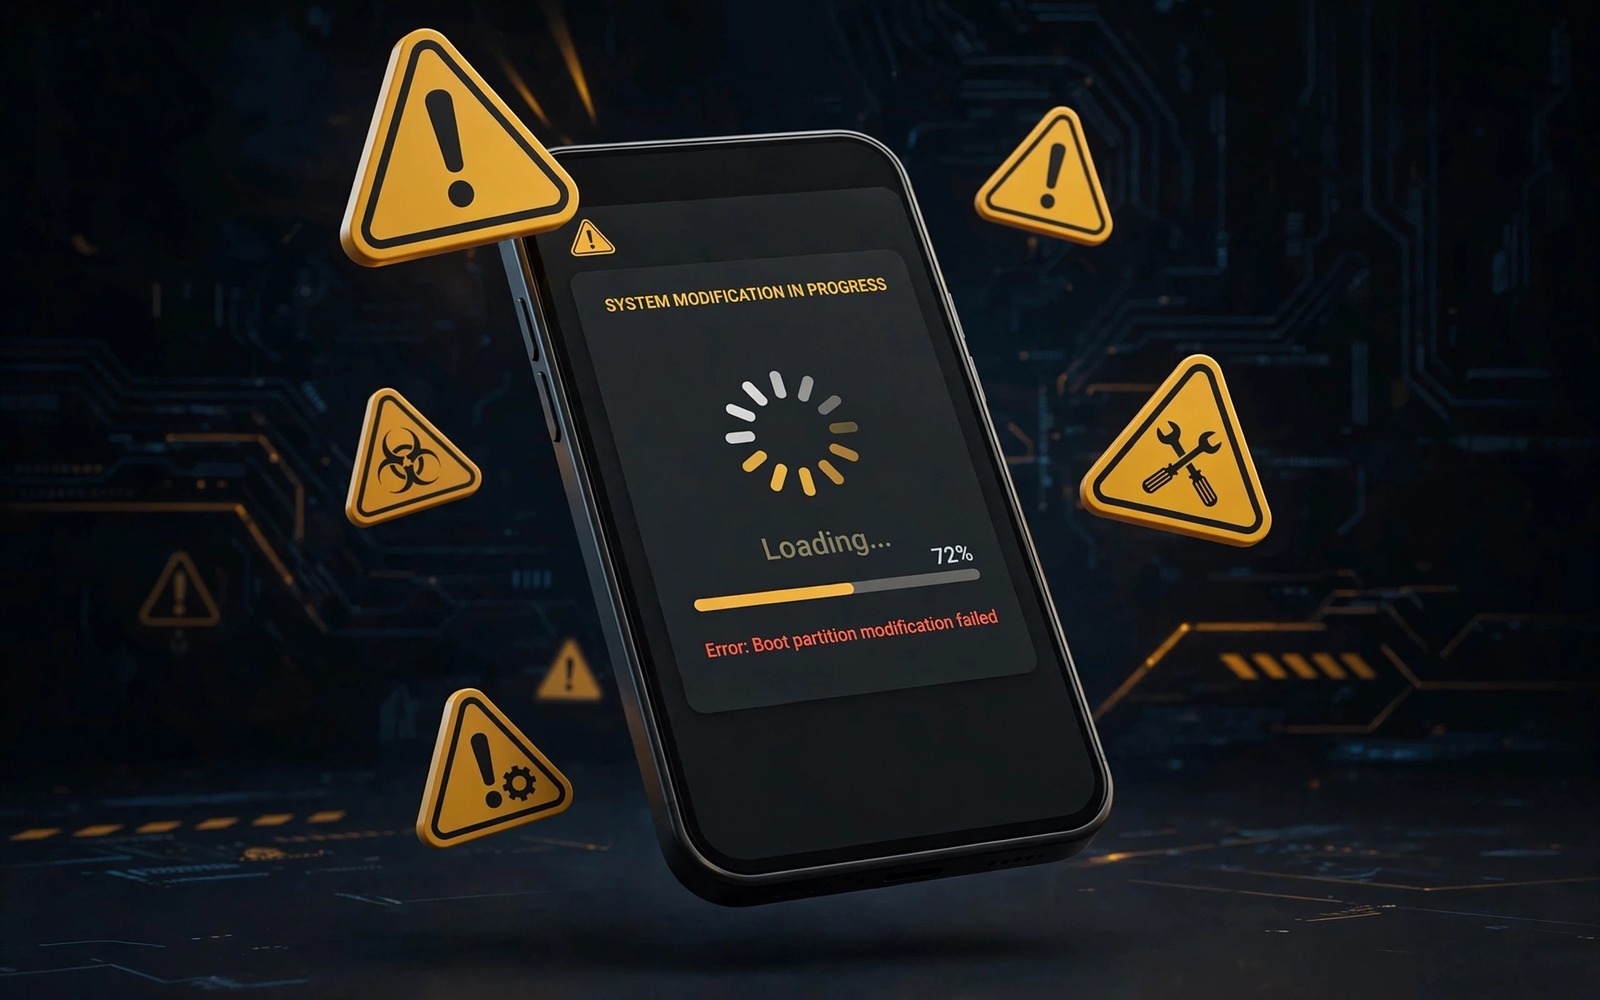
7 Danger Mistakes That Will Soft-Brick Your Rooted Android Device
A rooted phone that will not boot past its logo is one of the worst feelings in Android modding. The screen lights up, the logo sits there, and nothing else happens. I have watched that happen after a five-minute change that felt harmless at the time, and I have also watched the same phone come back to life in under an hour because the owner had a backup and a plan. That gap between panic and a calm fix is the whole point of this guide.
A soft brick is not the end of a phone. It means Android cannot finish starting, while recovery mode or fastboot mode still answers. Most soft bricks on rooted phones come from seven repeatable mistakes, not from bad luck and not from a broken chip. Each mistake below has a name, a clear cause, and a fix you can use before you touch anything else. Read the full list first, then make your next root change with the checklist in hand.
This guide is for anyone running Magisk, a custom kernel, a custom recovery, or a custom ROM on a daily phone. If you root a spare test phone, the same rules still apply, because a bricked test phone still costs you an evening. The advice here works across brands, from Pixel and Samsung to Xiaomi, OnePlus, and Motorola, because the boot process follows the same logic everywhere: the bootloader hands control to the boot image, the boot image starts the system, and any file that breaks that chain stops the phone cold.
What a soft brick really looks like on a rooted Android phone
A soft brick has a few familiar faces. The most common is a bootloop, where the phone shows its logo, vibrates, goes dark, and starts again. Another is a phone stuck on the logo for ten minutes with no progress. A third is a phone that drops straight into recovery mode every time it starts, even though you did not ask for recovery. A fourth is a phone that boots to a black screen after the logo, with the backlight on and nothing else. All four mean the same thing in practice: Android cannot load, but the lower layers of the phone still work.
That distinction matters because it decides what you can still fix. If fastboot mode answers a device query from your computer, you can usually flash a clean boot image and get the phone back. If custom recovery opens, you can remove a bad module, restore a backup, or flash a stock image. If nothing answers at all, no button combination works, and the computer does not see the phone, you are looking at a hard brick, which is a hardware-level problem and a very different repair. Most root mistakes stop at the soft-brick stage, which is good news, because soft bricks are fixable with files you can prepare in advance.
Soft brick vs bootloop vs hard brick: how to tell them apart
A bootloop is a type of soft brick, not a separate disease. It happens when the system starts, hits an error, and restarts itself in a loop. A soft brick is the wider term for any phone that powers on but cannot reach the home screen, including a phone frozen on one screen. A hard brick is different in kind: the phone shows no logo, no vibration, no charging icon, and no response to any button combination. I learned to check for that difference first, because it stops me wasting an hour on software fixes for a phone that needs a service centre.
Signs that recovery mode or fastboot mode still responds
Hold the button combination for your model, usually power plus volume down for fastboot, or power plus volume up for recovery, for a full ten seconds. If a menu appears, you still have a working recovery path. Connect the phone to your computer and run a fastboot device query; a serial number in the reply means the computer can talk to the phone. A charging icon when you plug in a dead-looking phone is another hopeful sign. All three mean your files and your plan still matter.
Signs that the phone needs hardware help instead of software fixes
No vibration, no logo, and no charging light after thirty minutes on a known-good charger point toward a battery, board, or charging port problem. A phone that gets very hot within a minute of plugging in, or one that smells of burnt electronics, should be unplugged and taken to a repair shop. Flashing more files onto a phone in that state only wastes time and can make a hardware fault worse. Software recovery assumes the phone can at least power its bootloader, and a phone that cannot do that is outside the scope of this guide.
The 7 danger mistakes that soft-brick rooted Android devices
Here is the full list, in the order I check them before any root change. Each mistake gets its own section below, with what goes wrong, why it goes wrong, and the habit that replaces it. If you only remember one thing from this article, remember the pattern: most soft bricks are caused by a wrong file, a missing backup, or a rushed change, and all three are preventable in under ten minutes.
1. Flashing files built for the wrong model or variant
This is the most common soft-brick mistake in rooted Android circles, and it is also the most avoidable. Two phones can share a marketing name and still use different display panels, different modems, and different camera sensors. A boot image built for a sibling model may start loading, then stop when it cannot find the right display driver. A kernel built for another region can boot to the logo and freeze there. A vendor image for the wrong carrier variant can break mobile data and then crash the system on the next restart. The file name alone is not proof of a match.
Check three things before you download anything: the exact model code in Settings, then About phone, then Model; the region or carrier variant printed on the box or shown in the software information screen; and the Android version and security patch date your phone is running today. A file made for Android 14 will not always work on a phone that has moved to Android 15, even when the model matches. The Custom ROM warning guide makes the same point for full ROMs, and it applies just as strongly to a single boot image or kernel. When a download page lists two very similar model codes, stop and confirm which one is yours before you tap anything. A five-minute check beats a five-hour recovery.
2. Skipping a full backup before any root change
A root change without a backup turns a small failure into a data disaster. With a backup, a bootloop means restoring the stock boot image, removing the bad module, and trying again. Without a backup, the same bootloop means wiping the phone back to factory settings and losing photos, chats, and app data that were never copied anywhere else. I keep my backups outside the phone for exactly this reason: a backup stored on the same phone that will not boot is not a backup at all.
A useful backup has three parts. First, copy photos, documents, and other personal files to a computer or an external drive. Second, save the stock boot image for your exact model and version, labelled with the model code and date, in a folder you can find without the phone. Third, if your recovery supports it, make a full system backup and store that copy outside the phone too. The Fix bootloops without losing data guide explains recovery steps that depend on having that backup ready. Label every file, test that the backup folder opens on your computer, and repeat the habit before every major change, not just the first one. A backup habit is the cheapest insurance a rooted phone can have, and it costs less time than one recovery session.
3. Installing several Magisk modules at once
Installing five modules in one session makes a boot problem almost impossible to trace. The phone loops, and any one of the five could be the cause. You end up removing them one by one in recovery, rebooting after each removal, and guessing your way back to a working phone. That process works, but it takes hours, and it teaches you nothing about which module actually failed. The fix is boring and effective: install one module at a time, reboot, and test the phone before you add the next one.
Two modules can also fight each other even when each one works fine alone. One module may change how the system handles audio, while another changes the same audio service in a different way, and the phone crashes on every boot because neither module expects the other. A lean module list is easier to debug than a long one, so remove modules you stopped using instead of leaving them installed. The A/B partition flashing guide shows how partition layout affects recovery from these conflicts, because on A/B phones a bad module can leave one slot working while the other fails, and knowing which slot is active changes your recovery steps. Test core apps after each install: phone calls, mobile data, Wi-Fi, and the camera. If those four work, the module is probably safe to keep.
4. Interrupting a flash, an update, or a reboot
A flash writes data in a specific order, and interrupting it can leave a partition half written. A half-written boot partition will not boot. A half-written system update can leave the phone switching between two slots that neither one can finish. I have seen this happen from a loose USB cable, a laptop that went to sleep mid-flash, and a battery that died at 8 percent during an update. None of those causes felt dramatic at the time, and all of them produced the same frozen logo.
Charge the phone above 50 percent before you start, and above 80 percent if the flash is a large one. Use the cable that came with the phone or a cable you trust, plugged directly into the computer rather than through a hub. Close other heavy programs on the computer so it does not sleep, and do not touch the cable until the tool says it is finished. A progress bar that pauses for a minute is not always a failure, so wait before you unplug anything. The Emergency recovery command guide can help after a failure, but prevention is far better than any recovery command. A calm flash with a full battery and a good cable avoids most interruption bricks entirely.
5. Installing modules and tools from untrusted sources
Modules from unknown sources can contain bad code or hooks written for a different Android version. A bad hook can crash the system interface on every boot, which looks exactly like a soft brick. A module with no recent activity may not support your Android version at all, even when its description says it works on every phone. Tools from unknown sources carry the same risk: a patched flashing tool can write to the wrong partition, and a fake driver installer can break the connection between your computer and the phone.
Use trusted sources with recent reports for your exact device, and check the module author, the update history, and the comments from users on the same model before you install. Verify checksums when the source provides them, because a checksum tells you the file you downloaded is the file the author published. Avoid mirrors that repackage modules with extra files, and avoid any module that asks for permissions that have nothing to do with its job. A few minutes of checking beats hours of recovery from a bad tool, and a module that nobody has tested on your model is a test you do not want to run on your daily phone.
6. Rooting without learning recovery and fastboot first
Many people root a phone without learning how to enter recovery or fastboot, and then panic when a soft brick happens because they lack the tools to fix it. They search for help on a second device while their phone loops, and every guide assumes they already know the button combination for their model. Learn those combinations while the phone still works, practise them once, and write them down beside your backup notes. That single rehearsal is the difference between a one-hour fix and a full day of stress.
Keep fastboot drivers installed on your computer before a problem, and test the connection once with a simple device query while the phone is healthy. Keep the stock images for your model in the same folder as your backup notes, labelled with model and version. The Bootloop recovery without data loss guide depends on those skills, because its steps assume you can reach recovery and run a fastboot command without guessing. A user who knows recovery can fix most soft bricks in under an hour; a user who does not know it spends that hour just learning how to start.
7. Ignoring low battery and nearly full internal memory
A phone with very little free memory can fail to boot after an update or a module install. Android needs free space to write temporary files during boot, to apply an update, and to rebuild app caches after a system change. When the internal memory is 99 percent full, that work has nowhere to go, and the phone can loop or freeze on the logo. Keep at least 4 to 5 gigabytes free on a rooted phone, and move old backups off the phone itself after copying them to a computer. A full memory partition is a silent soft-brick risk because it gives no warning until the next reboot.
Low battery is the other half of this mistake. A phone that starts a flash at 12 percent can die halfway through, and a phone that reboots on a weak battery can shut down during the first boot, which the system may treat as a failed start. A swollen or failing battery can also cause boot failures that look like software bricks: if a phone loops only when unplugged and runs fine on a charger, suspect the battery rather than the software. Replace a failing battery through a trusted service instead of forcing more flashes, because software fixes cannot cure a hardware power problem.
How to check every file before you flash it on a rooted phone
Checking a file takes less time than recovering from it, yet it is the step most people skip when they are excited about a new module or ROM. A short check routine removes most of the risk from the first mistake in the list above, and it works for kernels, boot images, vendor files, and full ROM packages. Make it a habit, and run it the same way every time, so you do not rely on memory when you are in a hurry.
Match the model code, region, and Android version first
Open Settings, then About phone, and write down the model code, the Android version, and the build number. Compare those three values with the download page, not just the phone name on the box. A model code can differ by one letter between regions, and that one letter can mean a different modem or display panel. Check the build number too, because a file made for a January build may not match a phone that installed a March security update. If the download page does not list your exact build, look for a newer file or ask in the device thread before you flash the old one.
Verify checksums and read the release notes before flashing
A checksum is a short fingerprint for a file. Compare the SHA-256 value published by the author with the value your computer calculates for the downloaded file; if they differ, delete the file and download it again from the original source. Read the release notes for known issues, especially lines about which Android versions are supported and which models are not. Release notes often warn about a specific bug, such as broken Wi-Fi on one variant, and that warning is worth more than ten positive comments. If the notes mention your model as untested, treat the file as a test, not as a safe daily change.
What to do when a file has no checksum and no clear model list
Do not flash it on your daily phone. Use a spare phone if you have one, or wait for a version with a checksum and a clear model list. A file with no author, no version number, and no model list is a guess, and guesses belong on test devices, not on the phone you need for work tomorrow. If you must test it, back up everything first and keep the stock boot image within reach.
A one-page recovery plan to write before your next root change
A recovery plan should fit on one page. Write your model code and Android version at the top. Write the recovery button combination next. Write the fastboot command to restore the stock boot image next. Write the location of your stock backup next. Keep that page on your computer and on paper if possible, because a plan stored only on the phone that will not boot is useless. A one-page plan is easy to follow during stress, when long guides feel impossible to read.
What goes on the recovery page for your exact model
Include the model code, the Android version, the build number, and the date you last updated the plan. Add the button combination for recovery mode and for fastboot mode, written exactly as you tested them. Add the folder path where your stock boot image lives on your computer, and the name of the file. Add the name of the custom recovery you use, if any, and the version number. Update the page after every major system change, because a plan that still lists an old Android version can send you to the wrong file at the worst moment.
Fastboot commands and files to keep ready in one folder
Keep a folder on your computer with the stock boot image, the fastboot drivers, and a text file with the exact commands for your model, copied from a trusted guide rather than typed from memory. A typo in a fastboot command can write to the wrong partition, so paste commands carefully and double-check the partition name before you press enter. Test the folder once a month by listing devices in fastboot mode, because a monthly test confirms the drivers still work after computer updates. Keep a charged spare phone or a second device nearby for reading guides while your main phone is in recovery.
How to recover a soft-bricked rooted phone without wiping personal files
Recovery works best when you move slowly and try the least destructive step first. Many people wipe the phone as their first step, and then discover that a simple boot image restore would have fixed the problem without touching personal files. Work through the steps below in order, and stop as soon as the phone boots normally. Write down what you tried, so you do not repeat a failed step in a panic.
Try recovery mode first and remove the last change
Boot into custom recovery and look for the option to disable Magisk modules. Most modern recoveries and Magisk builds let you remove modules without wiping data, and removing the last module you installed is often enough to break a bootloop. If you installed a new module and the phone looped on the next reboot, that module is the first suspect. Remove it, reboot, and test the phone before you touch anything else. If the phone still loops, remove the other recent modules one at a time, rebooting after each removal.
Restore the stock boot image with fastboot
If recovery mode cannot fix the problem, boot into fastboot mode and flash the stock boot image for your exact model and version. This step replaces the modified boot image with the clean one, which removes Magisk and any kernel change in one move, while leaving your personal files alone. Use the stock boot image backup you saved before the change, and confirm the file name and the partition name before you run the command. After the flash, reboot and wait a full two minutes, because the first boot after a restore can take longer than a normal boot. If the phone reaches the home screen, back up your data again before you try any further root changes.
When a data wipe is the only safe step left
Sometimes the system partition itself is damaged, and no boot image restore can fix it. In that case, a factory reset from recovery is the honest next step, and it is better to accept it early than to spend a day flashing files that cannot help. Before you wipe, check whether recovery can still read the internal memory and copy photos to a computer, because some recoveries allow file transfer even when Android will not boot. If you have a backup outside the phone, the wipe is an inconvenience, not a disaster. After the wipe, set the phone up, restore your backup, and research what went wrong before you root it again.
Common rooted Android mistakes that look small but cause bootloops
Some mistakes do not appear in the list of seven, yet they cause the same bootloop. One is flashing a system update and installing a new module in the same hour, so the update and the module conflict and the phone loops, and nobody knows which change caused it. Separate major changes by at least a day: a module change on Monday and a system update on Friday gives you time to test each change alone. Another is deleting a system app to save space, then losing an update because the update expects that app to be present. Disable a system app instead of deleting it, because a disabled app can return in seconds, while a deleted app needs a full restore.
A third small mistake is changing two system settings at once through a root app, such as a new display density and a new animation scale, and then blaming the wrong one when the interface crashes. Change one setting, reboot, and test before you change the next. A fourth is ignoring a warning from Magisk or from the flashing tool, because the tool is often right: a warning about an unsupported Android version or a mismatched boot image is a stop sign, not a suggestion. Treat every warning as a reason to pause and read, not as a button to tap through.
- Separate major changes by a day so you can tell which change caused a problem, and test phone calls, data, Wi-Fi, and the camera after each one.
- Disable system apps instead of deleting them, because a disabled app can be turned back on in seconds while a deleted app needs a full restore.
- Change one root setting at a time, reboot, and test, instead of changing five settings and guessing which one broke the interface.
- Read every warning from Magisk and your flashing tool as a stop sign, and check the model, version, and file name again before you continue.
Frequently asked questions about soft-bricked rooted Android phones
What is the difference between a soft brick and a hard brick?
A soft brick stops Android from booting, but recovery mode or fastboot mode still works, so you can flash a clean boot image or remove a bad module. A hard brick shows no signs of life at all: no logo, no vibration, no charging icon, and no response to any button combination. Most root mistakes cause soft bricks, which are fixable with the right files and a calm plan. A hard brick usually needs a hardware repair, a new board, or a service centre visit, and no amount of flashing will fix it.
Can I fix a soft brick without losing my photos and personal files?
Often yes, if recovery mode still works and the internal memory is intact. Restore the stock boot image first and avoid wiping data unless recovery requires it, because a boot image restore leaves personal files alone. Remove the last Magisk module before you consider a wipe, and check whether recovery can copy files to a computer. A backup outside the phone makes the fix much safer, and it is the single best reason to back up before every root change.
How long does soft brick recovery take for a rooted phone?
A prepared user can often recover in under an hour, because the stock boot image, the drivers, and the button combinations are already ready. An unprepared user may spend a day finding files, installing drivers, and reading guides on a second device. Backups and recovery skills are what make the difference, not luck. If you have never tested your recovery plan, test it this week while the phone still works, so the first time you need it is not the first time you try it.
Should I delete system apps on a rooted phone to save space?
No, disable them instead. Deleting a system app can break a future system update that expects that app to be present, and it can remove a component another app depends on. A disabled app stops running and stops showing in your app drawer, while staying on the phone for updates and for a quick return if you change your mind. If you already deleted a system app and updates started failing, restore the stock system image for your model rather than trying to reinstall the single app by hand.
What to do today before your next Magisk change
Write down your exact model code, your Android version, and your recovery button combination on one page, and keep that page on your computer. Back up your photos and your stock boot image outside the phone, label the files with model and date, and test that your computer can see the phone in fastboot mode. Those three steps take less than thirty minutes, and they turn a future soft brick from a disaster into a delay.
When you do make your next change, install one module at a time, charge the phone fully, and use a trusted file that matches your model. If the phone loops, stay calm, boot into recovery, remove the last change, and restore the stock boot image before you consider wiping anything. A rooted phone rewards patience and punishes rushing, and the habits in this guide are what keep that power on your side.

